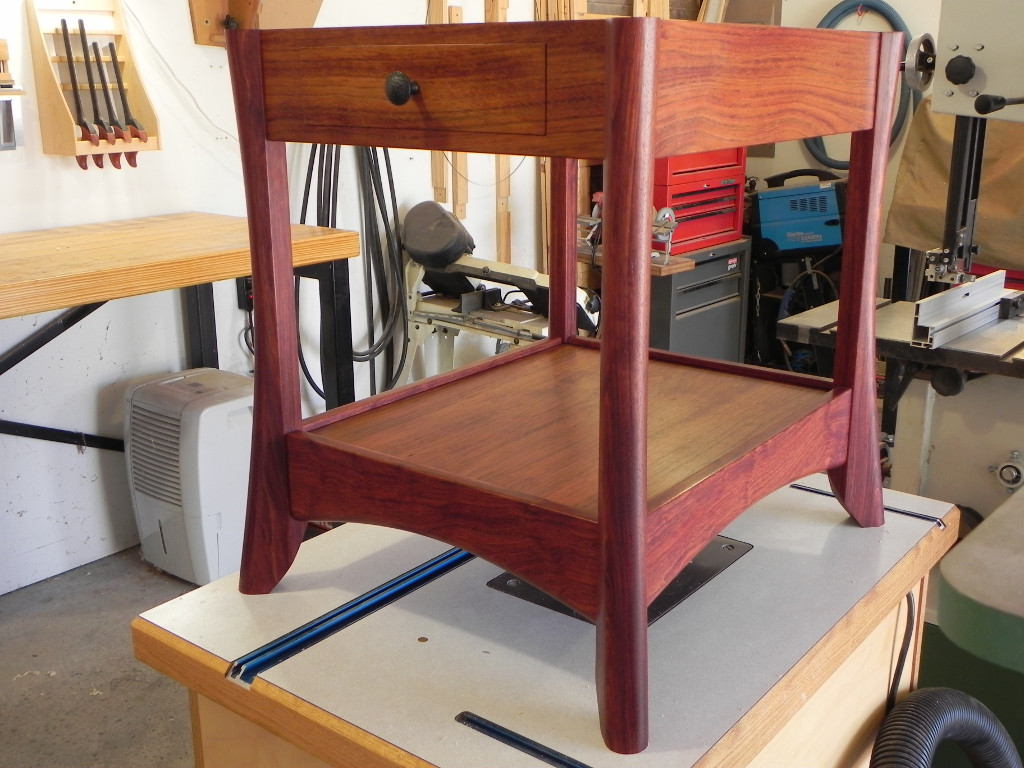
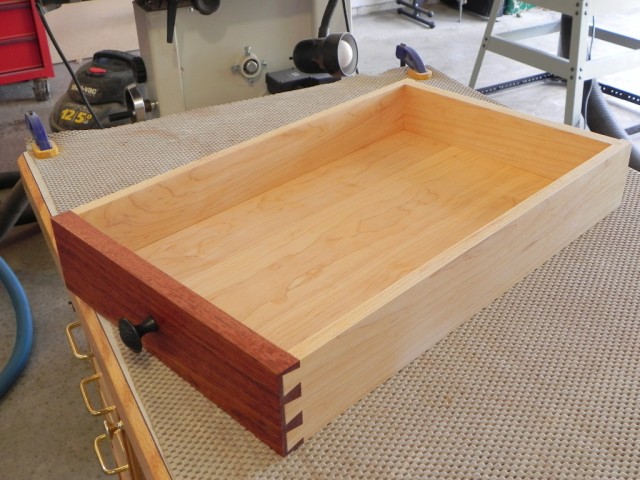
The drawer slides are done and mounted. I’m really happy with how they turned out, and how easily they slide with a little paraffin wax applied to the runners & kickers. As you can see in the second picture below, I still need to do a little adjustment work on the depth stops, but other than that they are good to go. I’ve already started working on the tops, in fact the glue ups are almost done. Check back soon, as I’m going to share the method I use to make nearly invisible glue joints.

The installed drawers

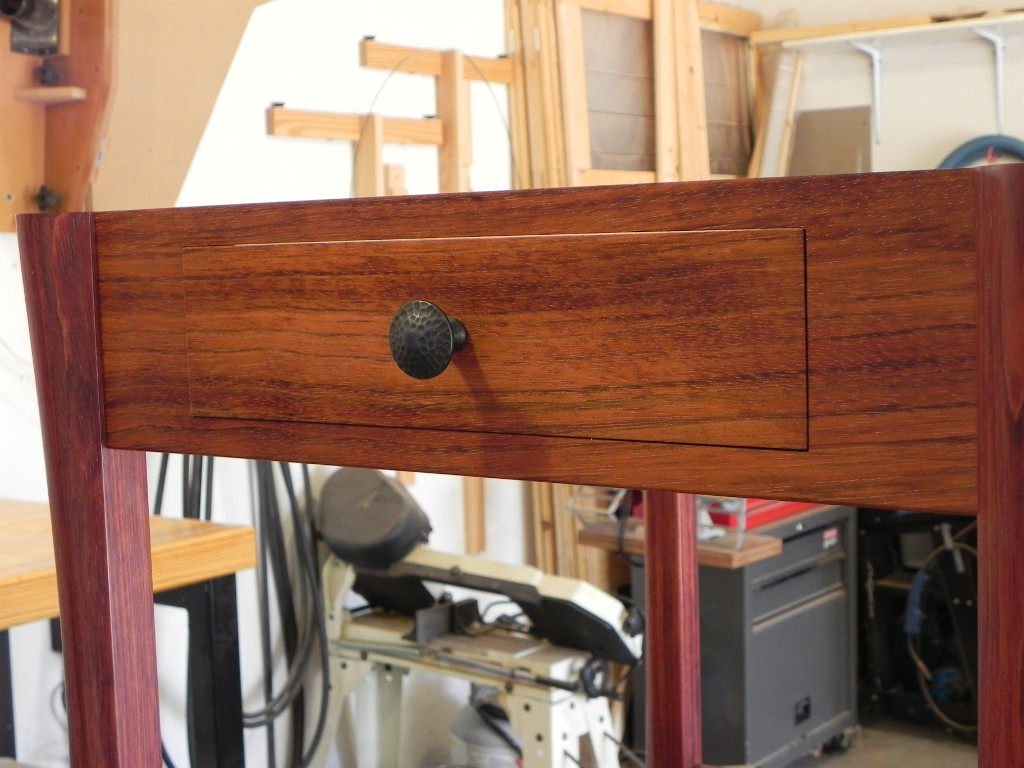
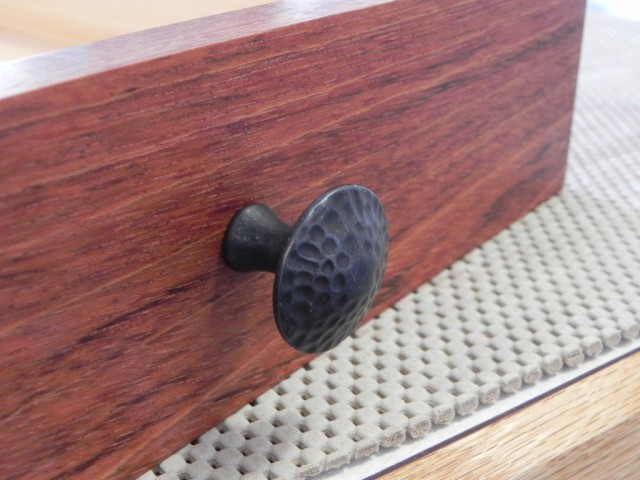
Continuous grain drawer fronts

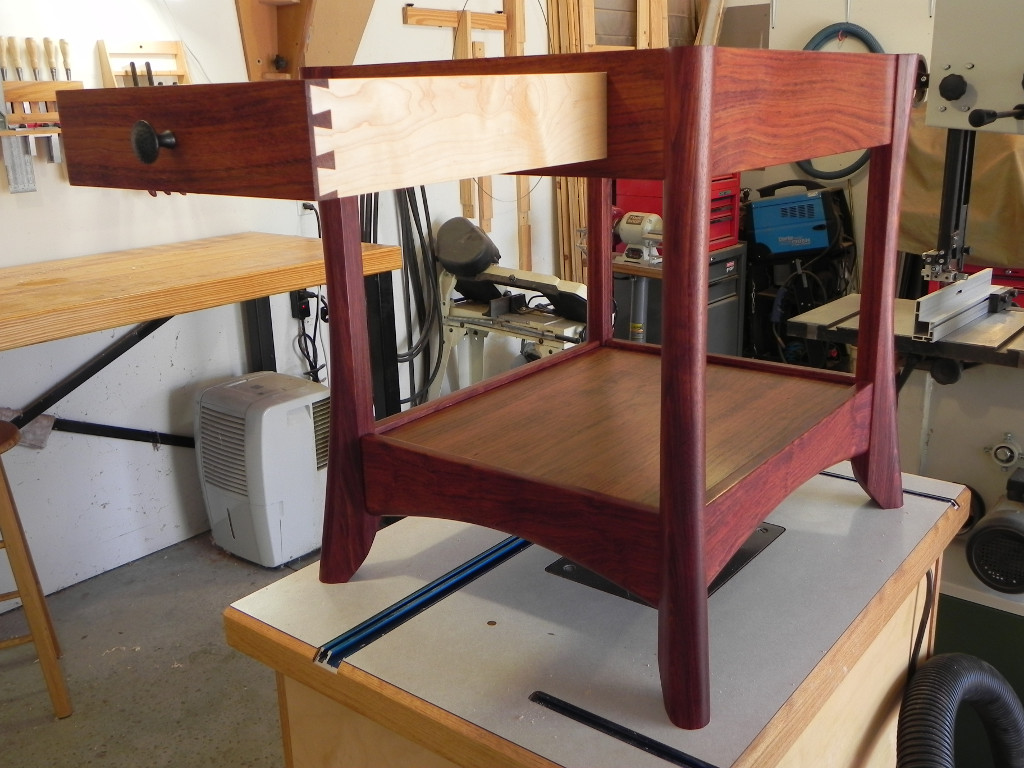
Full extension
It took a little longer than I thought it would, but the drawers are done. The only hang up was that the varnish had started to go bad while finishing the fronts, so I ended up sanding it all off and doing it over. The drawer front is finished with varnish just like rest of the piece. The sides back and bottom are finished with Zinsser’s Bullseye SealCoat(de-waxed shellac), as it helps seal the wood and provides a good vapor barrier. Next up are the kickers and runners.
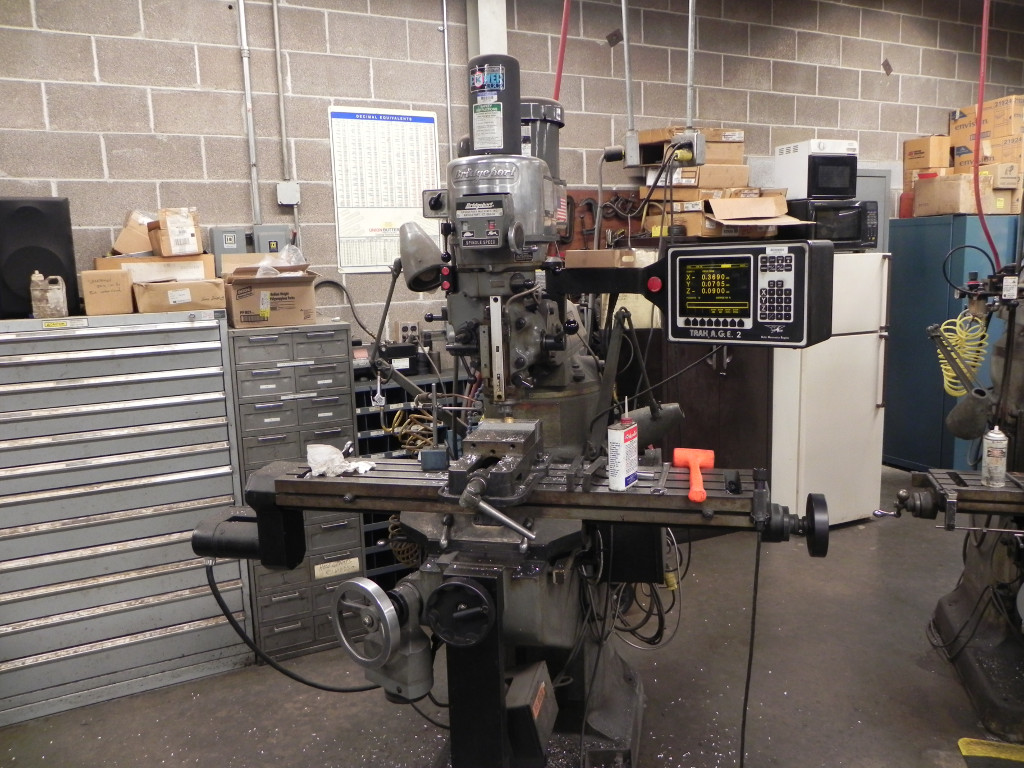
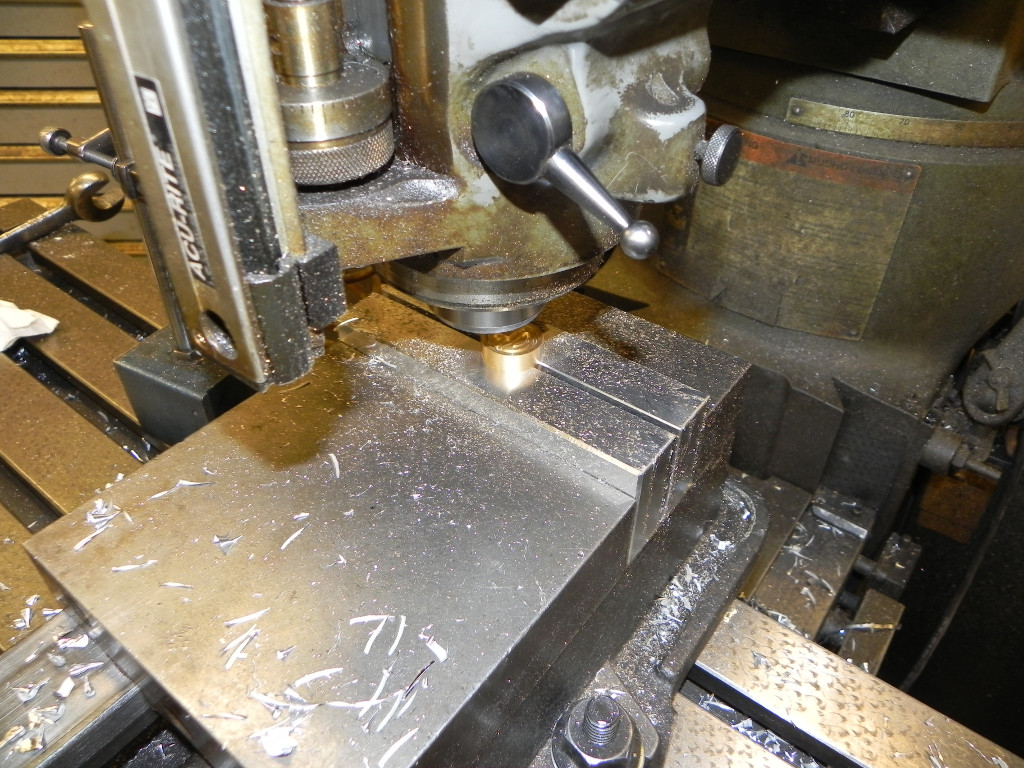
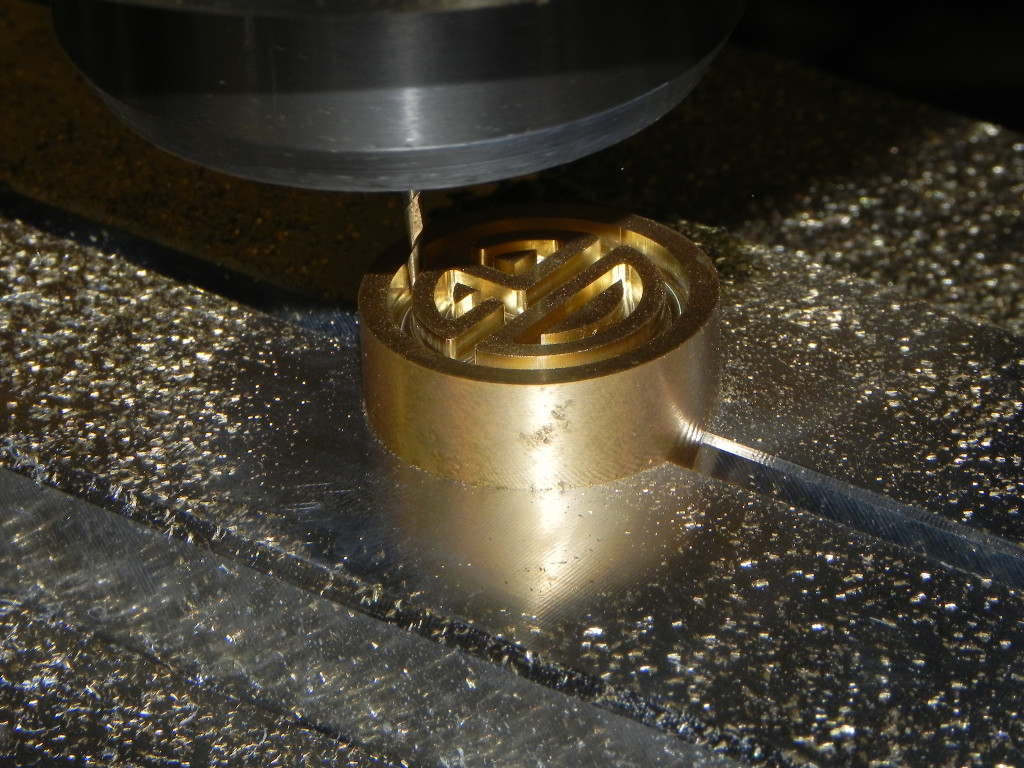
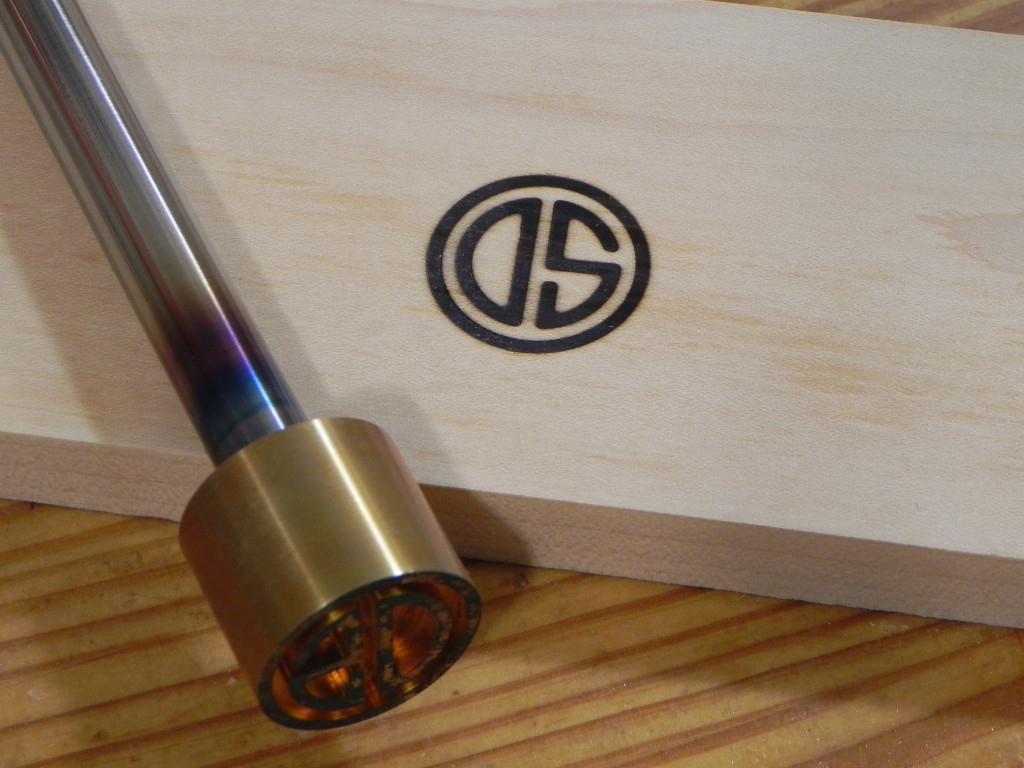
My friend and I finally had some free time that overlapped , so we finished off my branding iron tonight. The first thing we did was make custom soft jaws for the vice. the Bridgeport we used was set up as a 2 axis conversational system, so something like the soft jaws and my branding iron was dirt simple to make. Milling was a slow process, because the mill only had a max speed of 4200 rpm, and we used a 0.050″ diameter 2 flute end mill. The depth of cut was 0.020″ and the feed rate was only 1 ipm.
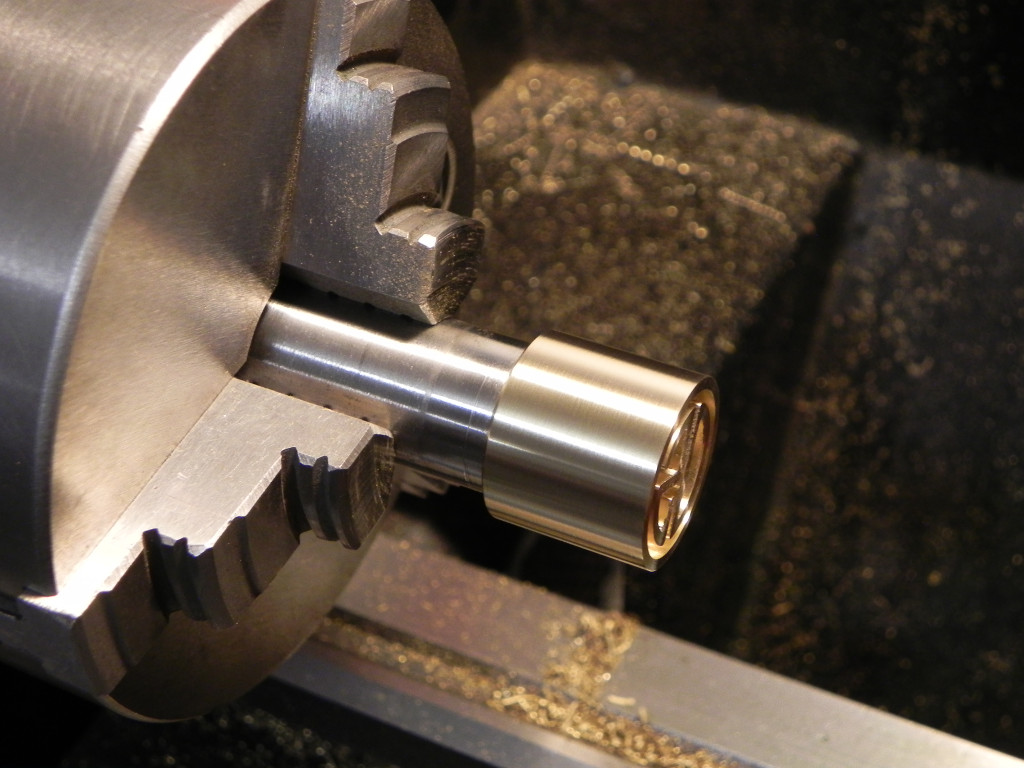
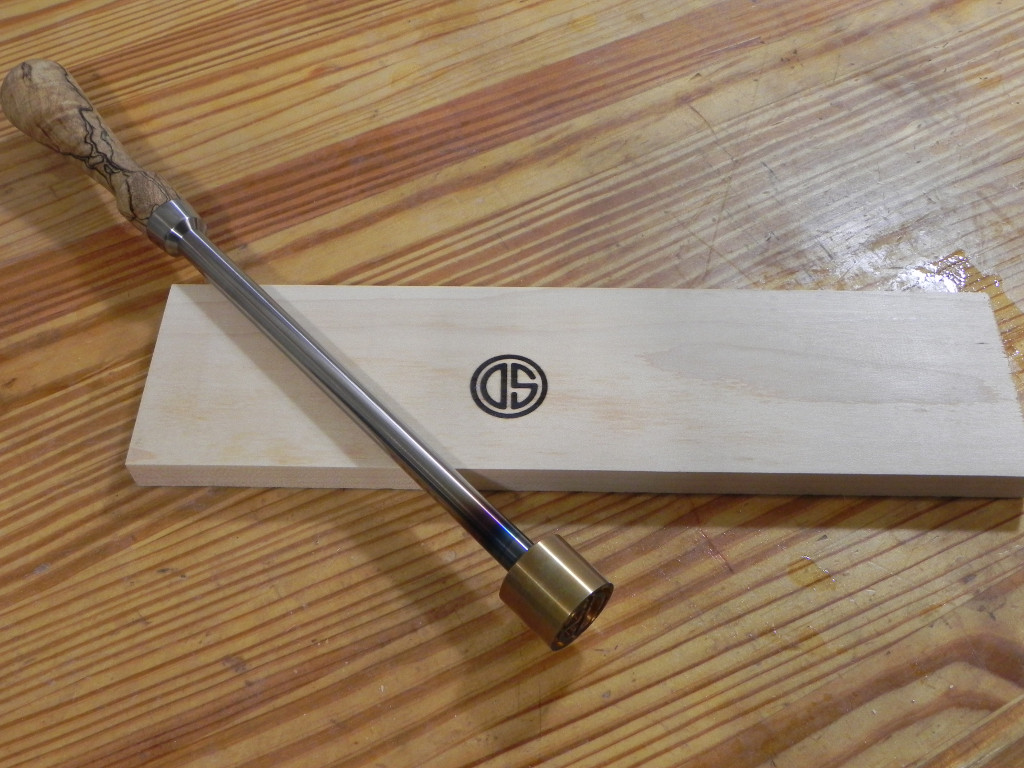
after we finished milling and cleaning up, I headed home and turned the outside diameter of the head down to it’s final dimension on my lathe. With the hard work done, i was able to play with the iron a bit. It took a lot longer to heat up the brass head with a propane torch than I thought it would (~ 3 minutes). I got the best results by burning the wood, and then sanding back the surrounding over burn with a sanding block.
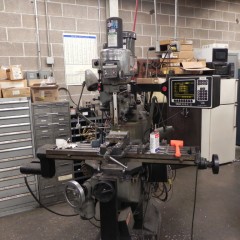
The Mill
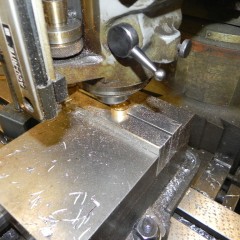
Soft jaws
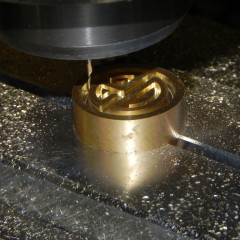
2 axis CNC milling
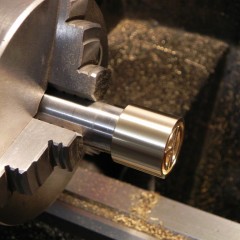
Turning the outside diameter
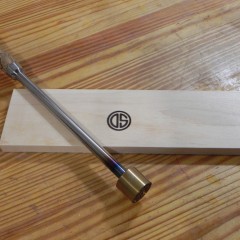
such a pretty Iron
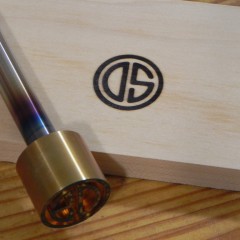
check out that rainbow
With the main carcasses glued up and finished, it’s time to work on the drawers. The drawer sides aand back are Hard Maple and the front is obviously Jatoba. Sticking to my no plywood philosophy, The drawer bottoms are also made from Hard Maple, and are 1/4″ thick. These are light duty drawers, so the bottoms don’t need to be that thick.
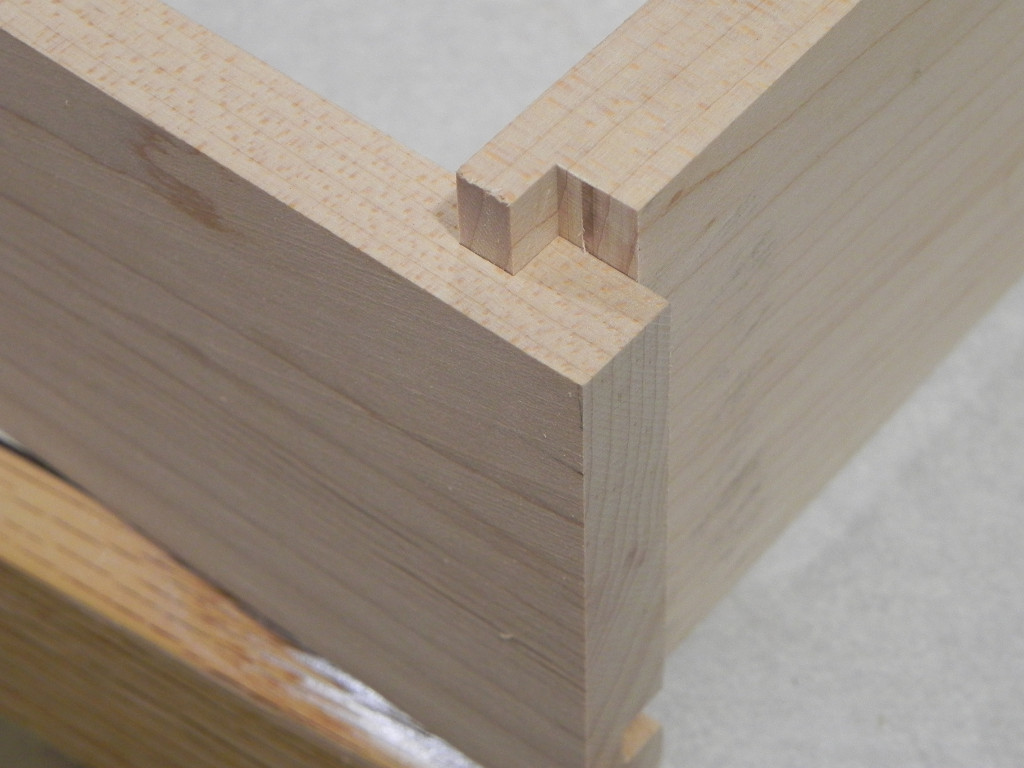
The band-saw made short work of resewing 4/4 stock in half. I didn’t decide to cut saw thinner panels, because the boards moved a lot, and I just barely got them all to come in at 1/4 thick. I probably should have picked boards with straighter grain, but this is all my local supplier had. I decided to use half blind dovetails in the front, and a simple dado in the back. I originally planed on using through dovetails in the back, but ultimately decided it wasn’t worth the effort, since almost no one will ever see the joint. I hope to glue up the drawers and get some finish on them this week, so stay tuned.
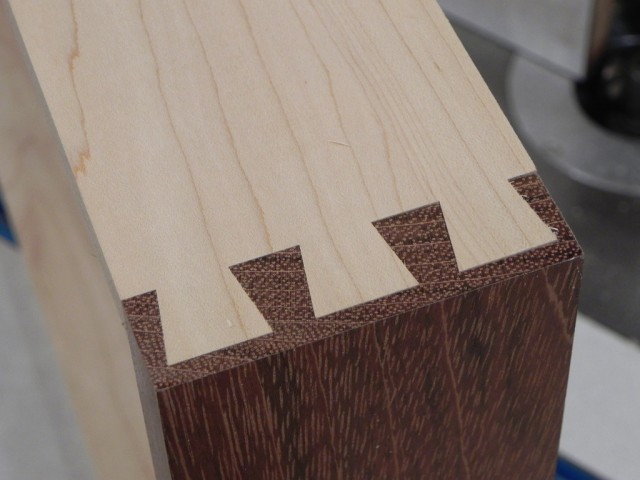
Lovely contrast between the two species.
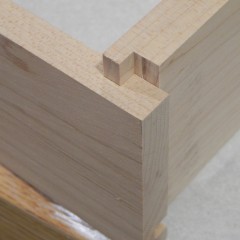
Simple really is the best way some times.
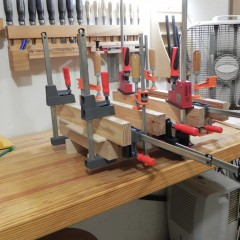
I need more small clamps.
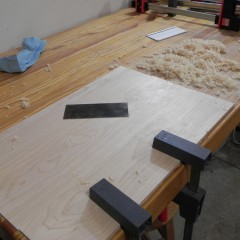
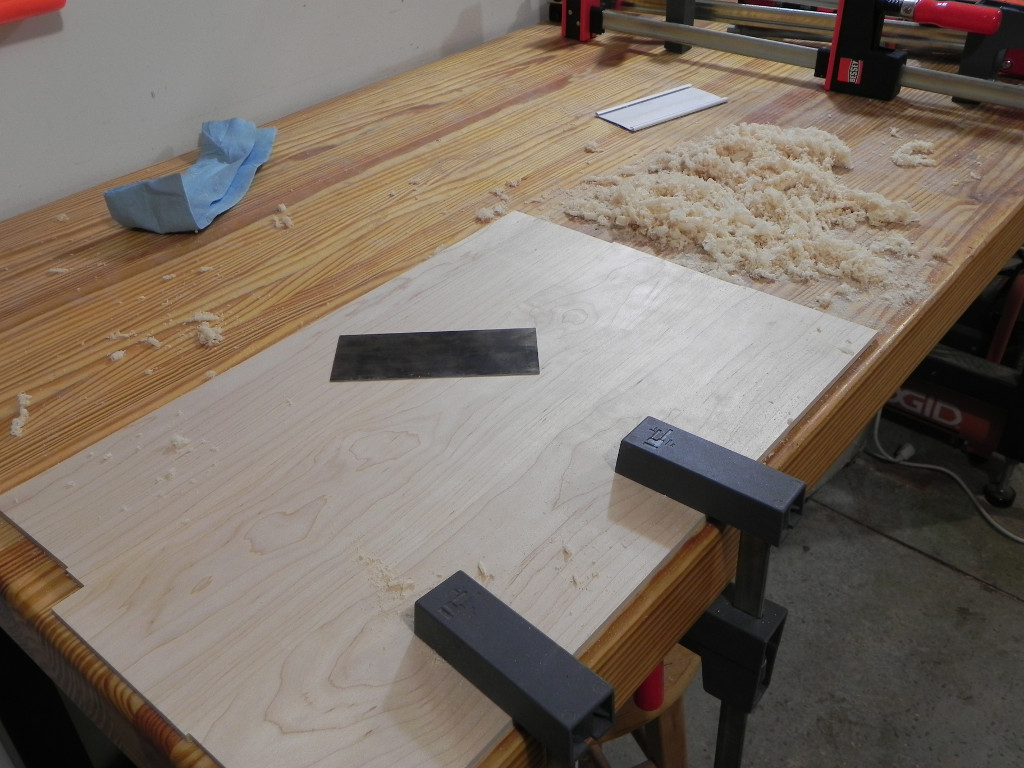
Scrapping the glue lines flush.
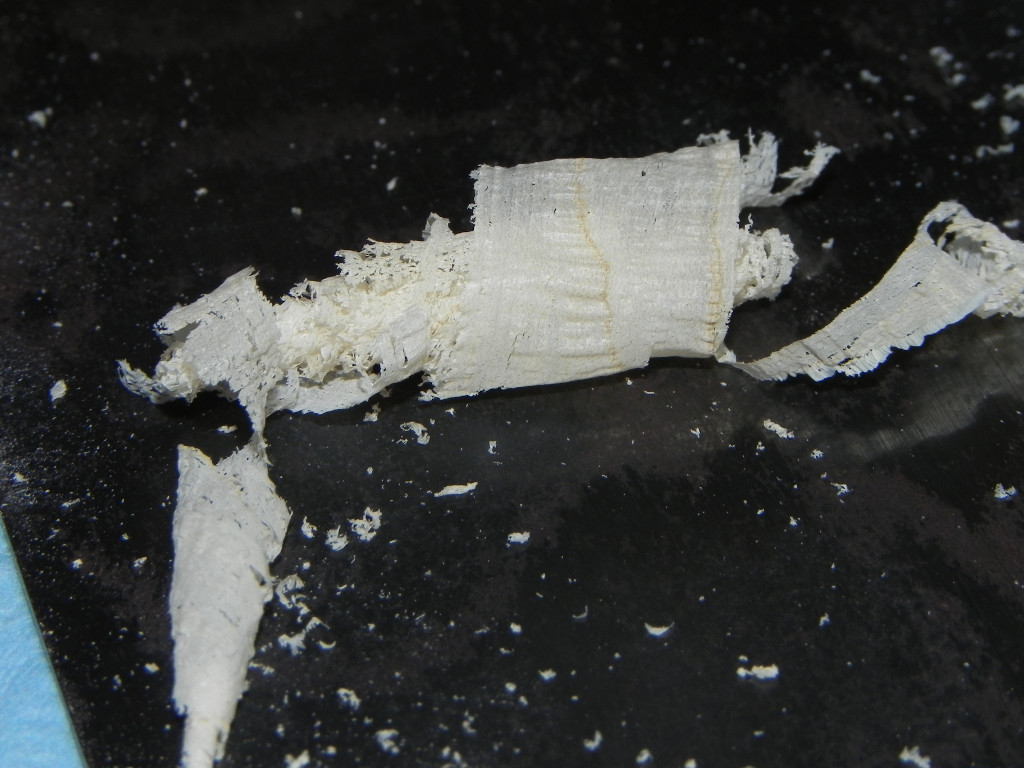
Now that's a shaving.
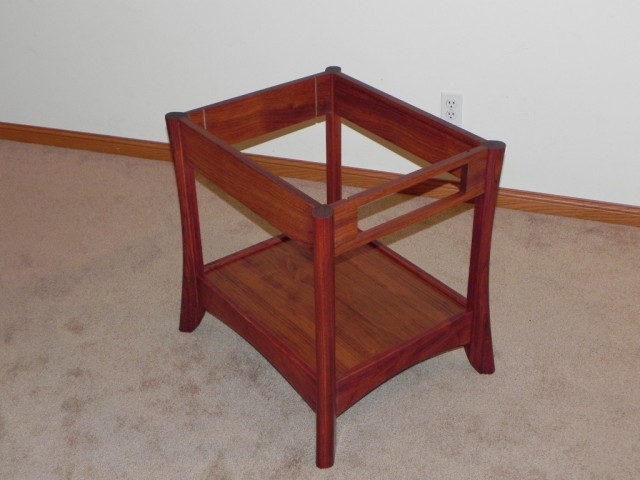
The glued up & finished carcass.
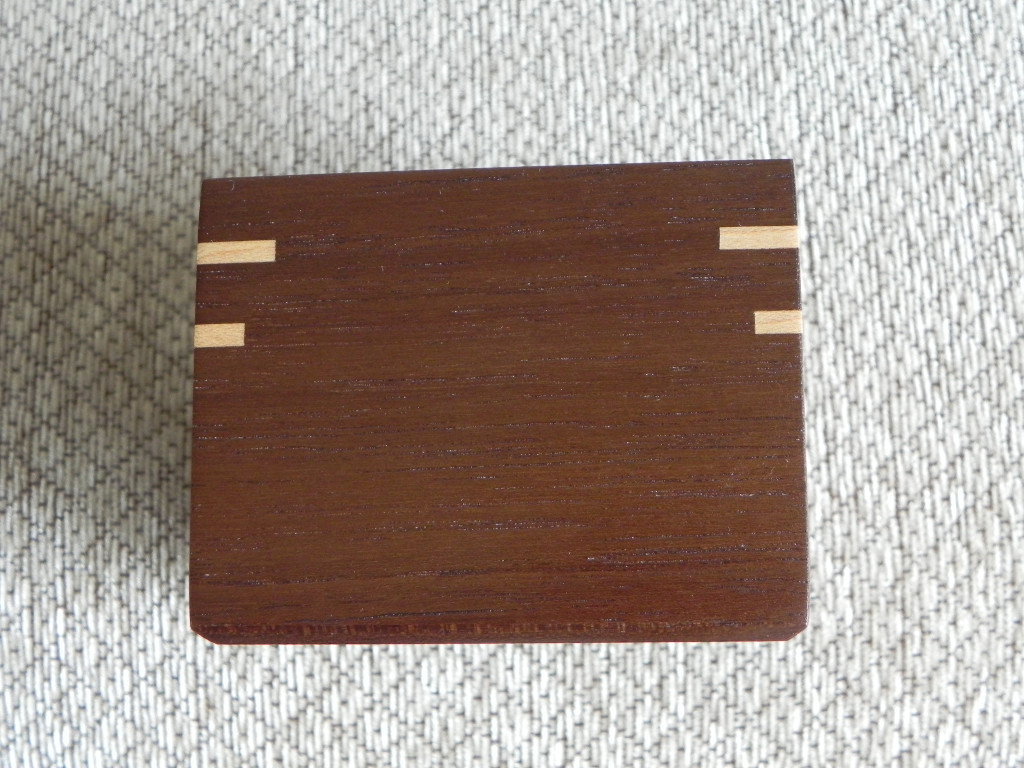
While I was waiting for the Varnish on my end tables to finish drying, I made some lift top boxes for an important woman in my life. I’ve documented how to make them on my blog before, so I wont go into the details of their construction, instead I’ll share some pretty pictures I took of the Finished project. All the boxes are finished with a few coats of varnish & wax.
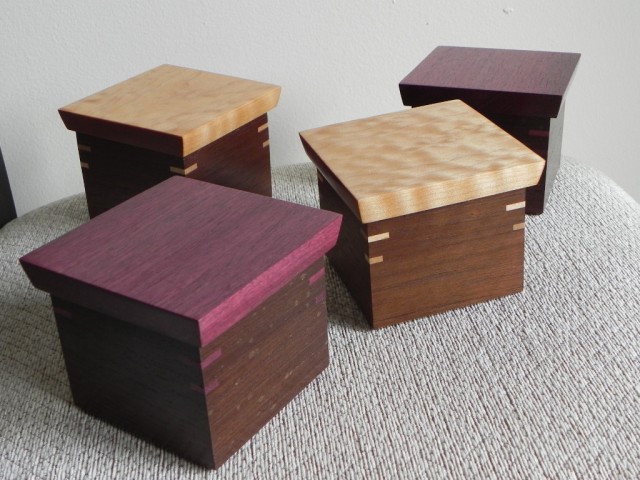
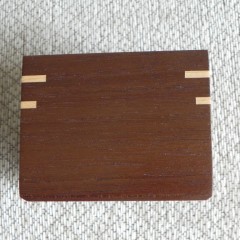
Peruvian Walnut sides with Maple keys.
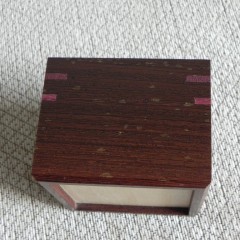
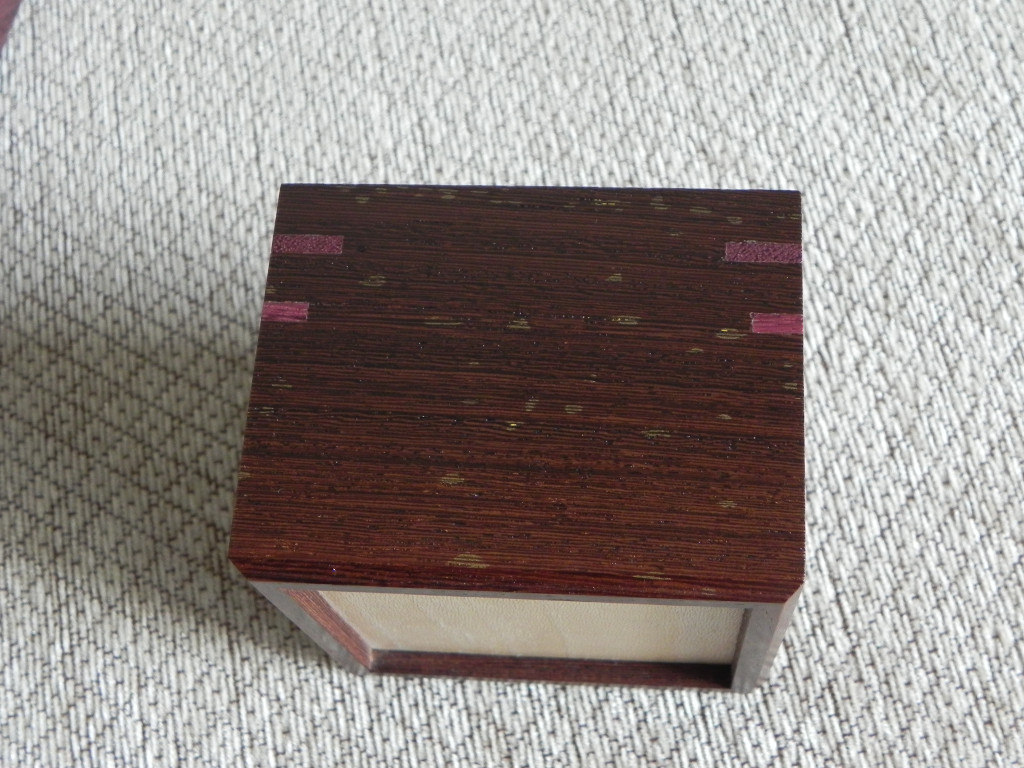
Panga Panga sides with Purpleheart keys.
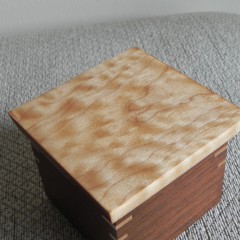
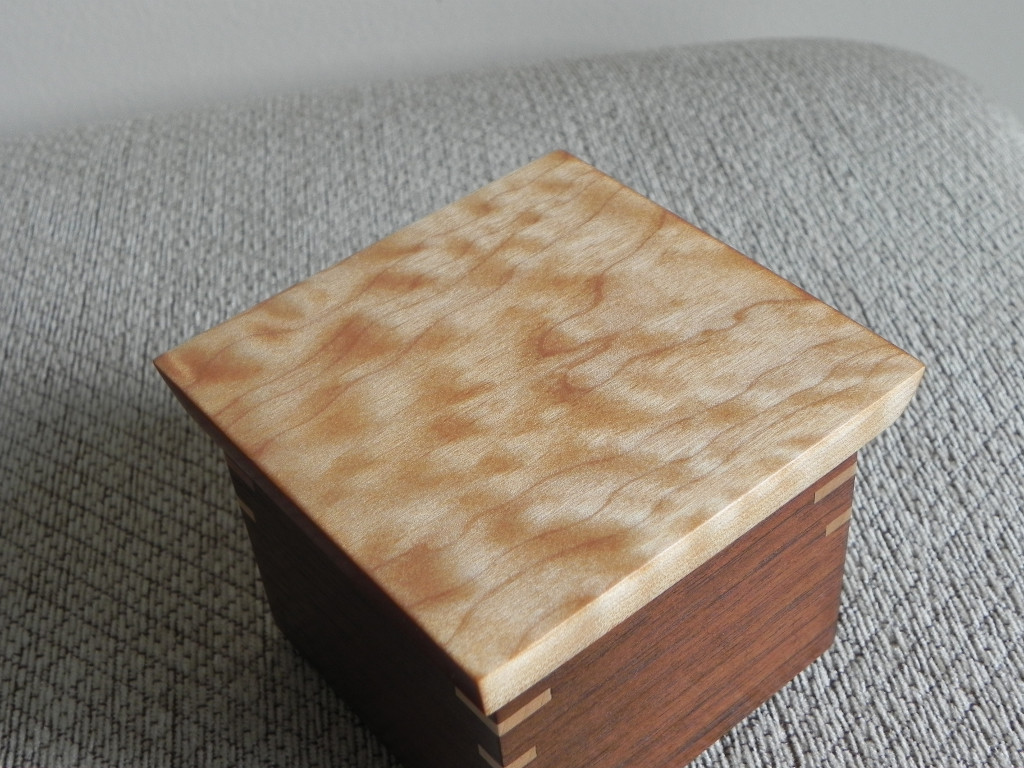
Quilted Maple lid
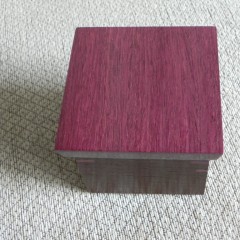
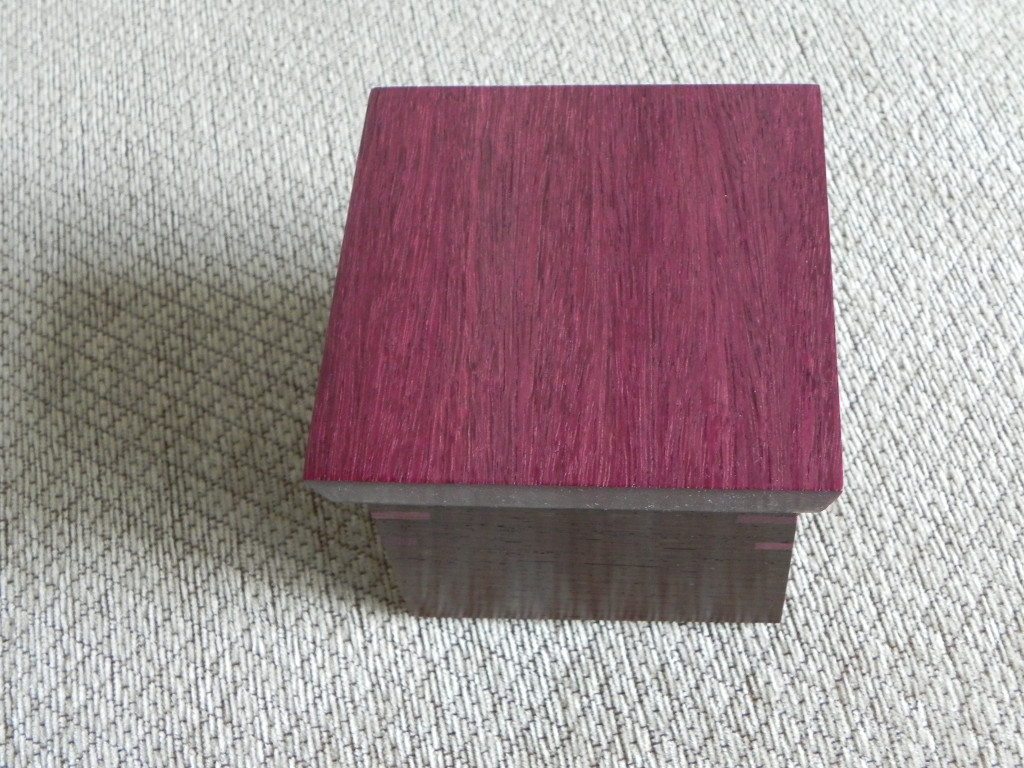
PurpleHeart lid