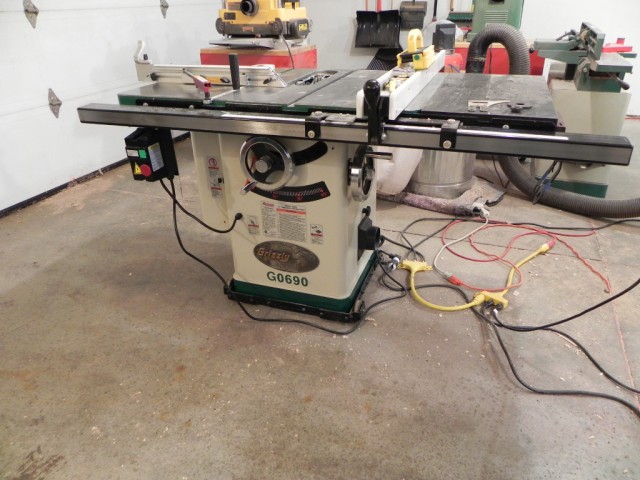
Since my last post, a substantial change has taken place in my shop. Mid November I replaced my Delta contractors saw with a Grizzly G0690 cabinet saw. I have been wanting a cabinet saw for a while now, because I have out grown the capabilities of my old saw. The main upgrades over my old saw, are horsepower (3 vs. 1), greater depth of cut 3-1/8″ vs 2-3/8″ and a greater ripping capacity 30: vs about 22″.
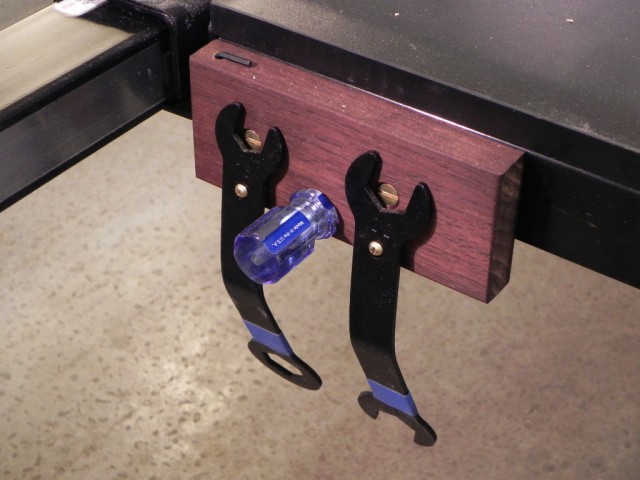
The first thing I did once got the saw set up and tuned was make a tool holder. It’s nothing fancy, just a block of Peruvian Walnut that has a few screws & holes in it. As you can see below, it holds wrenches for changing the blades, as well as an Allen key & Phillips screwdriver for adjusting the inserts. I mounted in low enough on the right wing, so that it doesn’t interfere with the fence, but yet was still easy to get at.
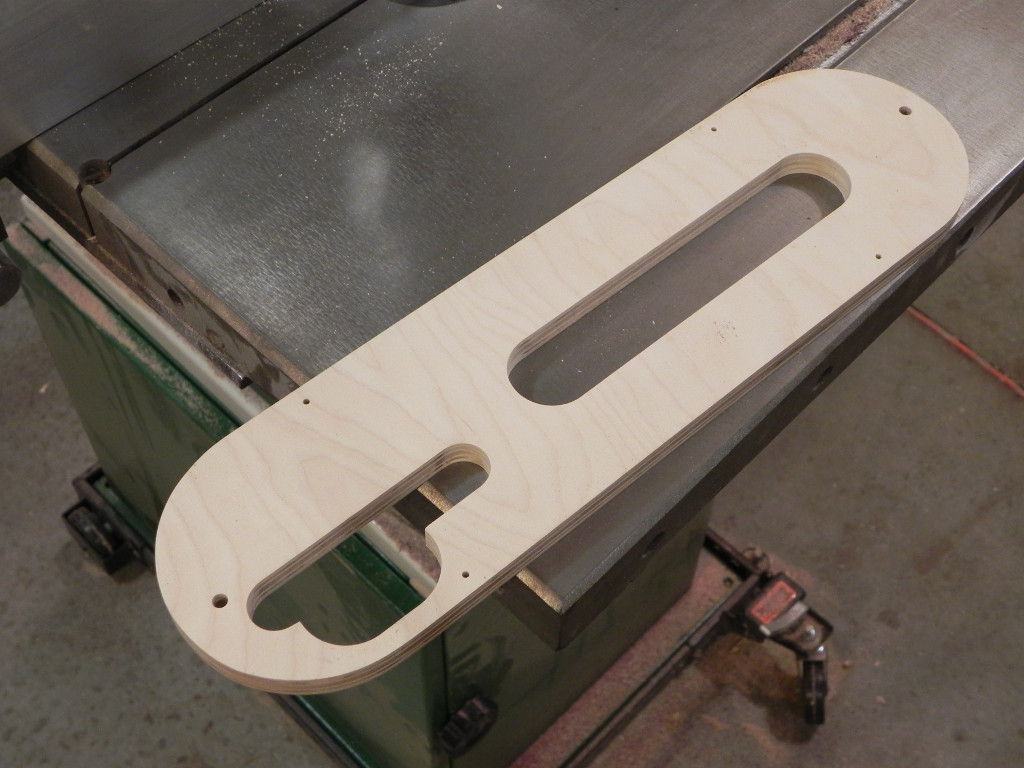
The second thing I made was a template for making inserts. I have to say I was less impressed with the design of the inserts & splitter. Nothing is out right wrong with them, they are just designed in a way that makes it harder to make inserts. The tow main issues are that when fully retracted the blade is just over 1/8″ below the top of the table, and when fully raised the splitter adjustment mechanism is also about 1/8″ below the table surface. Those two things combined with the size of the hole needed to adjust the splitter, makes making an insert more tedious than I think it should be. Below is the template and a zero clearance insert made from it.
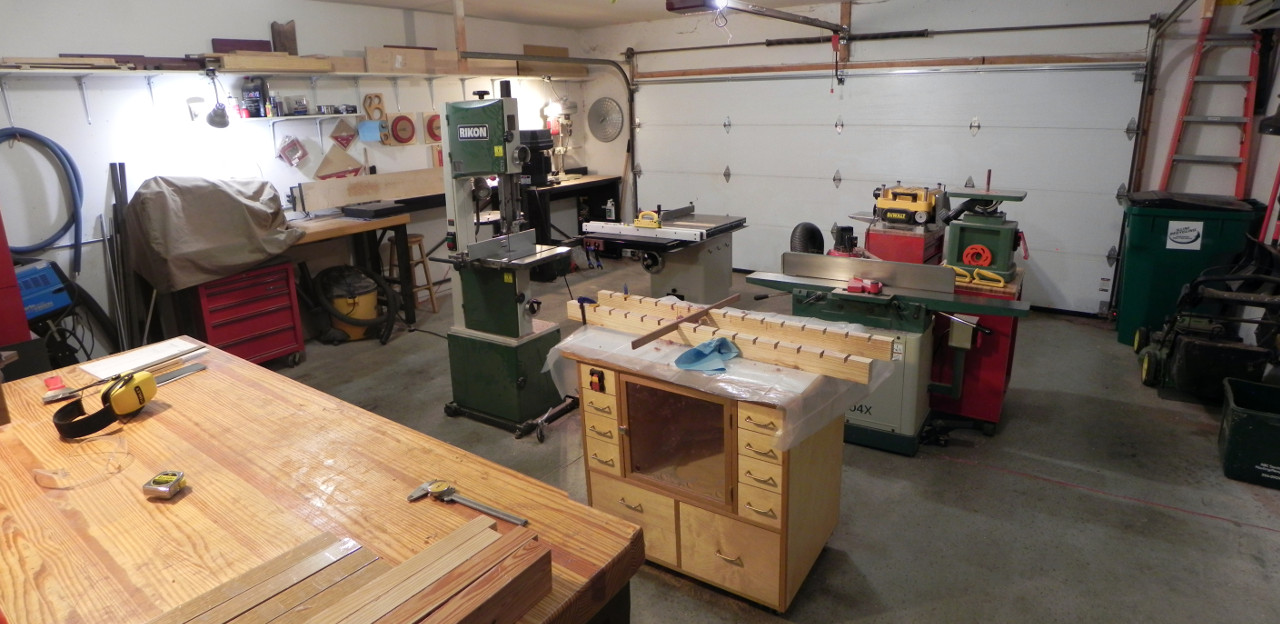
The most important thing I’ve done since I got the saw was redesign the shop layout. since the saw has dust collection on its right side It now faces from side to side instead of front to back. additionally I re-positioned the joiner and oscillating spindle sander so that I have 360 degree access to my router table. Since I don’t have a true bench yet (I need more space) It has become a substitute work bench. Hopefully this layout will work until i get a bigger shop.

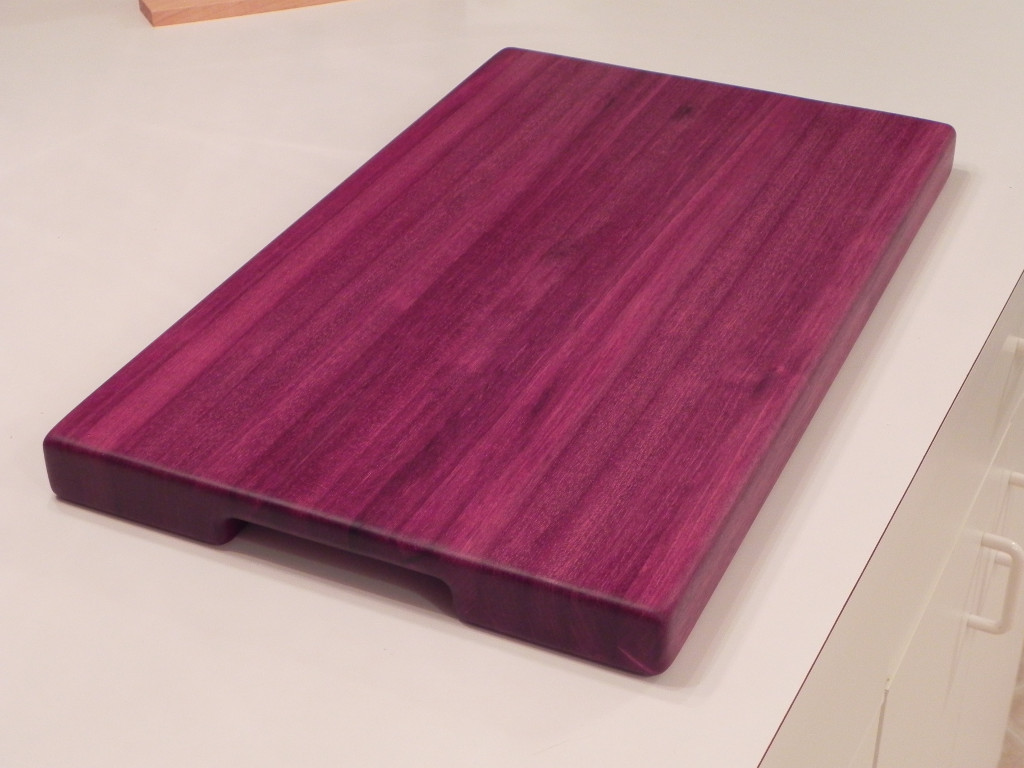
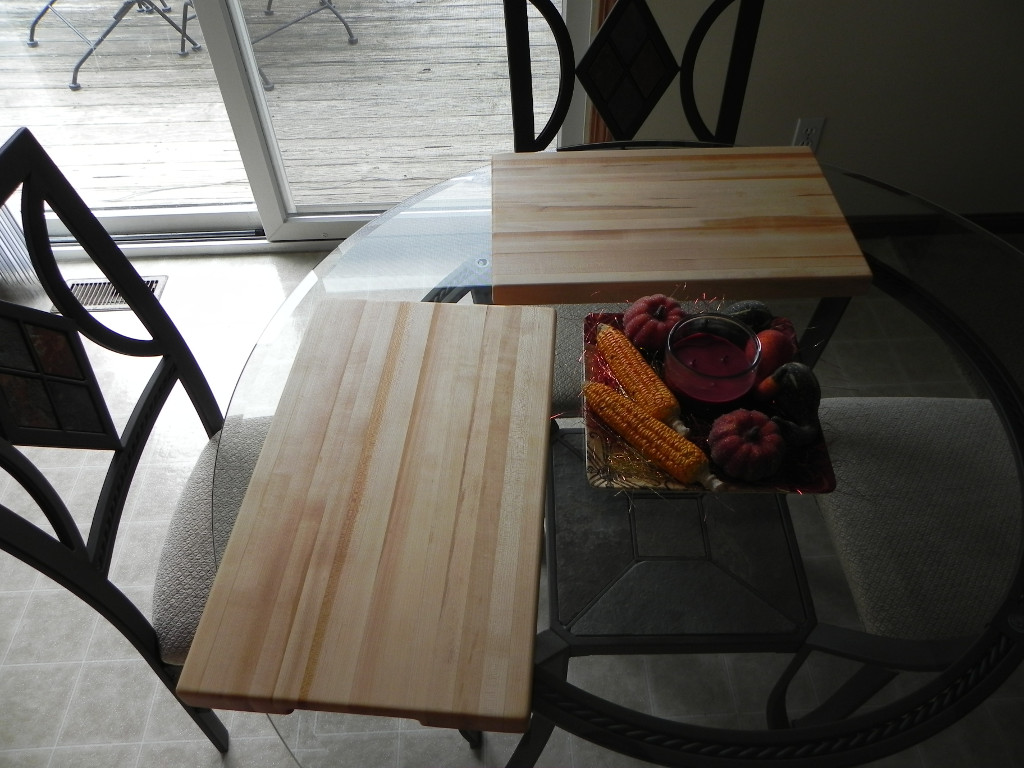
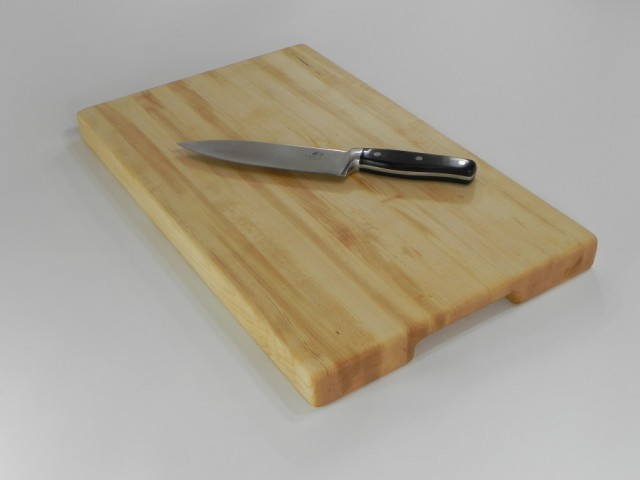
The long grain cutting boards, are proving very popular, the shots below are of the second batch. The custom order Purpleheart board was more work than I thought it would be. when i was routing the edges it burned a lot more than I remember, maybe it was this specific board, or maybe my 1/4″ round-over bit is getting dull. I’m taking vacation later this week and when i get back I’ll be starting on batch 3 as I have 5 more boards on order.
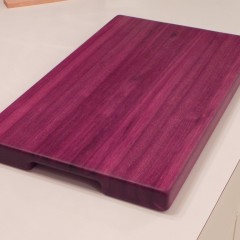
Purpleheart
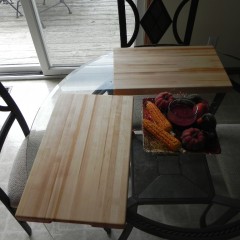
4/4 Hard Maple
It’s almost the holiday season, and that means it’s time to start batching out projects to sell. This year I’m making long grain cutting boards. As usual, I’ve held true to my signature style of rounding over every edge. The new thing I tried this year, was large finger reliefs to make the boards easier to pick up.
Specifications:
width: 12.25"
length: 19.875"
height: 1.5"
Last week before a trip to Dallas, I finished off the end tables. They are now proudly setting in my family room on either end of my sofa. The following photos are of the end tables just after being waxed.
Continue Reading…
As far as I’m concerned, the last big job is done. Panel glue ups used to be something that terrified me, because so much can go wrong. Over time I have come up with a system that works for me almost every time, even if the boards aren’t perfectly flat. The following series of images will show you how I make large panels.
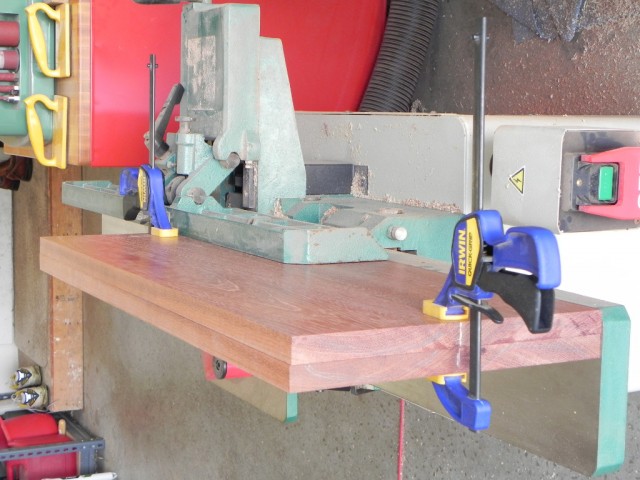
Step one is to joint the edges of two adjacent boards. The best way to do this, is with a method communally used in the hand tool world. Jointing edges is something that is a lot harder to do by hand then by machine, thus people came up with book matched jointing. To do this lay the boards down as they would be glued up, and then fold them together as if you where closing a book. Roughly line up the edges, and then clamp the boards together. The benefit of this process, is that your jointer fence doesn’t have to be perfectly square to the bed.
book match jointing
Once the boards are all edge jointed it’s time to glue them up, and the best way to to do that is with a clamping jig, & cauls. The clamping jig is nothing more than two boards that have slots cut across them that hold your clamps up off the table in the vertical position. The only dimension of real importance is the height of the boards, you want them to be high enough so that you can clear the heads of the clamps that you are to clamp the cauls with. Continue Reading…