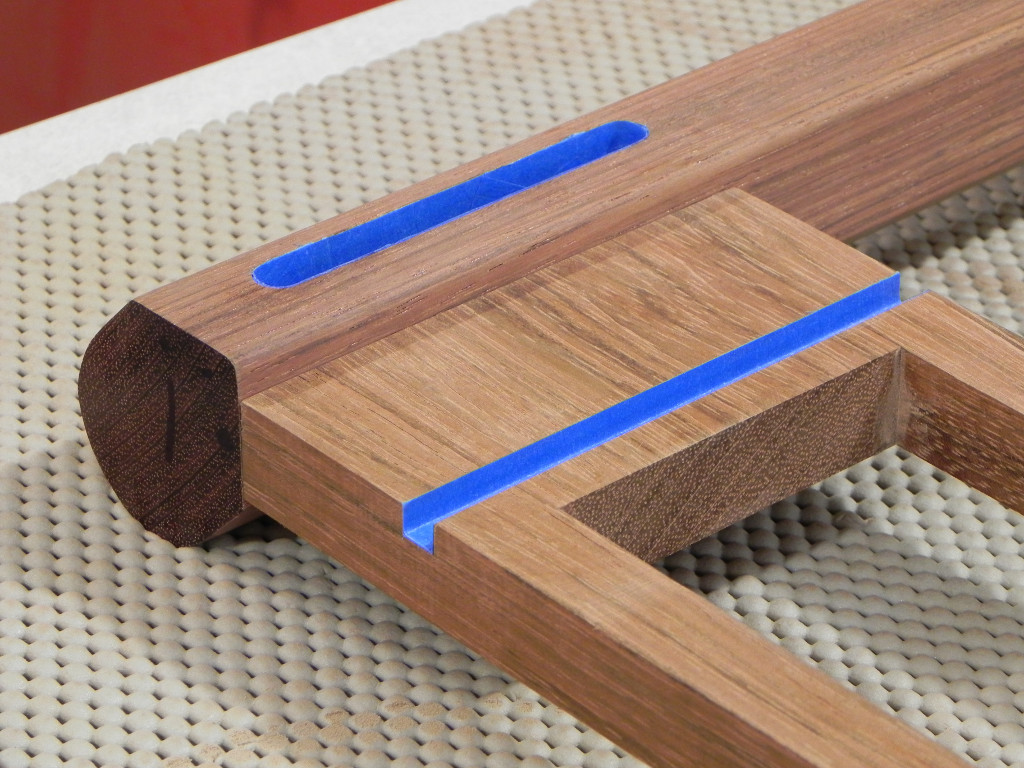
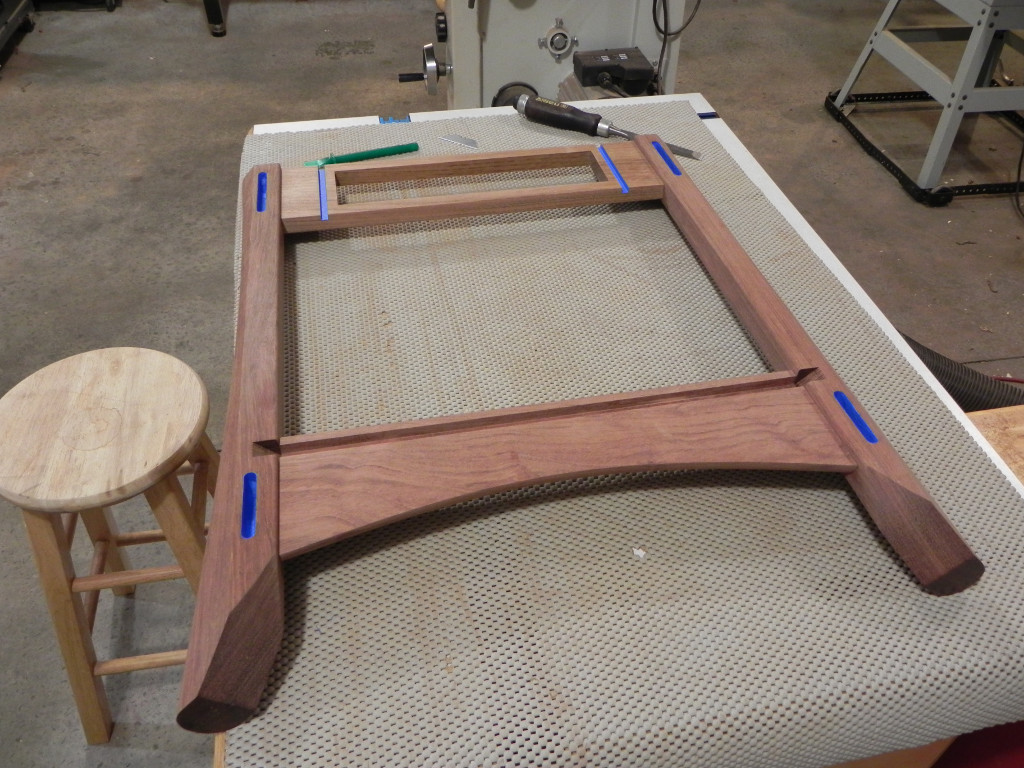
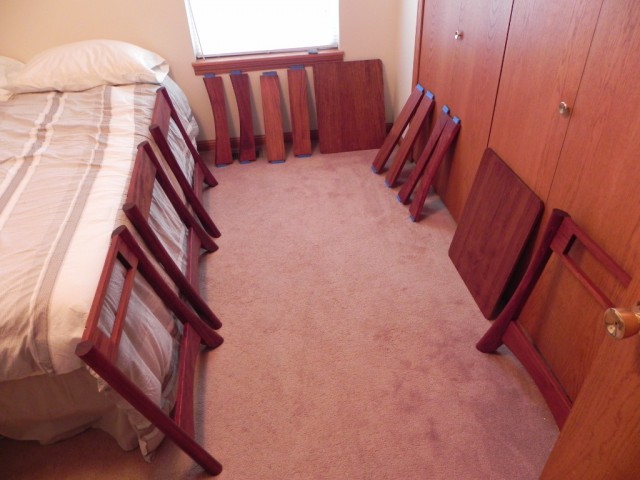
It took a lot long that I thought it would, But i now have all the legs and aprons finished. For now they’ll set in my spare bedroom drying until I’m ready to assemble them.
I’ve reached a point with my woodworking skills that I feel the need to start marking my work. Who knows, maybe 200 years from now my pieces will be collectors items and finding my mark on a piece of furniture will make it worth a fortune. Well I can day dream about that being the case anyway.
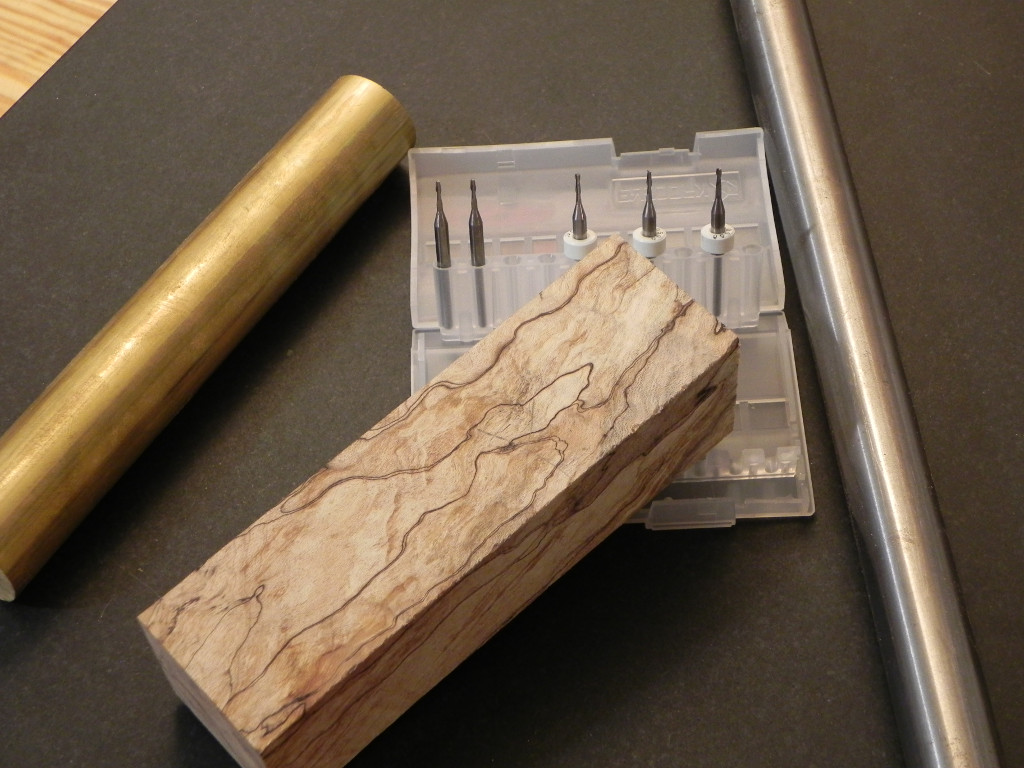
The first step in the process of making my branding iron was to gather the raw materials. Miro endmills & 1″ diameter brass rod wasn’t something I was going to find in my city, but thankfully they are readily available via eBay. The shafting material was 3/4″ O1 drill rod i pulled from my metal scrap bin, and the handle material was an exceptional spalted hard maple turning blank that I picked up at the local woodworking store for $3.45.

The raw materials, Spalted Hard Maple, O1 drill rod, 360 brass, & micro endmills.
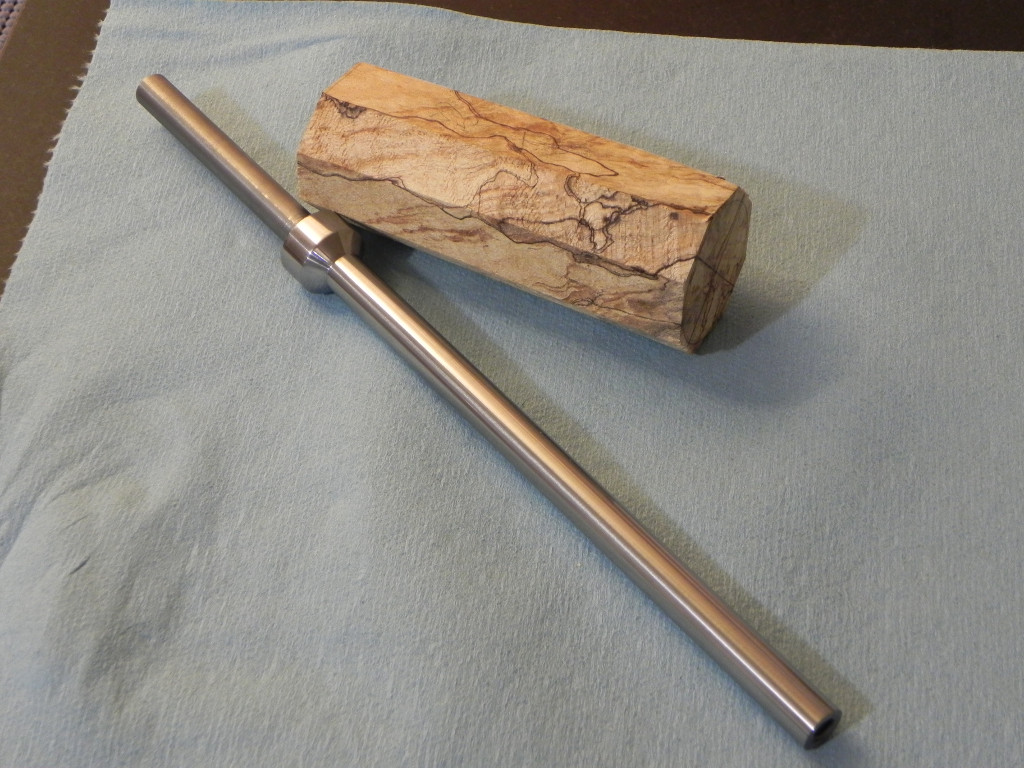
Once I had the raw materials in had, I started turning down the shaft. This took up more time than any other part of the project, because I was starting with 3/4″ drill rod and I was taking it down to 3/8″. I didn’t really have the proper inserts for my indexable carbide tooling so I just used 8% Cobalt HSS bits and went slowly. once I had the shaft to size, I knocked the corners off the handle blank with a block plane and epoxied it fast to the shaft.
The finished shaft and the handle blank ready for joining.
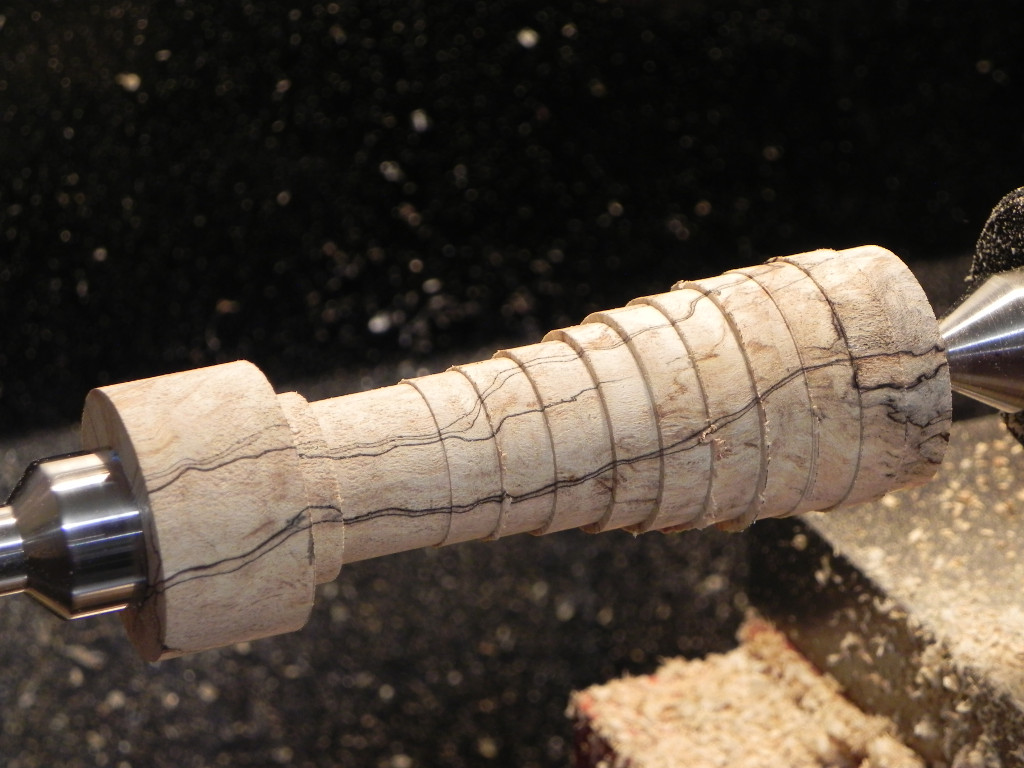
Once the epoxy, had fully cured, I set to work shaping the handle. Since I have no wood turning tools, I just used a metalworking parting tool, to approximate the shape of the handle. Once I had it, roughed to shaped, I set to work with files and sand paper to finalize the shape of the curves.

The roughly shaped handle.
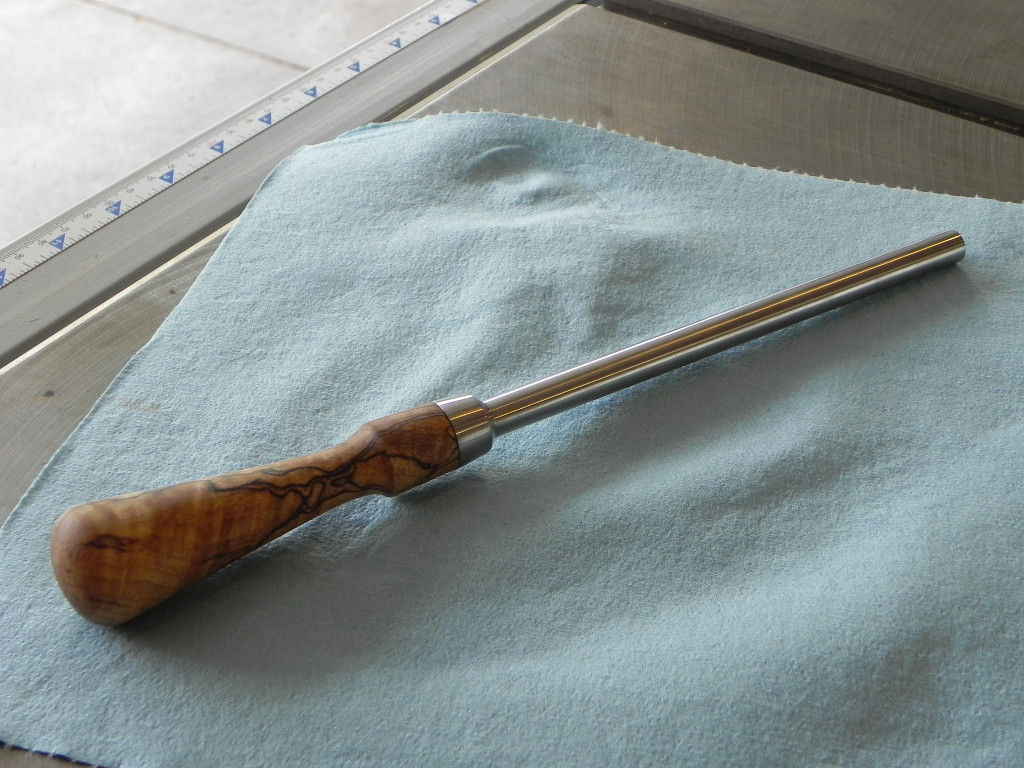
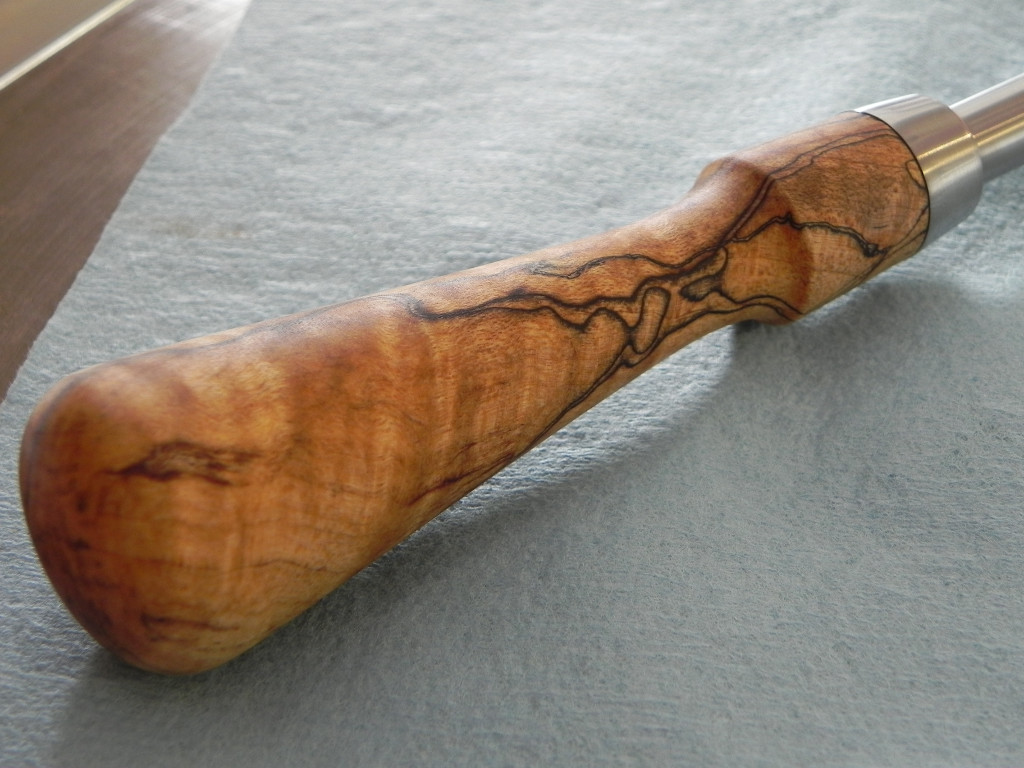
To finish off the handle I used my favorite simple finish, Danish oil & wax. The oil does a wonderful job of popping the grain, and will offer plenty of protection for the seldom used tool. Hopefully in my next post, I’ll have some shots of the head getting milled.
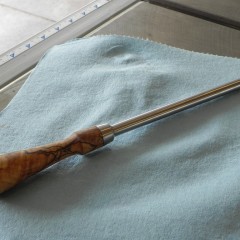
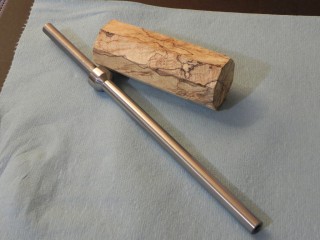
The finished handle & shaft.
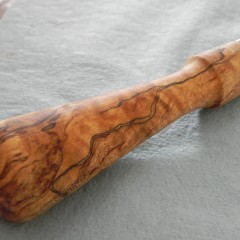
Spalted Maple is an awesome looking wood when it's finished with oil.
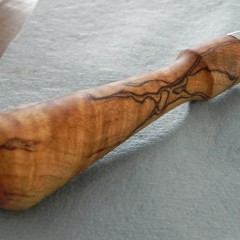
More lovely spalting.
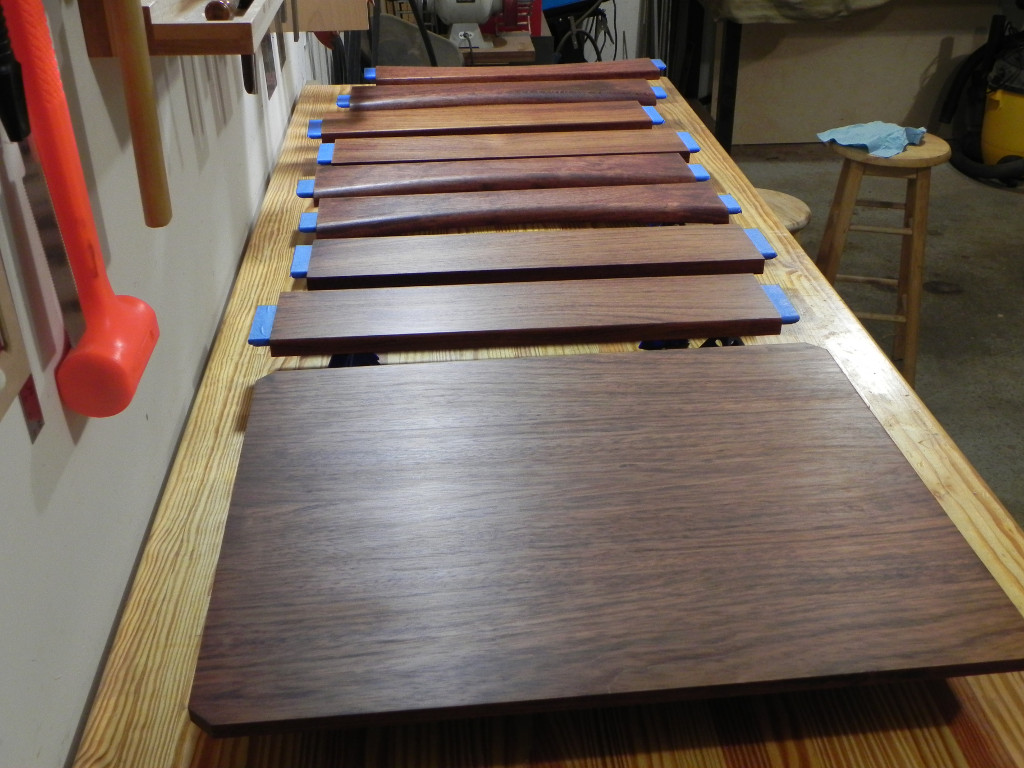
I haven’t posted in a while, but with summer almost here, I’m finally able to spend a lot more time in the shop. After thinking about it for longer than I want to admit to, I’ve decided to pre-finish as many components as I can. My main reason is because the the bottom panel is hardwood and not plywood and thus will move with the seasons. I don’t want witness lines , and the only way to avoid that is to pre-finishing.
While pre-finishing will guarantee the tables look good, it means I had to tape off all the mortise, tenons and dados. I’ve coated everything with a coat of boiled linseed oil, & I’ve started applying my wiping varnish. If my tests are representative, it will take about a week and a half to apply the finish, because it will require 8 coats. While some people will scoff at finishing taking that long, I think the quality of the final finish is definitely worth it.
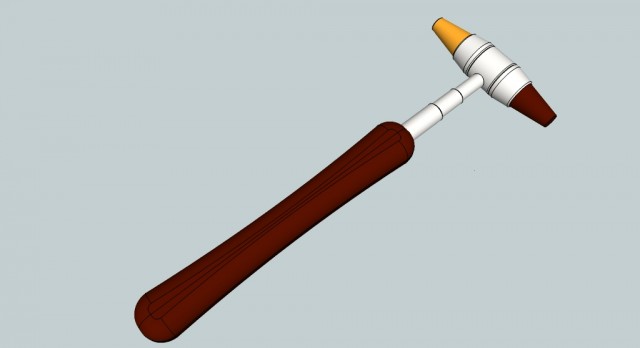
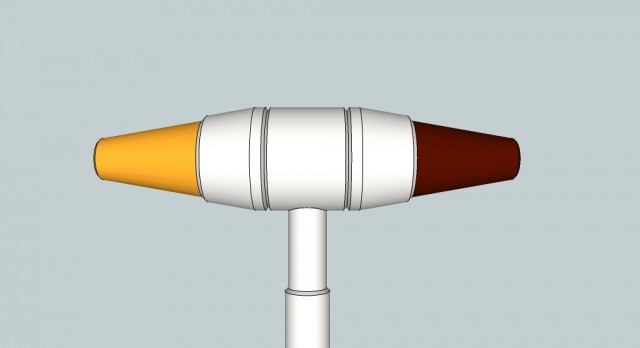
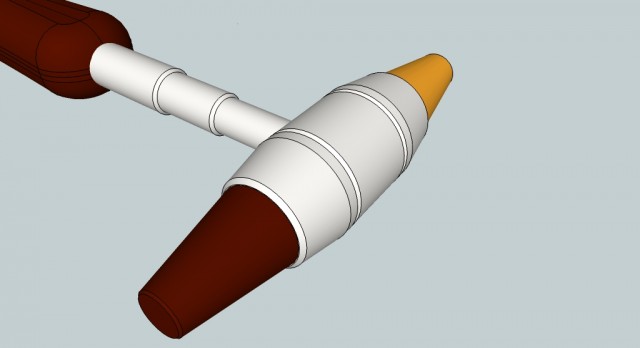
Since it’s been below freezing for the last week or so, I haven’t gotten any shop time. Thus, in order to get my woodworking & creative fix, I’ve been doing a lot of design work. I plan on eventually making some wooden planes, and thus I will need an adjustment hammer. Below are some shots of what I came up with. The head and shaft will most likely be made from steel. The tips will be thread brass and wood, so they can replaced easily. I’m not sure what would I’ll ultimately end up using, but right now I’m leaning towards black walnut because it’s a fairly soft hardwood.
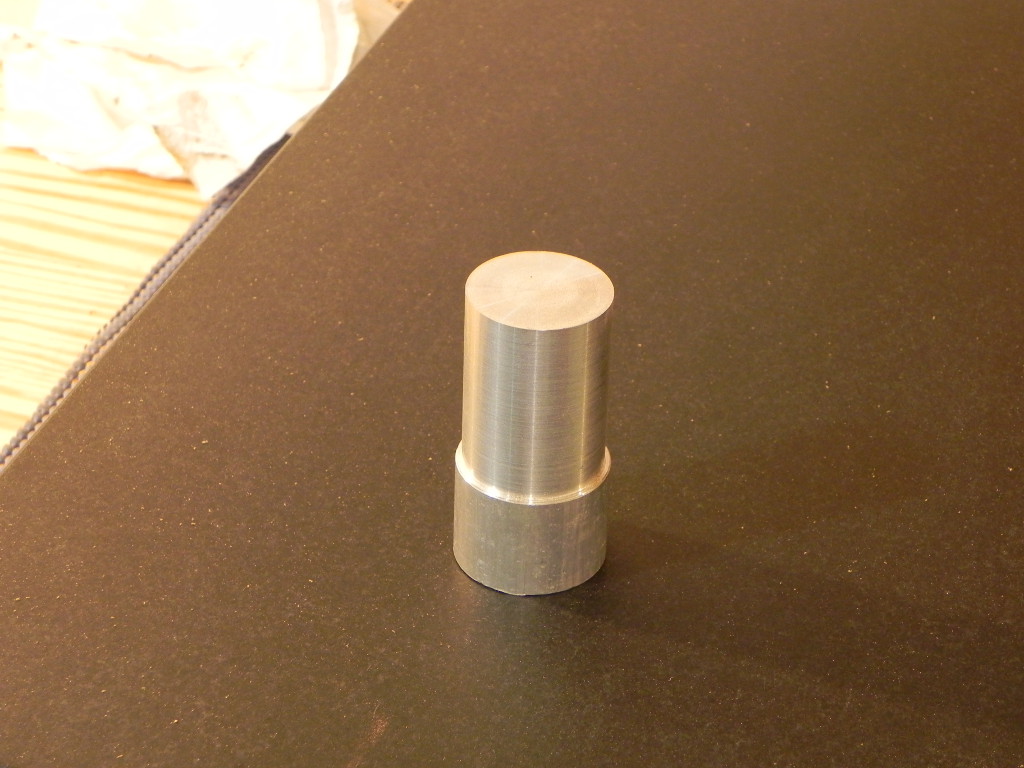
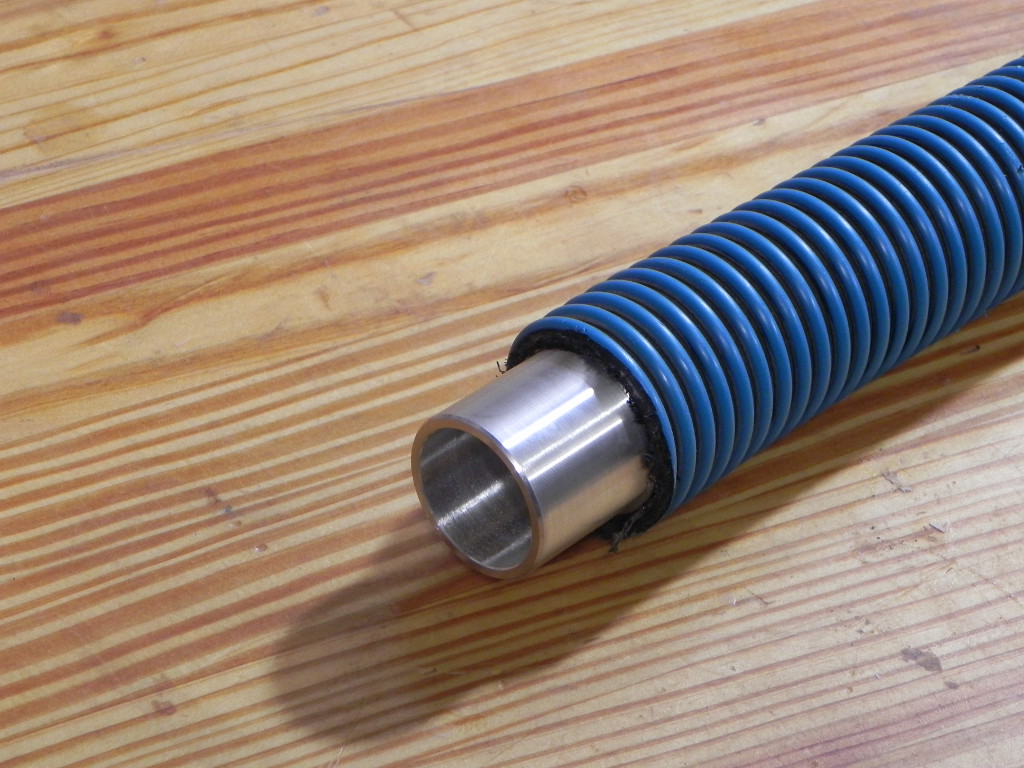
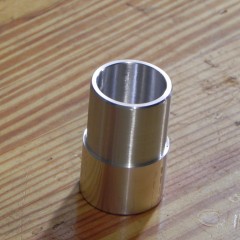
I purchased a new Porter Cable low profile ROS last week to replace my current one that’s about to die. Just like with my last one I had to make a custom hose adapter for the shop vac. It only took a few hours to make, but I still wish someone made a universal adapter.

the blank
Finished
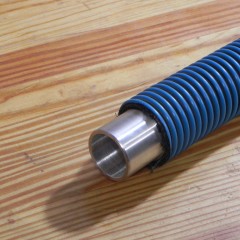
epoxied into the end of the hose.