Leaving My Mark
I’ve reached a point with my woodworking skills that I feel the need to start marking my work. Who knows, maybe 200 years from now my pieces will be collectors items and finding my mark on a piece of furniture will make it worth a fortune. Well I can day dream about that being the case anyway.
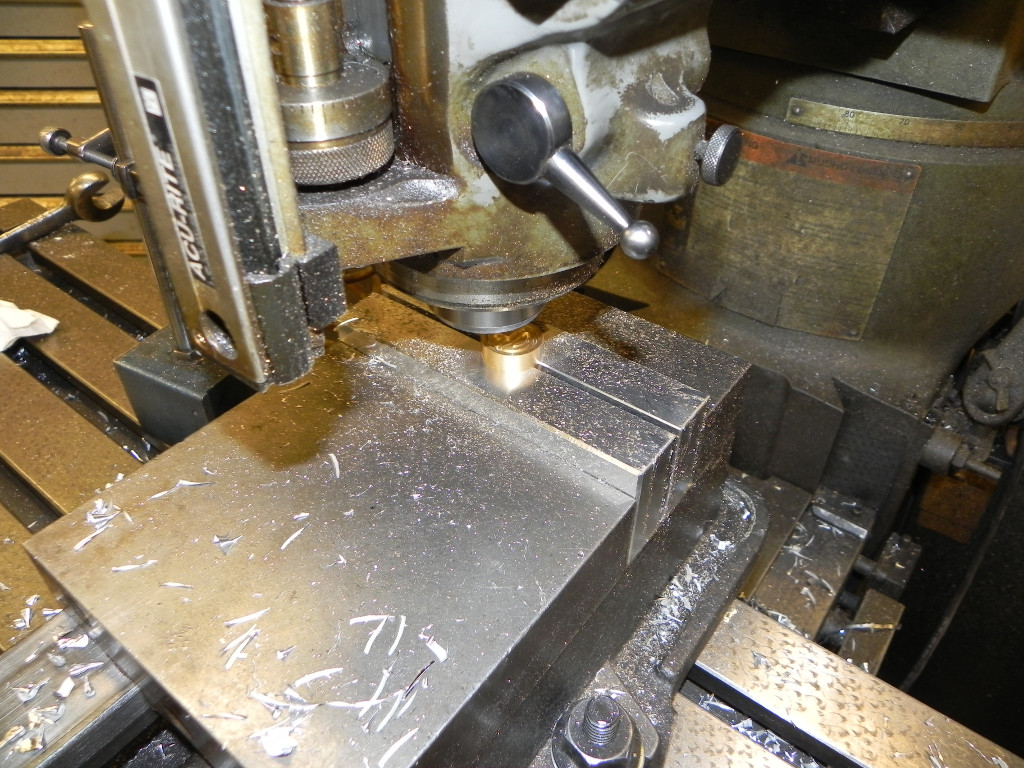
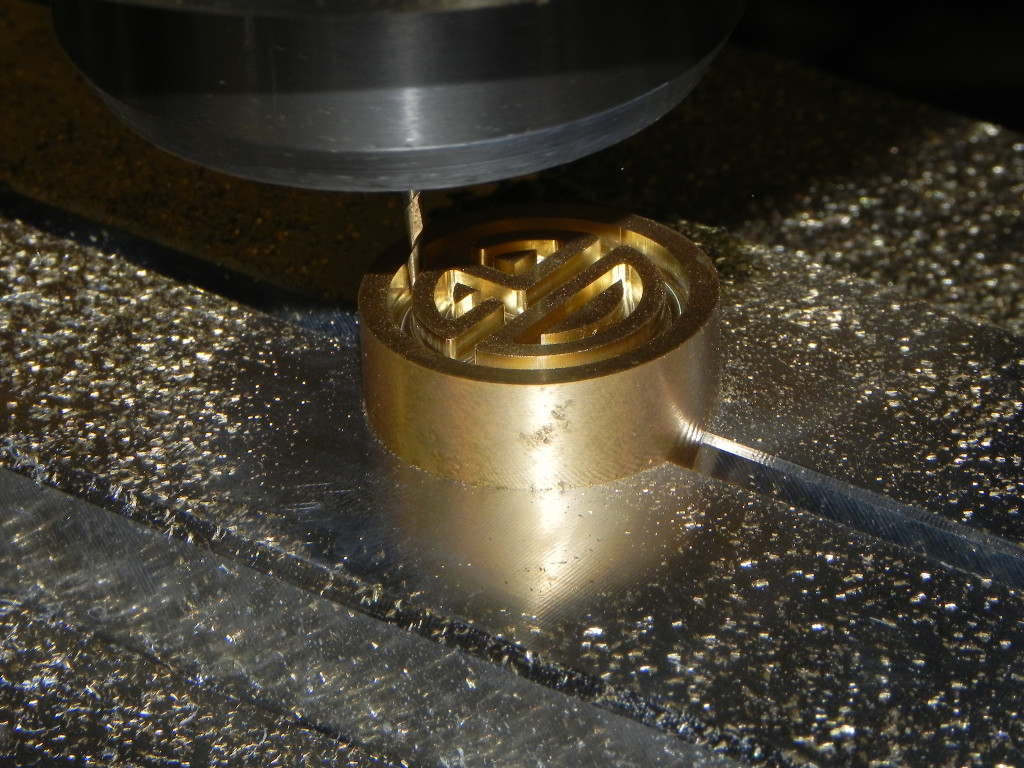
The first step in the process of making my branding iron was to gather the raw materials. Miro endmills & 1″ diameter brass rod wasn’t something I was going to find in my city, but thankfully they are readily available via eBay. The shafting material was 3/4″ O1 drill rod i pulled from my metal scrap bin, and the handle material was an exceptional spalted hard maple turning blank that I picked up at the local woodworking store for $3.45.
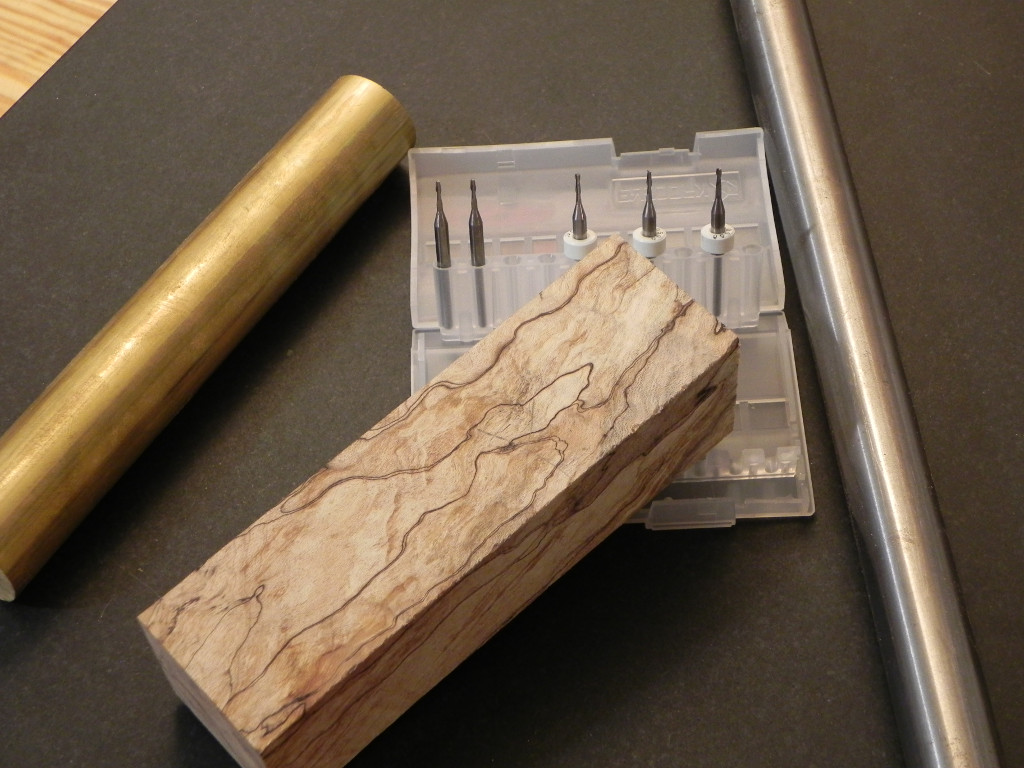
The raw materials, Spalted Hard Maple, O1 drill rod, 360 brass, & micro endmills.
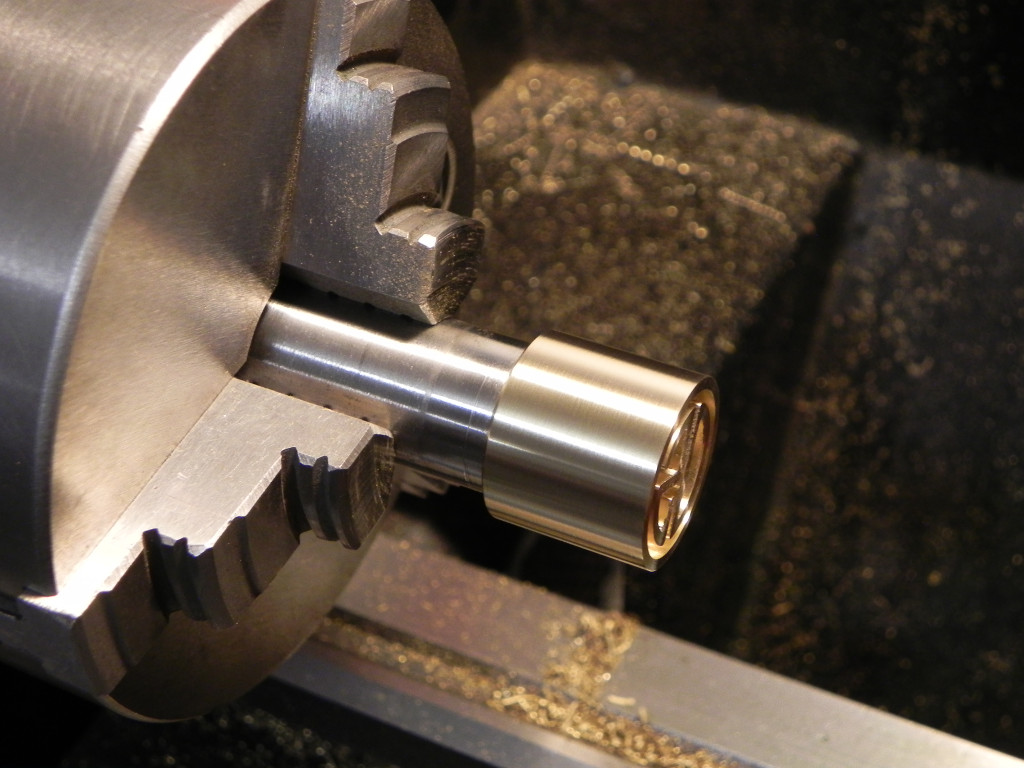
Once I had the raw materials in had, I started turning down the shaft. This took up more time than any other part of the project, because I was starting with 3/4″ drill rod and I was taking it down to 3/8″. I didn’t really have the proper inserts for my indexable carbide tooling so I just used 8% Cobalt HSS bits and went slowly. once I had the shaft to size, I knocked the corners off the handle blank with a block plane and epoxied it fast to the shaft.
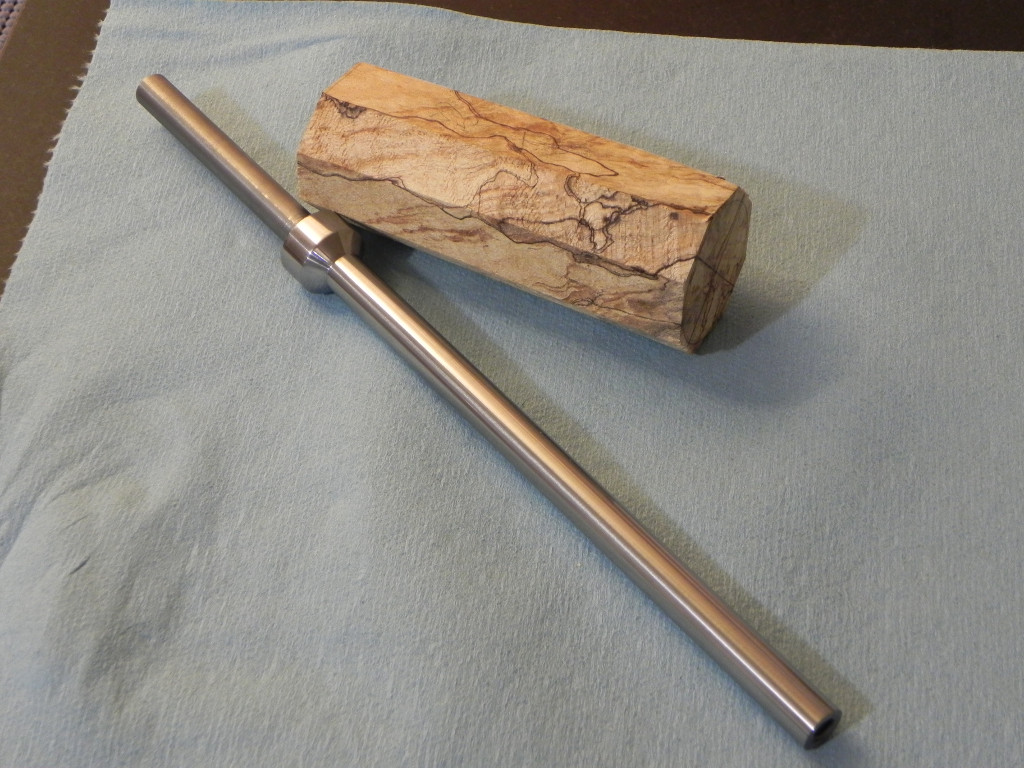
The finished shaft and the handle blank ready for joining.
Once the epoxy, had fully cured, I set to work shaping the handle. Since I have no wood turning tools, I just used a metalworking parting tool, to approximate the shape of the handle. Once I had it, roughed to shaped, I set to work with files and sand paper to finalize the shape of the curves.
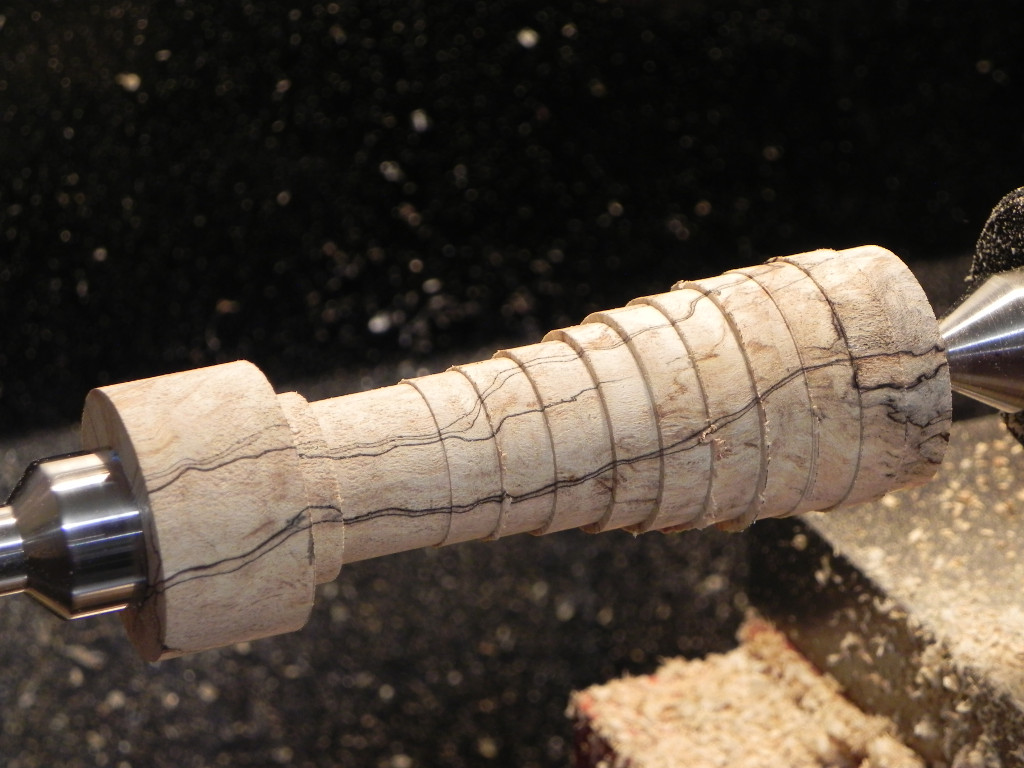
The roughly shaped handle.
To finish off the handle I used my favorite simple finish, Danish oil & wax. The oil does a wonderful job of popping the grain, and will offer plenty of protection for the seldom used tool. Hopefully in my next post, I’ll have some shots of the head getting milled.
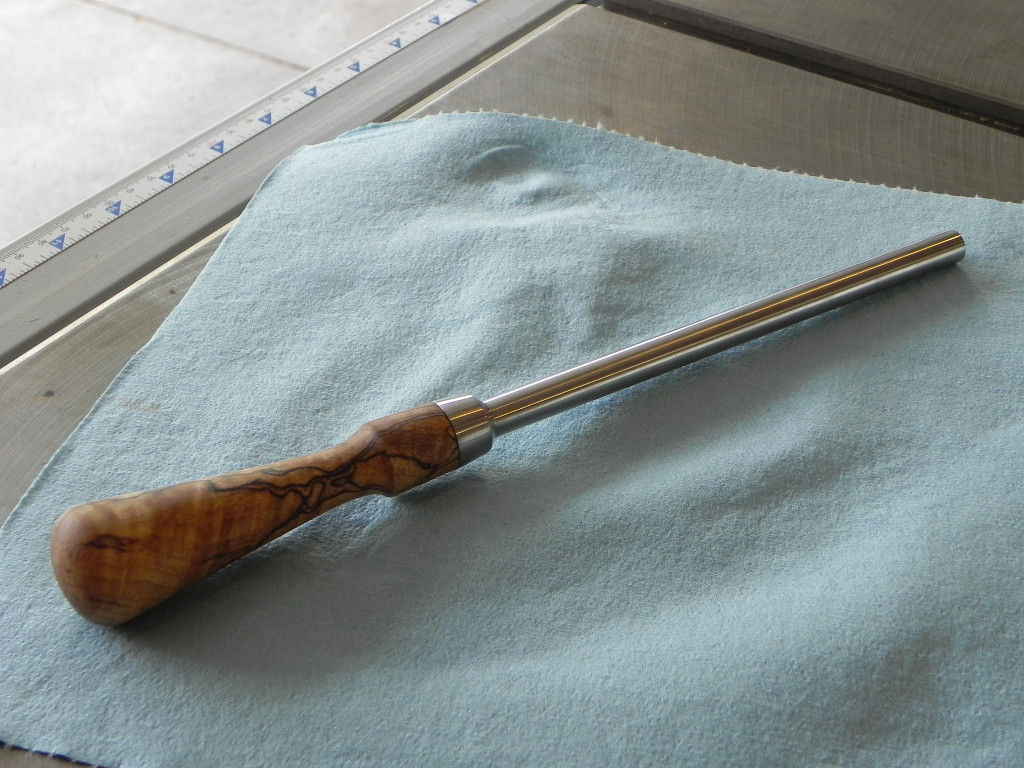
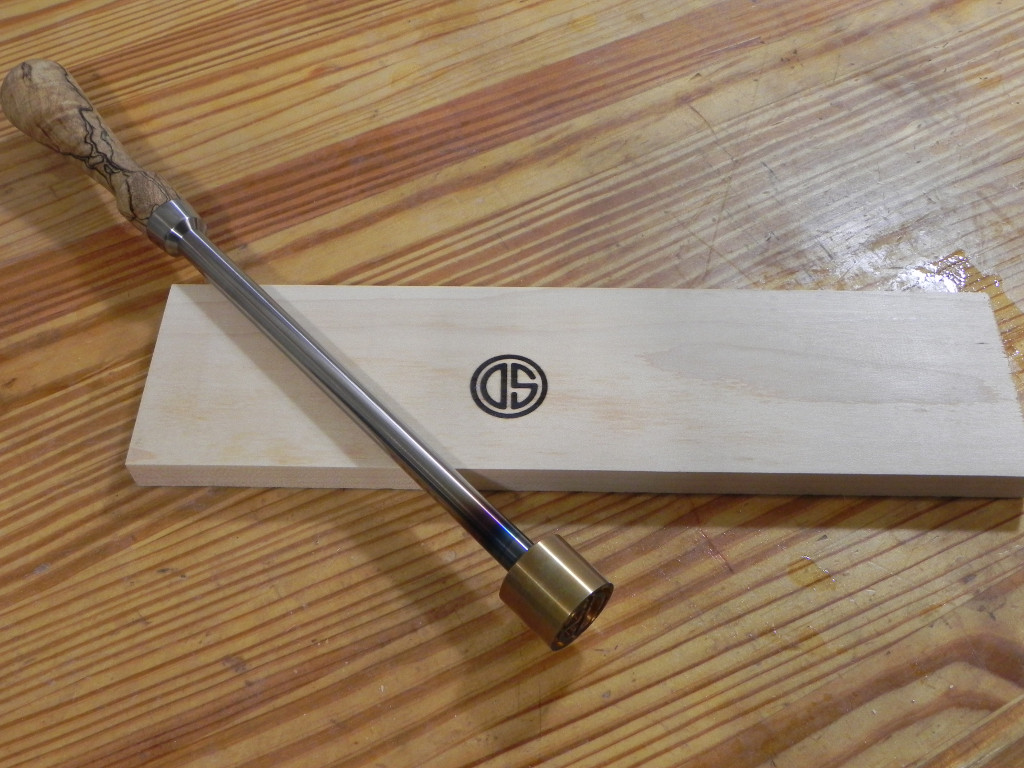
The finished handle & shaft.

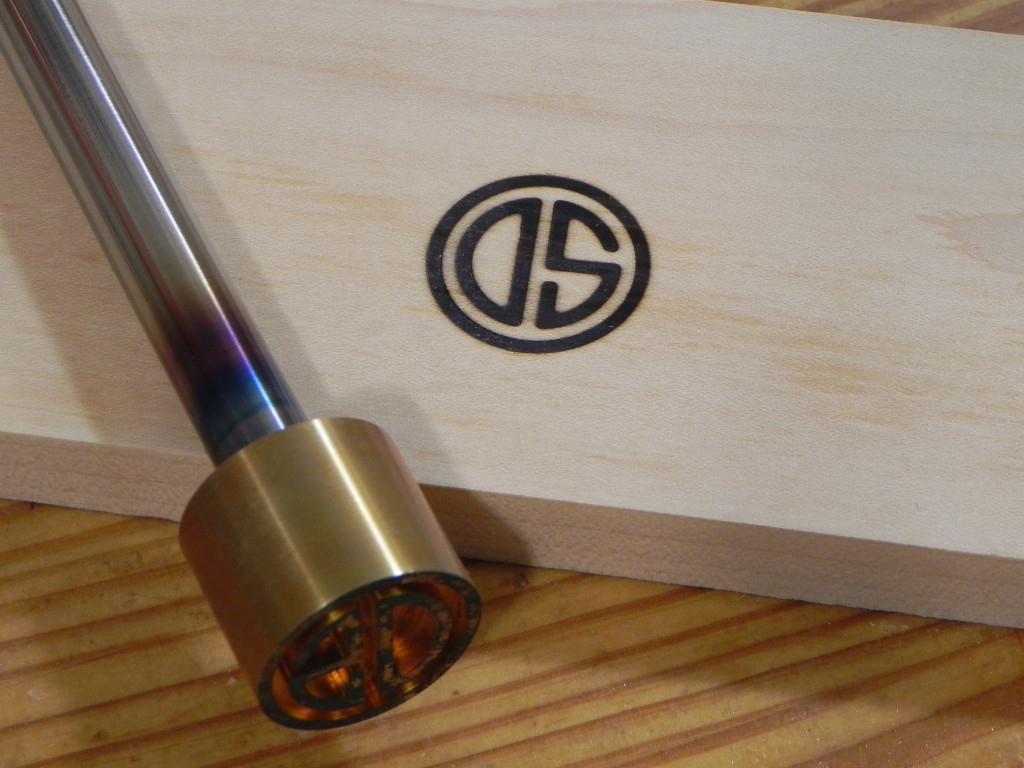
Spalted Maple is an awesome looking wood when it's finished with oil.
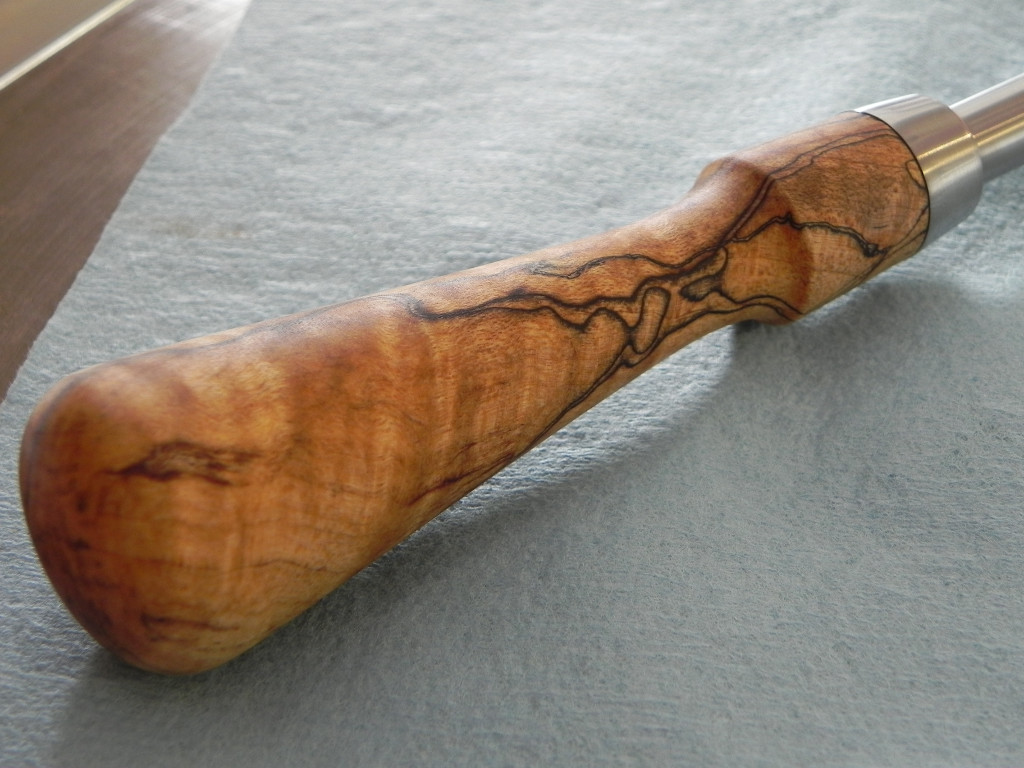
More lovely spalting.