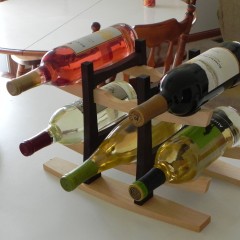
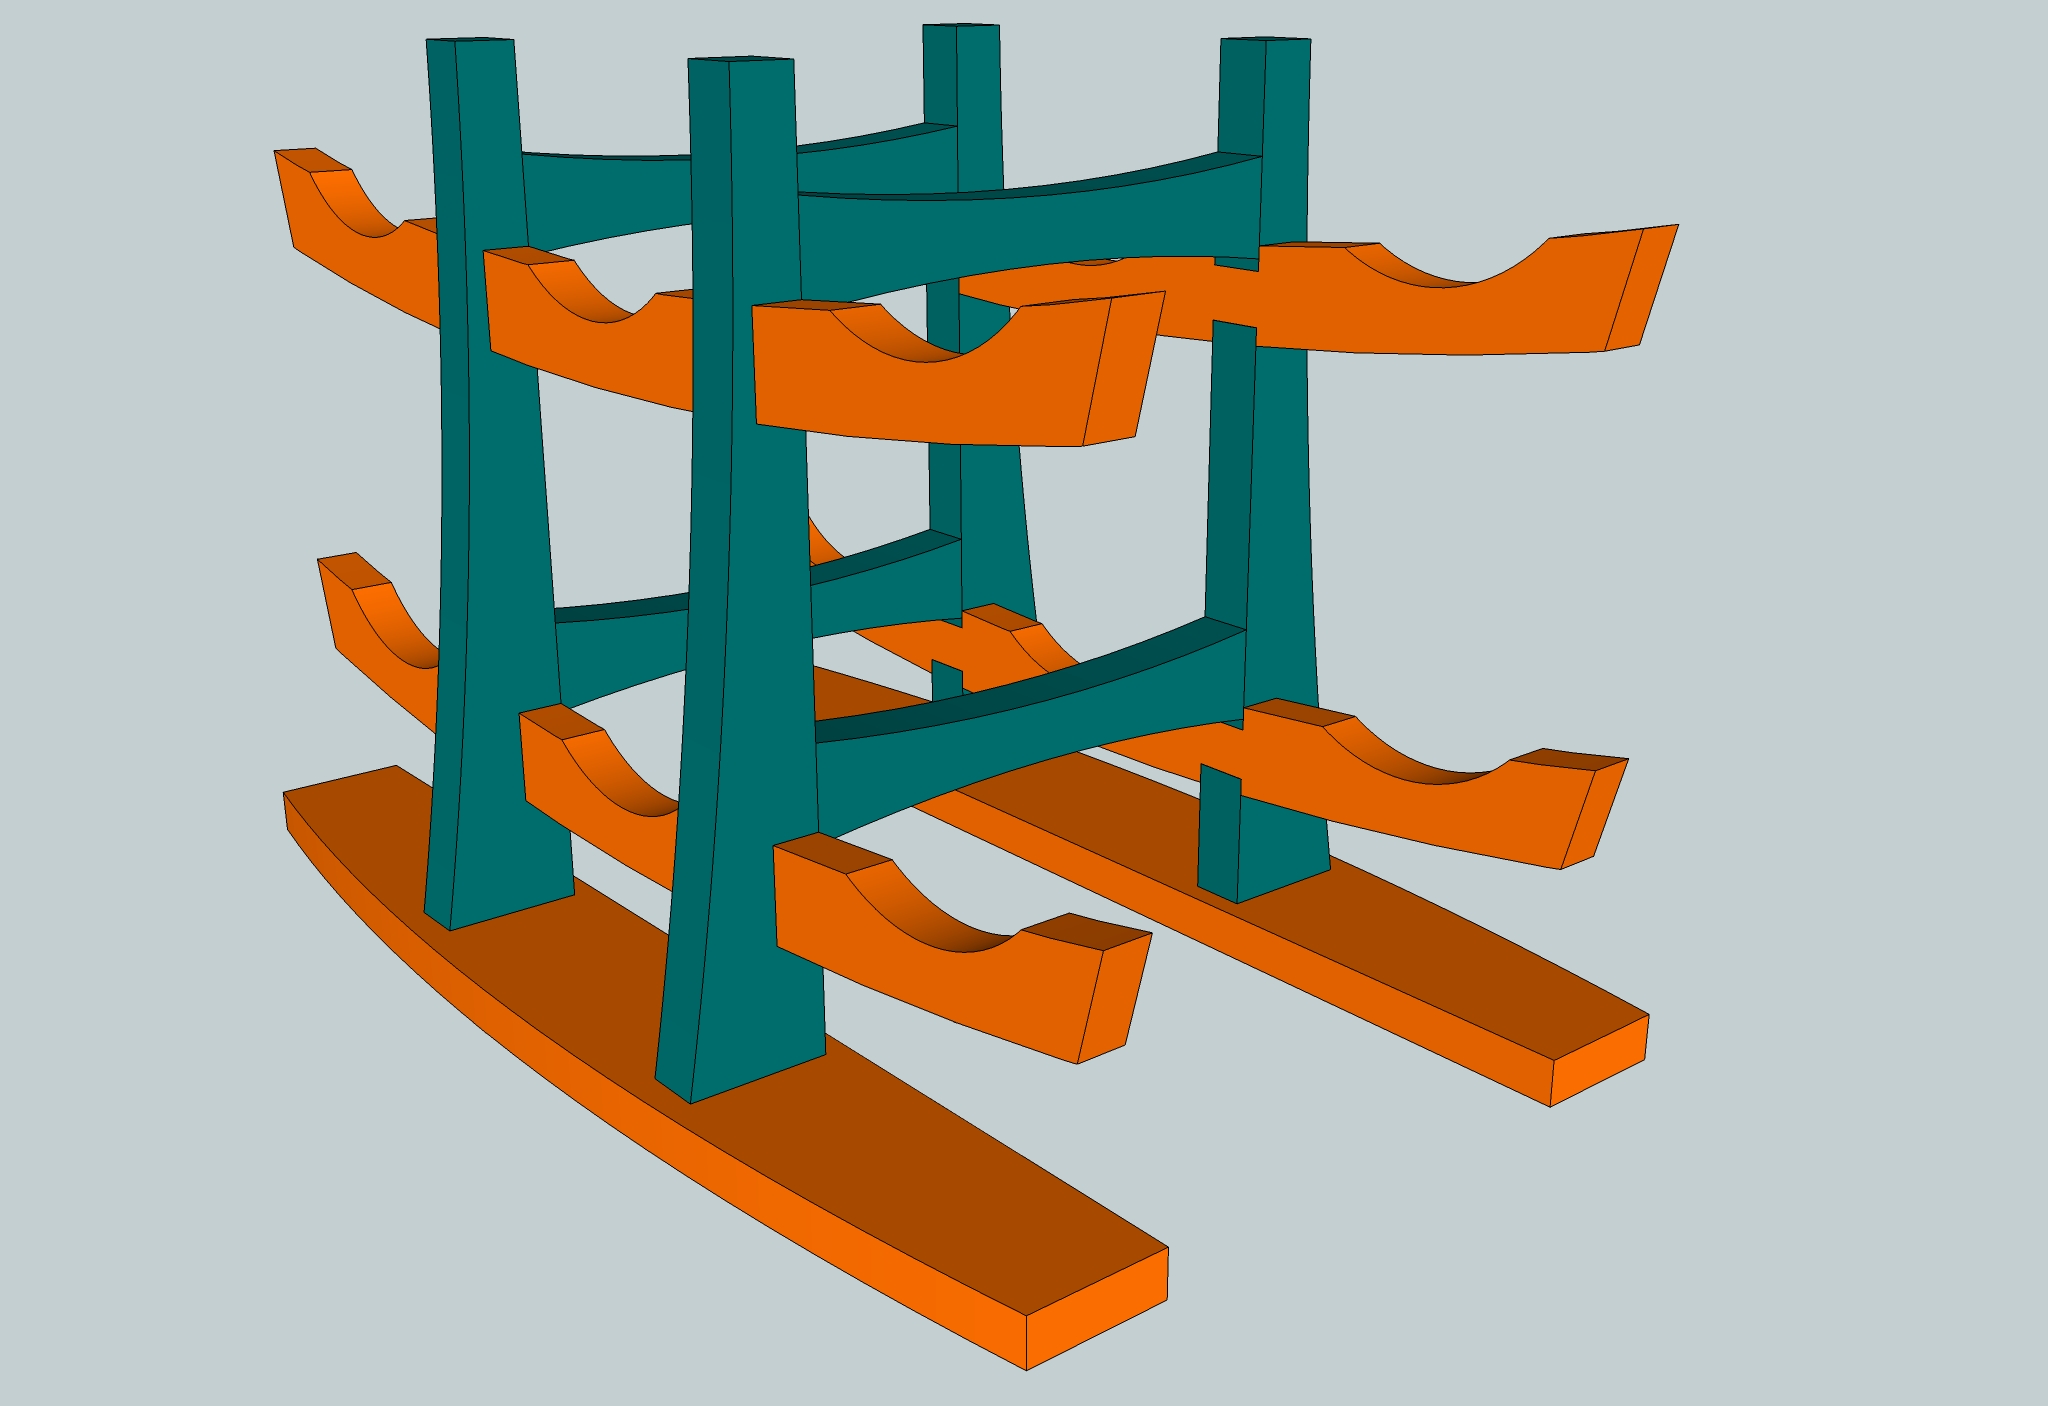
My next project is for the kitchen, and will be my first project that incorporates lots of curves, and mortise & tenons. That’s right, I have yet to make anything that uses mortise & tenon joinery. My design is based on a photo I found on woodstore.net. My design will be a little more complicated to make, but I think it’s more aesthetically pleasing. I’m going to use Peruvian Walnut for the vertical boards, but I’m not sure what wood I’m going to use for horizontal boards. Right now, I’m considering either Purpleheart or hard Maple.

Image courtesy woodstore.net

SketchUp Rendering
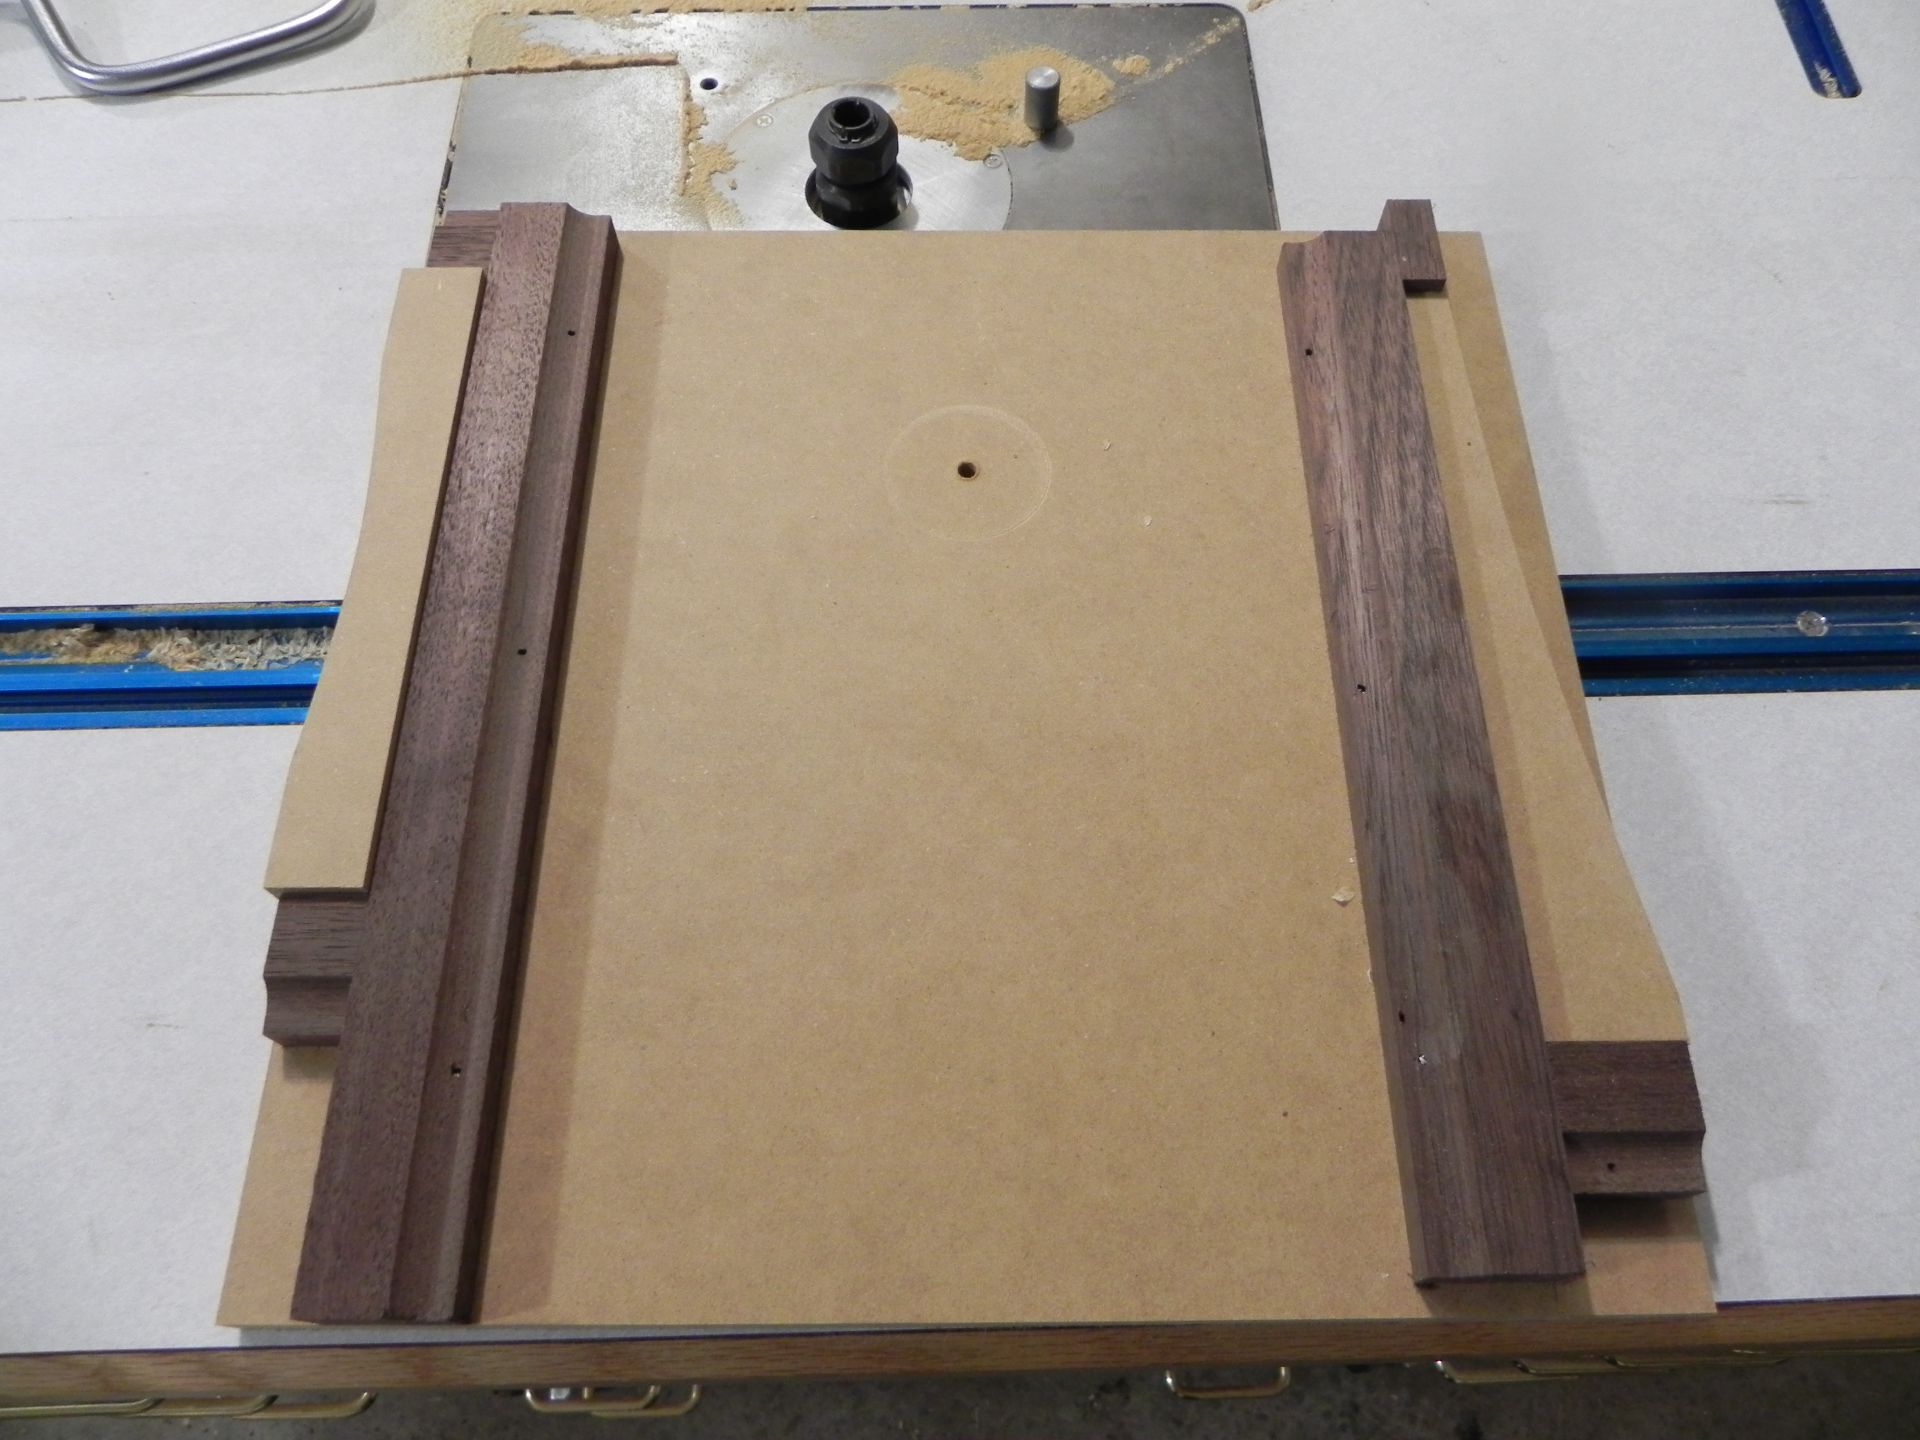
I have been channeling my inner David Marks recently, by making routing templates from MDF. They aren’t anything special, just 1/2″ MDF that I rough cut with the jig saw, and then sanded fare with flexible sanding sticks. I have one template left to make, and that’s the one for the “racks”, and it’s going to be the hardest, because it doesn’t have a single strait surface on it. Check in next time to see how i did.
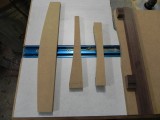
3 of the 4 templates I need
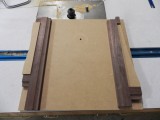
Two of the template are so small, they need a jig to hold them.
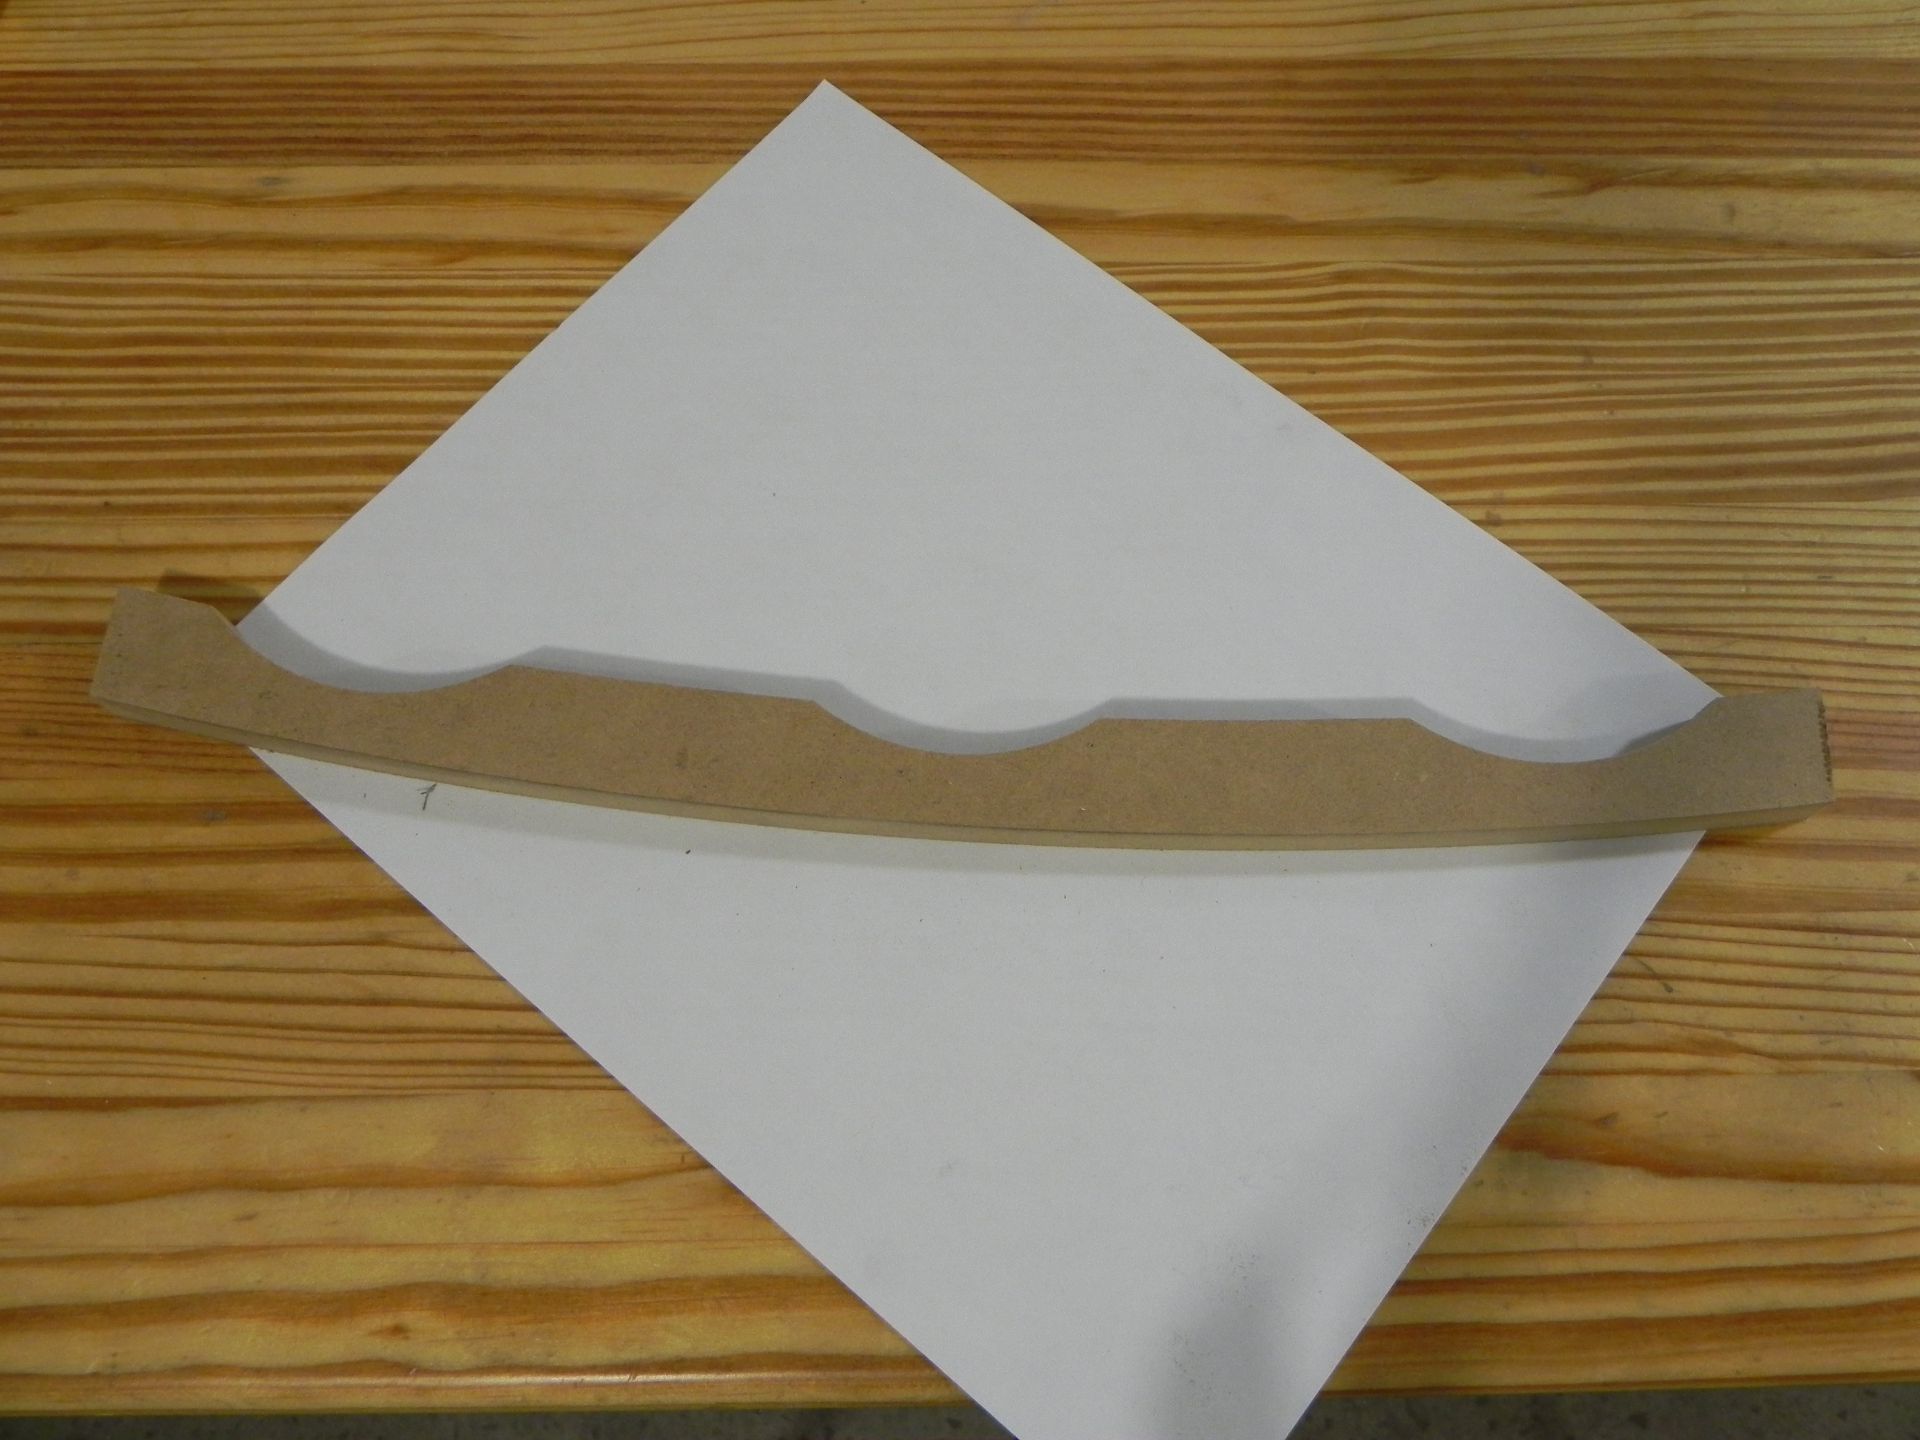
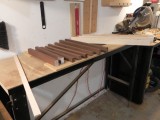
So what can you do when you spend 16 hours over two days in the shop? Well you can do several things, one is rough mill some stock to width, second you can drink more Gatorade than you thought humanly possible, and three you can make a really unimpressive MDF template. How impressive it is, probably depends on who you ask. The general public would probably say it’s just a board with some curves on it. I’d like to think that a skilled woodworker can look at it see how much work went into making it. This little template required two jigs to produce, and it’s only 90% done. In my opinion that’s an awful lot of work, for something that won’t even end up in the finish piece, but that’s the price of taking your work to the next level.
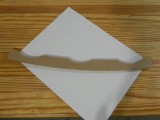
16 hrs worth of work to produce......
rough milling phase one
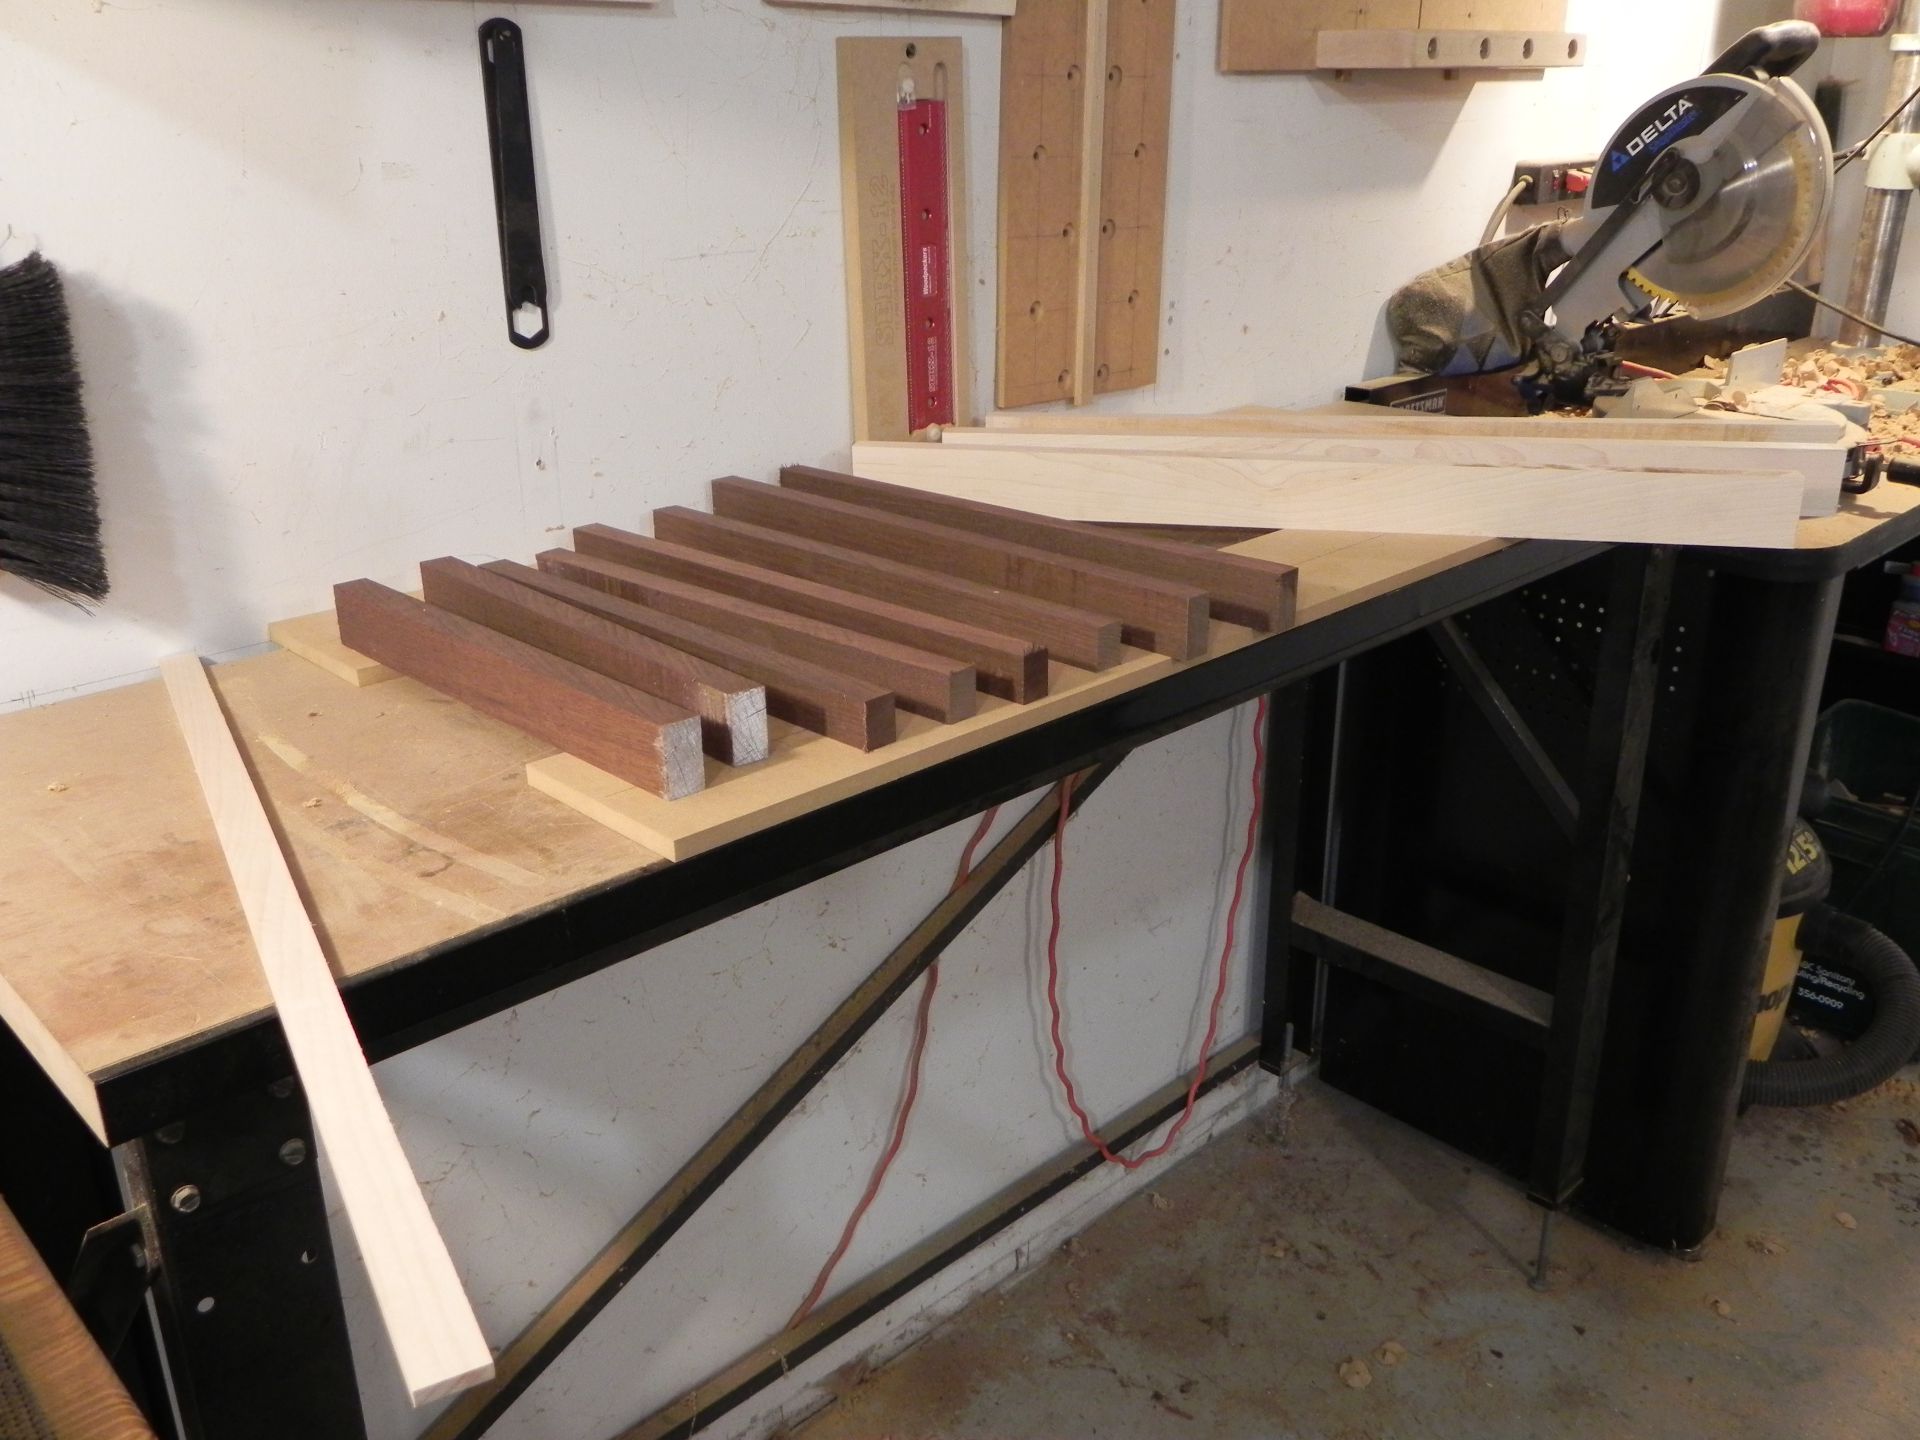
 I spent very little time in the shop over the last week, because it was the hurry up and wait time of the project. Since my shop is a garage with no real climate control, I have to take my time milling up lumber. My routine is strait forward, and starts by flattening a face, and then letting the boards rest for 24 hours. The next step is to thickness plane the boards, I don’t take them down to final thickness, just down enough to make them uniform across the entire board. I then let the boards rest for 24 hours. I then repeat this the process on the edges. I run through the entire process one more time to bring the boards to finished thickness & width before I start cutting joinery. It takes a long time, but it guarantees my boards stay strait and true.
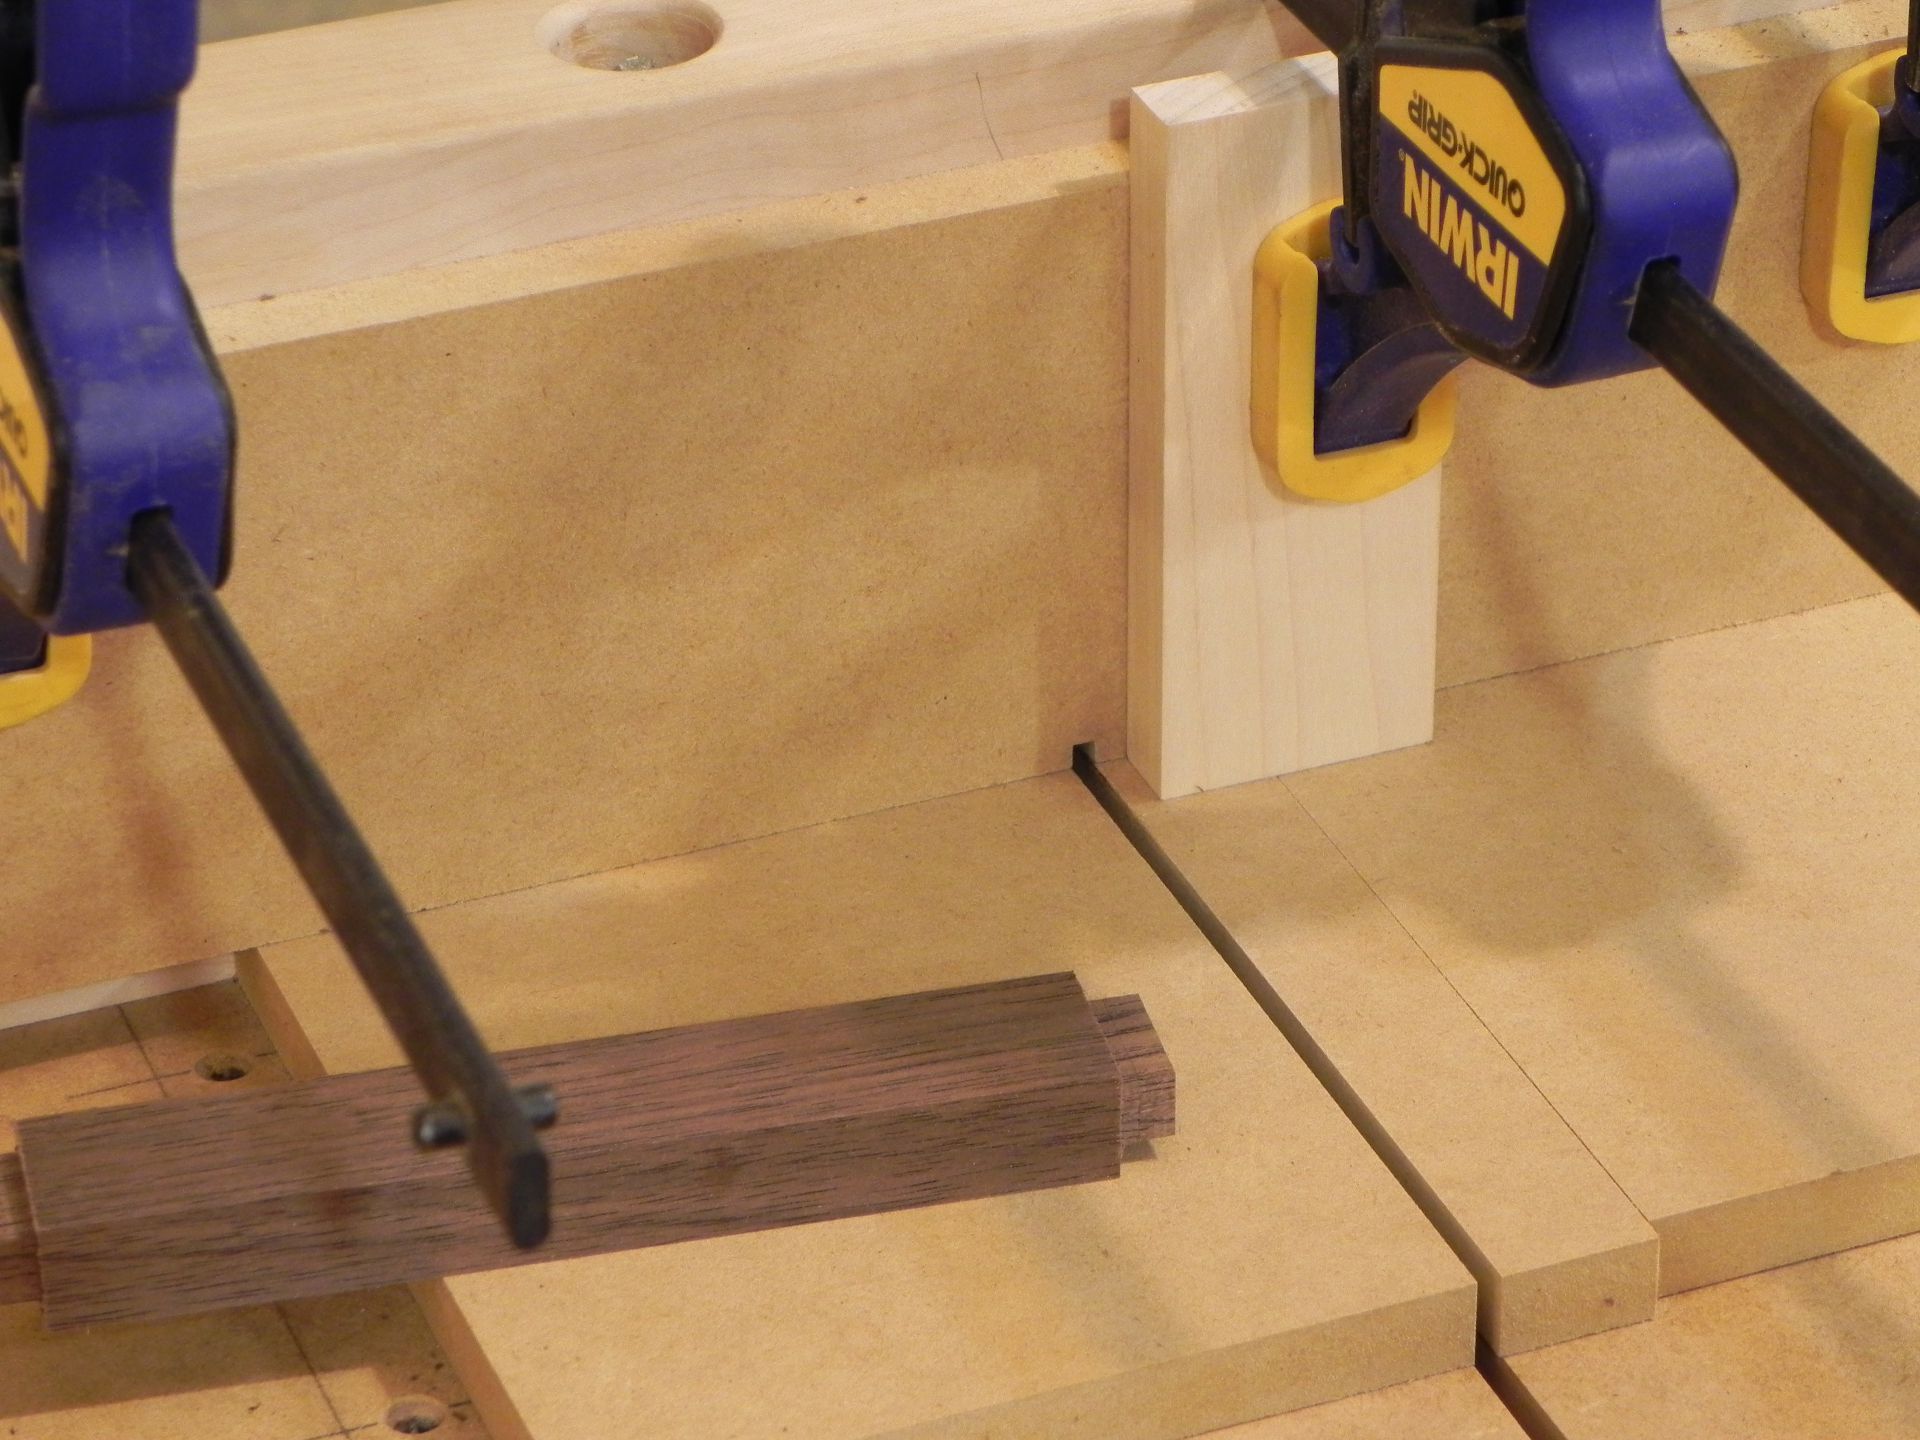
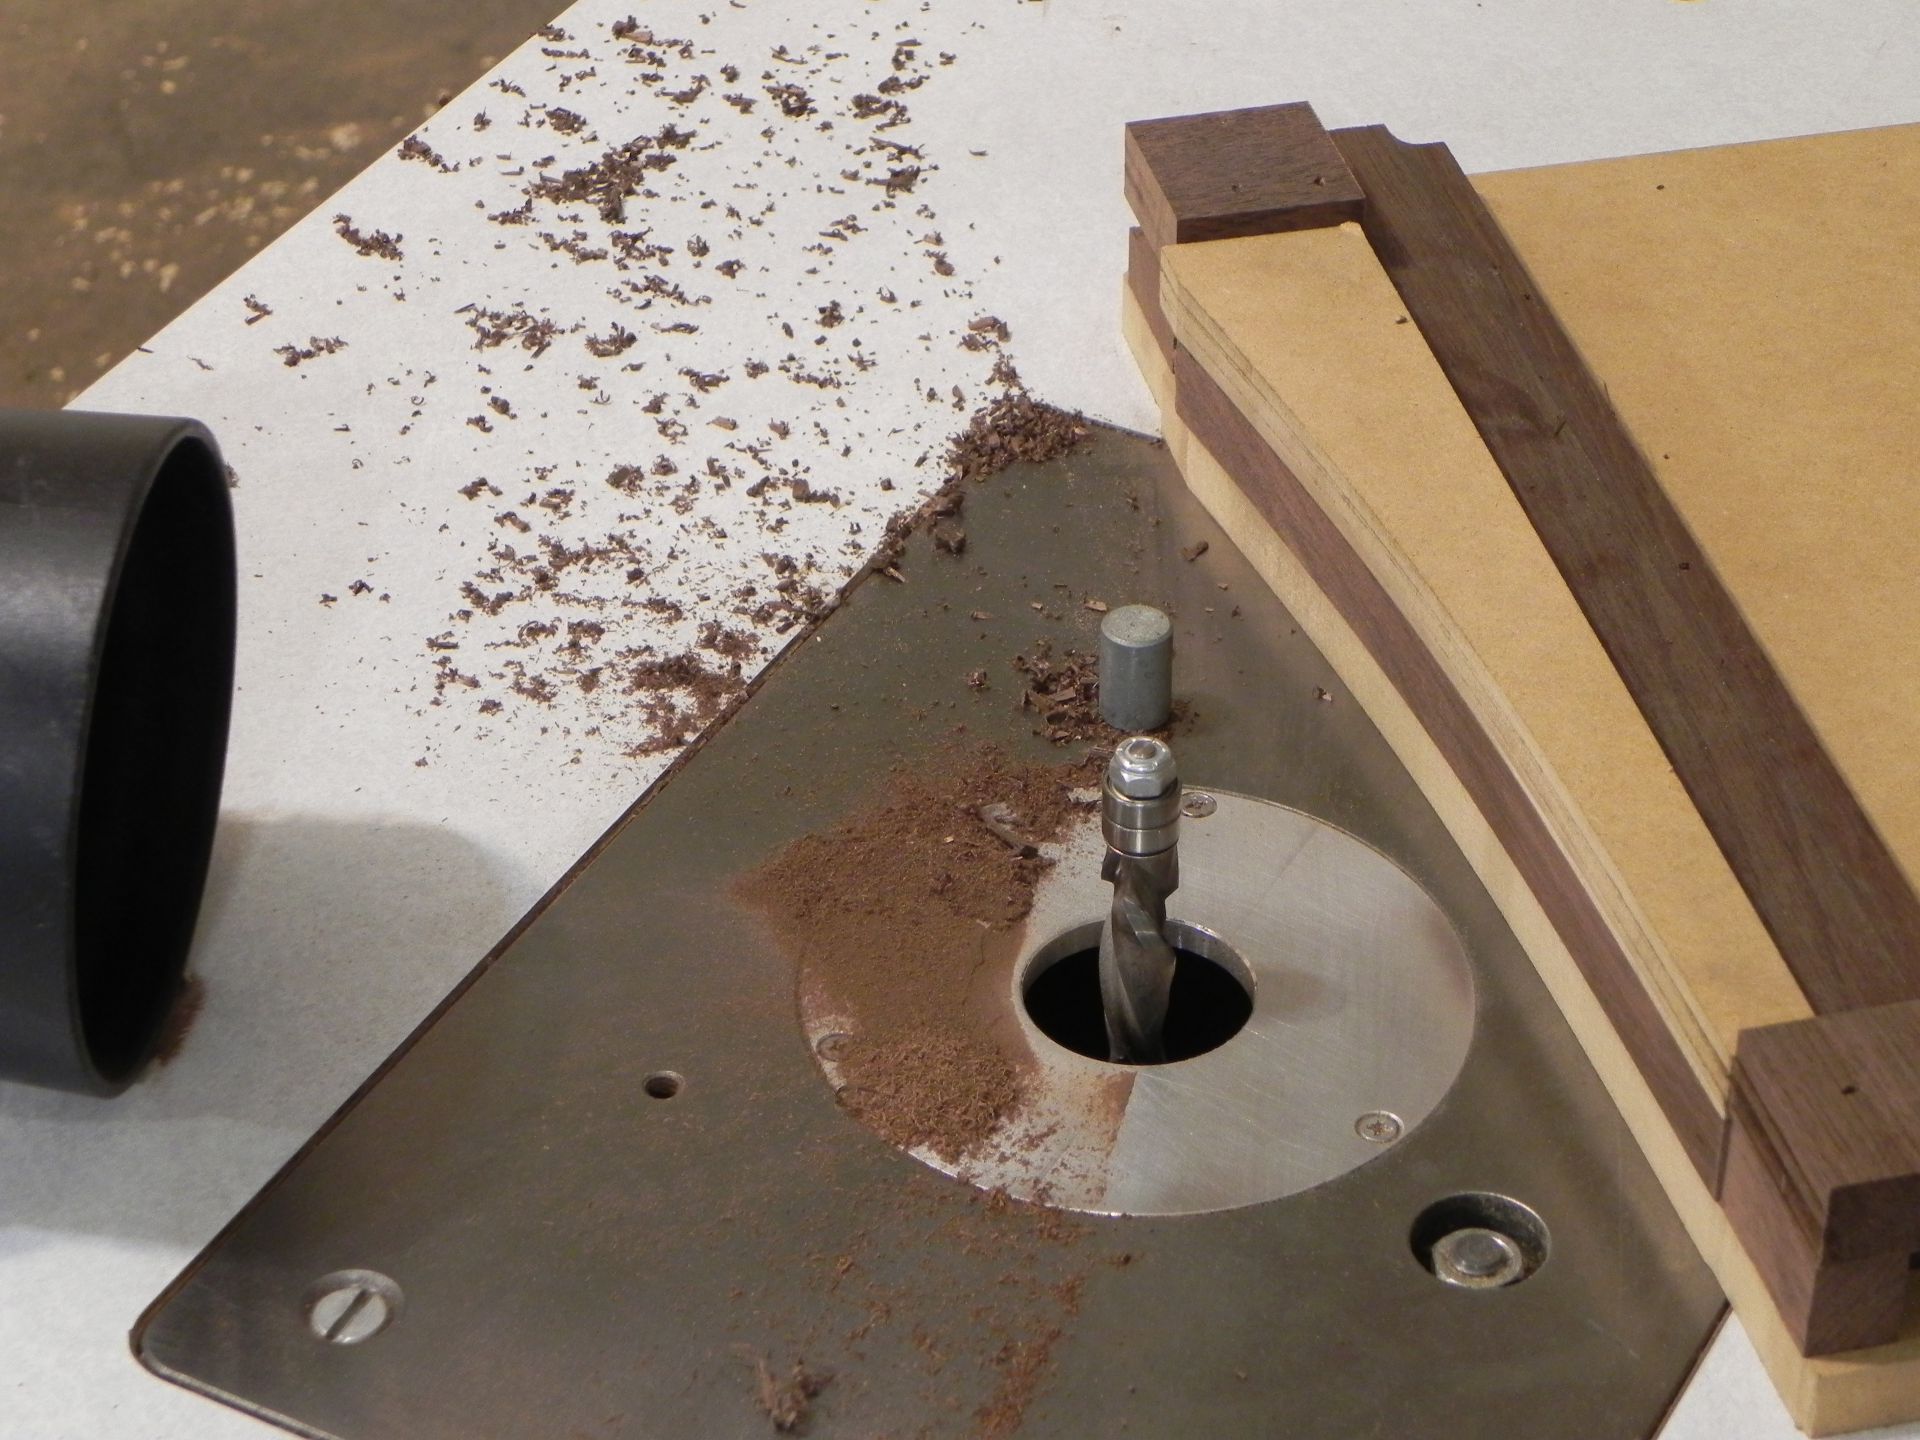
Since I spent most of the week doing nothing, I was itching to get into the shop over the weekend and start doing something. As I stated in an earlier post, this is my first project I’ve made that used mortise and tenon joinery, so I took my time and set up the router table to rout out the waste. One thing I have to admit, is buying the spiral up bits was one of the best purchases I’ve ever made. Once I got the waste removed i set to work squaring up the ends using my chisels. I think for a first attempt, I did pretty well. The following photo is inspired by Chris schwarz, and all the black & white photos he posts on his blog.

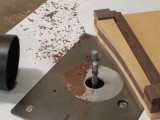
It’s time to make some tenons and try out my new flush trim bit. I’ve go On of the big purpose built table saw accessories for making tenons, but I’ve found that my crosscut sled a ripping blade and scrap wood does a better job. All you need to do is clap or tape some crap wood to the base and back of the sled. This provides a perfect “zero clearance” surface that will prevent chip-out. Then all you need to do is set the blade height and go to town.
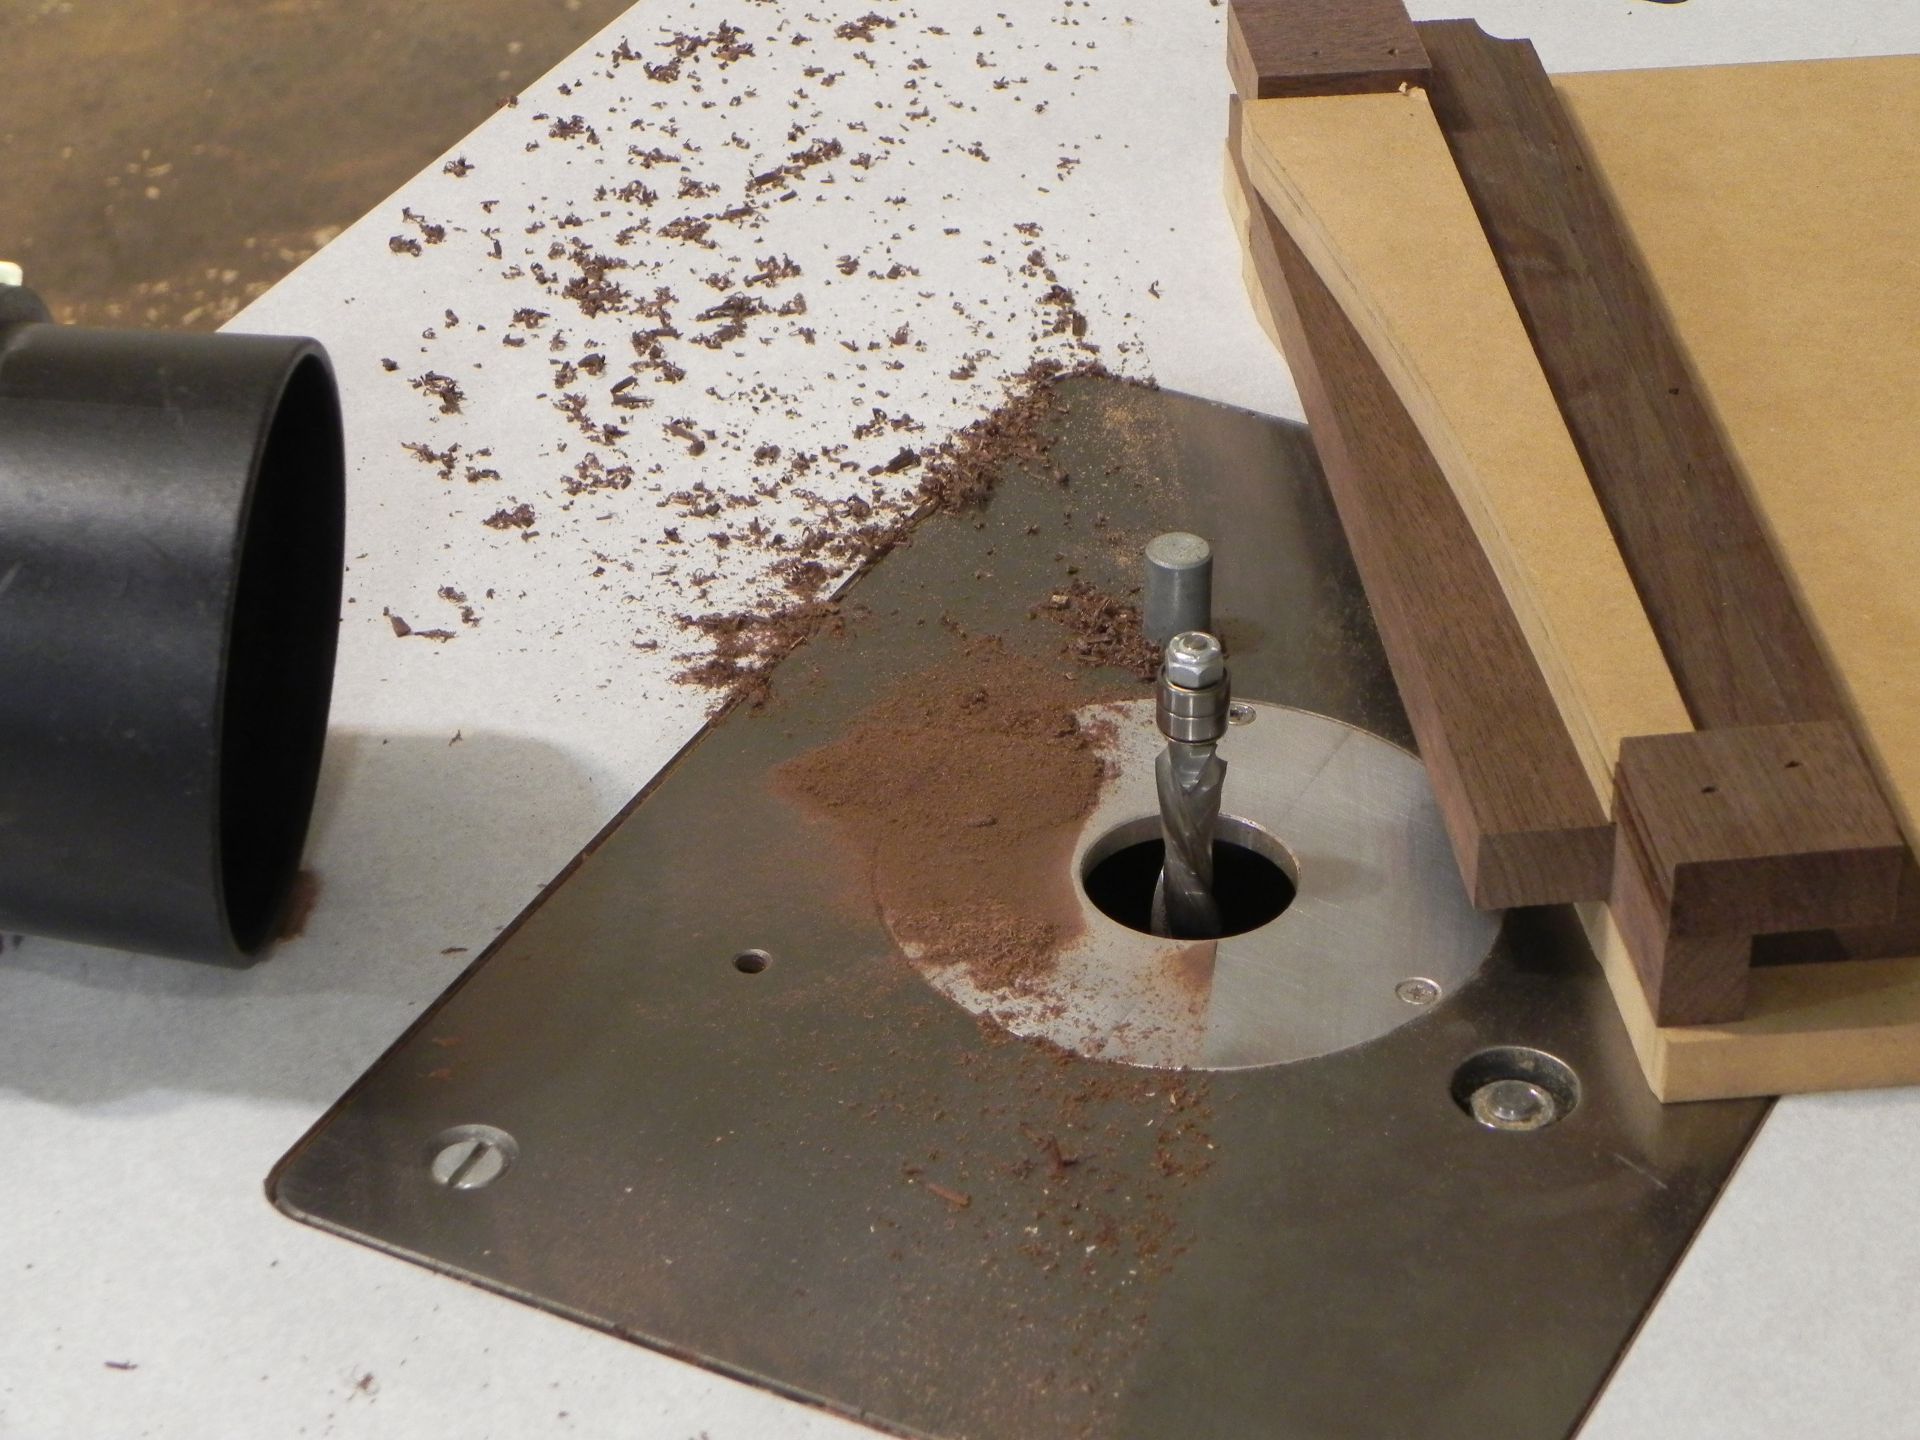
I’ve been looking forward to the pattern routing part of this project, since it started. I’ve been excited about taking my work to the next level, but also a little nervous, because I didn’t start small. Every singe board in this project has at least one curve on it. Aa the old saying goes, “go big or go home”. It turns out I didn’t need to be nervous, because the compression bit left a surface that will only require light sanding, plus one for modern technology.

chip out free tenoning jig

ready to rock and route
One down many to go