I finished setting up the new bandsaw mealier this week, so last night i got back to the wine rack. The only thing worth reporting, is how I sand small parts like those in the rack. When it comes to small parts, the only method I’ve found to give acceptable results, is “lapping”. Forget your power sanders, they will just round over the edges, even sanding blocks can be problematic, depending on the size of the parts. Next time you need to sand some small parts, find a flat surface and tape down some sand paper, you won’t regret it.
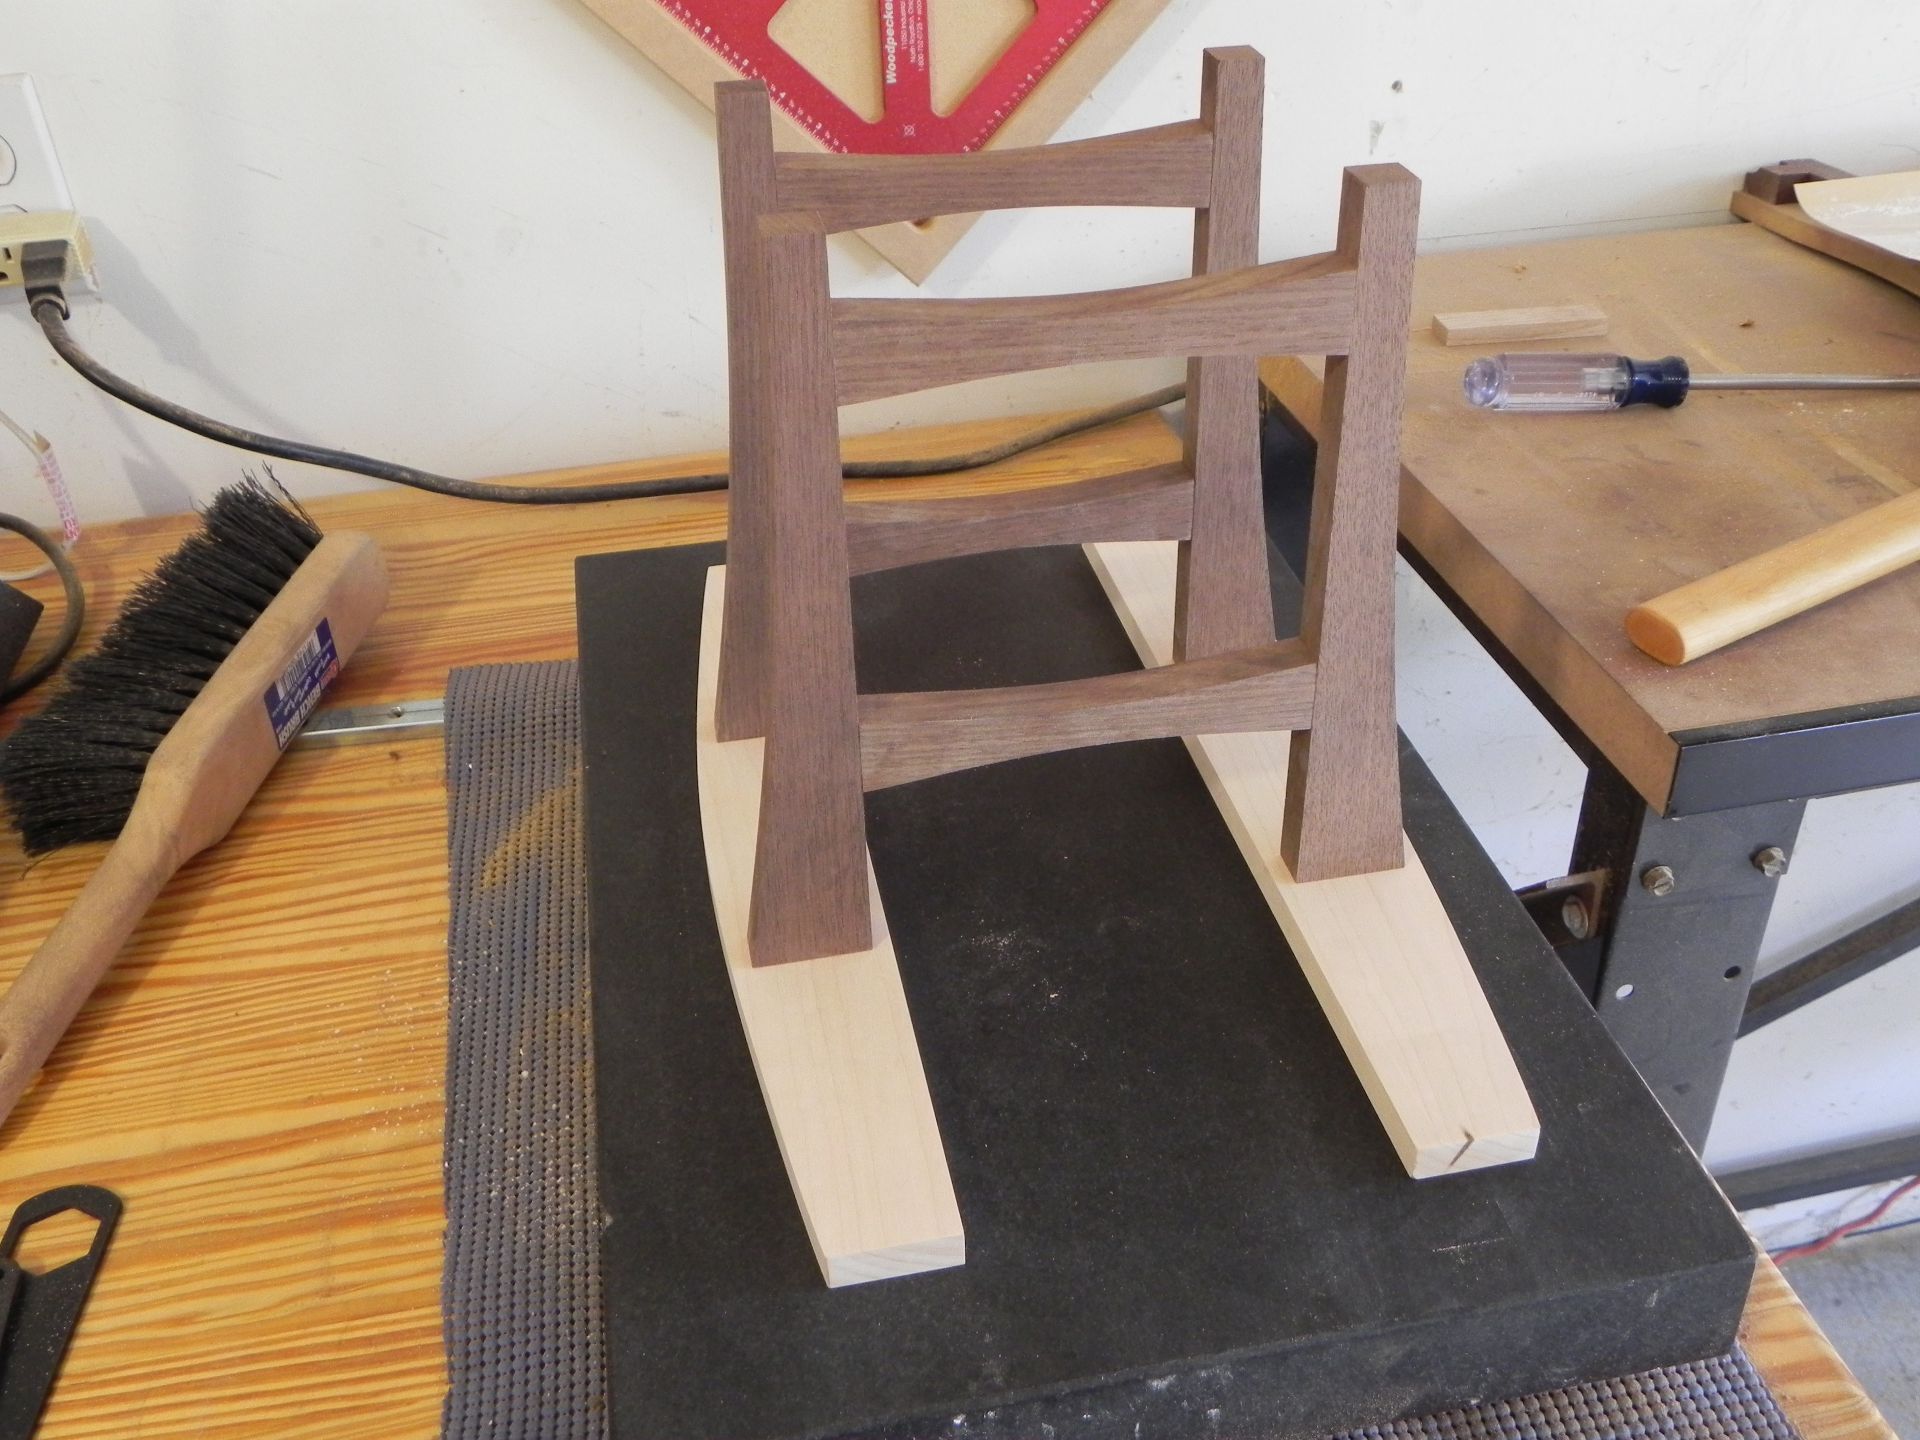
Coming together nicely.

Sanding small parts
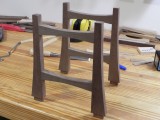
Not a lot to report today, All the parts have been shaped and given a rough sanding. The only things I have left to do, is the glue-up and applying a finish. For the finish, I’m going to use Danish oil. It really pops the grain of the Hard Maple, and It gives the Peruvian Walnut a lovely Mocha Hue.
Like all my other project wrap-up entries, this one is anti-climactic. Gluing all the little pieces together was tedious , but not difficult. The hardest thing about the glue up was trying to apply enough clamping pressure to all the curved pieces, with out denting them. After some post glue-up sanding with 220 grit, I was ready to apply the finish. For this project, I applied two coats of WATCO Danish Oil, followed by a coat of clear Black Bison Wax.

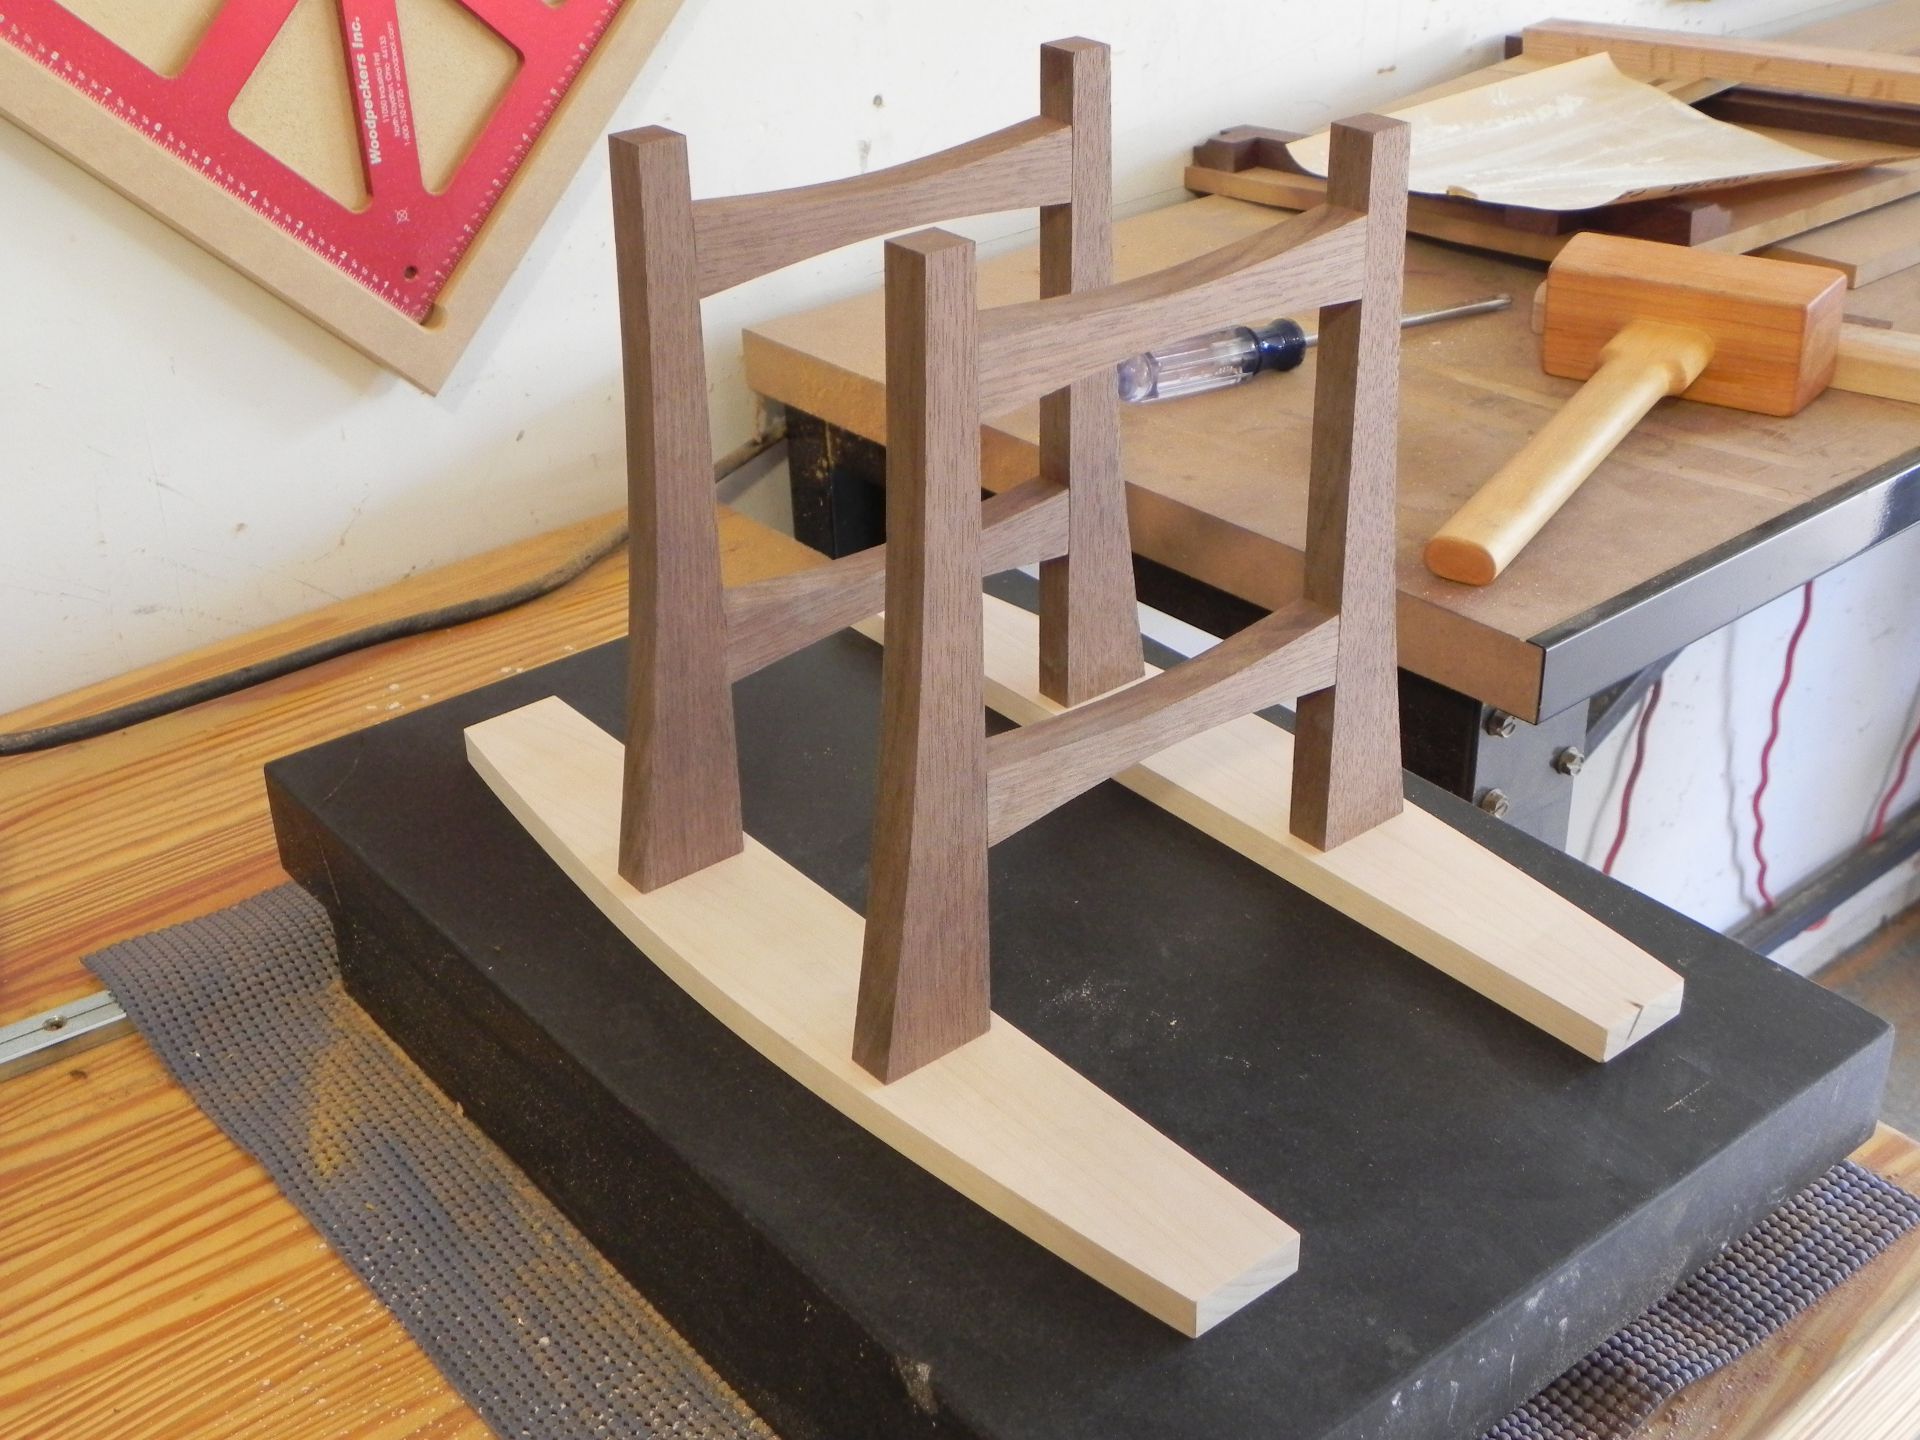
Ready for final sanding and finishing.

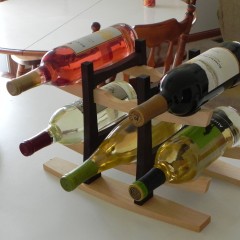
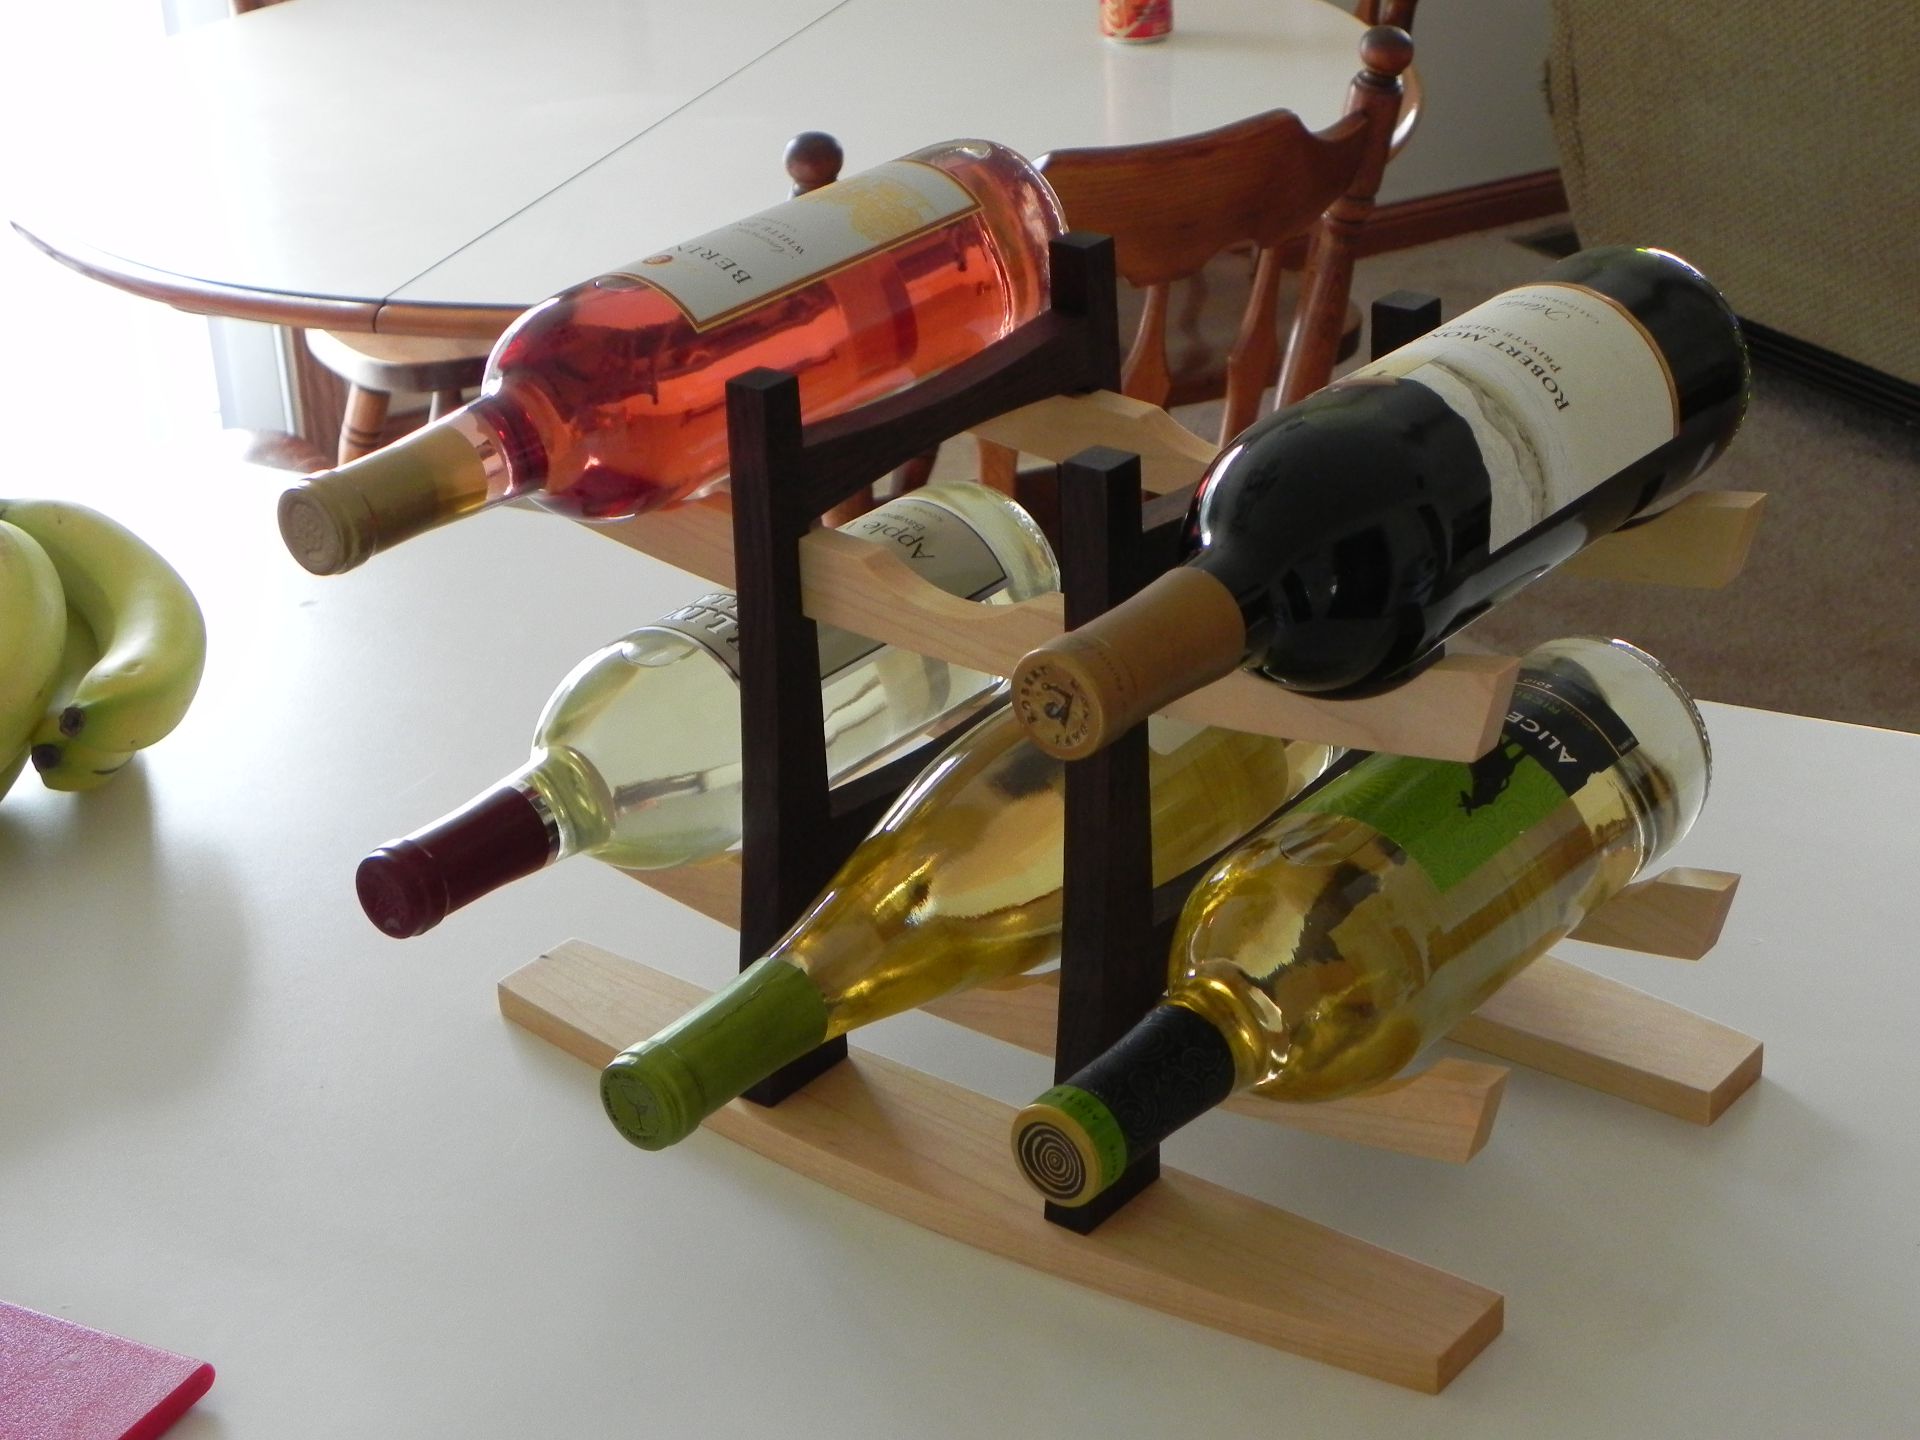
Finished with Danish Oil, & paste wax.