I’ve had My Bench dog lift for a couple month now, and it has been a pleasure to use. The only disappointment, Ive had with the lift, is the quality of the inserts. I have a newer model lift, that was produced by bench dog after it was purchased by Rockler (can’t remember where I read this). The old version had stainless steel or aluminum inserts, that could be flushed with the top of the lift using set screws. The new inserts are made from some type of plastic, that doesn’t really seem stiff enough for the gap it spans.

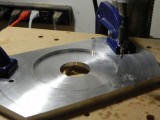
Face plate centering jig.
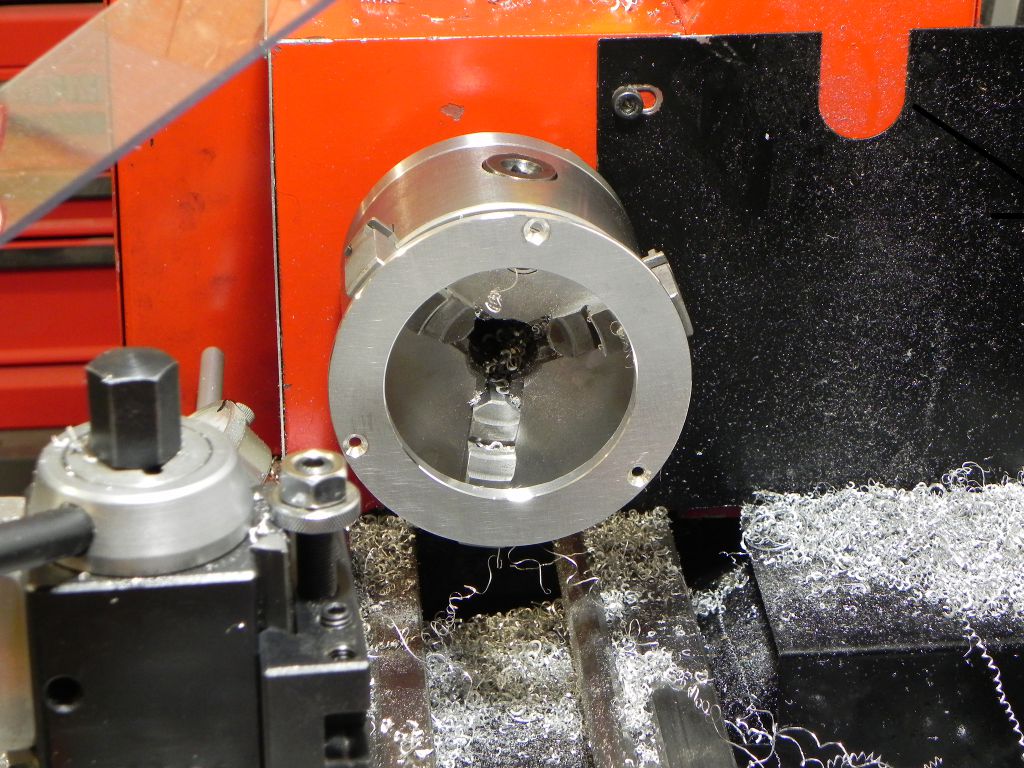
Since my next project is going to involve working with some small boards, I decided now was the time to make some stout inserts. step one was to make a jig to fasten the blanks to the faceplate. To make the jig, I cut a piece of aluminum plate to size, and then taped it so it could be bolted to the faceplate. Next I faced 1/8″ off the surface, leaving a 1/2″ diameter nub in the center. The final step was to tap the nub for a 1/4-20 bold that would be used to hold the blanks to the jig.

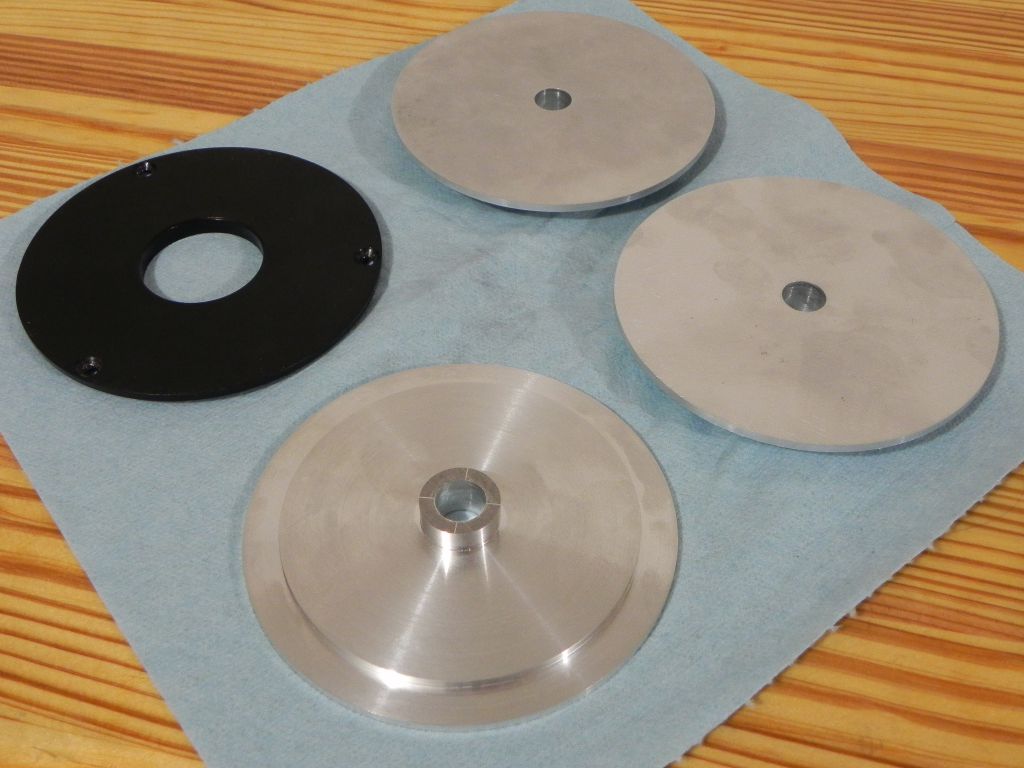
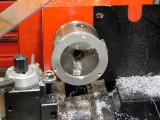
Insert blanks turned to the proper diameter.
The blanks are exceptionally simple to make; all I had to do was cut some plate to slightly bigger than the diameter I needed, and then drill a 1/2″ hole threw the center. Then all that was left to do, was mount them to the jig and turn them to the proper diameter. Tomorrow night I’m going to turn the blanks to the proper thickness, and turn the lip on them.
It’s kind of a shame that I’m going to turn most of blanks into chips, but what the hell, the plate they’re made from was just taking up space in the shop anyway.
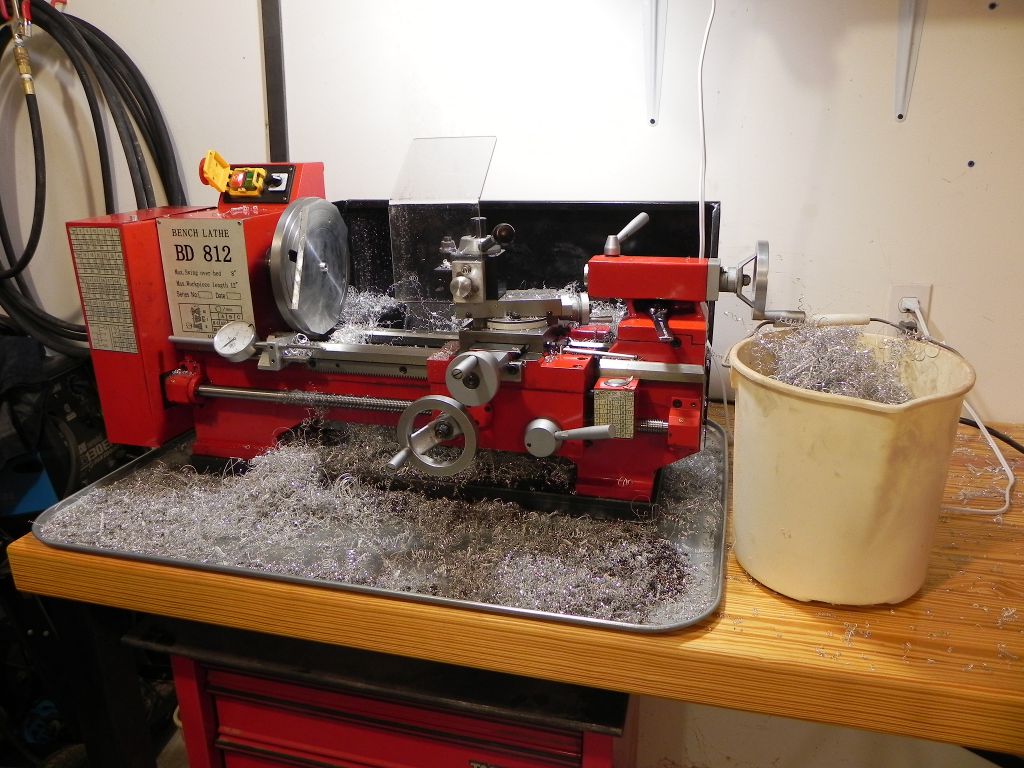
It doesn’t look like much, but I made a lot of progress today, I was able to thickness all three of the insert blanks, as well as turn the mounting lip. It took about 2 hours to complete, and filled a 5 gallon bucket with chips, but it was a simple, an pleasurable task. I probably have two evenings worth of work left to do, and then one evening of unpleasantness (cleaning the shop). However when I’m done, I will have insert’s that last a life time, and that’s well worth the effort.

half way there.

That's a lot of chips.
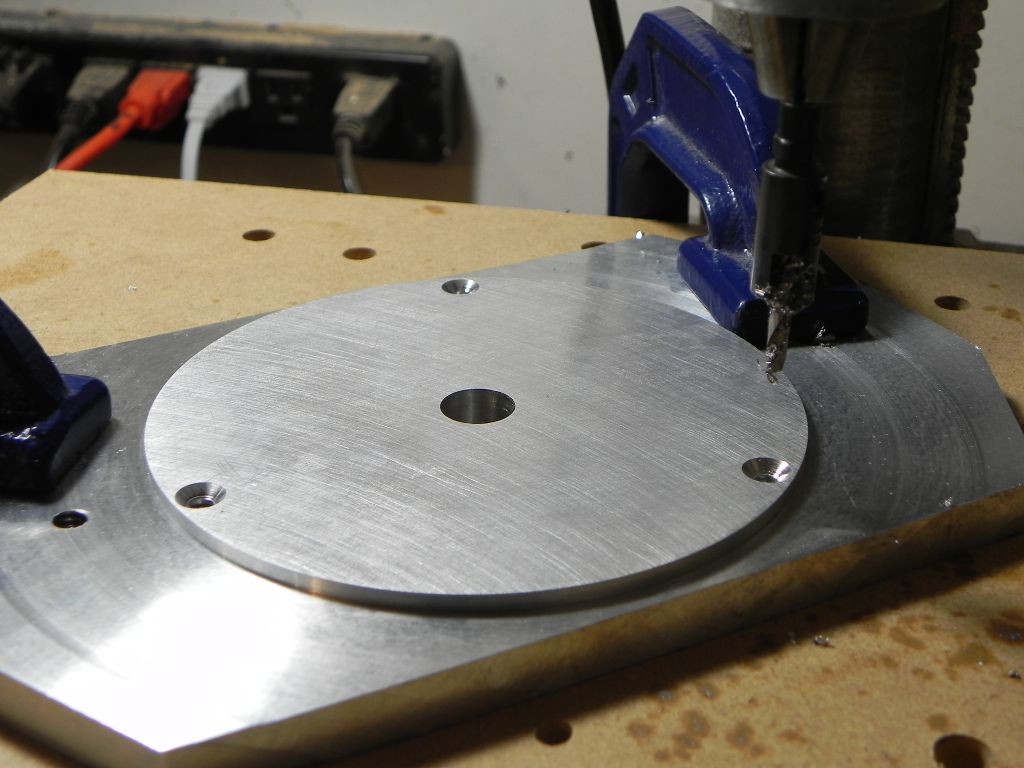
Today was day three of my inserts project, and I went “green” by recycling my face plate jig. I bored out the center of the jig, so that it was a tight fit around the shoulder on the bottom of the inserts.The new jig made drilling the mounting holes very simple after the initial set up, as it acted as a pore mans rotary table. Enjoy the pics, and check back tomorrow to see the finished inserts.

On insert down, and two to go.
Set up and ready to drill.
Last night I finished up the inserts, by boring the through holes to the proper diameter. Since I had 3 blanks, I chose 1-1/2″, 2-1/4″, & 3″. After a few days of needing a jig to do everything, it was really nice to just throw the work piece in the 3 jaw, and start boring. It took about an hour to bore out the inserts, and chamfer all the edges. It was pleasurable, as nothing had to be precise.
The bored 3" through hole.
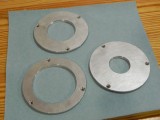
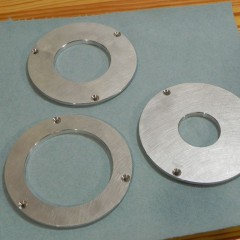
Three inserts ready for use.
This afternoon, I installed and leveled the 1-1/2″ insert, as it’s the one that I will probably use 95% of the time. and then as a test I cut a short sliding dovetail. It’s shoulder was perfect aside from some tear out. The plastic insert produced a wavy shoulder, because it would flex as the board passed over it.