I have been a little disappointed with the last few issues of Fine woodworking, as I felt they where a little to heavy with the, “what’s the best new router for me” articles. Thus I was pleasantly surprised when I got the December issue last week, as it had two articles that I found really well written and entertaining. The first was an article by Michael Pekovich, titled “12 tools every furniture maker needs“. It gave a nice overview of why some tools are so useful. The second was by Vijay Velji, titled “Shellac’s Amazing Journey“. If you ever need to discuss shellac at a dinner party, this article will provide everything you need to know. People might think your a little strange though.
Excellent work Gentlemen, keep it coming.
The last shop project I needed to make, before I started my next “Real” project, is a small crosscut sled. I’ve found a small cross cut sled with 2 runners, to be more precise, than most high end miter gauges. Construction of a sled is pretty simple, so I didn’t go into a lot of detail in the video, but hopefully you will find it informative and entertaining.

The new jig
I’ve made one off tapers for years, using nothing more than a piece of MDF and double stick tape. All I had to do was set the table saw fence, rip the MDF to width, and then tape the work piece to the MDF with the proper chunk overhanging the end. The setup was quick and easy, but not very repeatable. Since my next project will require 16 identical tapers, and I’m still waiting on a router bit to arrive, I though now would be a good time to make a proper tapering jig.
Like most of my projects, this one started with me surfing the net, to see what others have done. I found a wide range of designs, everything from a piece of scrap & a drywall screws, to a jig that looked like it would take a week to make. What I settled on was this design by Alan Turner with a few tweaks.
The tweaks I made are as follows. First I used 1/2″ MDF for the sled instead of 3/4″, because my table saw has a limited depth of cut and that extra 1/4″ makes a difference. Secondly, I Made a lot more holes for hold down bolts. I did this because I didn’t like the idea of screwing the stop blocks (Alan calls them keepers) down the jig all the time. Finally I made Infinitely adjustable hold downs. Instead of me jabbering on, I’ll let the pictures do the talking. Continue Reading…
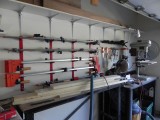
Since I’m waiting on a router bit I ordered to come in (need it for my next project), I decided to make some shop improvements over the long holiday weekend. One of the things I’ve been putting off for a while now, is upgrading my clamp storage. My old racks where made from angle iron that I welded together, painted, and slapped up on the wall. They worked fine for several years, but recently I’ve started acquiring parallel clamps, and they don’t play well with the old racks, as they where designed to store pipe clamps. Since I want to acquire more parallel clamps (you can never have enough clamps), and I’ve run out of space on my current racks, I decided it was time to address the issue.
With that in mind I set down Thursday evening, and started researching how other people stored their clamps. After an hour or so of searching and playing in Sketchup, I settled on Marc Spagnuolo’s design, with one minor tweak. I round over the front of the slots to make getting the clamps in a little easier.
The old rack.
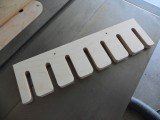
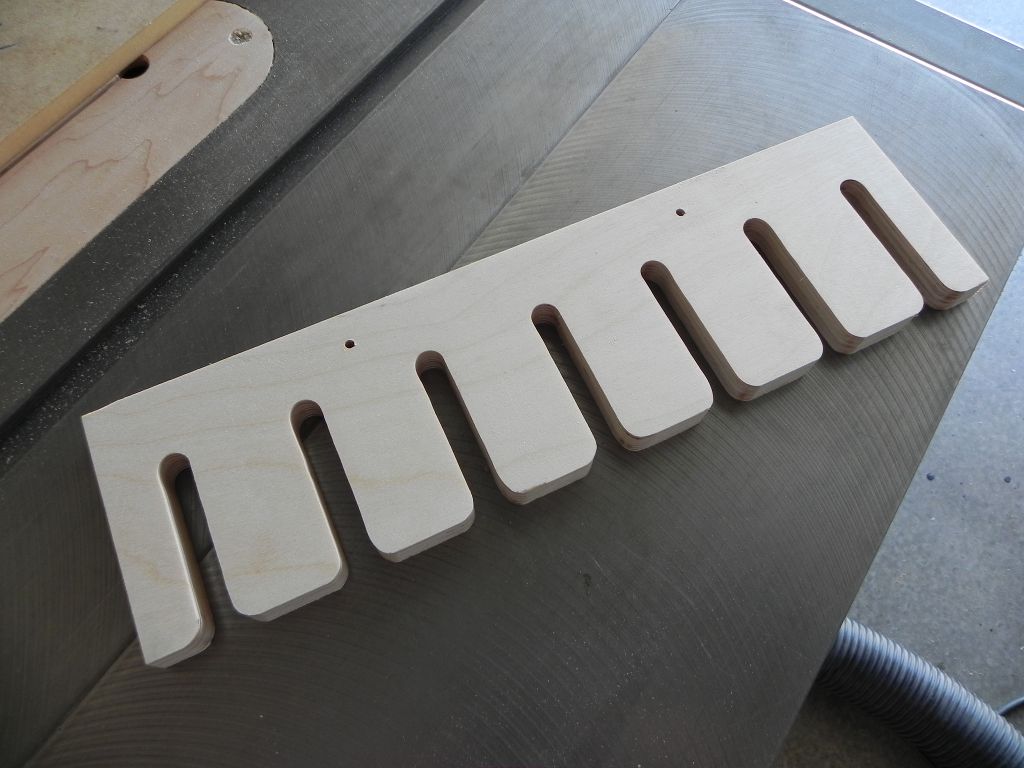
a 15-1/2" long rack segment with rounded openings.

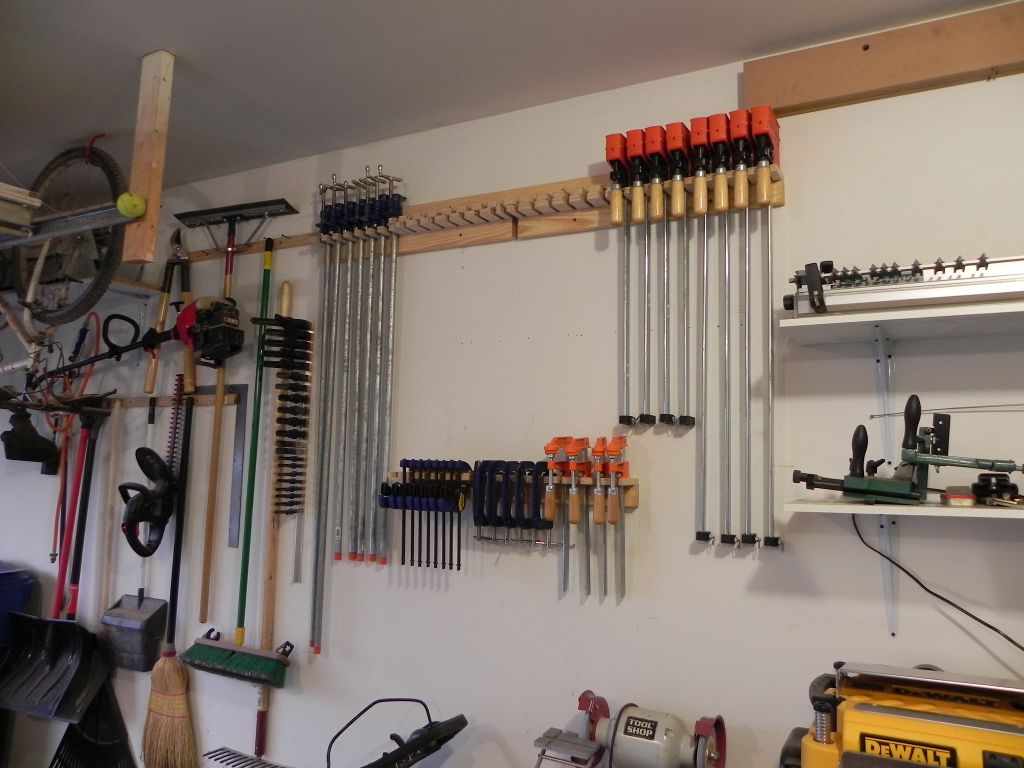
The new, better orginized racks.

Image courtesy of Rockler.com
For my next project I’m going to make some raised dog dishes, and that requires me to make some decent sized holes to mount the dishes in. I thought I would be able to just run down to my local woodworking store and pick up a jig, but oh no. I must have the worst luck on the planet; every time I think something should be easy, it ends up becoming a big ordeal. But I digress.

Image courtesy of Rockler.com
The jigs available locally fall into 2 categories: template & arm style. The template style jigs are usually for circles 4″ in diameter or smaller, and the arm style are for circles 7″ to 8″ and larger. I need to make circles that are roughly 6″ in diameter. Thus, instead of ordering a jig and waiting a week for it to be delivered, I made one last night.
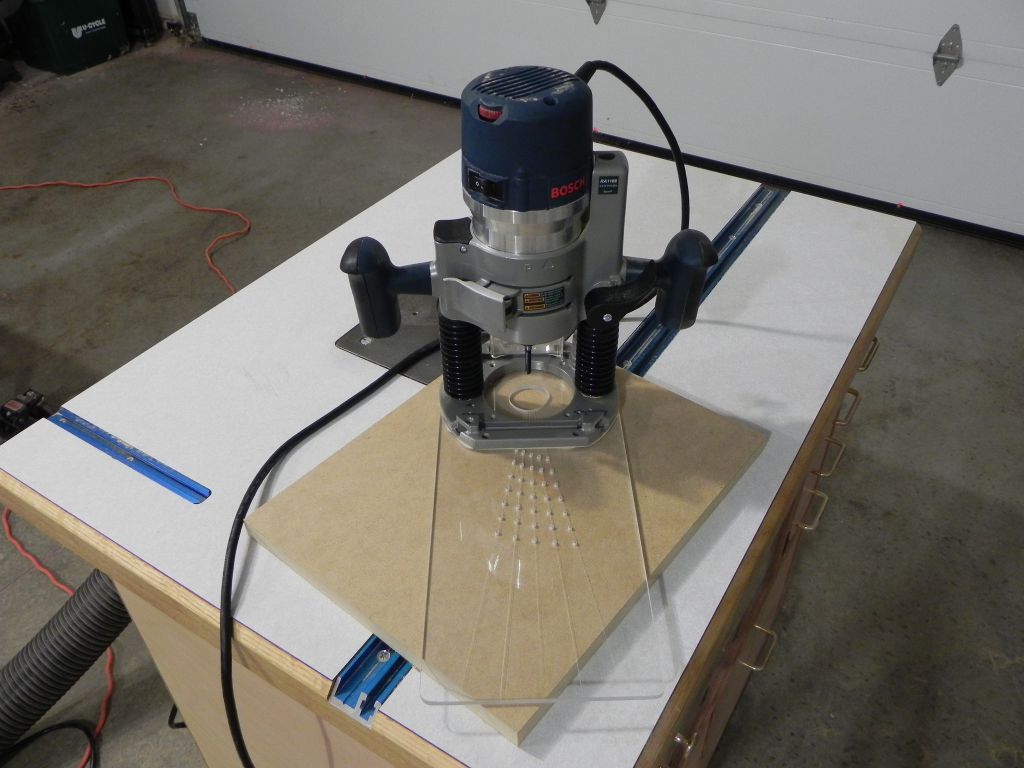
I made it from some scrap 1/4″ thick Lexan, I had leftover from my router table build. The only unpleasant task involved in its construction, was having to turn off the drill press after every hole, and clean the melted material out of the bits flutes. As it is now, I can make holes from 4 to 14 inches in diameter in quarter inch intervals.

The Finished Jig

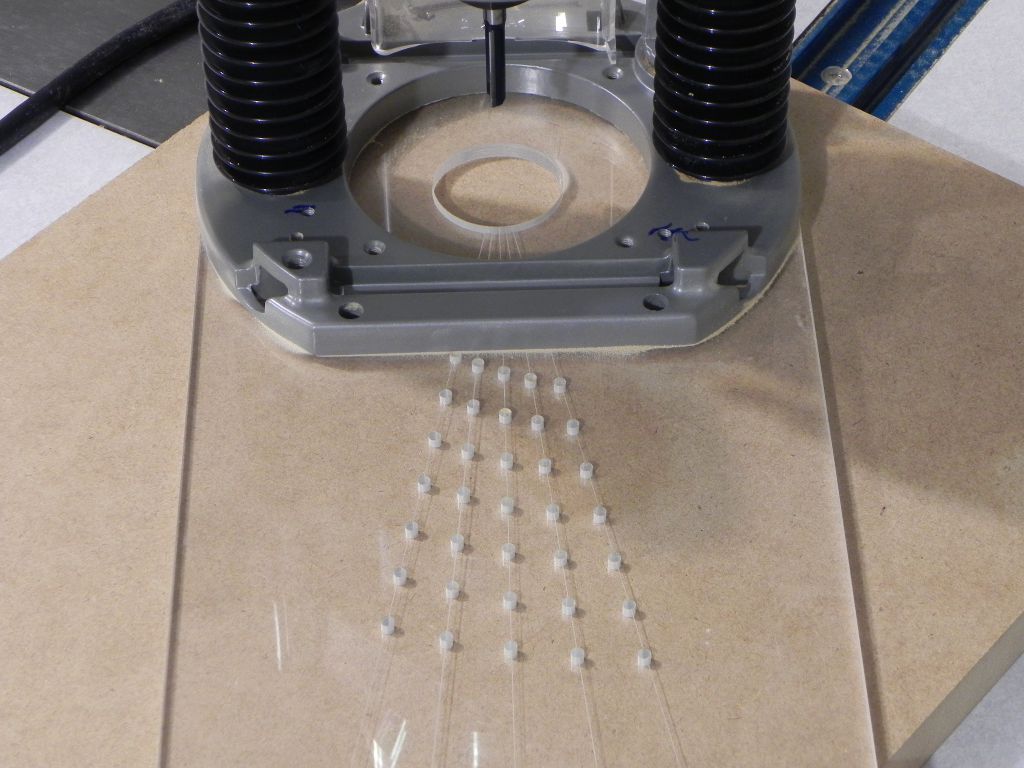
Alignment holes
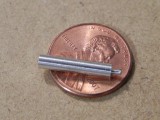
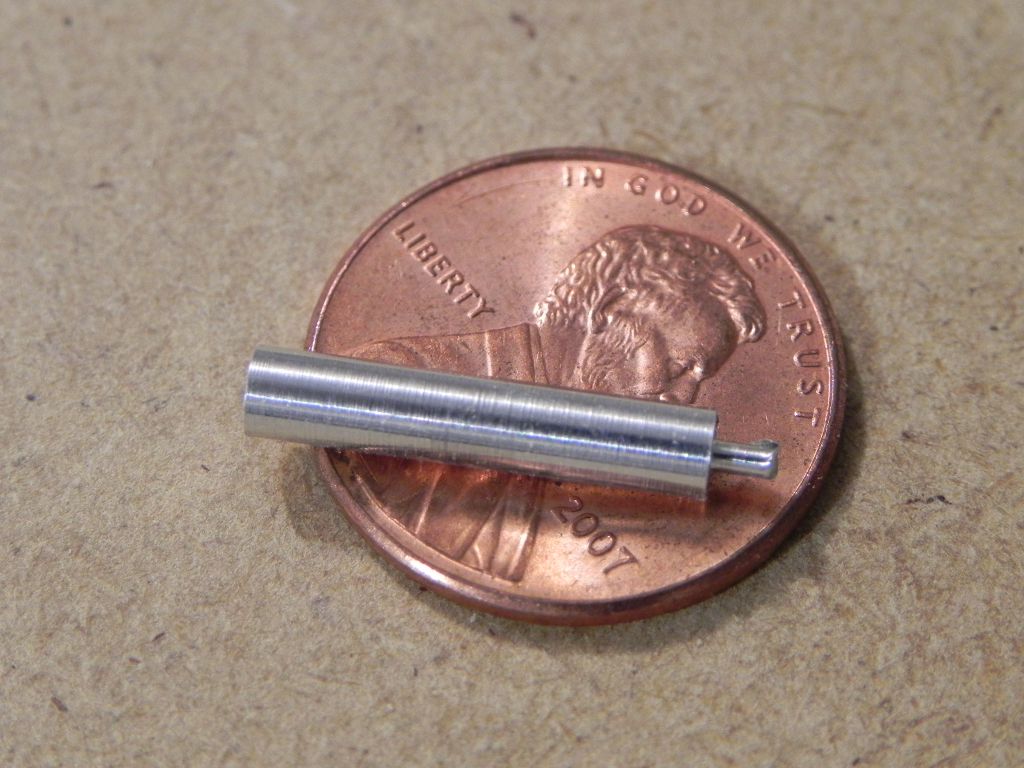
alignment pin