I have 3 of the Veritas back saws now, and I’m starting to use them more frequently. Since I’m in between big projects, and storing the saws in the guestroom closet is less than ideal, I decided now was a good time to make a till. My requirements for the till are as follows:
- It needs to be big enough to hold my current nest of saws with room for one or two more.
- it has to be made with stock I have on-hand
With the requirements outlined, I started milling some 4/4 hard maple stock Sunday evening. The sides are a little less than 3/8″ thick, and bookmatched. All the other boards in the project are 5/8″ thick. I didn’t want any joinery showing on the side panels, so they are joined to the cross members with sliding dovetails. I’ll have more details next time.

Rough cut parts
My first, and hopefully not my last attempt at resawing & bookmatching. The panel is kind of thin, as it started off as 4/4 stock. After two rounds jointing, planing & sawing it came in at a little over 3/8″.

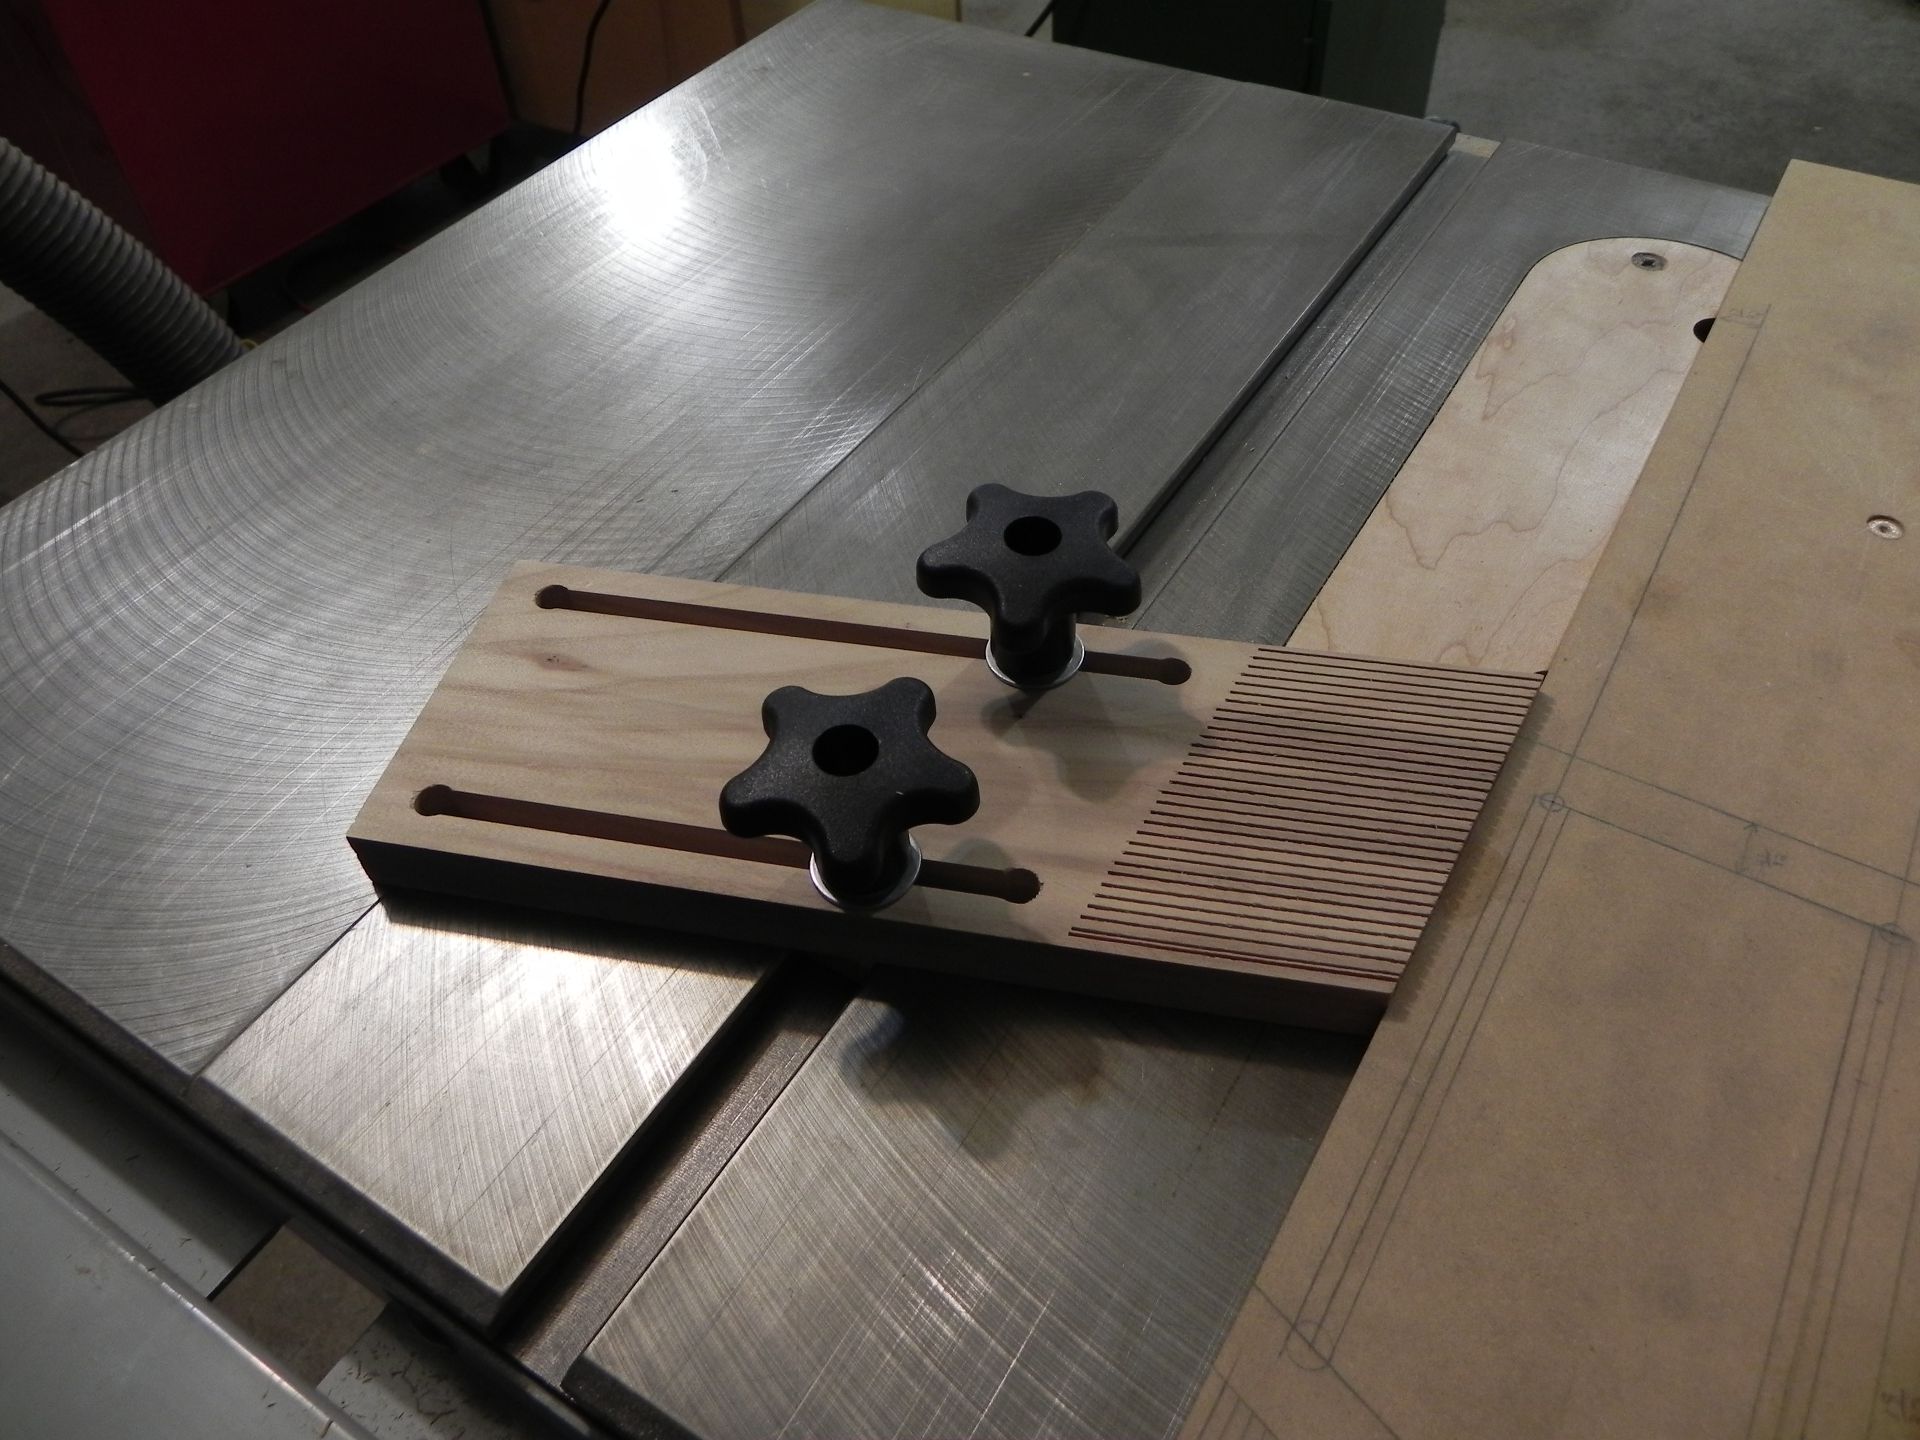
Whats a new bandsaw good for you ask? Well its good for a lot of things, but one is making feather boards. I made the feather boards bellow out of some leftover willow I had laying around. They work on the router table, the tablesaw, and the bandsaw. O the joys of simple projects.
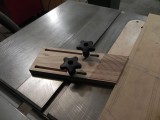
A miter track Insert
Ready to make some cuts
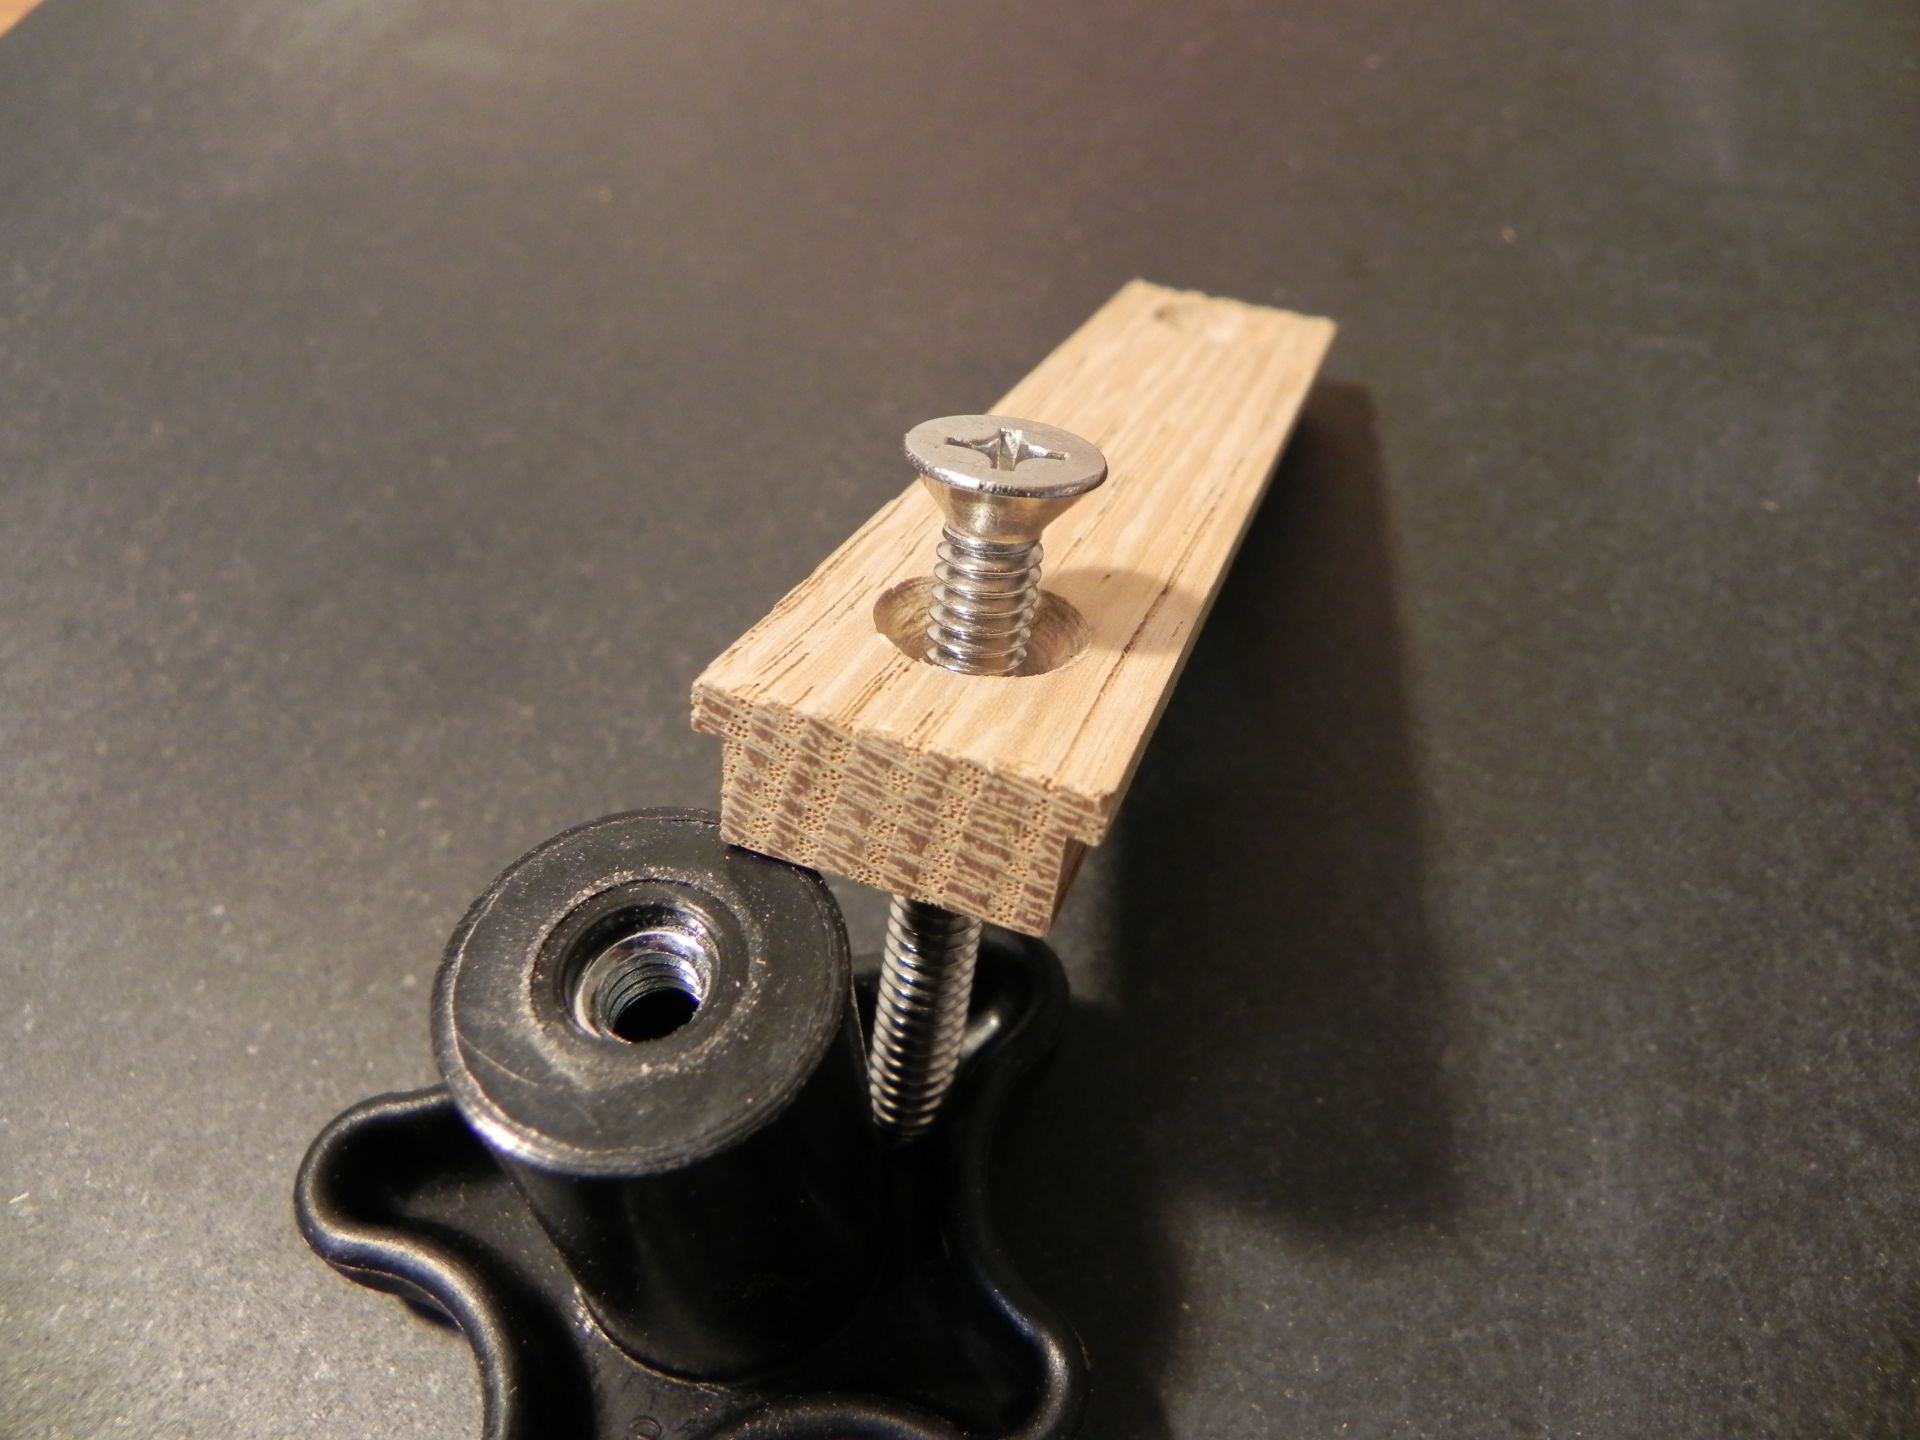
A project that I have in the works, is going to require some routing with a guide bushing. Back when my only router was PC 890, I picked up a nice guide bushing base that centers with a locator pin. About a year ago I switched to a Bosch 1617, and sure enough when i checked the other night, none of the mounting holes lined up. The first thing the came to mind, was “crap I need to buy a new base“, but then I remembered I have a set of counterbores, after about an hour of marking, drilling, & counterboring I was back in business. I guess one of the benefits of being a woodworker & metalworker, is having the tools to make or modify other tools.

counterboring
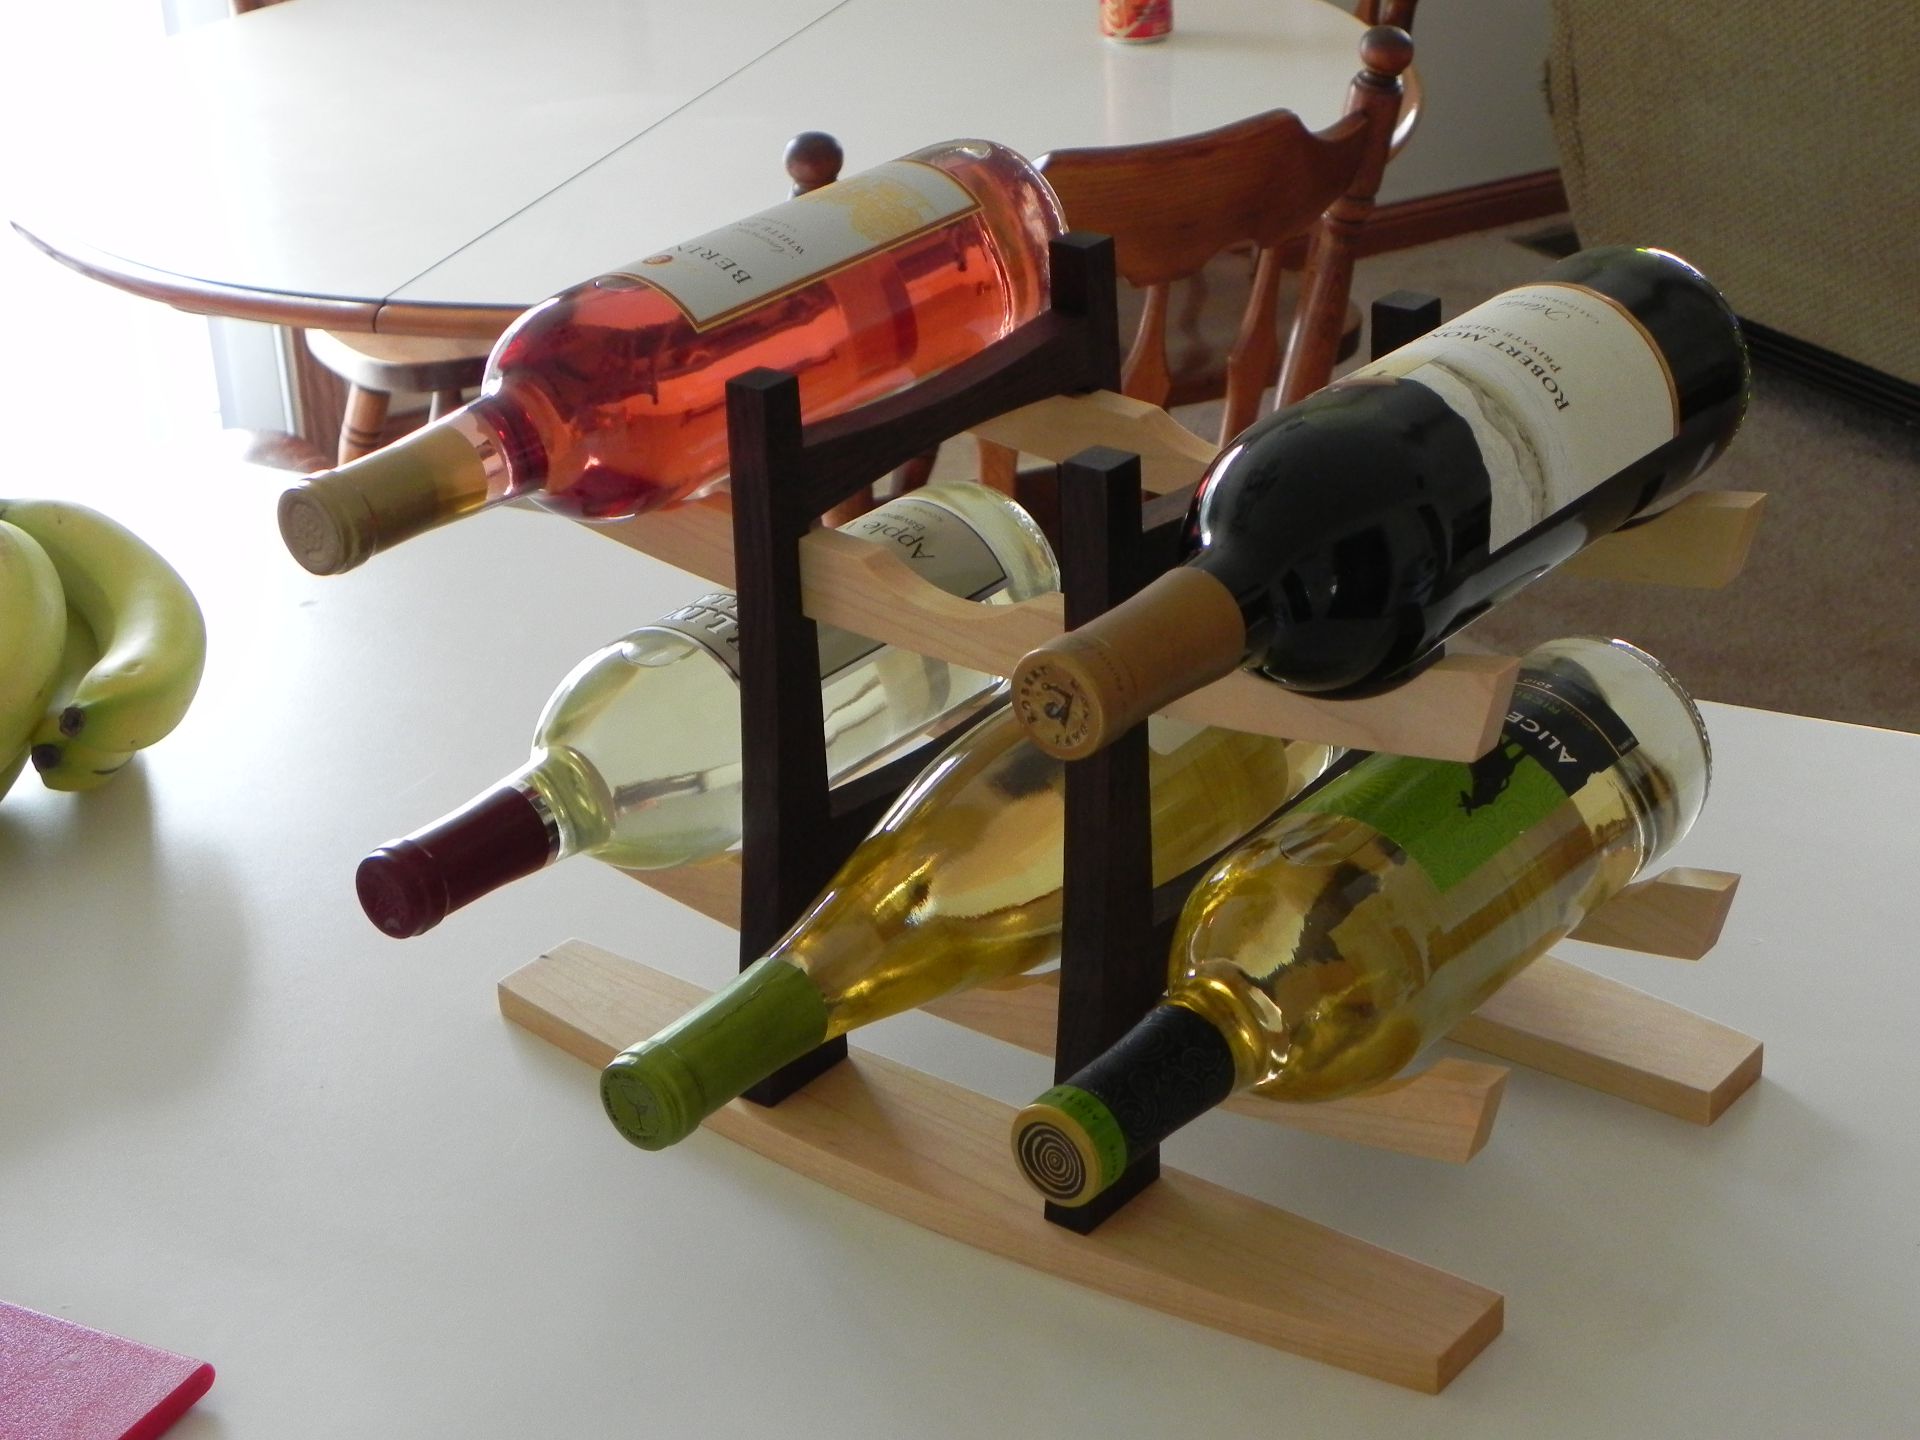
Like all my other project wrap-up entries, this one is anti-climactic. Gluing all the little pieces together was tedious , but not difficult. The hardest thing about the glue up was trying to apply enough clamping pressure to all the curved pieces, with out denting them. After some post glue-up sanding with 220 grit, I was ready to apply the finish. For this project, I applied two coats of WATCO Danish Oil, followed by a coat of clear Black Bison Wax.

Ready for final sanding and finishing.

Finished with Danish Oil, & paste wax.