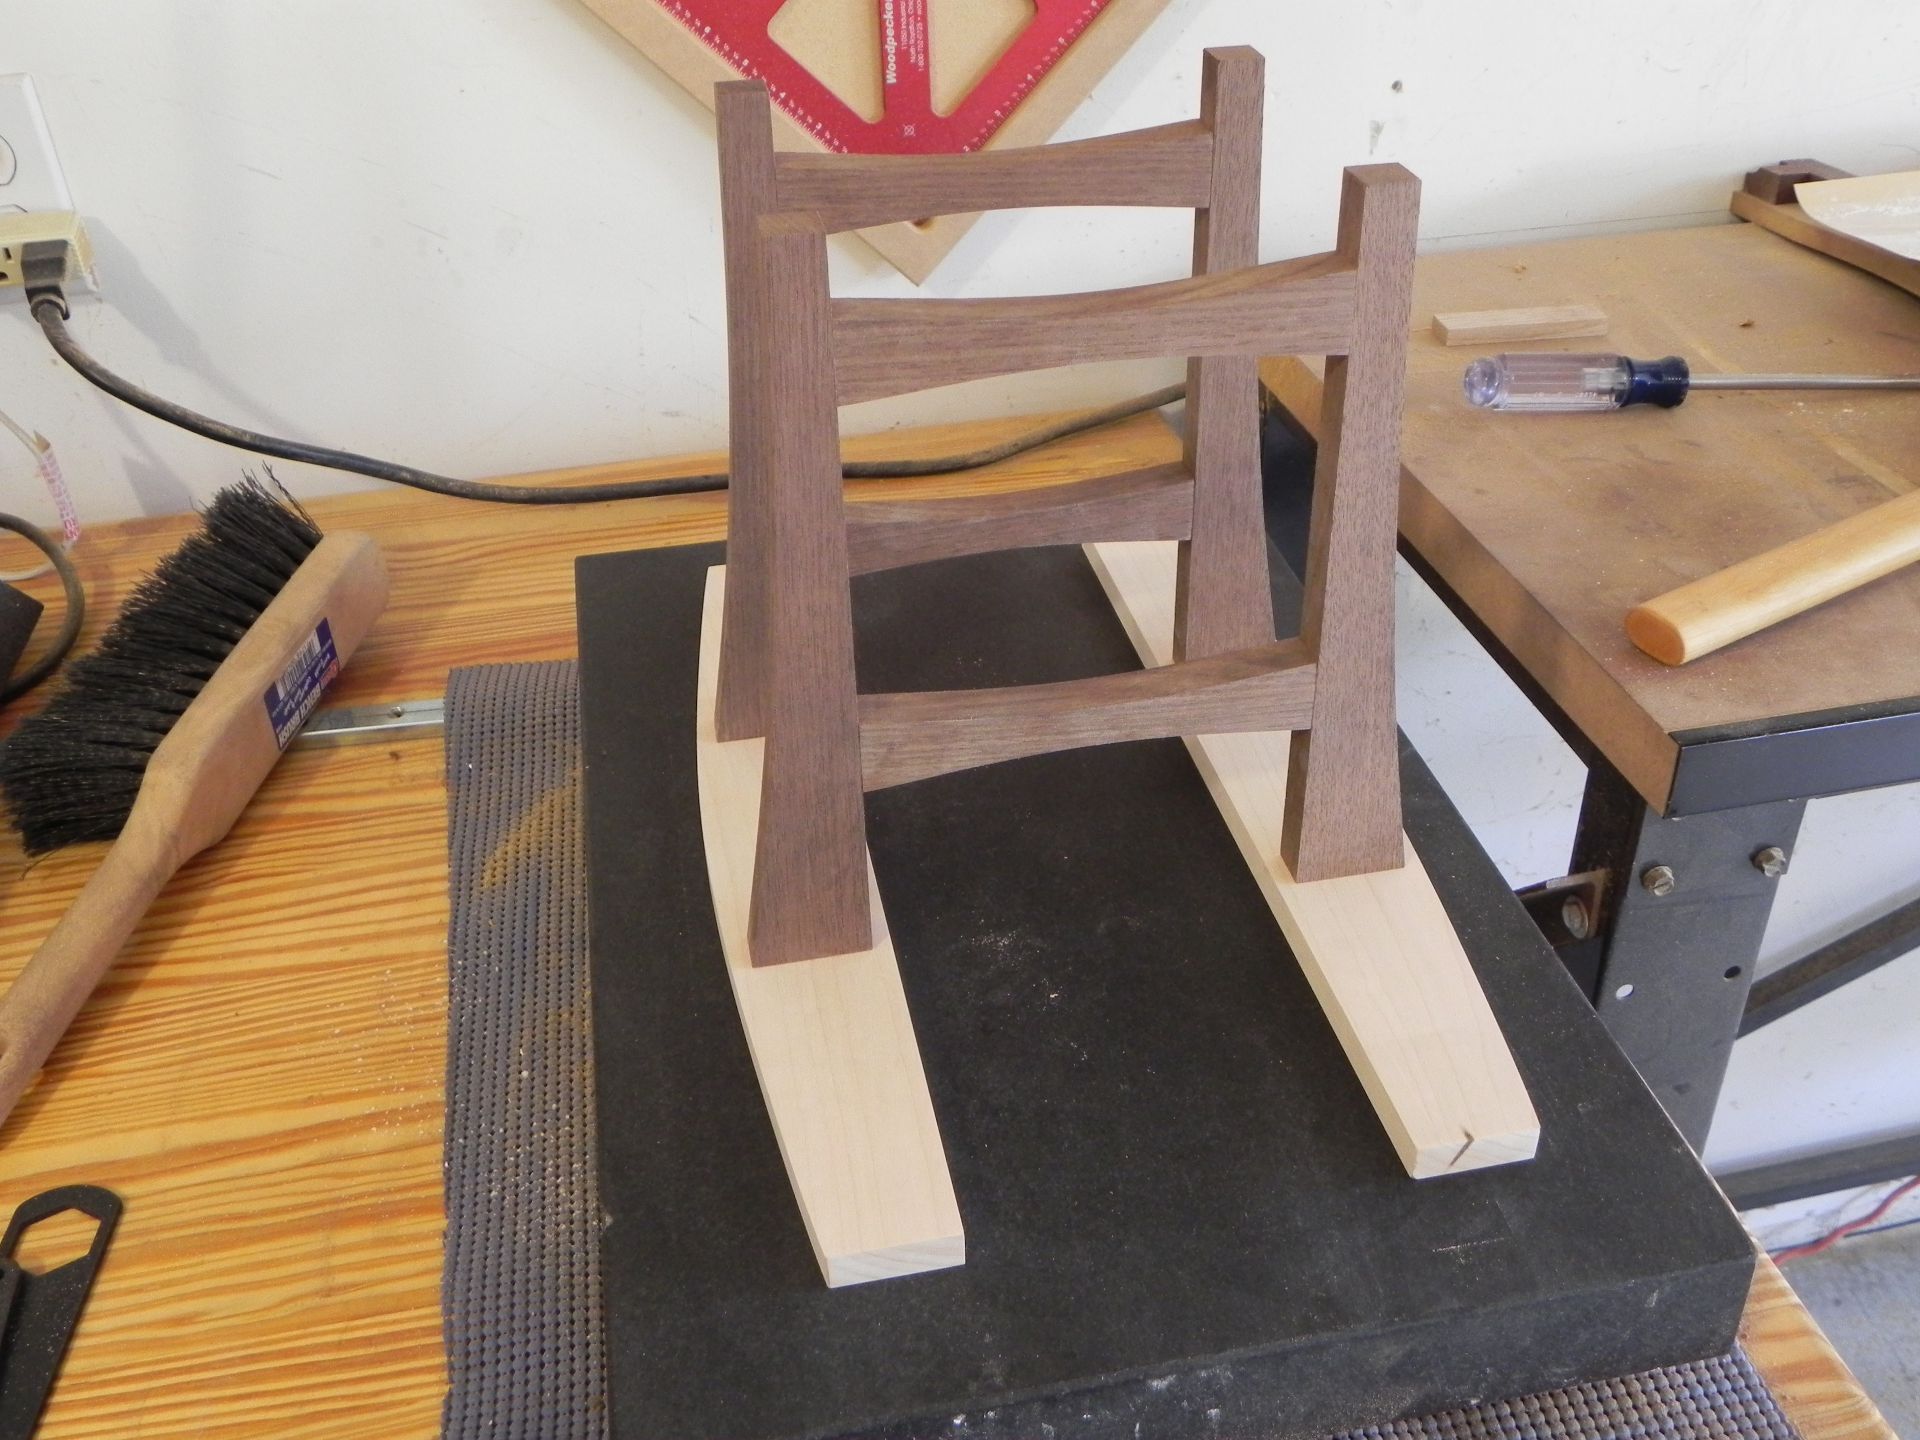
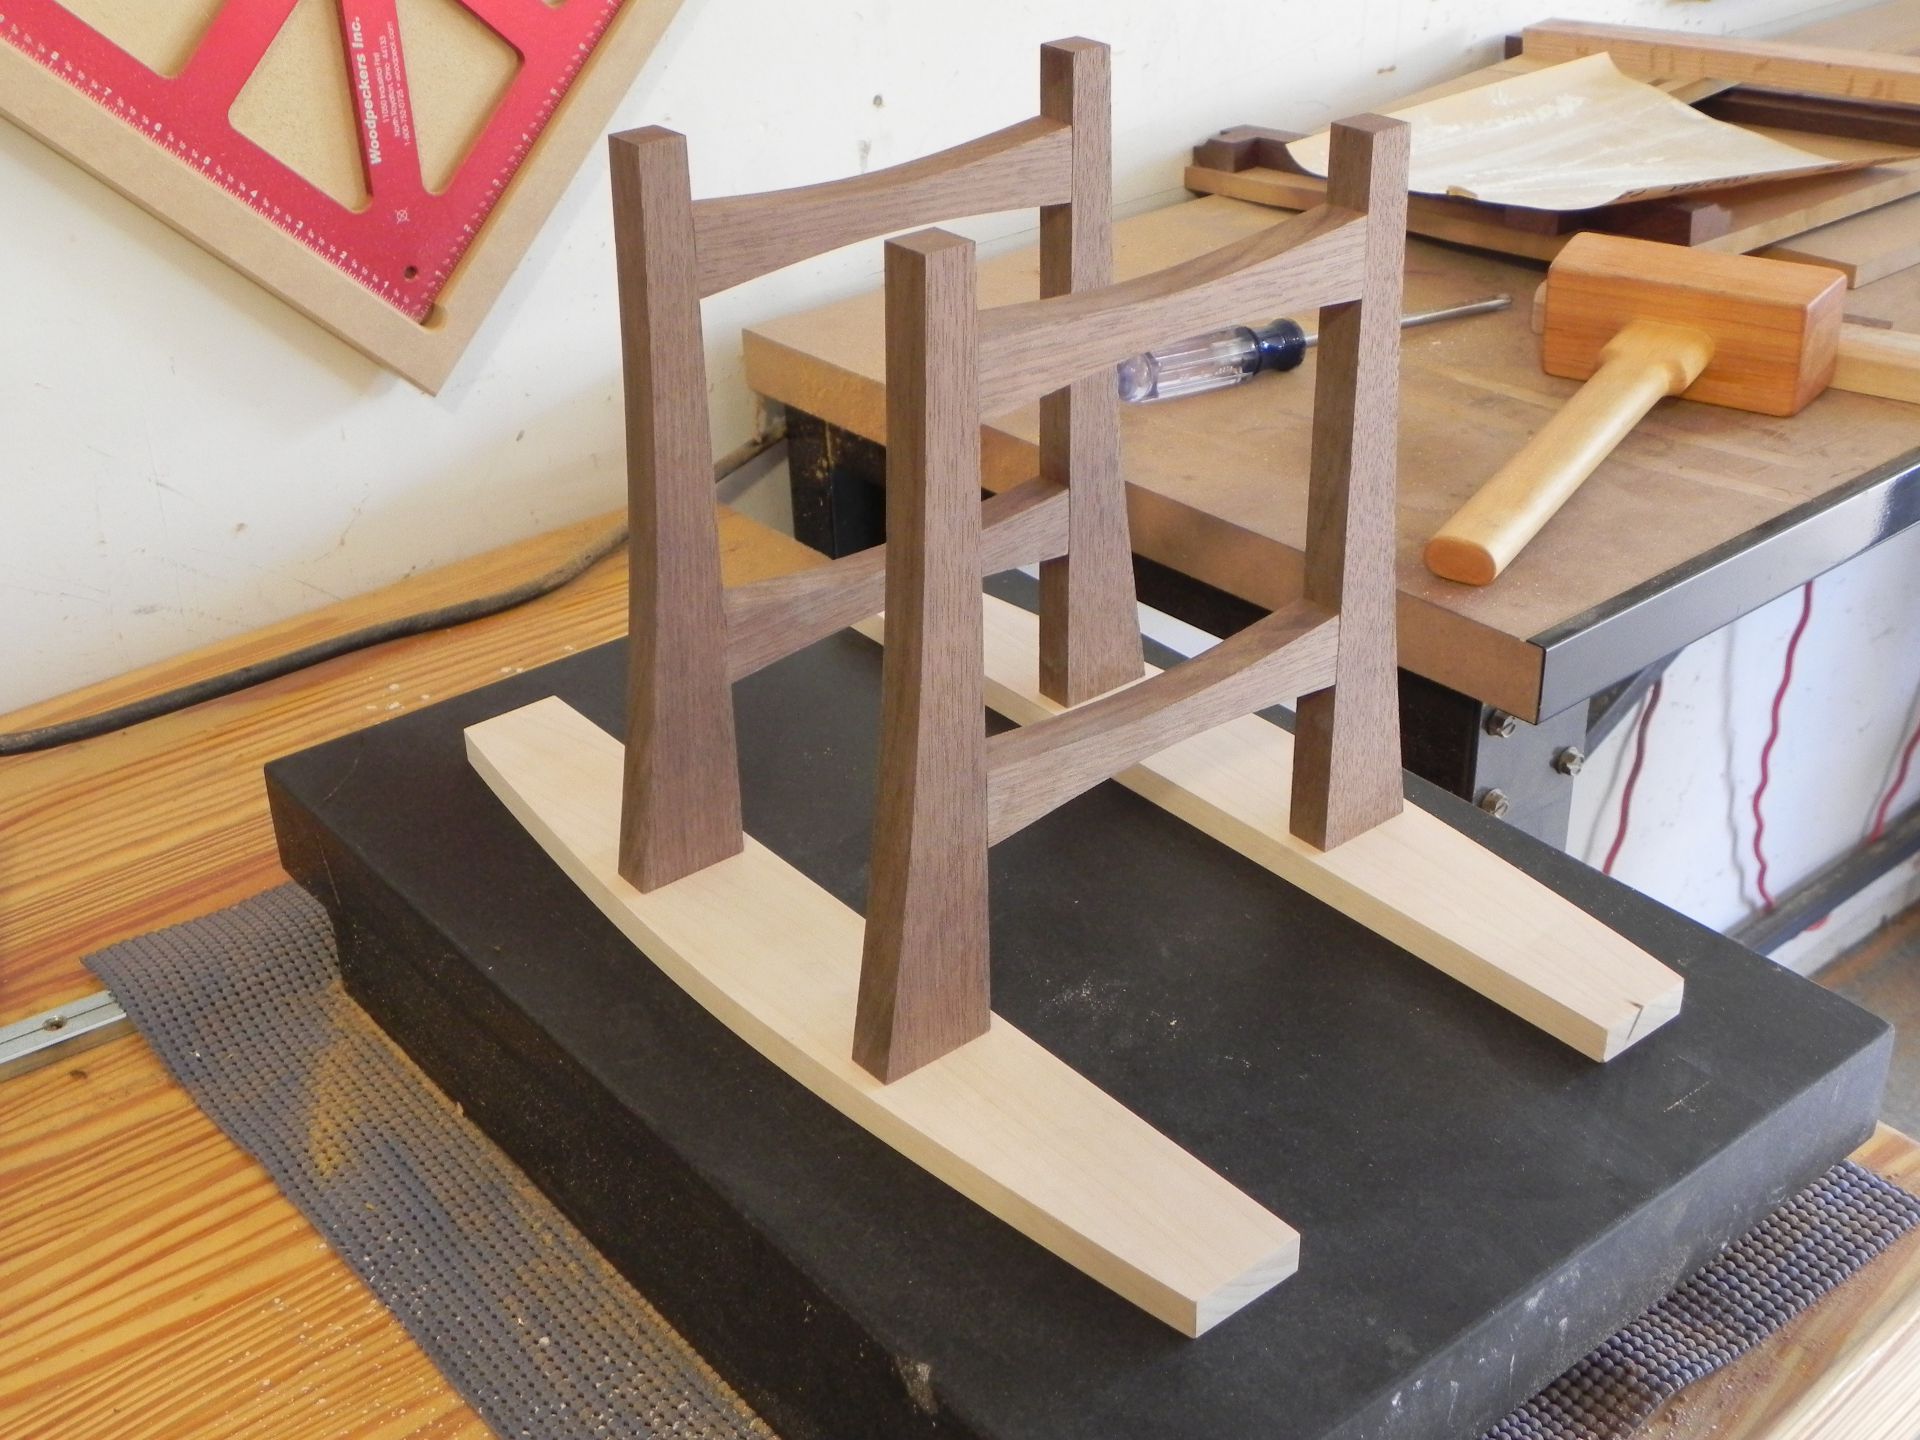
Not a lot to report today, All the parts have been shaped and given a rough sanding. The only things I have left to do, is the glue-up and applying a finish. For the finish, I’m going to use Danish oil. It really pops the grain of the Hard Maple, and It gives the Peruvian Walnut a lovely Mocha Hue.
The bandsaw looked so lonely in the shop, I decided to but it a friend. Ok, not really, while a bandsaw is perfect for making curved cuts, it’s usually leaves a semi rough surface. Convex cuts are east to clean up with a sanding stick. Large concave curves can easily be tackled with a sanding stick. Small ones on the other hand, can be a real pain in my opinion, I only know of two ways to smooth them out, with an oss, or by hand. I’ve done it by hand for years, and to be honest, it kind of sucks, It’s fine for one or two curves, but for several it’s really annoying.
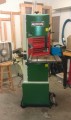
I’ve been wanting an OSS for years, and I had always planed to get the Jet JBOS-5, but when it came time, my local woodworking store only had the General 15-220, so Thats what I brought home. I also picked up the 3″ accessory drum. I’ve been using it for a few days now, and i’m more than happy with it’s performance. The top has been ground very flat, and smooth. The dust collection is excellent, and it’s also very quiet. So far I only have to minor dislikes. The insert hole had a slight bur that I easily cleaned up with sandpaper. A little less trivial is the fact that inserts are thinner than the depth of the dado they sit in, this a minor annoyance that can probably be addressed with the careful application of masking tape.

General 15-220
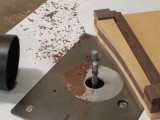
I finished setting up the new bandsaw mealier this week, so last night i got back to the wine rack. The only thing worth reporting, is how I sand small parts like those in the rack. When it comes to small parts, the only method I’ve found to give acceptable results, is “lapping”. Forget your power sanders, they will just round over the edges, even sanding blocks can be problematic, depending on the size of the parts. Next time you need to sand some small parts, find a flat surface and tape down some sand paper, you won’t regret it.
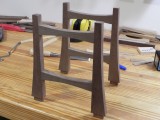
Coming together nicely.

Sanding small parts
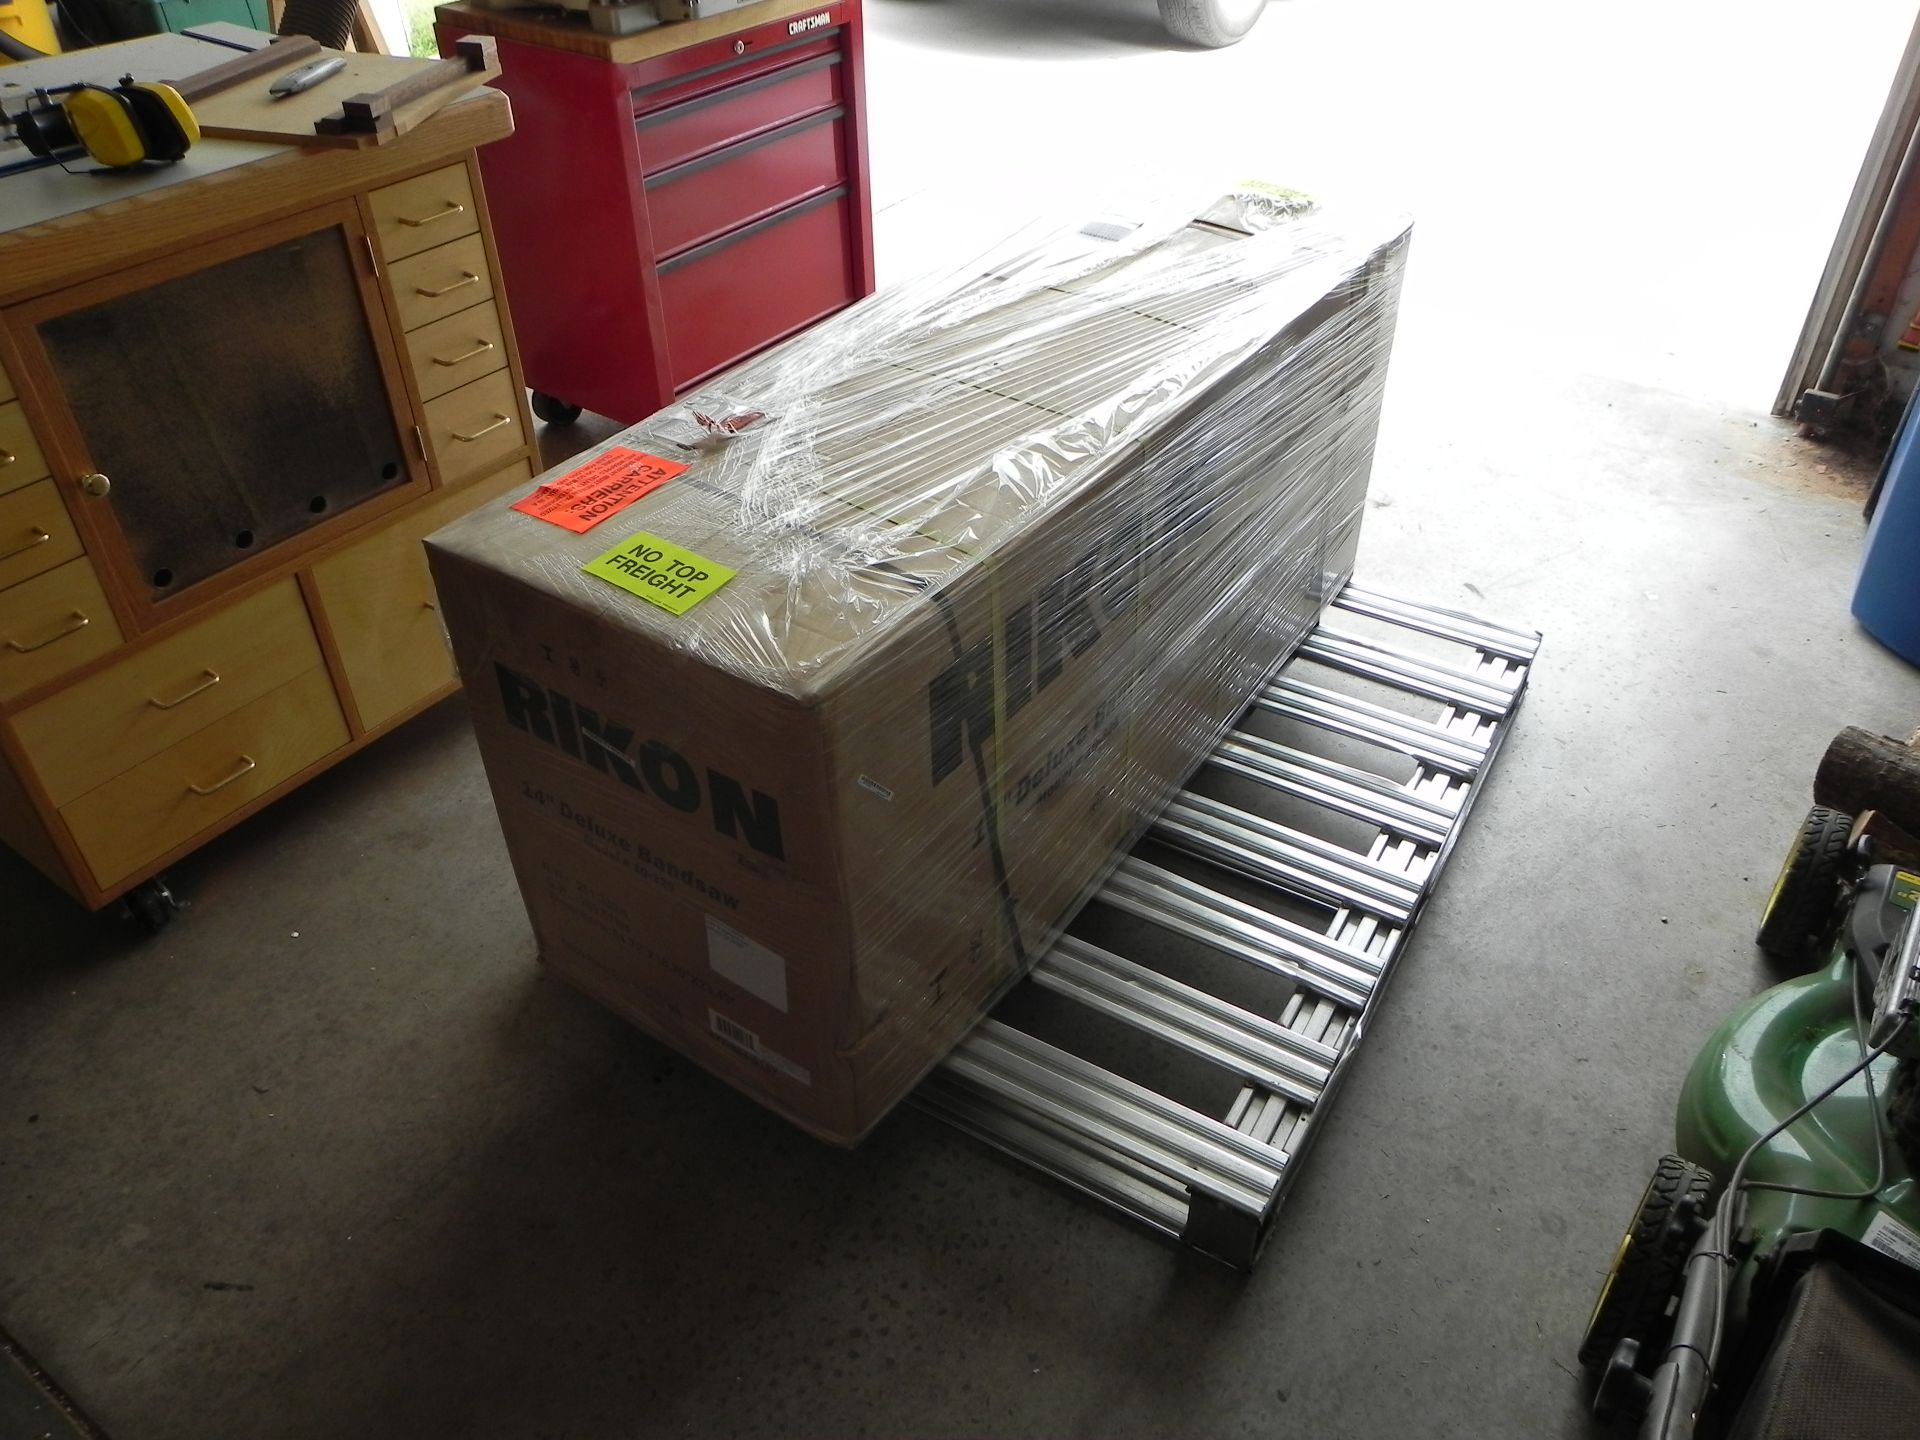
My wine rack project is on a little hiatus, while I set up the newest addition to my shop, a Rikon 14″ deluxe bandsaw. I have lived without a bandsaw for years, because all my projects where strait and kind of bland. The few times I’ve needed to make curved parts, I made do with router templates and my jig saw. Lately I’ve been making more curvy pieces, and it’s become obvious that a bandsaw is a necessity. after a few weeks of researching, I settled on the Rikon, because it meet my free primary requirements. It costs less than $1k, it runs on 120 volts, and it has an excellent re-saw capacity of 13 inches. Hopefully I will have it all tuned up, and ready to go by the end of the weekend.

I'm sure the neighbors loved me for this.
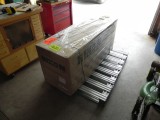
A metal pallet?
4 hours of assembly later.
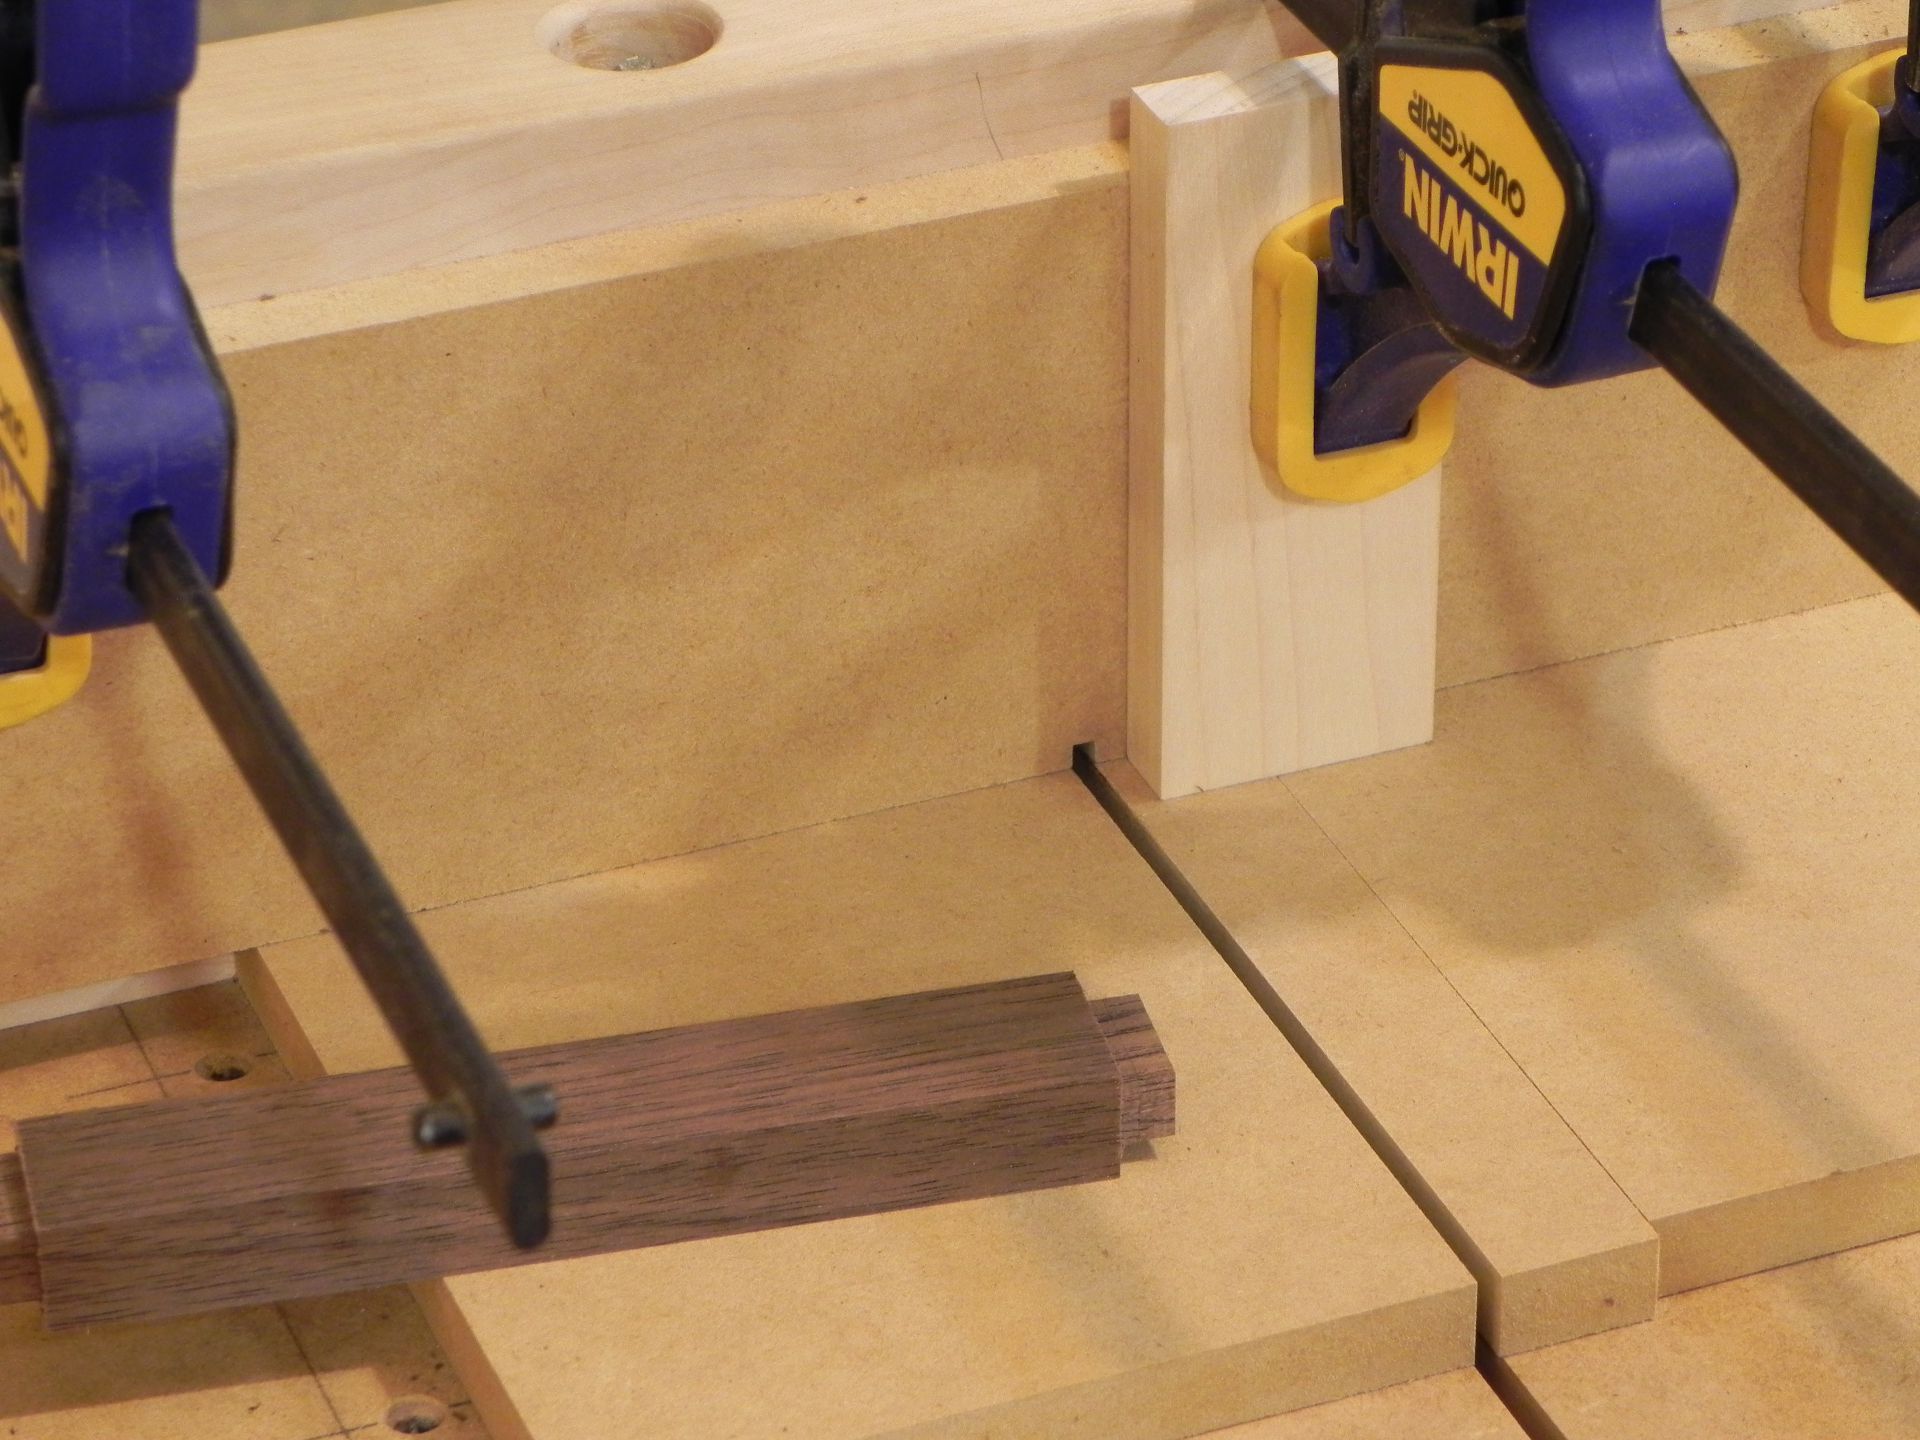
It’s time to make some tenons and try out my new flush trim bit. I’ve go On of the big purpose built table saw accessories for making tenons, but I’ve found that my crosscut sled a ripping blade and scrap wood does a better job. All you need to do is clap or tape some crap wood to the base and back of the sled. This provides a perfect “zero clearance” surface that will prevent chip-out. Then all you need to do is set the blade height and go to town.
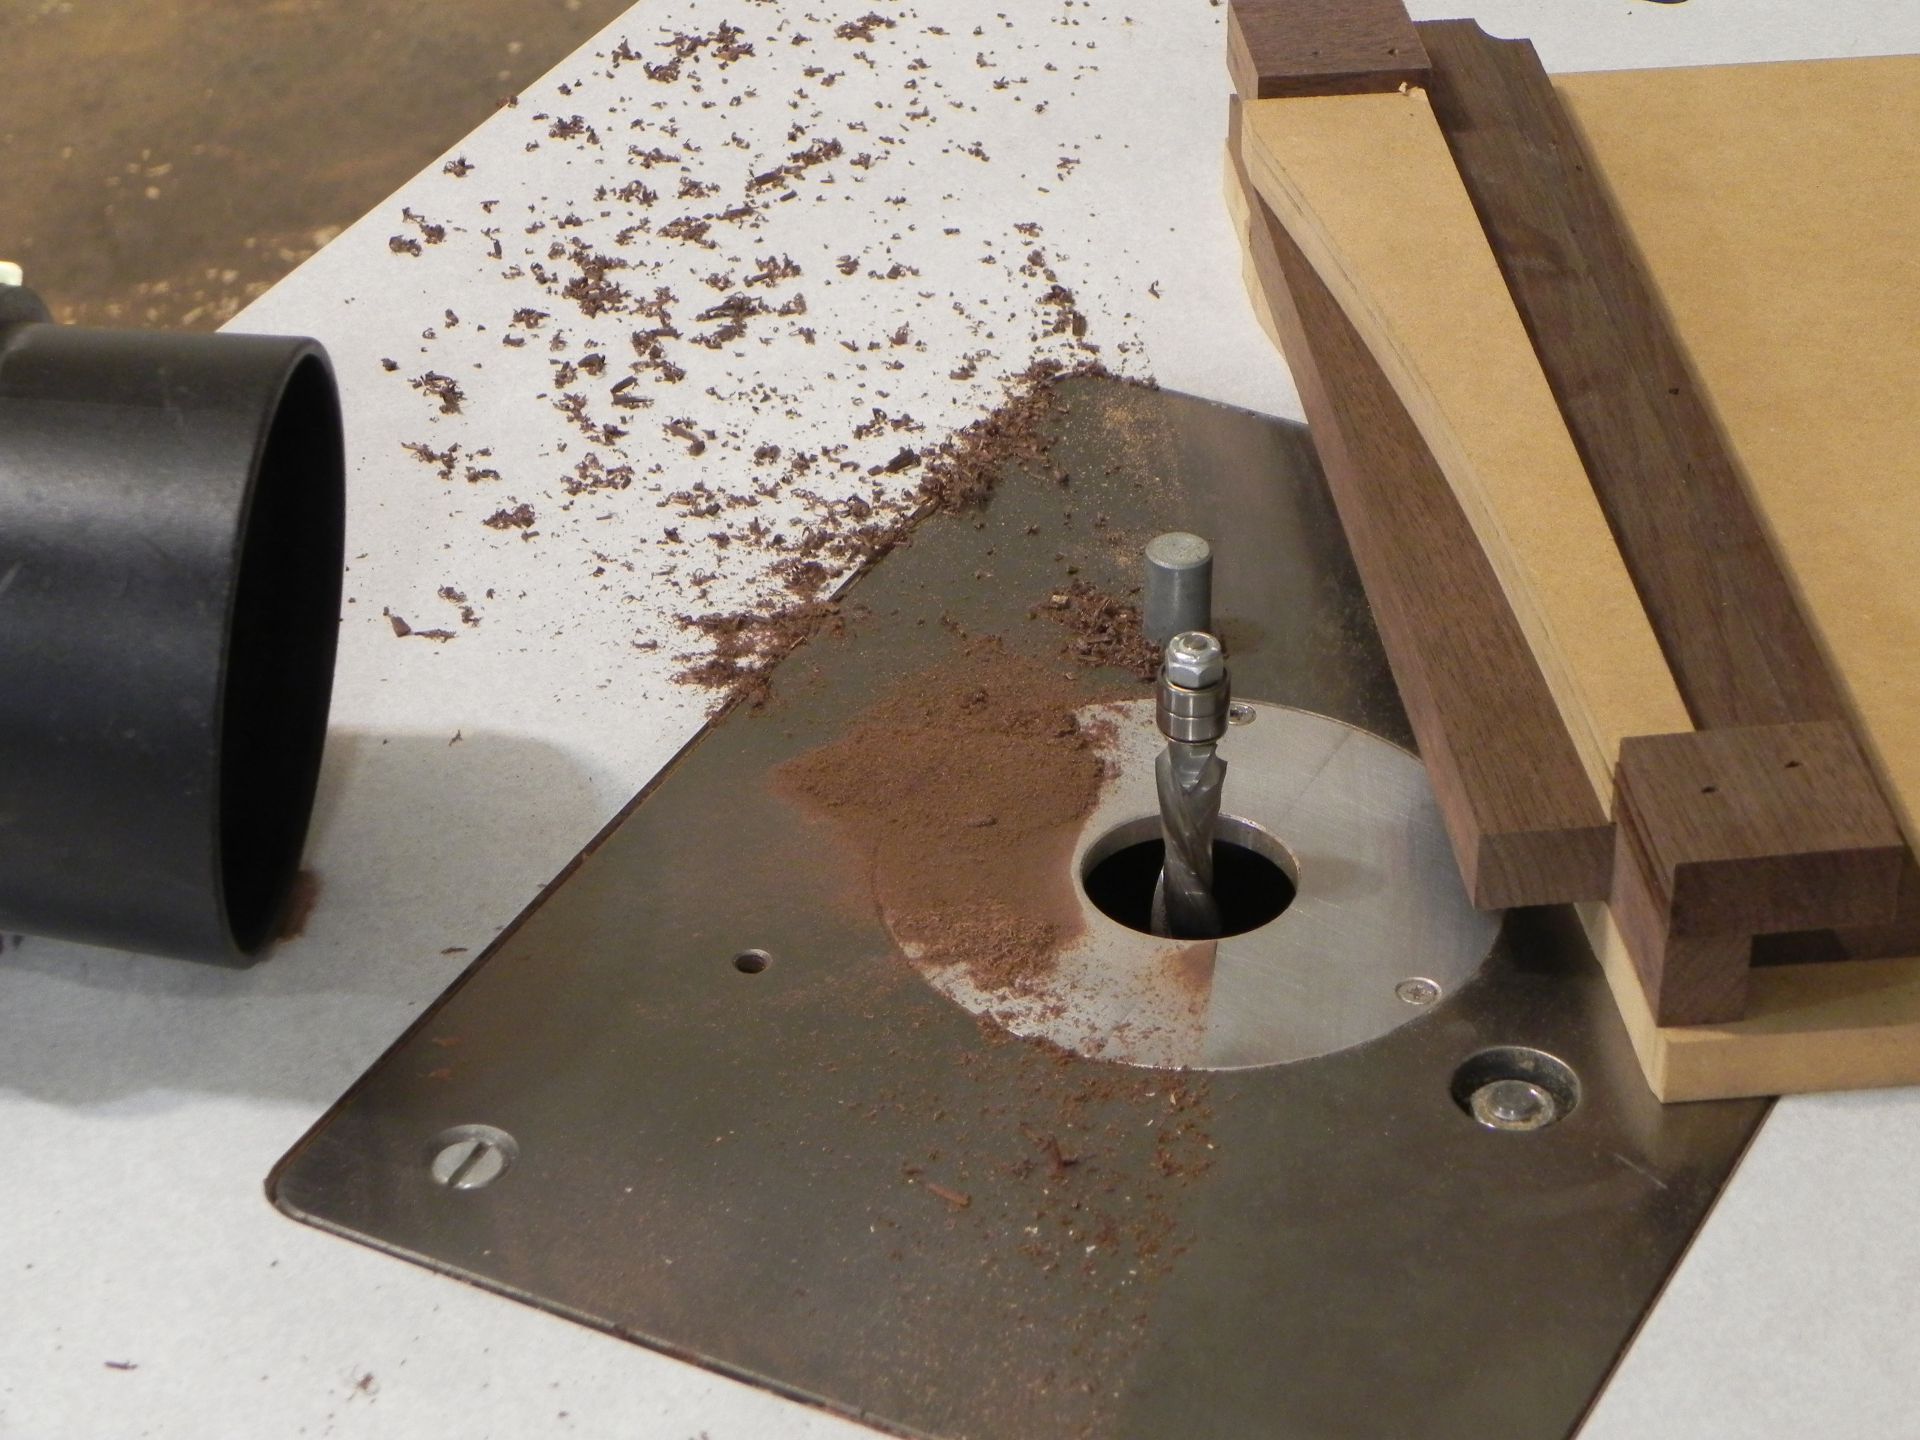
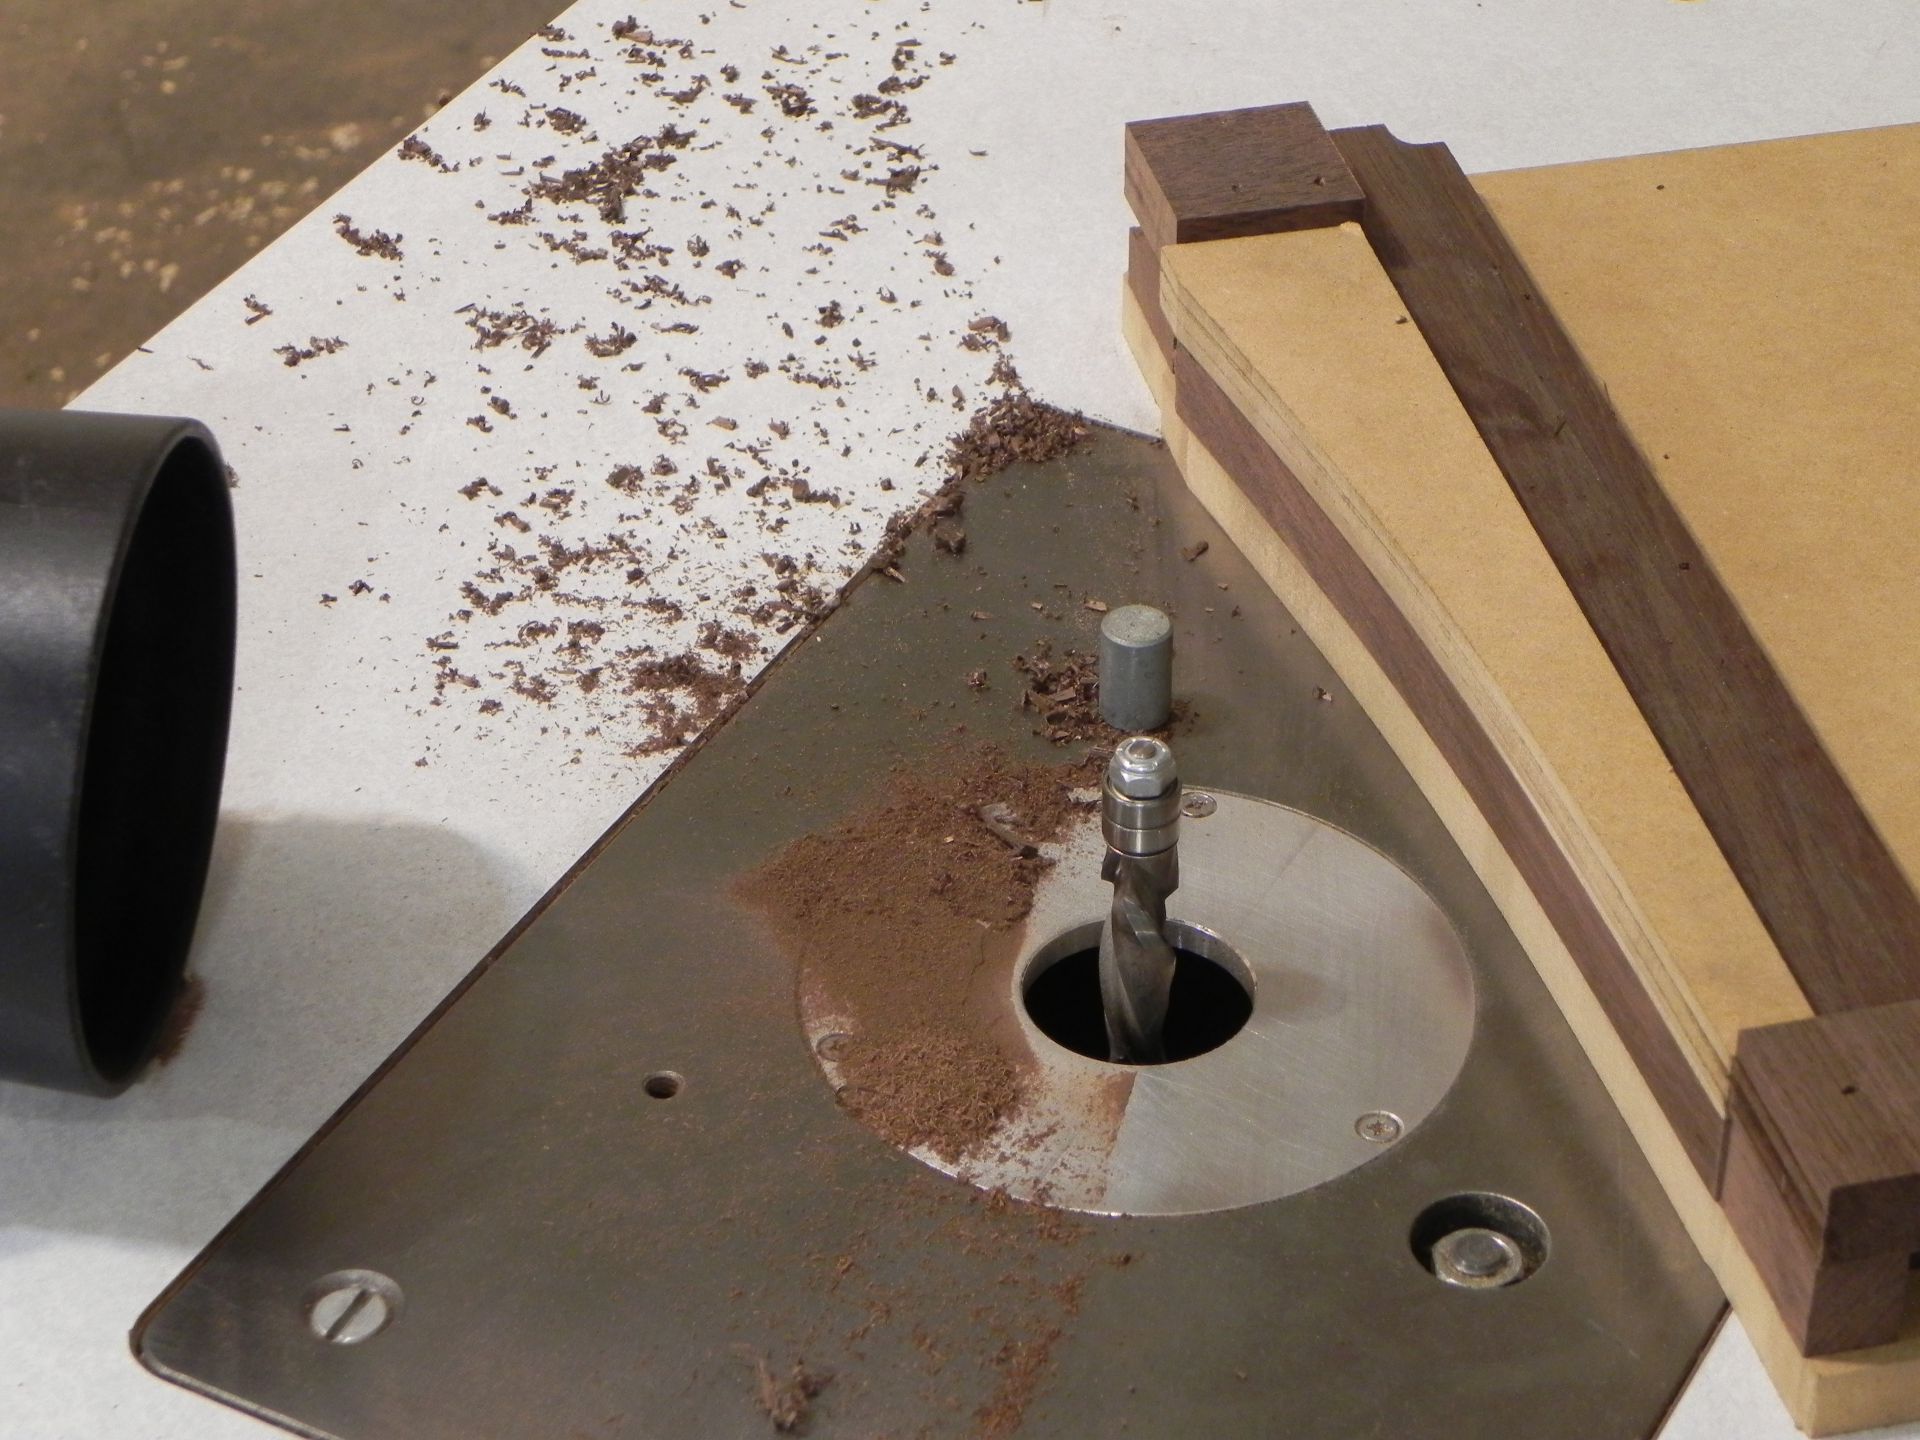
I’ve been looking forward to the pattern routing part of this project, since it started. I’ve been excited about taking my work to the next level, but also a little nervous, because I didn’t start small. Every singe board in this project has at least one curve on it. Aa the old saying goes, “go big or go home”. It turns out I didn’t need to be nervous, because the compression bit left a surface that will only require light sanding, plus one for modern technology.

chip out free tenoning jig

ready to rock and route
One down many to go