It’s been two weeks since my last post, but I actually have a good reason for not posting sooner. If you have ever made mortise and Tenon joints, you know they can be hard to get perfect using power tools. The most common tool used to make tenons is the table saw. You cut your boards to length set up a stop block, and then guide the board through the cut using a miter gauge. This method has a draw back though, your miter gauge must be perfectly square to the miter slot, and it can have now slop as it travels through the slot. If your set-up doesn’t meet both these requirements the checks won’t end up in the same plane, and thus one side of your joint will have a gap. If the gap is small then it’s usually not a big issues, because very rarely are both sides of a M&T joint visible. Continue Reading…
So it took almost a 5 days for my back to start feeling better, So I didn’t get as much done as I wanted.
While my back was still tender I made the two pattern routing templates need for the bottom aprons, as they are one of the things you can make while sitting on a comfortable stool. I’ve started making all my templates from 1/4″ Baltic Birch, as it holds up so much better than MDF, and is a lot less messy to use. It took about 4 hours to make both of them, and most of that was fine-tuning the shape with sanding sticks. This YouTube video explains the technique better than I can.

apron template
When my back was finally better, I started the loud and time consuming process of sizing all the stock for the aprons. I’m not exaggerating, jointing and planing Jatoba trashes most knives. My planer is probably 10 decibels louder than when I started. It took several days, because I had to buy 5/4 stock and then take it all the way down to 25/32″. Removing this much stock required 3 rounds of jointing and planing separated by 24 hour rest periods. My rule of thumb, is a 24 hour rest period for every 1/8″ of stock removed.

sized aprons
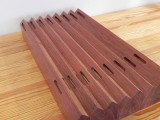
One of the things I’m trying for the first time on this project, is a continuous drawer front. If you’re not familiar with technique, you start out by taking stock wider than the final final apron and sawing it into 3 pieces lengthwise. The top and bottom pieces are narrow, and th e middle piece is as wide as your drawer is high. After you joint the freshly cut faces, you cut the drawer front out of the center piece. The final step is to glue the top and bottom pieces to the ends of the center piece, and then plane the glue up to final thickness. This Charles Neil YouTube video shows the process step by step.

drawer front
It took 3 weeks, but the legs are done except for finish sanding. The final step of making the legs was the longest, and the scariest. First I had to make a template for pattern routing, out of 1/4″ plywood. As you would expect it only took about an hour to make. One thing you will notice, is the template has a reference surface made from scrap SYP. It was needed so I could reference off the back miter edge.

routing template
To shape the legs, I double stick taped the template to the legs, and then rough cut around the template at the bandsaw. The scariest part was next. Maybe scary is the wrong word, but pattern routing 1-5/8″ thick Jatoba is not something to take lightly. It was loud, slow going and more than a little nerve racking, but I got through it using a Whiteside Down spiral flush trim bit. After I finished routing all 8 legs, I took them over to the oscillating spindle sander to smooth out any imperfections. After some hand sanding, it was back to the router table to round over the front edges. The round over has a large 3/4″ radius so it it had to be done in several passes. While as you can see the leg lookes beautiful, all that time spent bent over the router table really put the kibosh on my lower back, so it’s going to be a few days till I can get back into the shop.

Now that’s a nice Leg
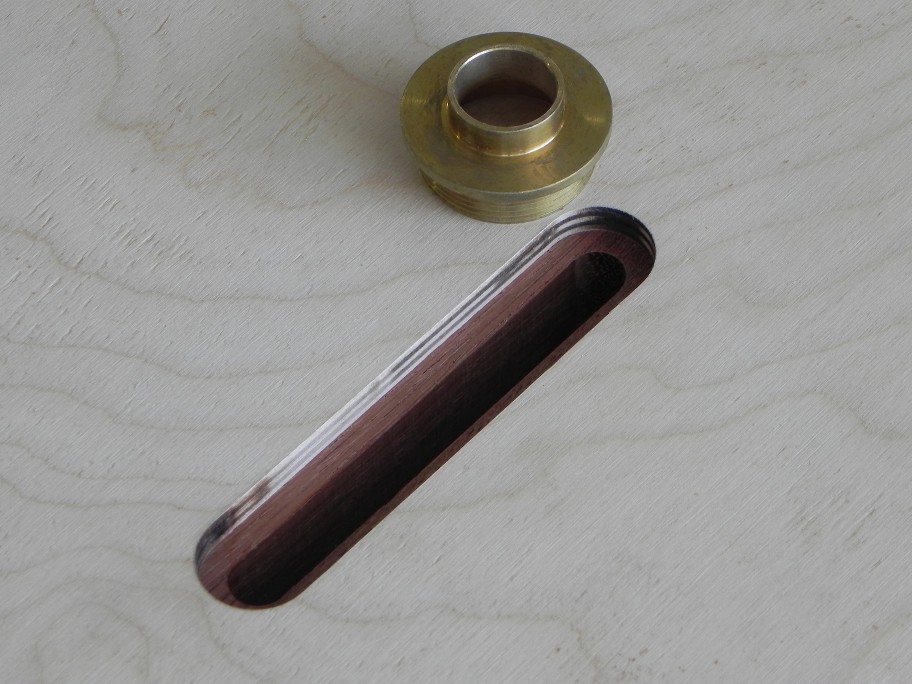
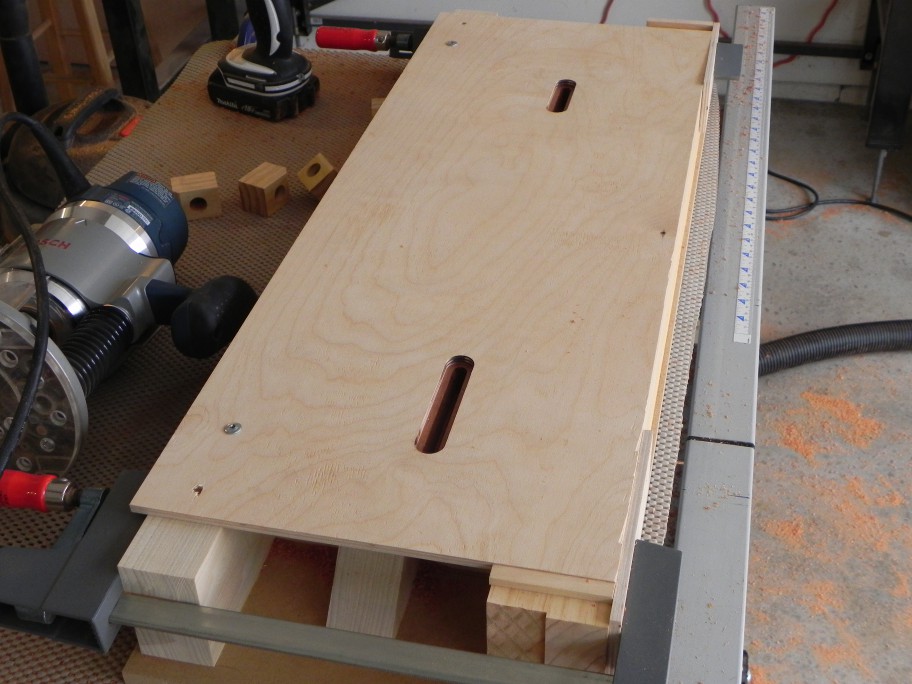
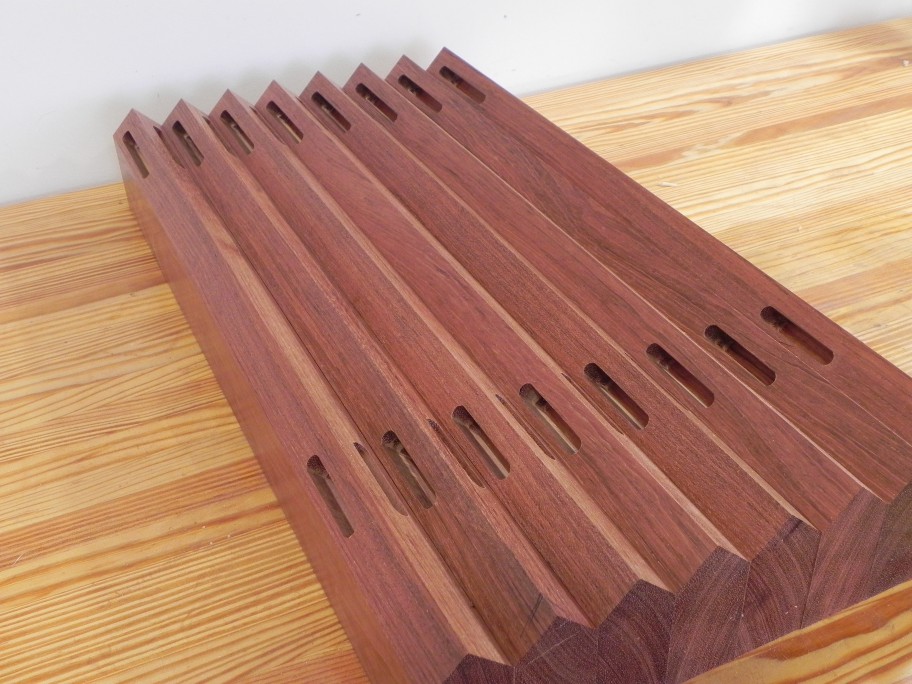
What was I thinking, it took a lot longer to make the mortises than I thought it would. It took almost a full week of evenings to make all 48 mortises, but they are done. Thankfully the second part of the leg making jig made making the mortises a low stress process. All it really is is a piece of 1/4″ plywood with slots milled into it at specific locations. When a leg is mounted into the bottom half of the jig, I screwed the plywood to it. The template bushing rides in the slots, so to cut the mortises all I had to do was take a pass, lower the bit and repeat until I reached full depth. The process it pretty strait forward, so I’ll let the photos explain the rest.

the guide bushing guide
the alignment jig
48 complete mortises
The first part I decided to work on for the end tables, was the legs. They are the most visually dominant parts, and one of the most complex to make. Since they are set set at 45 degrees to to the aprons, the require massive chamfers cut down their back. As you can see below, the chamfers also have mortises cut into them. These two design features posed an interesting challenge, how do I cut chamfers outside the capacity of my table saw, and how do I accurately mill mortises into them.

Continue Reading…