Now that I’m done making picture frames for a while, it’s time to start my big spring/summer project. I have wanted some nice end tables for a while now, so over Thanksgiving, I wrapped up the design shown below. They have a slight Asian flare like some of my other pieces, and will be made from one of my favorite woods Jatoba. It’s very hard (2350 on the Janka scale) and thus really hard on tooling, but over time it turns a beautiful dark reddish-brown, and I think that more than makes up for shorter tool life.
I plan on pushing my woodworking limits on this project in a two ways. The first one is with the brawer/drawer front, I’m going to try and make it out of one board. I’m not sure if this method has a specific name, but it looks beautiful because the grain is continuous between the apron & drawer front. The second design challenge are the legs. They are heavily curved, and more importantly at a 45 degree angle to the aprons. I’m still not sure exactly how I’m going to make these, most likely i will need to use a fairly complicated jig.

Sketchup Rendering
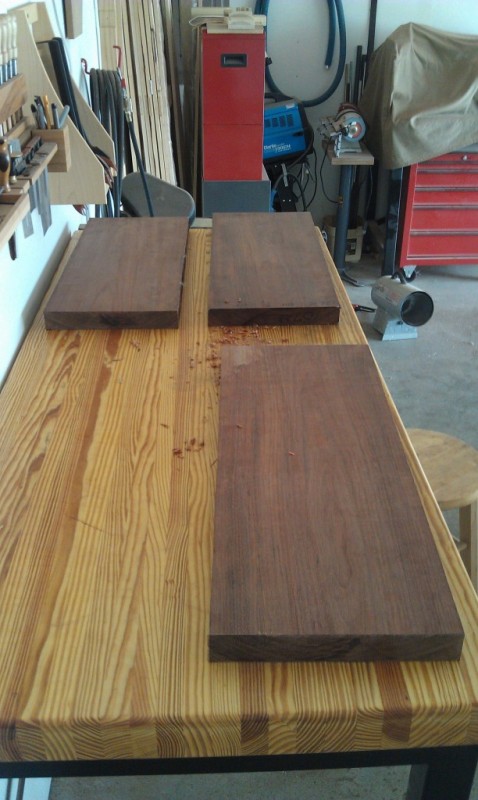
13" wide boards, I'm in heaven
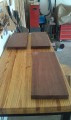
8/4 with a Lovely color
I finished off the last picture frame of the winter over the weekend. You’re probably wondering why I’ve maid so frames, and that question has two answers. The first one is strait forward, I got tired of looking at the plain walls of my house. The second is because in my opinion miter joints are the hardest joint to get right, found in regular woodworking. My first attempts looked horrible, but after a little reading I found a method that works for me every time. To make perfect miters you need two things a miter sled, and some clamps designed for miters.
This frame holds an inspirational poster that has come to mean a lot to me. It’s made from African Mahogany, and as with all the other frames I’ve made, it’s finished with Danish Oil and wax.

Words to live by.
Its been a month since my last post and you know what that mean, winter is in full effect. Thus as you can guess, I haven’t spent much time in the shop, but when I have braved the cold, I’ve been working on more picture frames for the house. I just finished the two below, and I have a few more in the works, so check back soon, because I’m considering posting a video on the techniques I use.

small frames
I wanted to make my parents something special for Christmas this year, but I wasn’t sure what until I visited them over Thanksgiving. While walking through the living-room I noticed that the only photo they had of me was several years old, and was just an impromptu shot taken at a park. After returning home I talked with a friend who is professional photographer, and set up a time to get some quality photos taken.
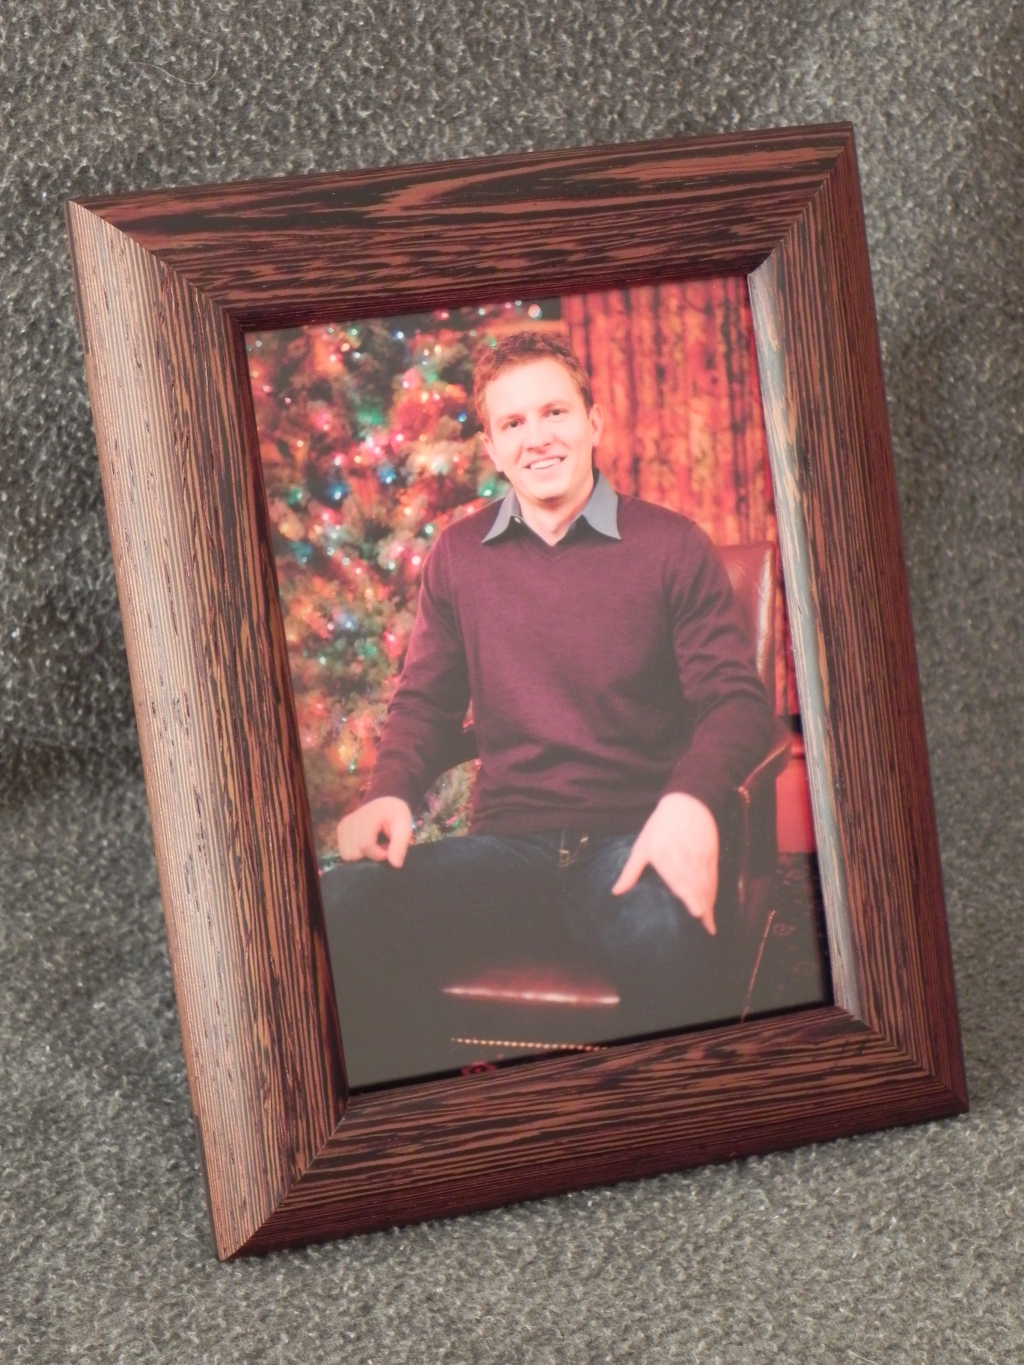
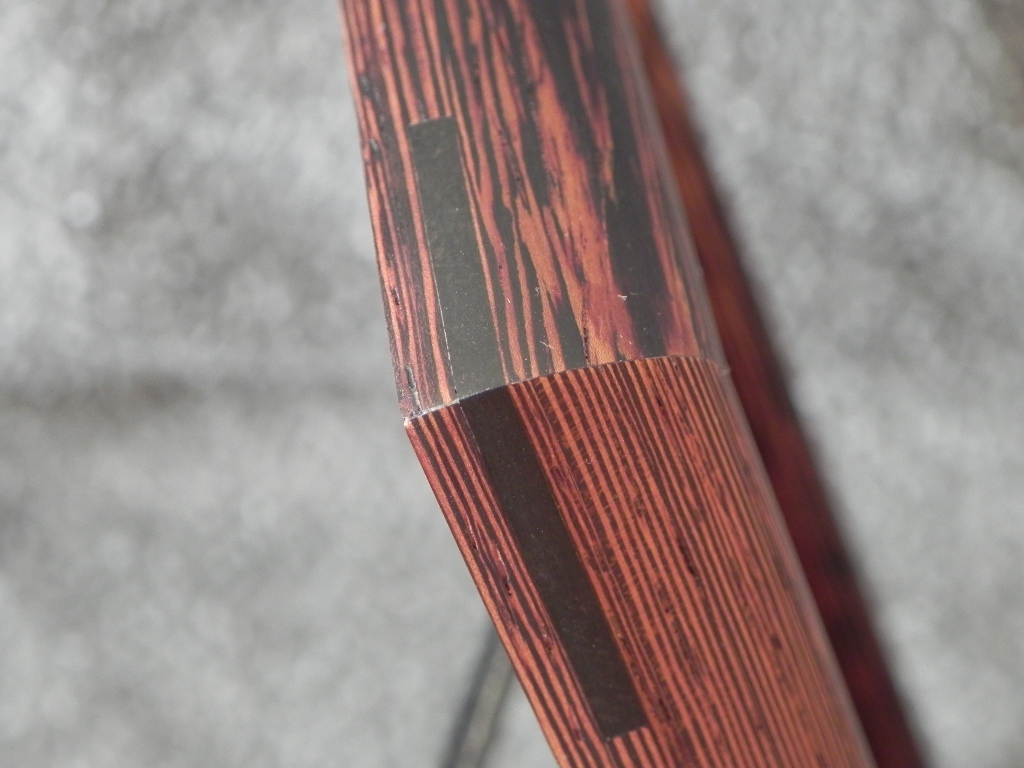
With the actual photos taken care of, I set to work on a custom frame. I Wanted the frame to be special, so I decided to use Wenge as the main wood & Gaboon Ebony for the keys. I’d read that Wenge was difficult to work with, and it didn’t disappoint. It planed well, but routing the edge profiles was nerve racking. Unlike other woods, you must route Wenge with the grain, or you will get horrible blow out. The Ebony on the other hand was a dream to work with, It planed exceptionally well despite its density. For the finish I went with two coats of my go to Danish Oil.

Wenge Frame

Gaboon Ebony key
I’ve been so busy with Christmas preparations that I forgot to post a shot of the finished wine rack. I swear I finished it last weekend. :-) The client loved it, and was really please that it has a slight nautical look. As I had hoped it was a lot easier to make than mine due to having only 2 mortises instead of twelve.