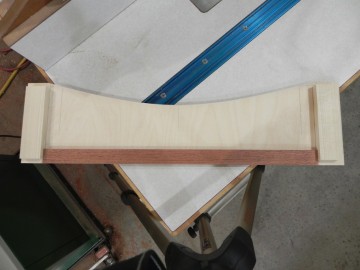
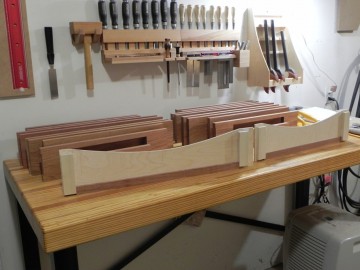
apron templates
So it took almost a 5 days for my back to start feeling better, So I didn’t get as much done as I wanted.
While my back was still tender I made the two pattern routing templates need for the bottom aprons, as they are one of the things you can make while sitting on a comfortable stool. I’ve started making all my templates from 1/4″ Baltic Birch, as it holds up so much better than MDF, and is a lot less messy to use. It took about 4 hours to make both of them, and most of that was fine-tuning the shape with sanding sticks. This YouTube video explains the technique better than I can.
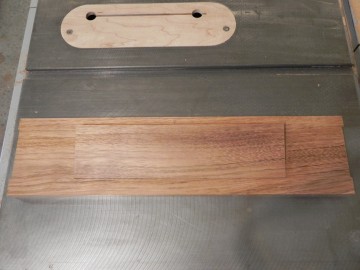
When my back was finally better, I started the loud and time consuming process of sizing all the stock for the aprons. I’m not exaggerating, jointing and planing Jatoba trashes most knives. My planer is probably 10 decibels louder than when I started. It took several days, because I had to buy 5/4 stock and then take it all the way down to 25/32″. Removing this much stock required 3 rounds of jointing and planing separated by 24 hour rest periods. My rule of thumb, is a 24 hour rest period for every 1/8″ of stock removed.
One of the things I’m trying for the first time on this project, is a continuous drawer front. If you’re not familiar with technique, you start out by taking stock wider than the final final apron and sawing it into 3 pieces lengthwise. The top and bottom pieces are narrow, and th e middle piece is as wide as your drawer is high. After you joint the freshly cut faces, you cut the drawer front out of the center piece. The final step is to glue the top and bottom pieces to the ends of the center piece, and then plane the glue up to final thickness. This Charles Neil YouTube video shows the process step by step.


