Tapering Jig

The new jig
I’ve made one off tapers for years, using nothing more than a piece of MDF and double stick tape. All I had to do was set the table saw fence, rip the MDF to width, and then tape the work piece to the MDF with the proper chunk overhanging the end. The setup was quick and easy, but not very repeatable. Since my next project will require 16 identical tapers, and I’m still waiting on a router bit to arrive, I though now would be a good time to make a proper tapering jig.
Like most of my projects, this one started with me surfing the net, to see what others have done. I found a wide range of designs, everything from a piece of scrap & a drywall screws, to a jig that looked like it would take a week to make. What I settled on was this design by Alan Turner with a few tweaks.
The tweaks I made are as follows. First I used 1/2″ MDF for the sled instead of 3/4″, because my table saw has a limited depth of cut and that extra 1/4″ makes a difference. Secondly, I Made a lot more holes for hold down bolts. I did this because I didn’t like the idea of screwing the stop blocks (Alan calls them keepers) down the jig all the time. Finally I made Infinitely adjustable hold downs. Instead of me jabbering on, I’ll let the pictures do the talking.
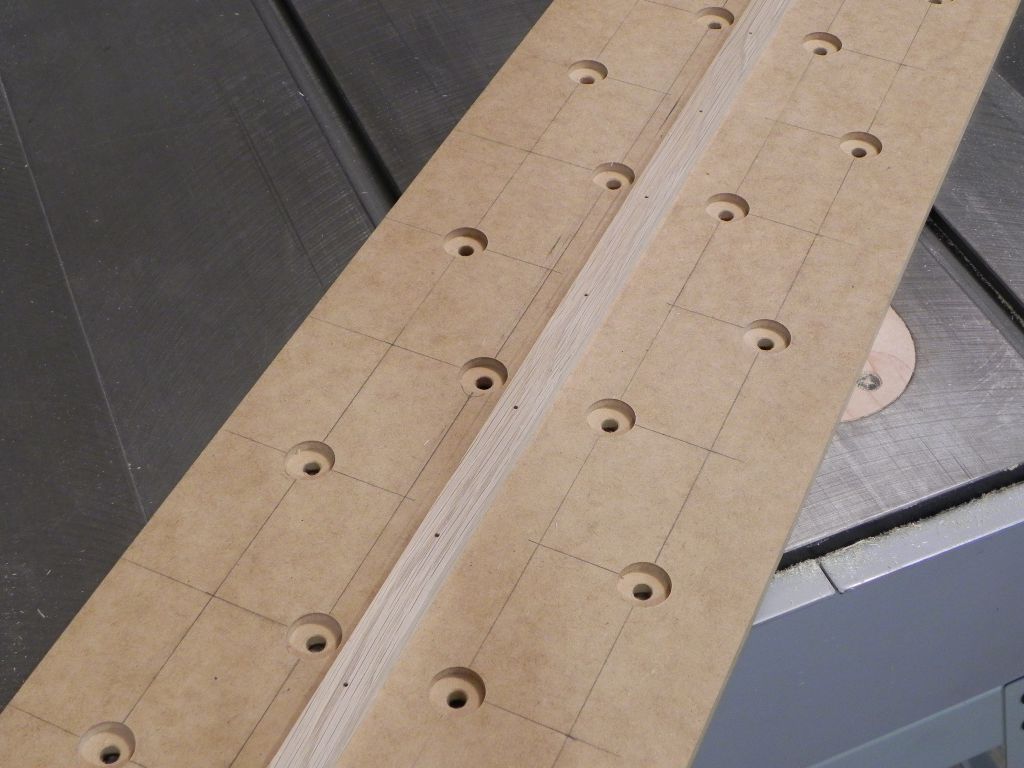
The bottom of the jig showing all the contersunk hold-down screw holes.
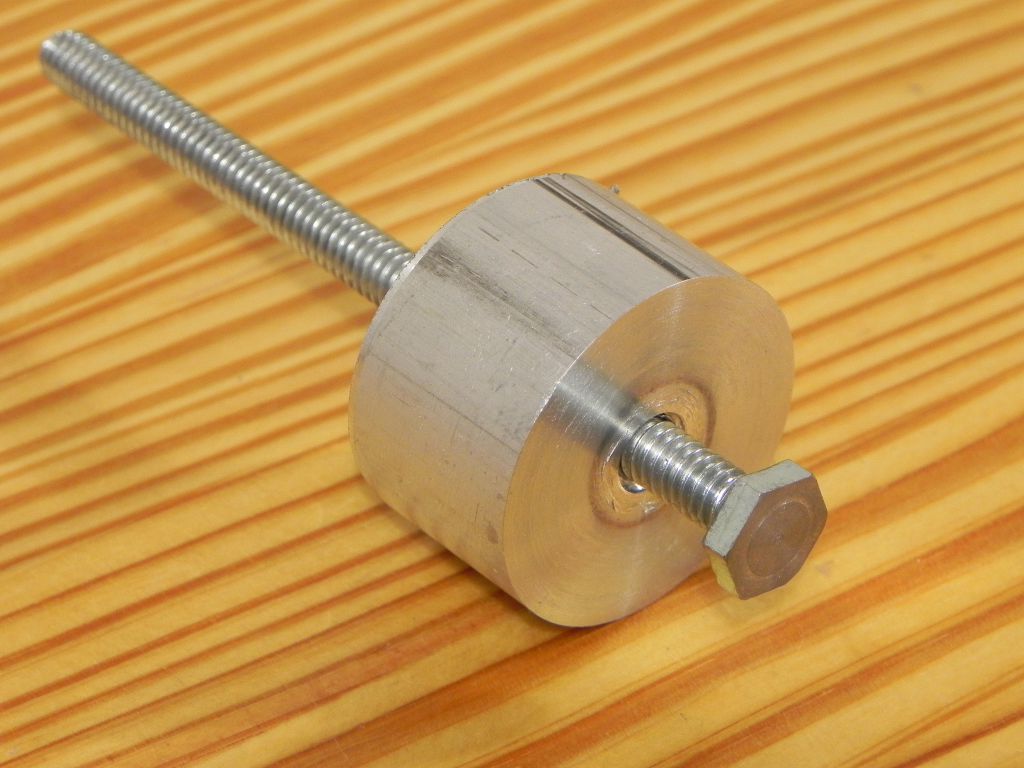
A simple jig that allowed me to face off the hold down bolts so the contersinks didn't have to be as deep.
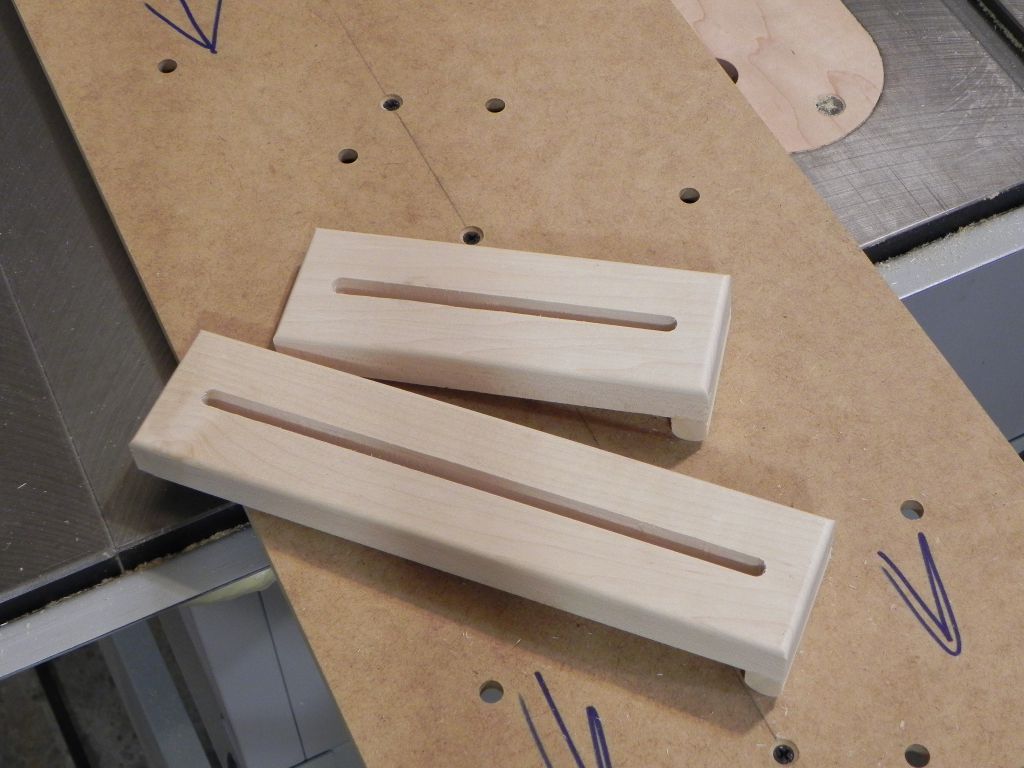
The infintetly ajustable hold downs.
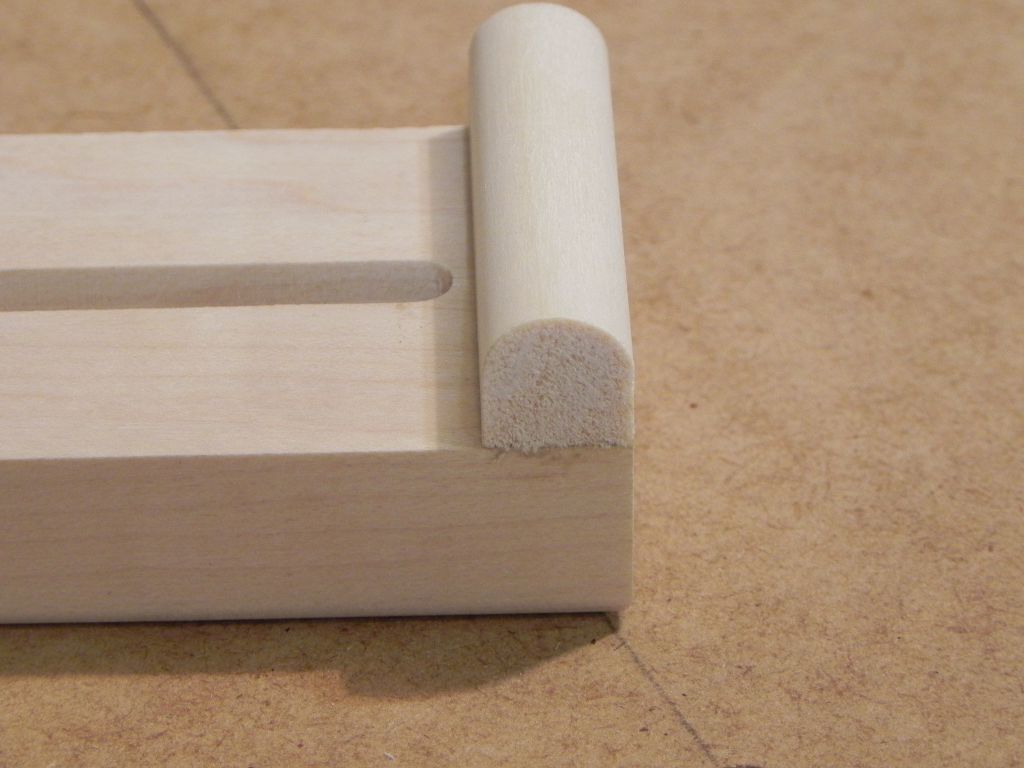
The hold down buisness end has a half round made from soft poplar, to prevent maring of the work piece.
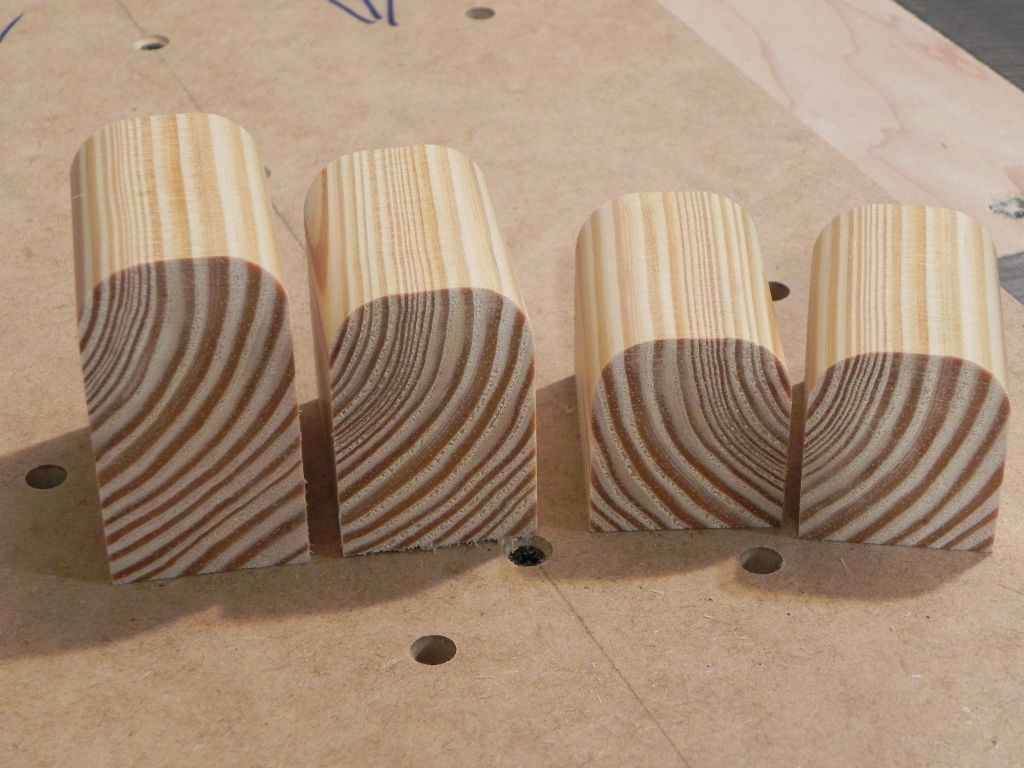
fulcrum blocks of varing heights.
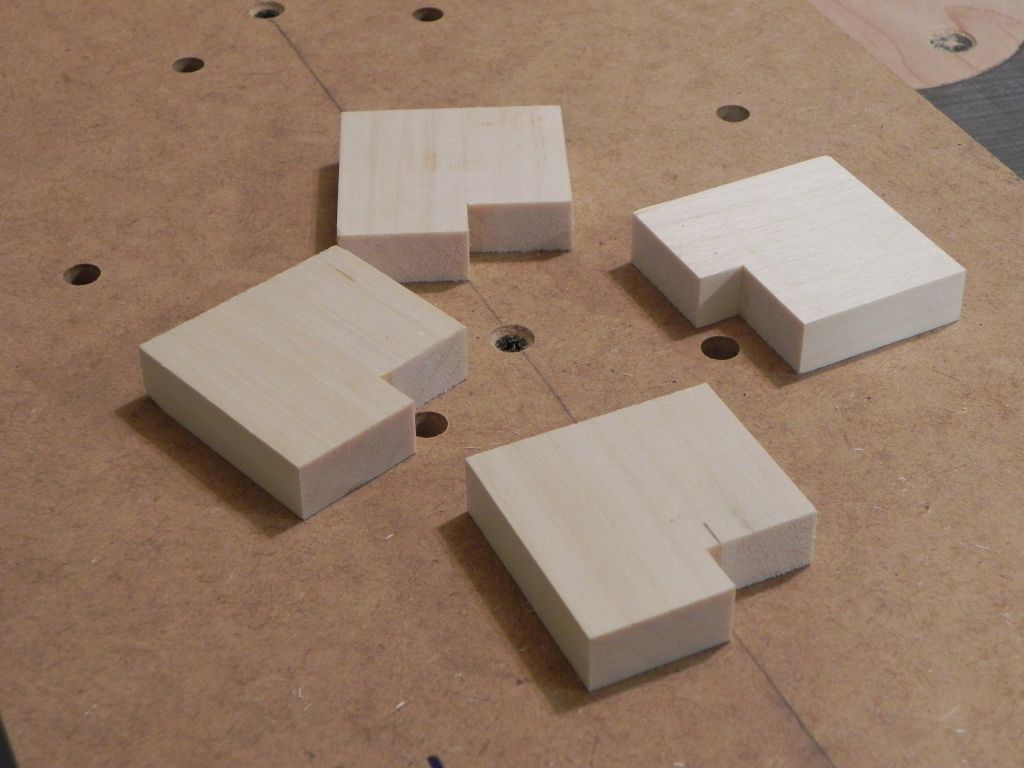
stop blocks, for securely registering the work piece.
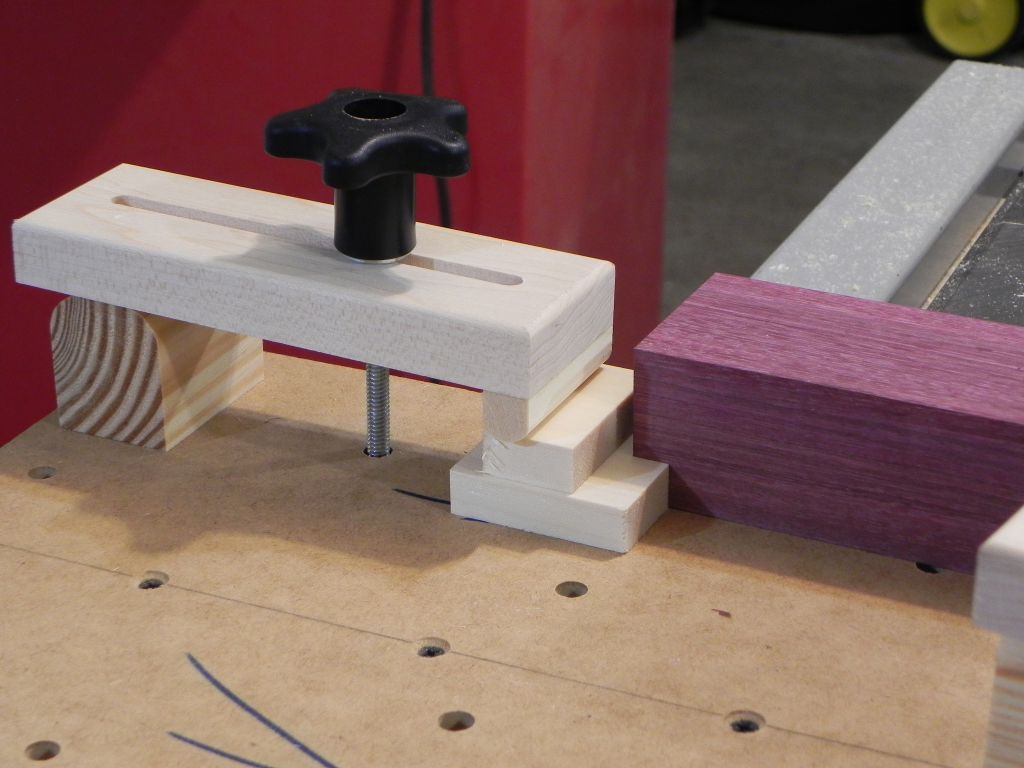
A stop block in action.

I don’t understand the simple jig that allows you to face off the hold down bolts could you show a drawing explaining the use of the jig.
Hi Ralph,
Basically its just a chunk of scrap aluminum that I chucked up in the metal lathe, and then drilled and tapped. Sine the lathe spin counter clockwise, all I have to do is run the bolts in till they bottom out, and then face them to length.
-Dan