Friday, I finished up the three bottom storage drawers. The drawer joinery, is another one of details that my design deviates significantly from Norms. For utility drawers like these, that aren’t going to see a lot of daily use I like to use dado & rabbet joints. They’re easy to make on the table saw, & provide a strong mechanical connection.
The following rendering shows a drawer constructed using this joinery method. The drawer sides have a dado cut into both ends, while the front & back have rabbets cut on their ends that fit into the side panel dados. The false front is glued onto the inner front panel.

Rendering of a drawer with a false front, that's held together with dado & rabbet joints.
The following shots show the steps I use to make drawers using dado & rabbet joinery. For reference, the drawer sides are 1/2″ ply, the bottom is 1/4″ ply, and the false front is 3/4″ ply. Before you start, one thing I recommend, is to place indicator marks on key faces. It’s really easy to get a board turned around and cut a rabbet or dado on the wrong side when your running a batch of boards. Indicator marks help prevent this, assuming you remember to pay attention. Trust me, I’ve learned this the hard way many times over.
Continue Reading…
I’m behind on getting updates on this project published, the following photos are from last weekend. While I didn’t get much accomplished, it’s starting to look like a router table. The two main things I got done where mounting the drawers, & sizing of the on of switch mount. I did one thing I won’t soon forget, chopping a mortise in plywood, murders a chisels cutting edge.
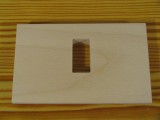
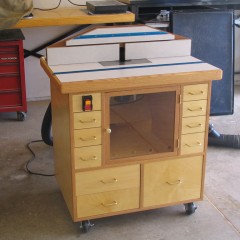
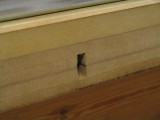
The switch mounting Mortise.
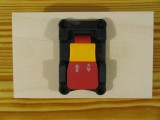
The switch mounted in the mortise.
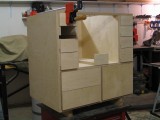
The case is all but finished.
I finished the case late last week, and started working on the top late Saturday night. One of the things I struggled with, was how to cut a hole in the back of the case for the dust port. I didn’t want to buy a hole saw that would most likely never be used again unless I absolutely needed to. The solution I came up with, was to use an adjustable circle cutter to make a hole in a piece of MDF scrap, I then used the MDF as a template to router the hole into the case.

Circle cutter & template.

The template made it easy to ensure the dust port was flush with the bottom shelf.

Continue Reading…
I had originally planed to use two layers of 3/4″ MDF for my top, but after seeing how much the Benchdog lift and my router weighed, I started to get concerned. After a little while searching the web my concern was confirmed, several people has expressed that after a while the top started to sag. Sag is not a big problem, when routing simple edge profiles, but it’s unacceptable when you want to do something that requires a high degree of precision like cope and stick joinery.
After a day or two pondering my options, I decided to do two things. First I decided to reinforce the top by epoxying some steel bars into it, this will dramatically increase its stiffness. The increased stiffness, does come with a risk though, if the top is not perfectly flat when the epoxy is applied it will be next to impossible to flatten once it’s cured (I’ll cover this in a later post). Secondly I’m going to make the top 3 layers instead of two. The 3rd layer will add additional stiffness, but it’s main job is to give me freedom to place the steel bars anywhere. If I had stuck with 2 layers, I would not have been able to place the bars in certain sections of the top, because they would interfere with the miter & T track. The following shots show my progress on the top so far.

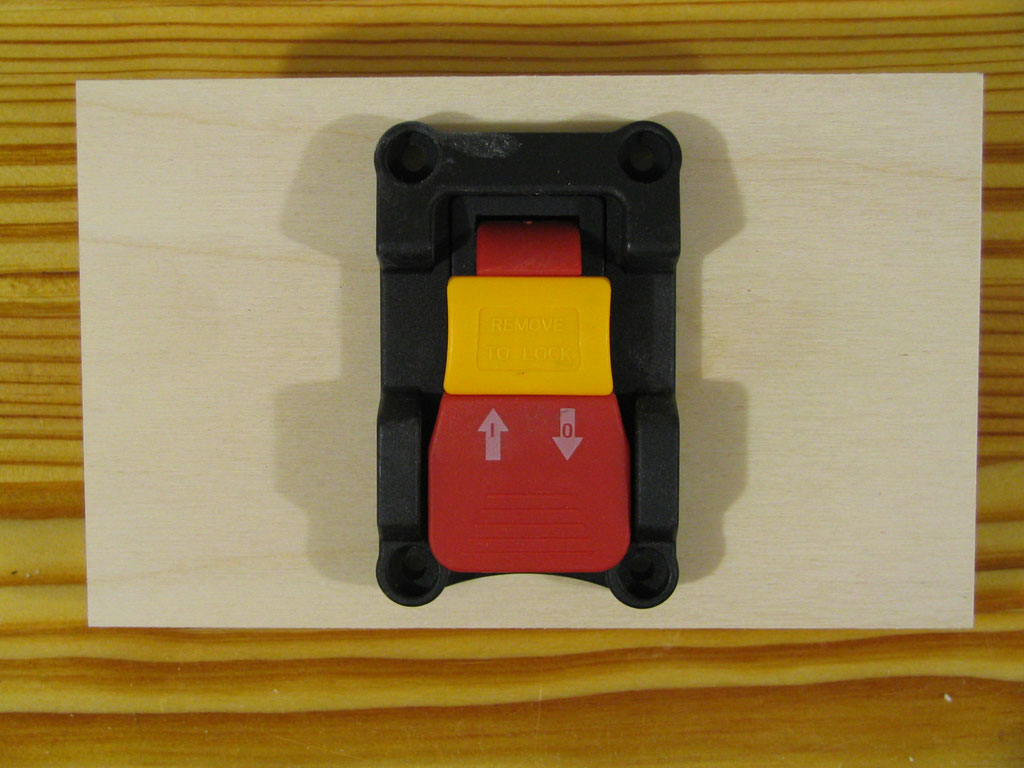
The bottom two MDF sheets have 4 dados in them, each is 5/32" wide by 13/32" deep.

I glued up the top in 2 phases, first the 2 bottom pieces and then the top to the bottom glue-up. Each time I vacuum bagged the glue up to ensure maximum adhesion between the layers.

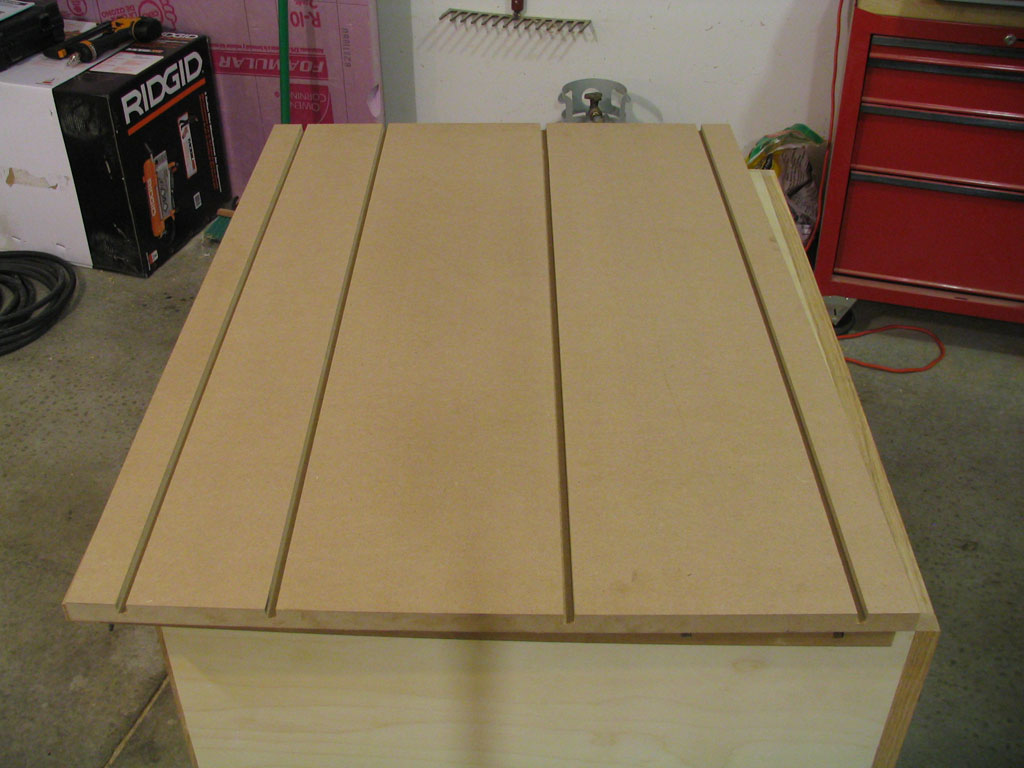
My vacuum bagging system consists of a little pump, and A PVC resivoir.
Here you can see the final lamination, ready for the steel bars and epoxy.
Most are familiar with the saying “measure twice, cut once” well apparently twice isn’t enough for me. Tonight I routed the recess in my top for the router lift. After removing the template, I spent a good 5 minutes cursing at myself. Some how, I managed to rout the recess 2 inches off center. Thus I have to start over, because being off by that much is unacceptable to me. What irritates me the most, is that my shop is covered in a thick layer of MDF dust for no good reason.