Router Table (Pt. 9)
I had originally planed to use two layers of 3/4″ MDF for my top, but after seeing how much the Benchdog lift and my router weighed, I started to get concerned. After a little while searching the web my concern was confirmed, several people has expressed that after a while the top started to sag. Sag is not a big problem, when routing simple edge profiles, but it’s unacceptable when you want to do something that requires a high degree of precision like cope and stick joinery.
After a day or two pondering my options, I decided to do two things. First I decided to reinforce the top by epoxying some steel bars into it, this will dramatically increase its stiffness. The increased stiffness, does come with a risk though, if the top is not perfectly flat when the epoxy is applied it will be next to impossible to flatten once it’s cured (I’ll cover this in a later post). Secondly I’m going to make the top 3 layers instead of two. The 3rd layer will add additional stiffness, but it’s main job is to give me freedom to place the steel bars anywhere. If I had stuck with 2 layers, I would not have been able to place the bars in certain sections of the top, because they would interfere with the miter & T track. The following shots show my progress on the top so far.
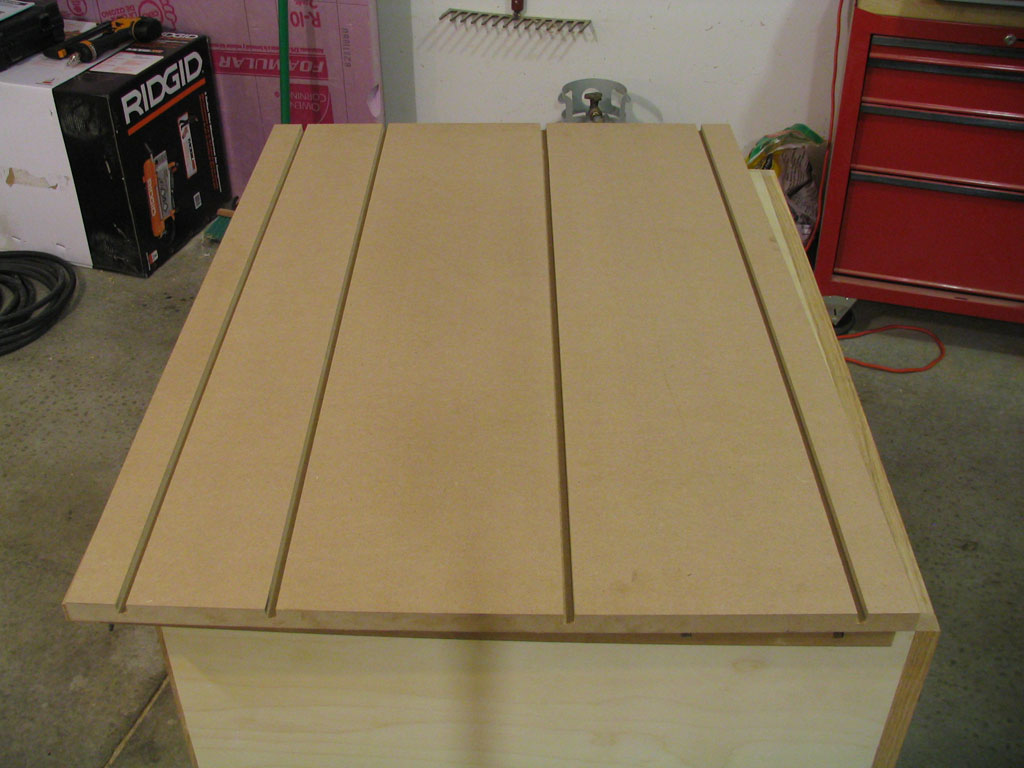
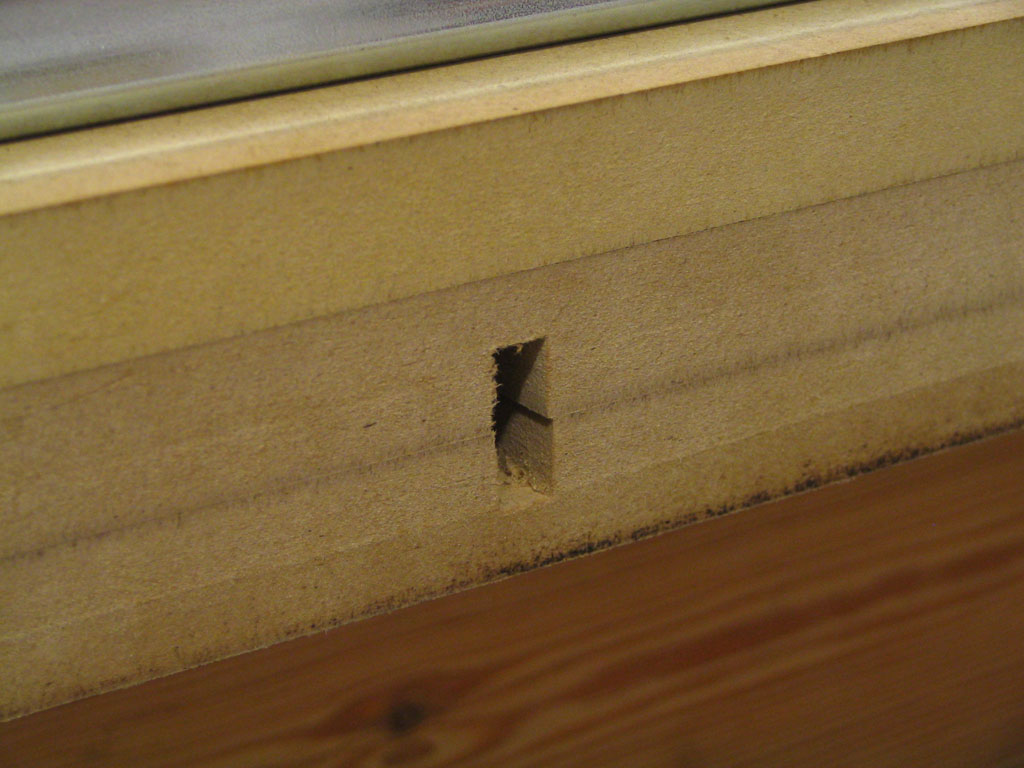
The bottom two MDF sheets have 4 dados in them, each is 5/32" wide by 13/32" deep.

I glued up the top in 2 phases, first the 2 bottom pieces and then the top to the bottom glue-up. Each time I vacuum bagged the glue up to ensure maximum adhesion between the layers.
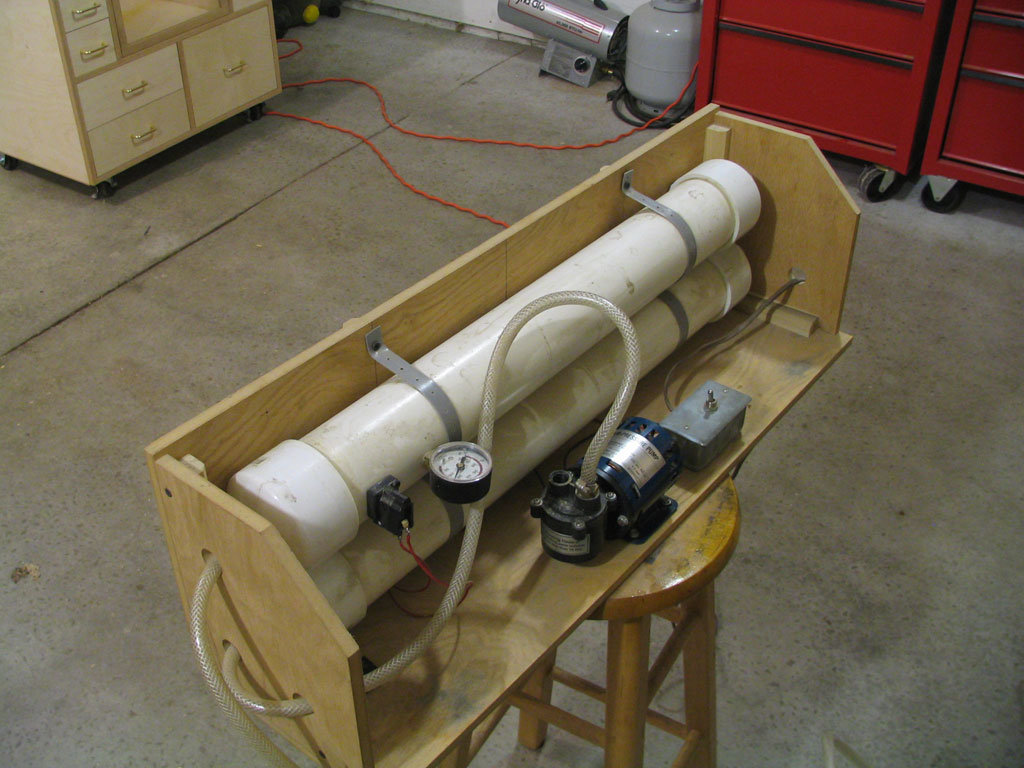
My vacuum bagging system consists of a little pump, and A PVC resivoir.
Here you can see the final lamination, ready for the steel bars and epoxy.
