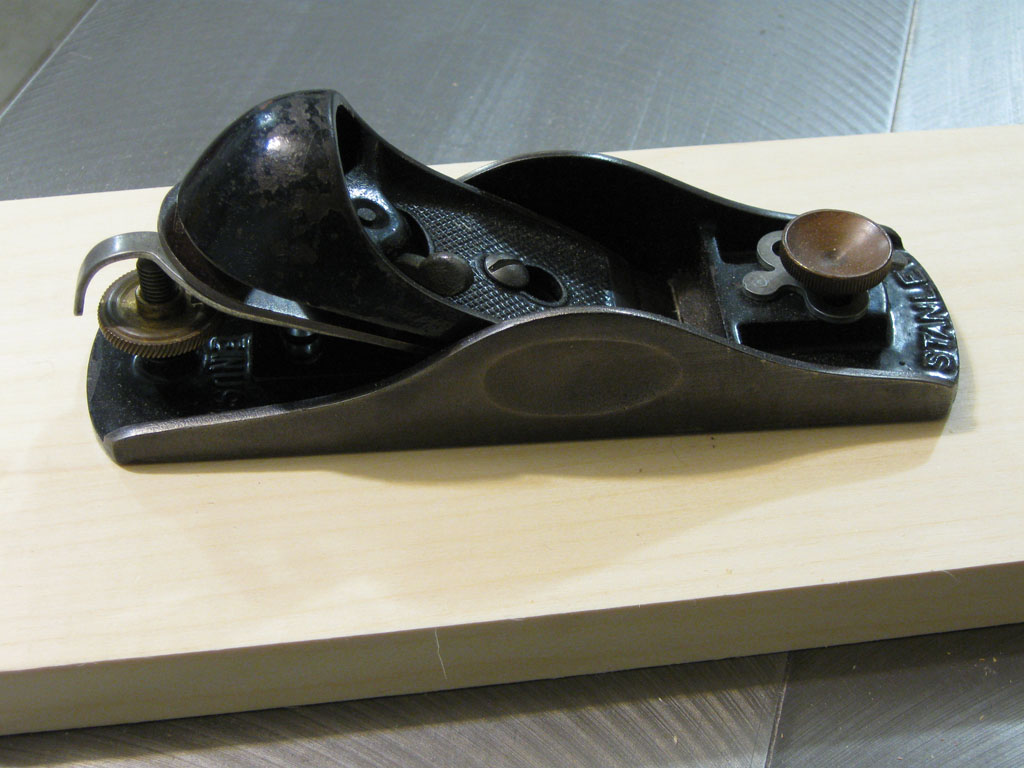
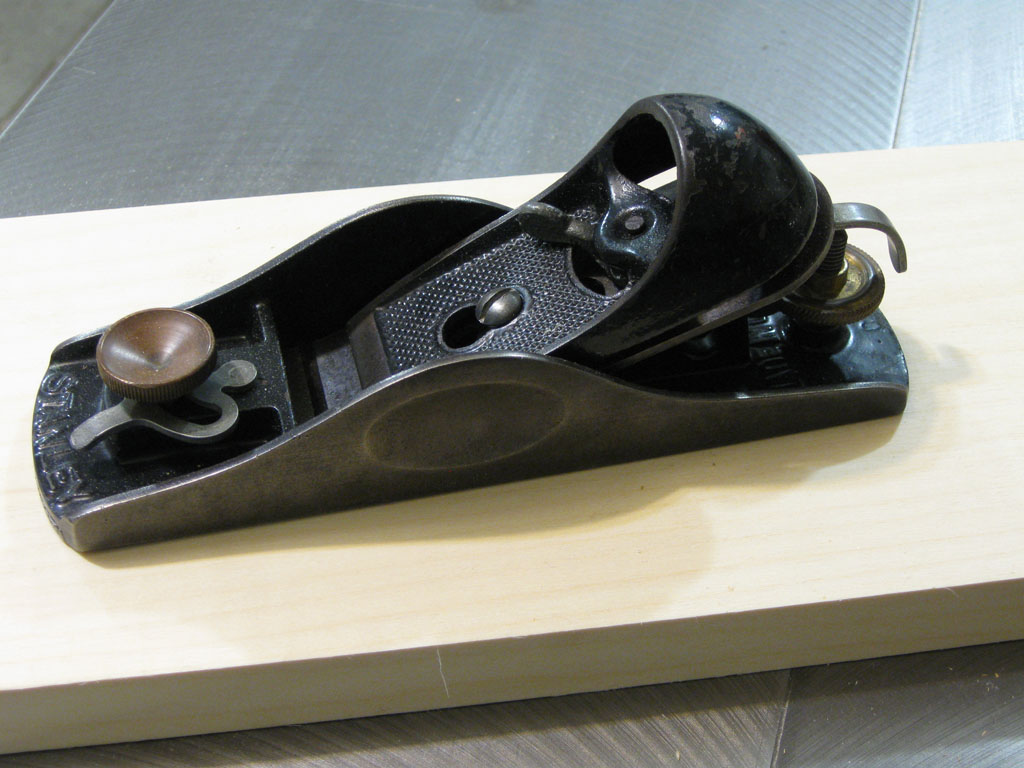
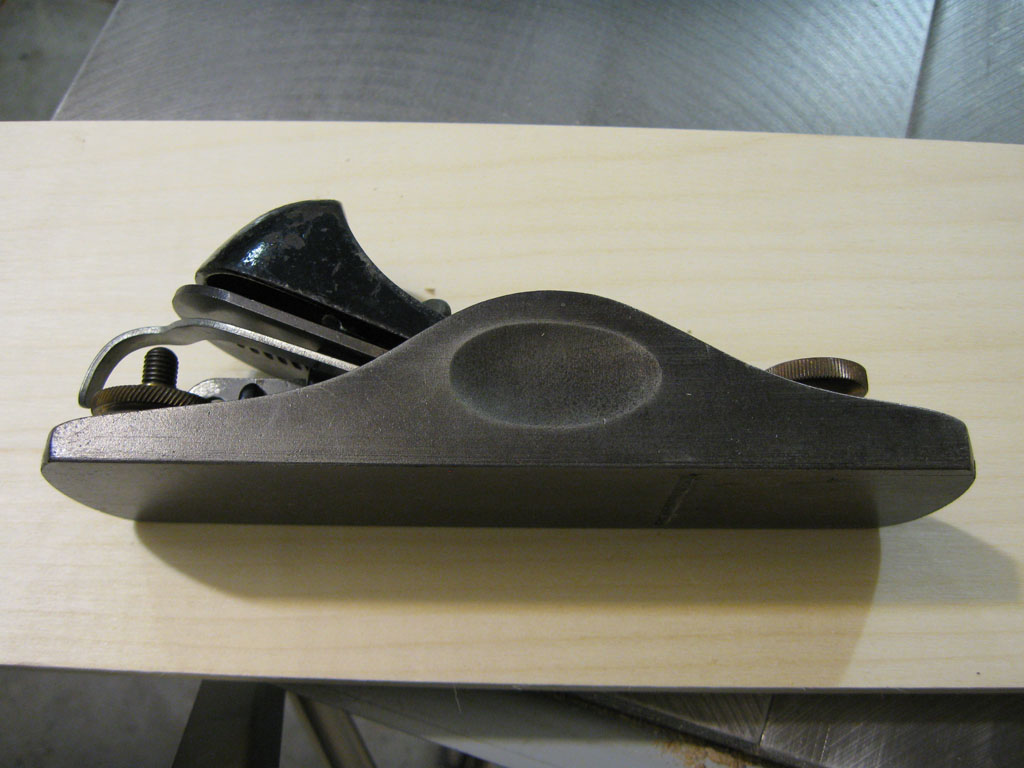
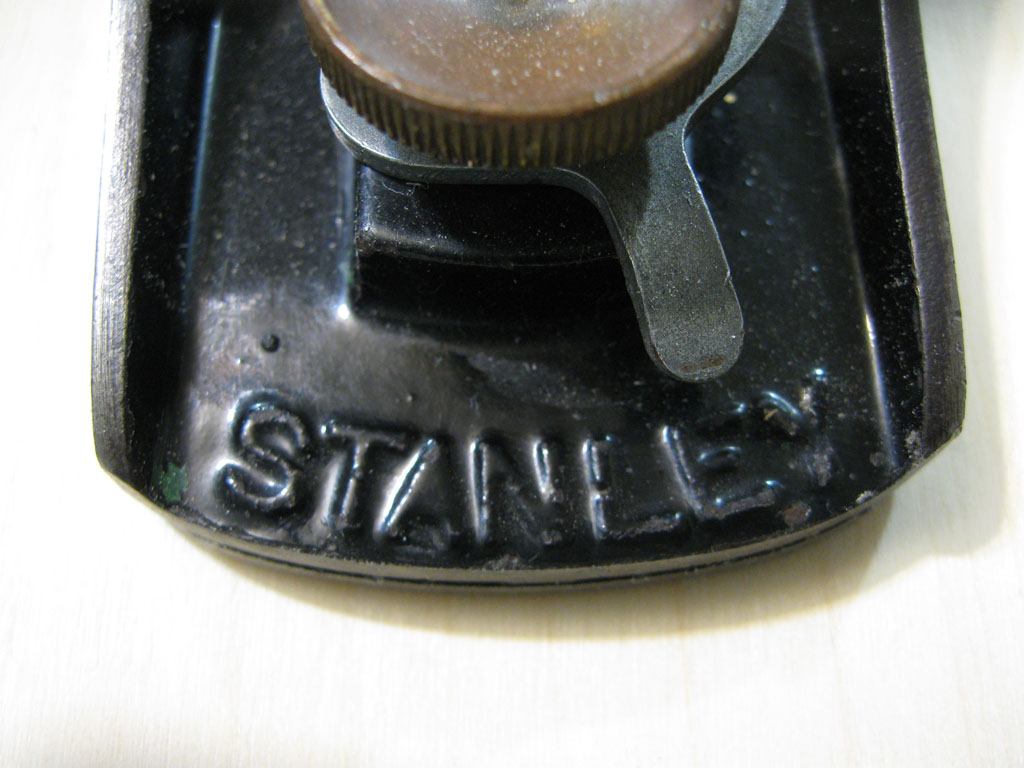
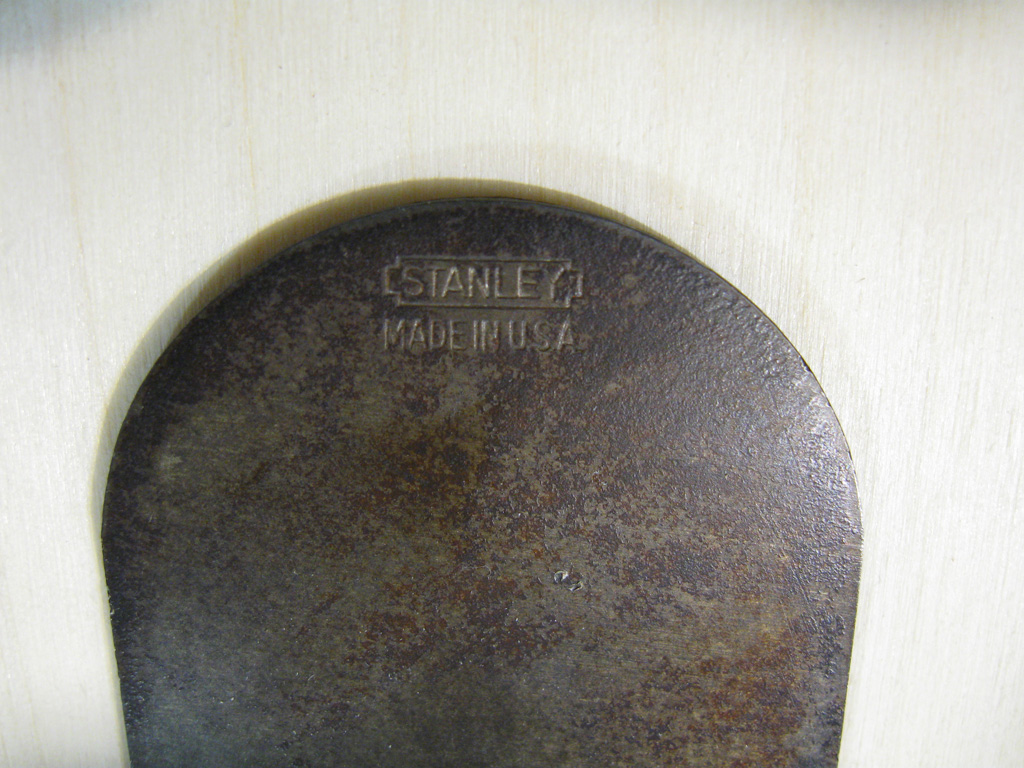
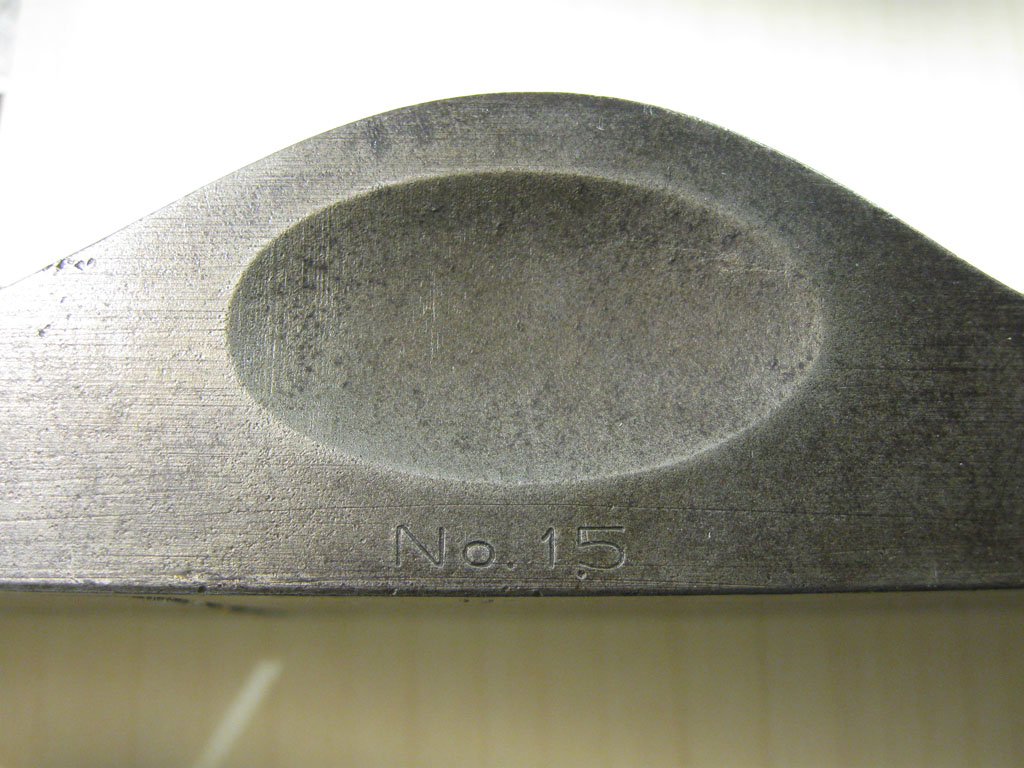
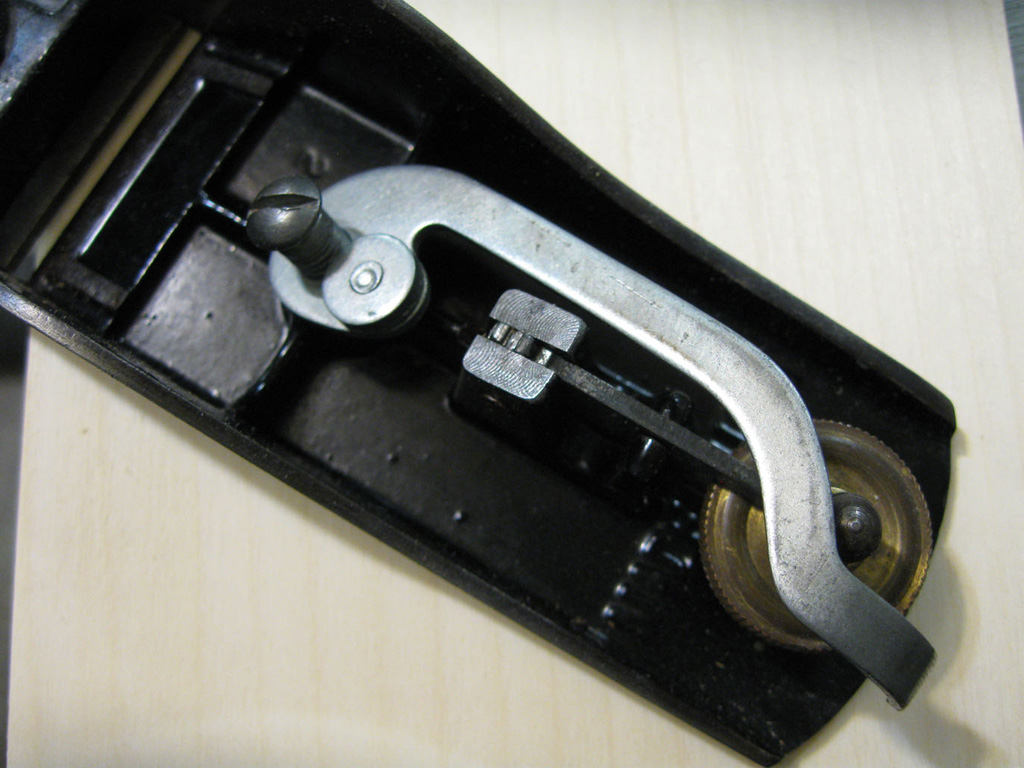
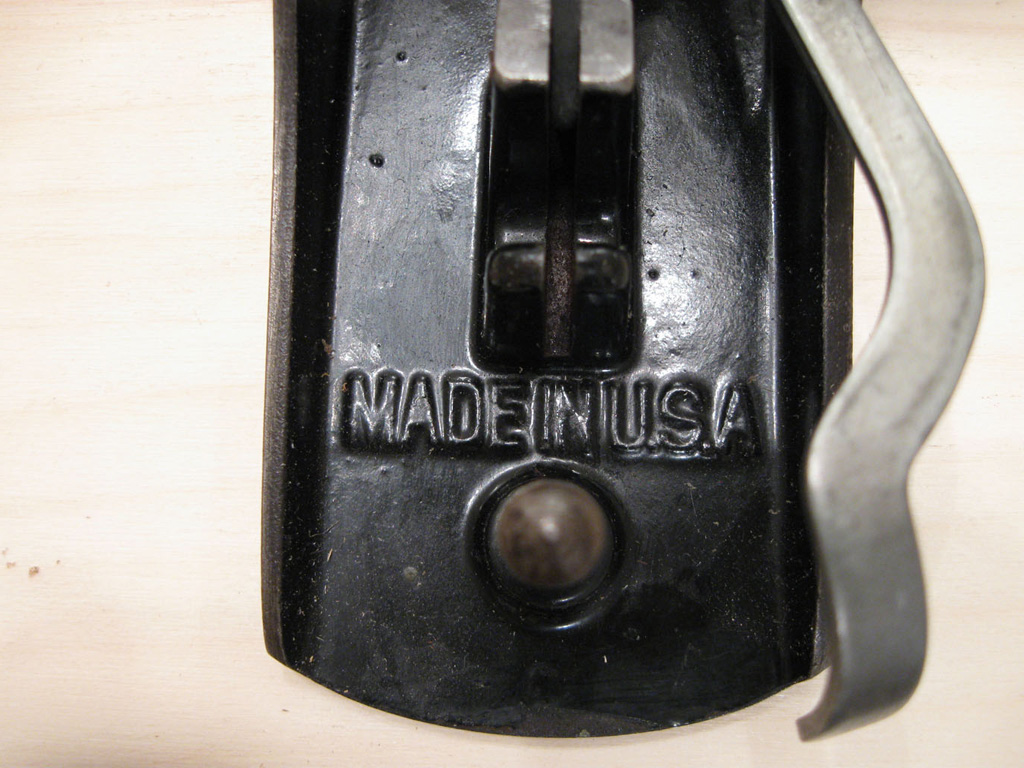
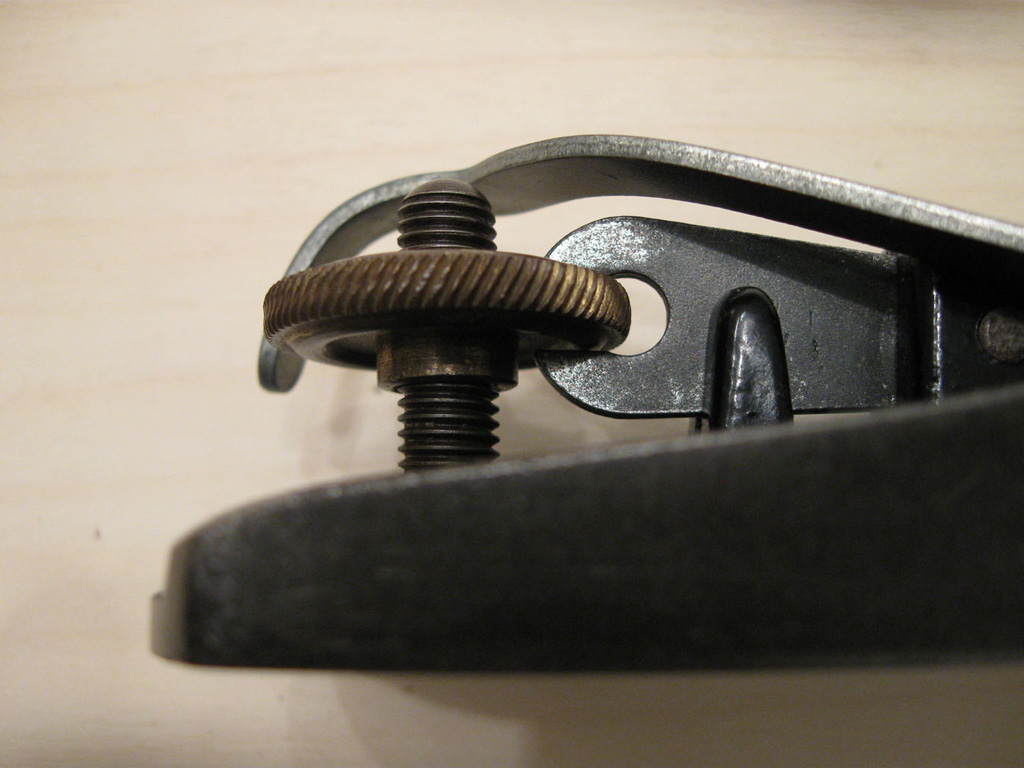
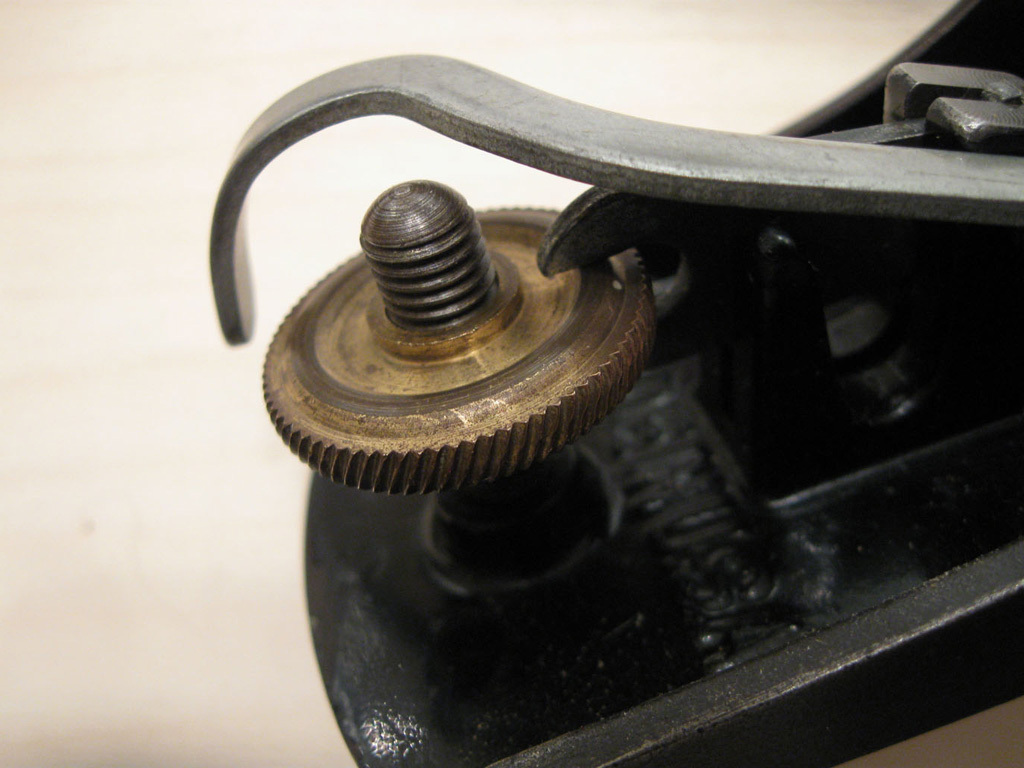
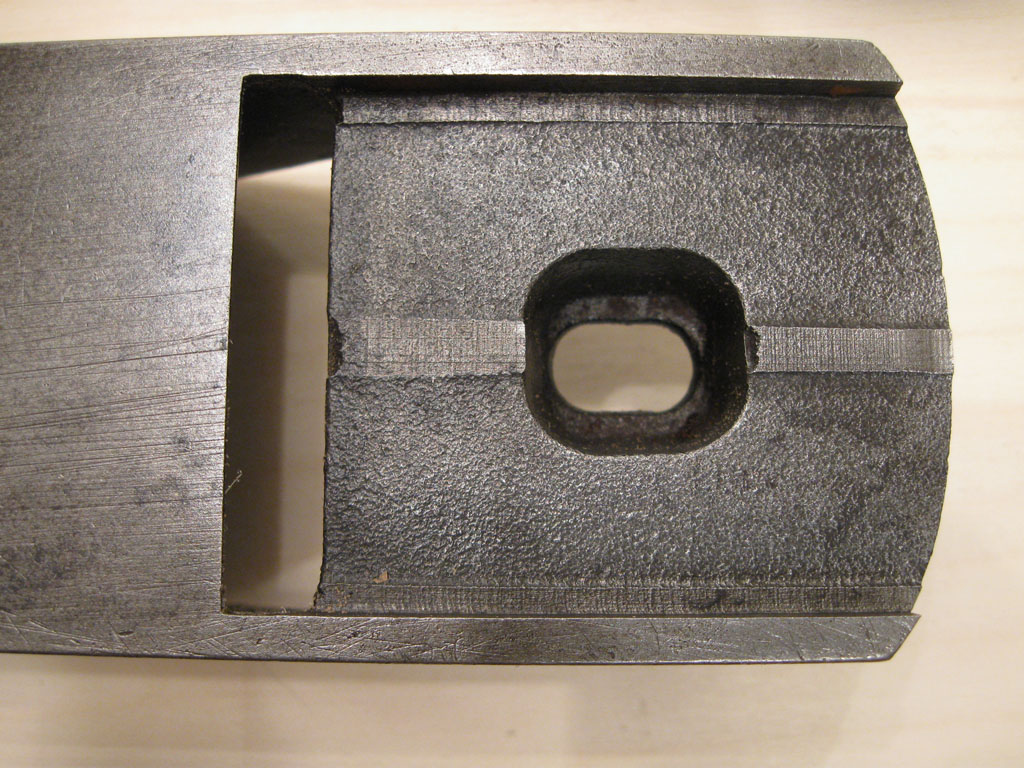
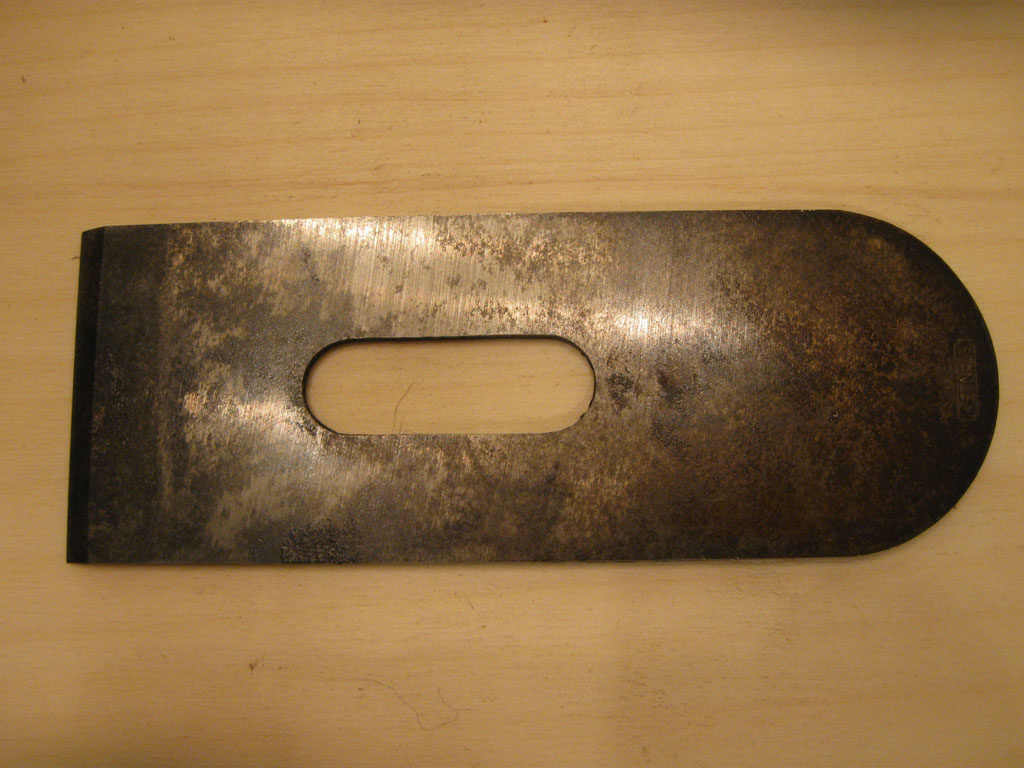
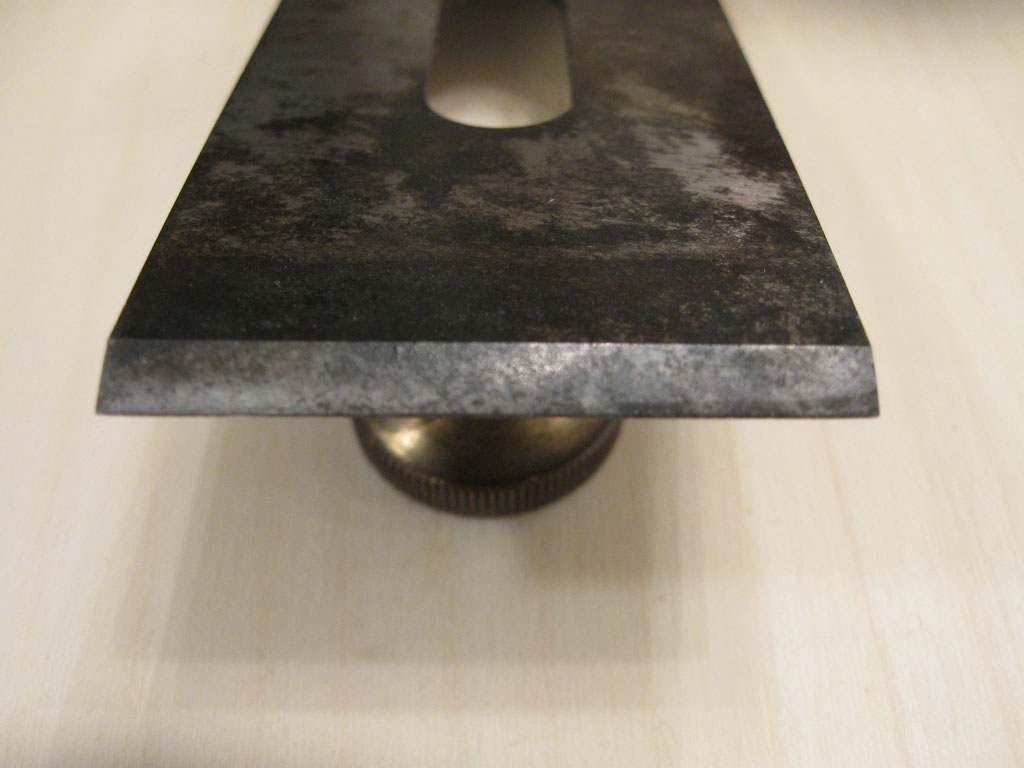
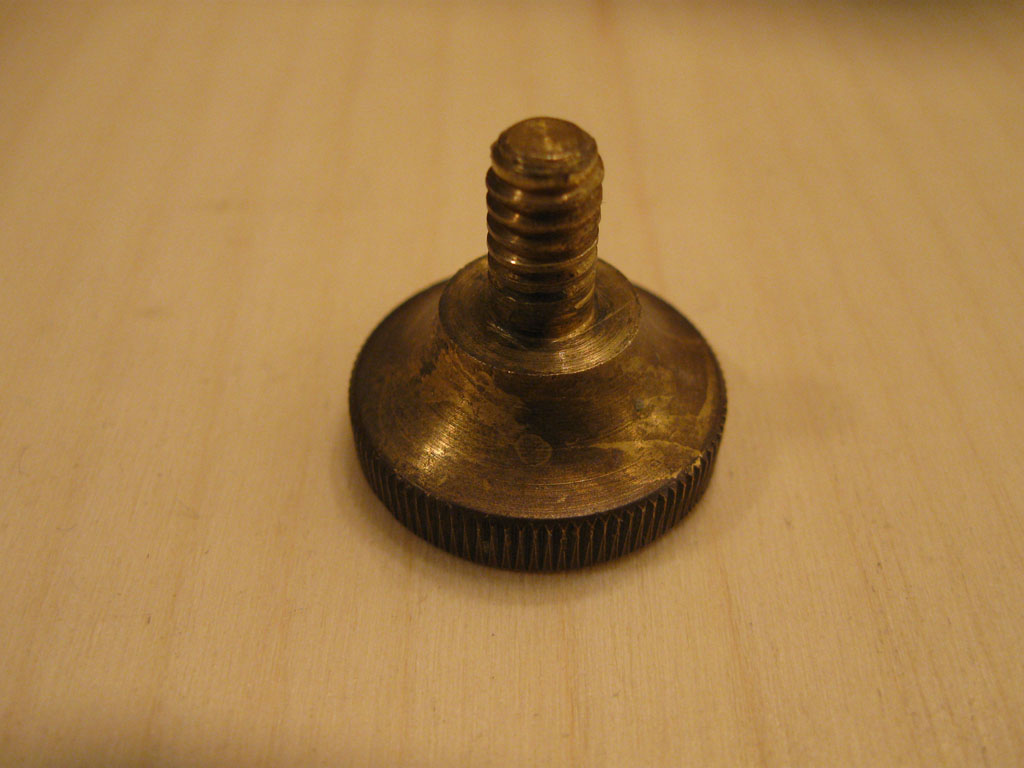
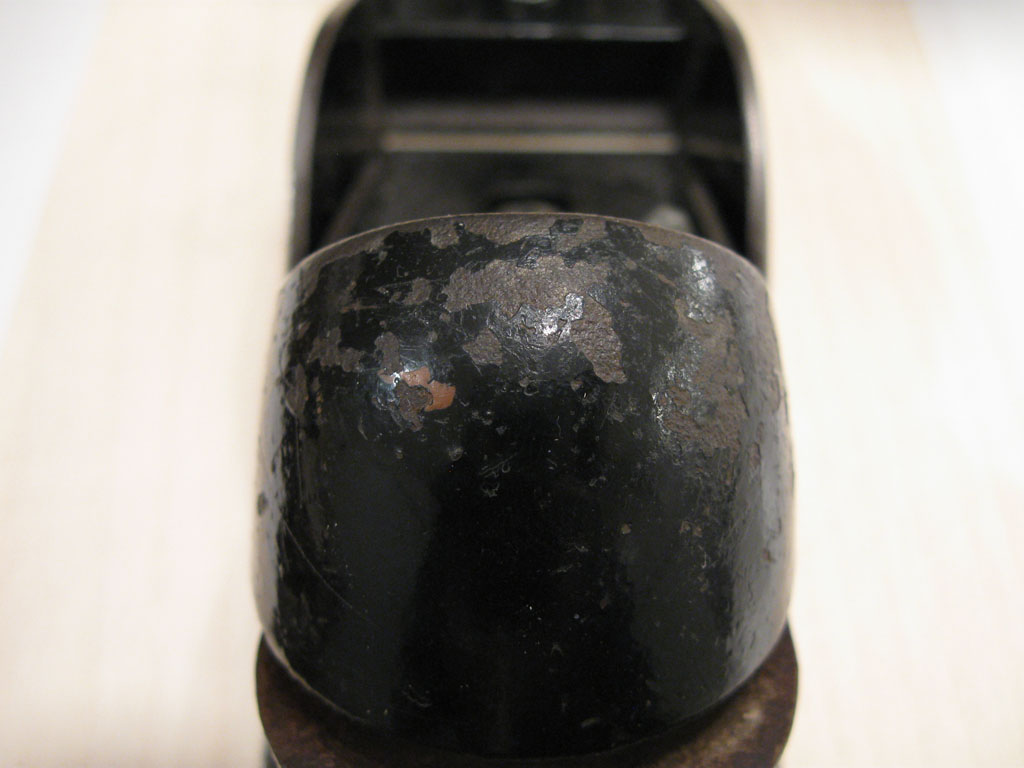
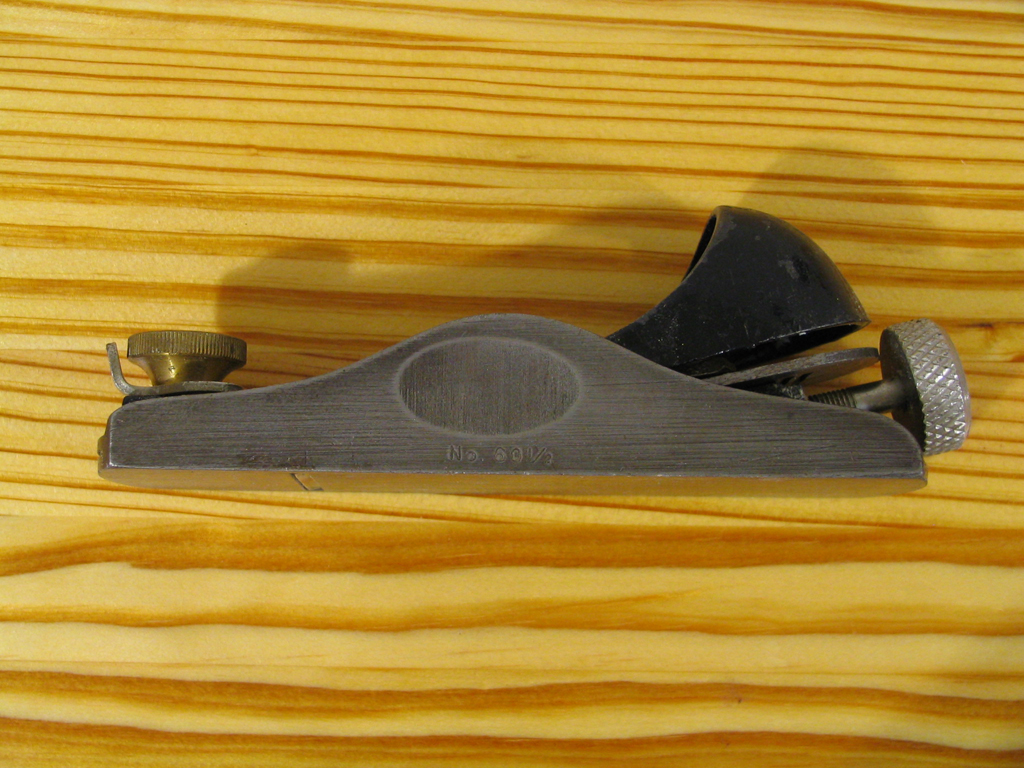
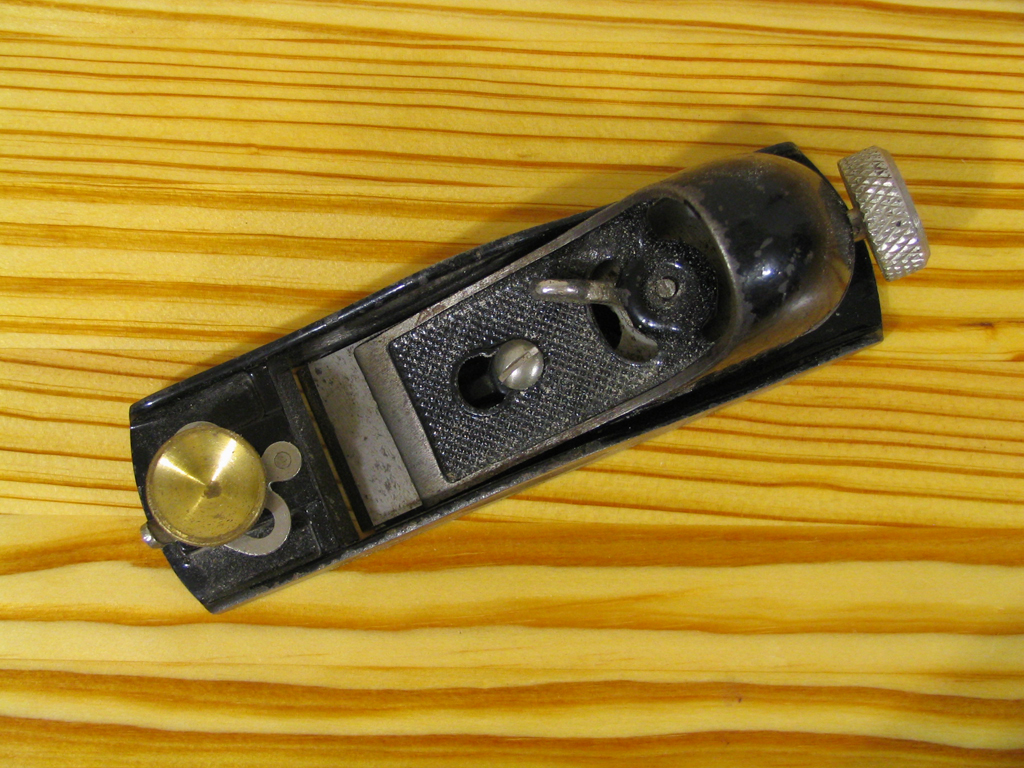
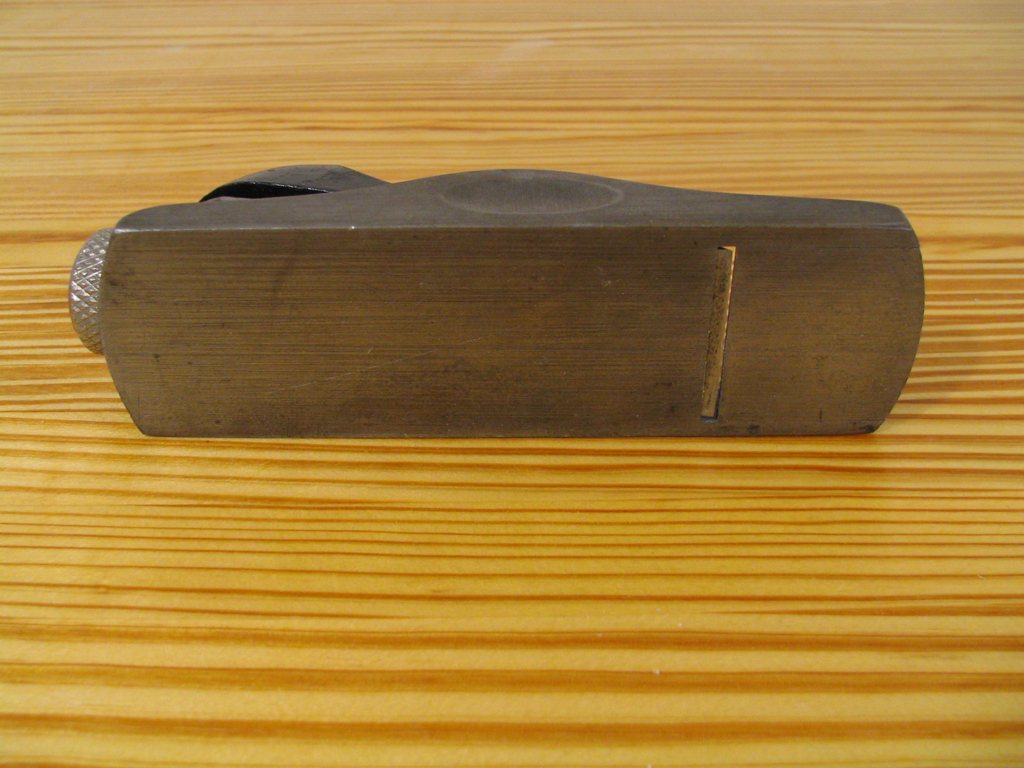
I haven’t spent much time in the shop the last month or so because of a big project at work. Thankfully that project is now over, and I’ve been able to get into the shop again. One of the projects I want to get completed before Christmas is refurbishing the Stanley #15 I picked up on eBay about 6 weeks ago. I picked it up, because I wanted A regular angle block plane to supplement my #60-1/2. I’ll probably do the refurbishment after I finish Rebecca’s Shoe Rack. The following shots (I went a little overboard) are as I received it from the seller.
Last weekend I started making Rebecca some stack-able shoe racks for her closet. I wanted to make them from materials I had on hand (cherry), so after an hour or so of fiddling in Sketchup I came up with the following design. The design is pretty simple, it’s made from 1″ x 3/4″ stock. Something I strive for in all my projects is a minimization of fasteners, thus I only used Dado-and-Tongue, & Slip joints, to hold the racks together.

Continue Reading…
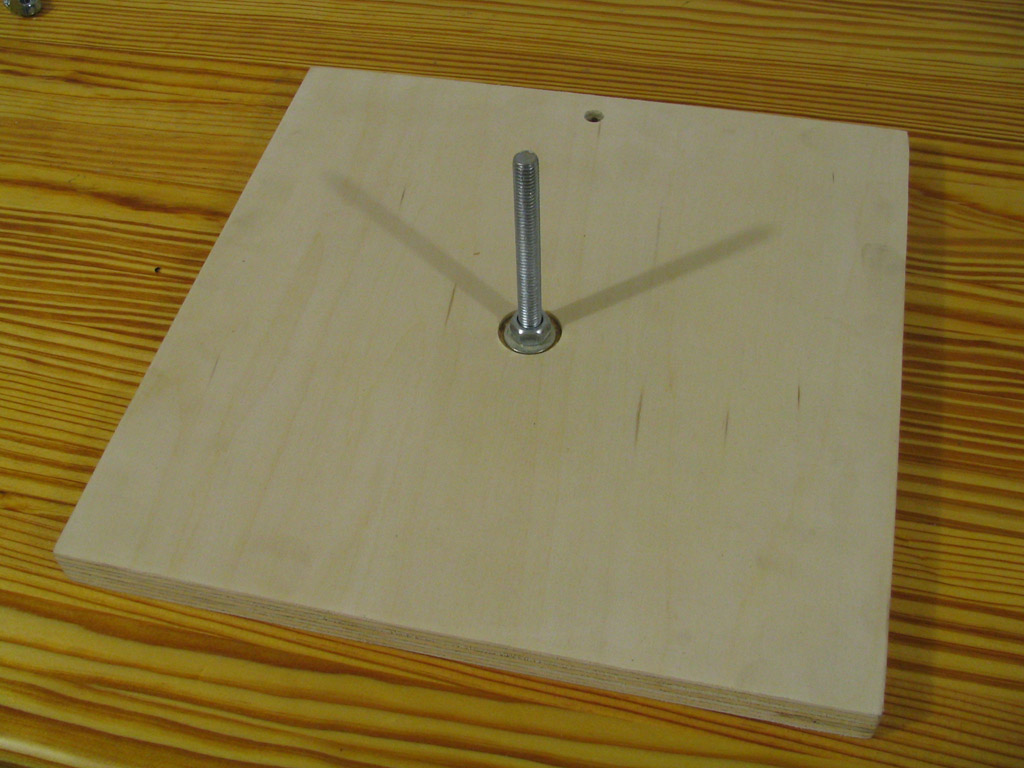
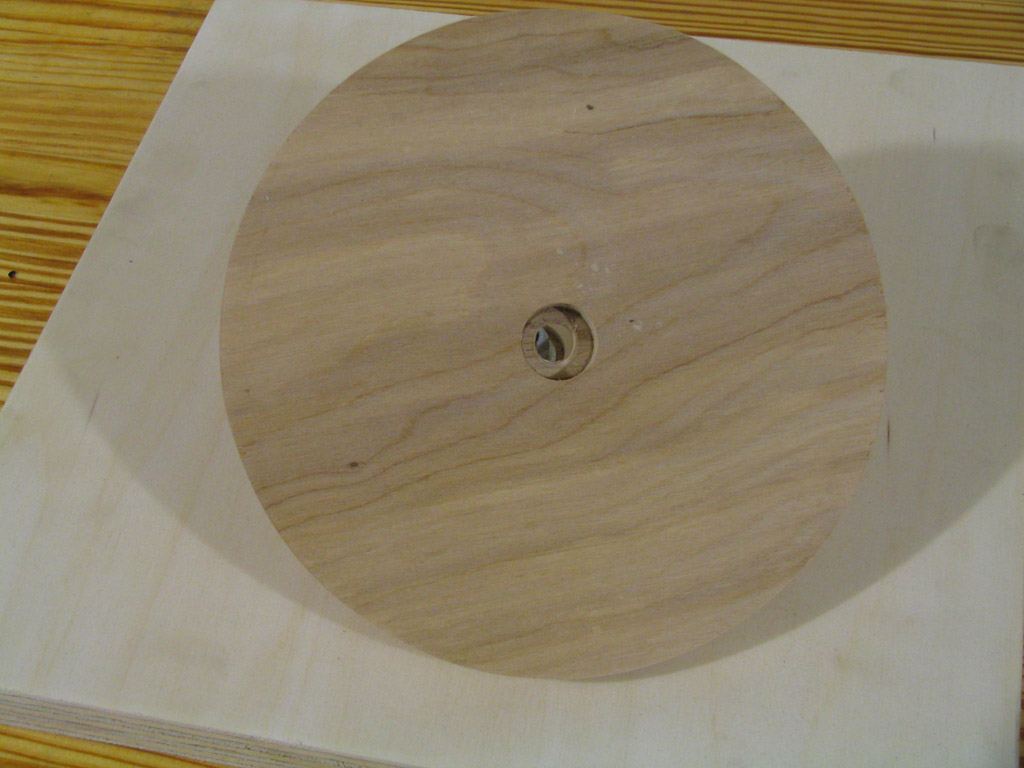
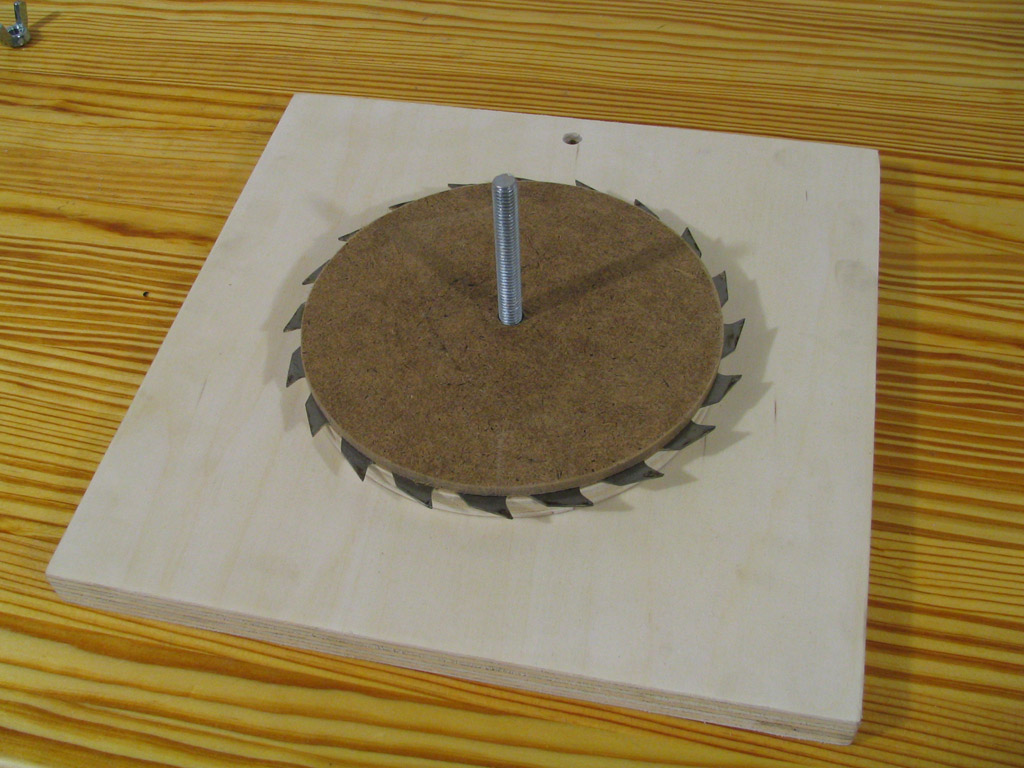
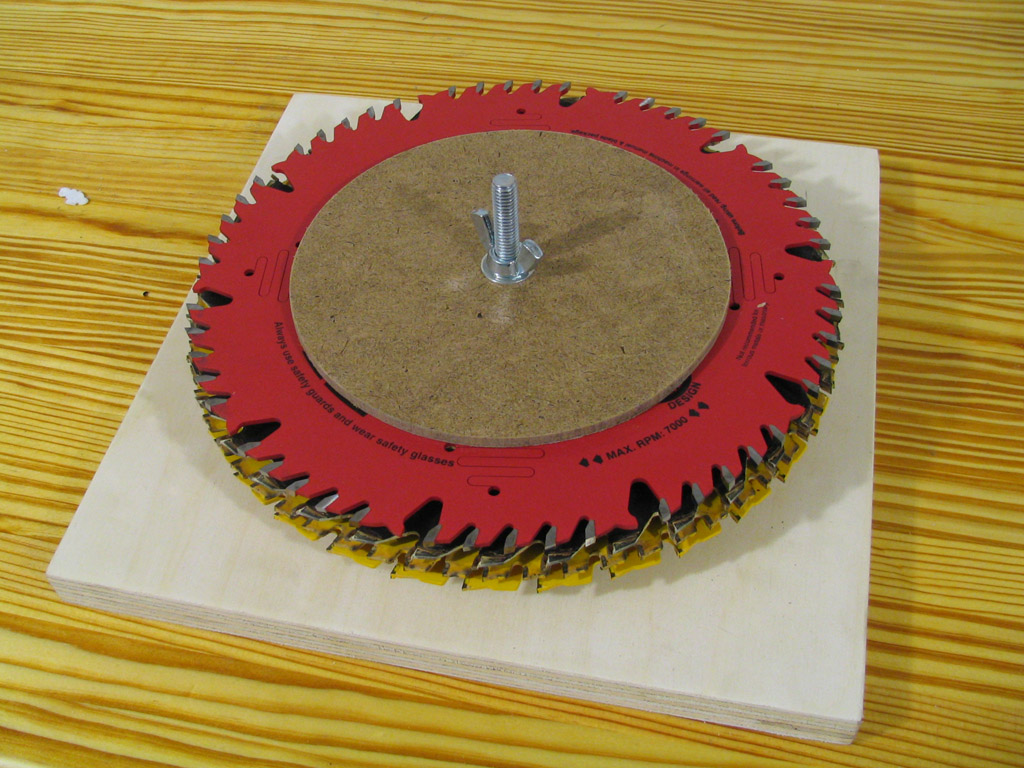
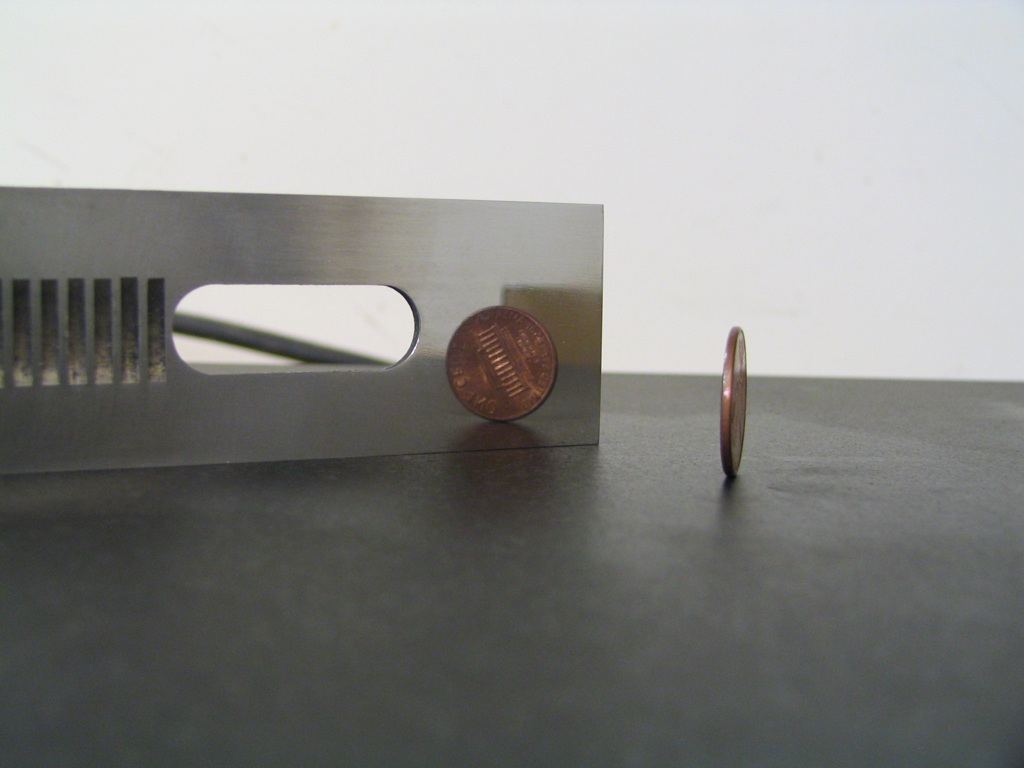
A few weeks ago, I came cross this sawblade caddy tip on finewoodworking.com, and thought since I was runnig out of space in my tool chest, and this caddy was pretty simple that now would be good time to finally make a proper sawblade storage device. I made the following tweaks to my version:
- I used a 3/8″ bolt instead of 1/4″
- I used 3/4″ plywood for the backer board
- Most importantly, instead of placing a hardboard separator disk against the bolt, I made a separator disk template that has a recess in it to fit over the bolt.
I ordered some bench chisels earlier this week, but chisels aren’t very useful without a mallet to pound on them with. Instead of purchasing a mallet with my chisels, I decided to save my money and make my own. While watching a cubs game I knocked out this design in SketchUp. It’s pretty simple, the head is a lamination of 4 1/2″ thick boards, and the handle is 3/4″ thick stock rounded over with the router. The only non-trivial design element was the wedged tenon that secured the head to the handle. Thankfully fine woodworking came to my rescue with this article about wedged mortise & tenon joints.
Assembly was pretty strait forward and only took a few hours spread out over 3 days. The first evening I spent an hour or so rough milling the stock to size. I spent about two hours in the shop on the second night. I profiled the handle on the table saw using my dado blades, and then rounded over the edges at the router table. Making the head was a three step processes. The first step was to glue two 1/2″ thick boards together to make one 1″ thick board, that was then cut in half to form the two sides of the head. Step two was to route a half thickness tenon into each of the head halves. The final step was to precisely glue together the two halves forming the head with a tapered mortise in the center of it. On the final day (yesterday) I finished up, by fitting the head to the handle, & applying a couple coats of boiled linseed oil.


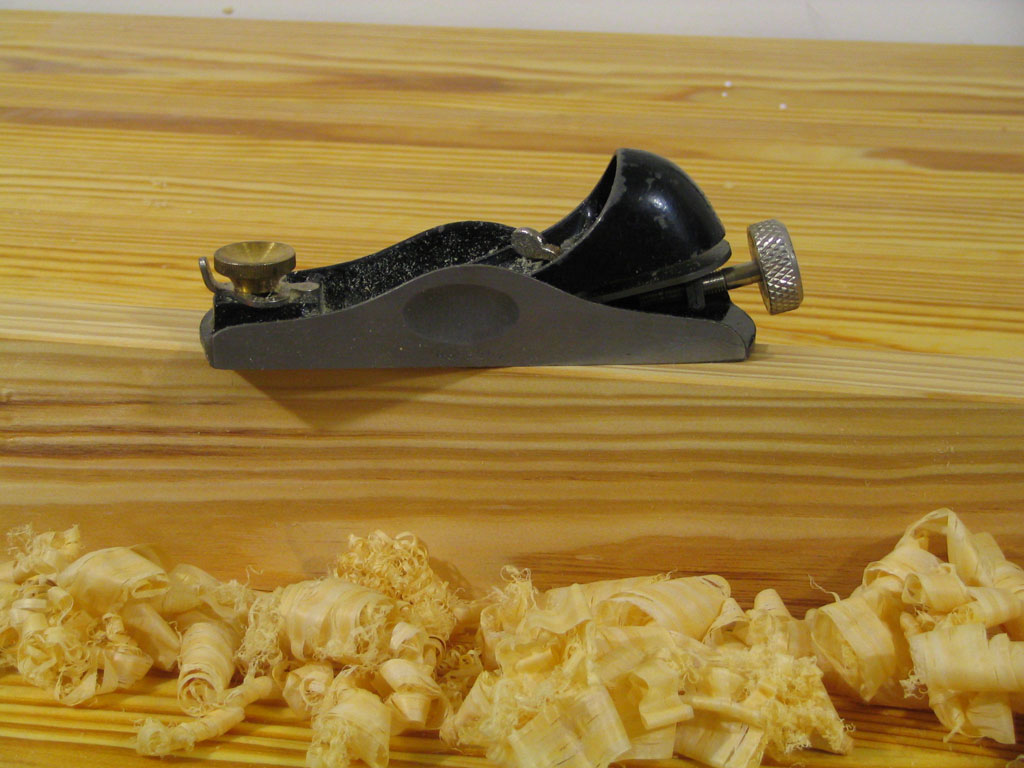
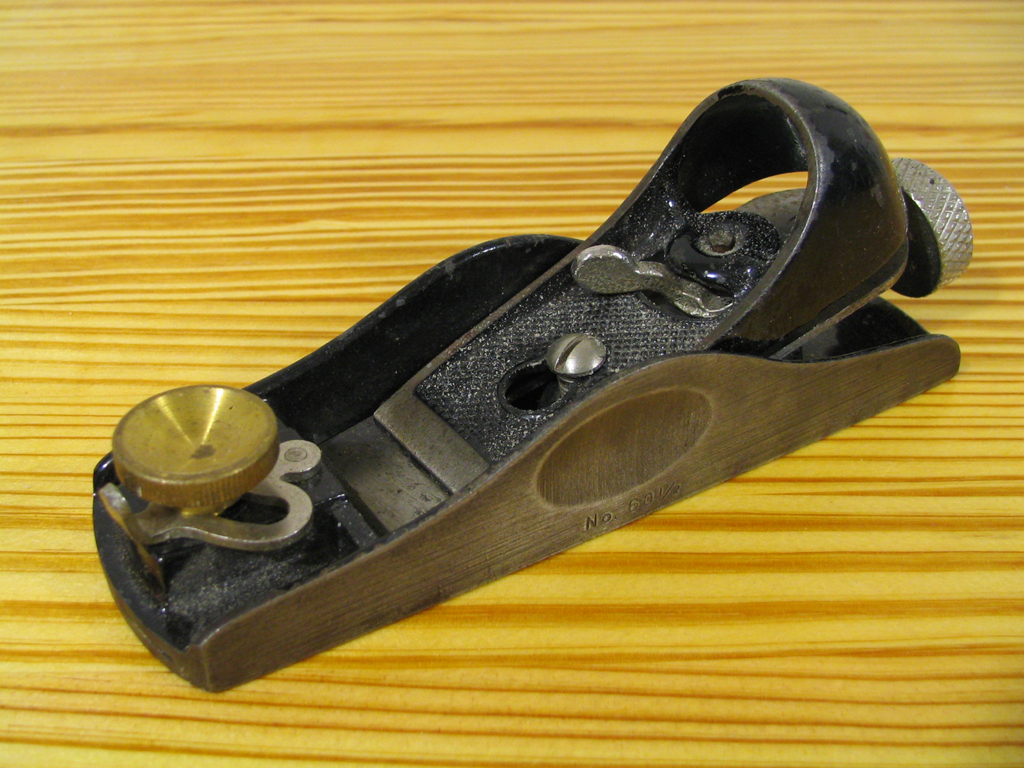
I picked this little beauty up on eBay a few weeks back and finally got around to cleaning her this weekend. She’s in pretty good shape, so after a quick cleaning, lapping and sharpening she is now ready to make shavings.