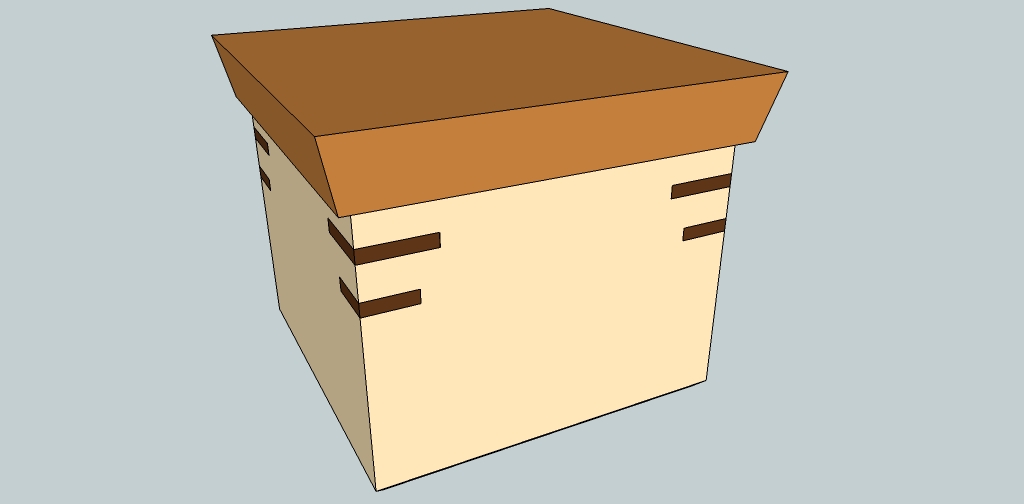
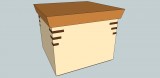
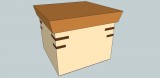
It’s looks like this winter is going to be colder than normal, so I’ve lined up a bunch of projects that don’t require me to spend long periods of time in the shop. At the top of the list are some small display boxes. I’m going to start with my take on Doug Stowe’s Lift-lid box. If you want more information on how to make this box, you can find the associated chapter of Doug’s book here.
I made two minor changes to Doug’s design. The first was purely a stylistic one. Doug’s uses Baltic Birch plywood for the bottom of his boxes, and that just didn’t feel right to me. I’m going to use shiplaped Red Cedar for my bottoms. The second change was to scale up Doug’s dimensions, as I felt his were to small. As always I did a complete design in Sketchup, that you can download and play with.
Files:
Large
Small
It’s still unbearably cold in the shop, but last night I was able to finish up a project I have been wanting to do for a month. Back when I got my Veritas saws, it became evident after about 5 minutes, that I needed some type of bench hook for sawing. A while back Popular Woodworking, published plans for a simple bench hook, and it was exactly what I was looking for.
So after about 2 hours of shop time, I had 2 bench hooks for sawing. One if for perpendicular cross cuts, and the other is for 45’s. I made them out of poplar, because its cheap, and easy on the saw blades.
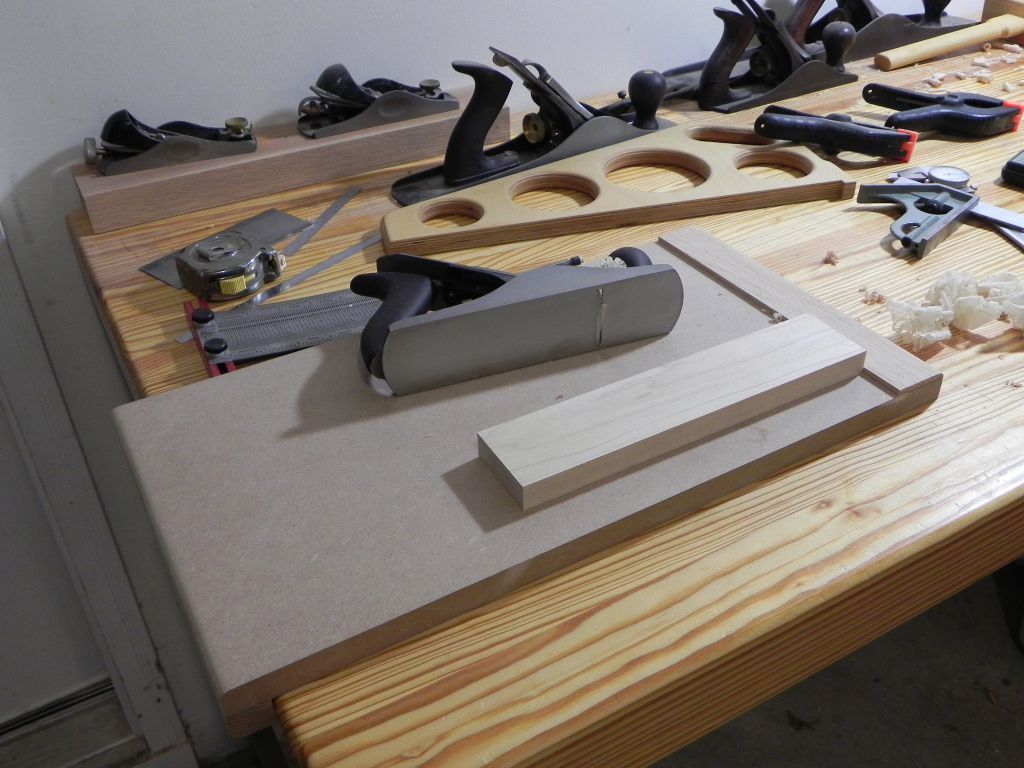
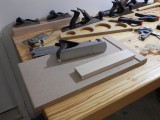
 I haven’t gotten much done in the shop recently, because it’s been unseasonably cold the last week. Even though it was uncomfortable in the shop, I was able to make a bench appliance I’ve been putting off for months. I’ve been using my hand planes with greater frequency lately, and since I don’t have a proper woodworking bench, It’s a real pain to secure lumber for planing. Thus I made what I’m going to call a planing stop bench hook. The only thing exciting about it, is that I used pegs to attach the hook the the base. It roughly 10″ wide by 20″ long and made from 3/4″ MDF, scrap red oak, and 3/8″ Birch dowel.
I love the look of the pegs
Ready to rock and roll
I’ve spent the last week or so, experimenting with different finishing methods, in the hopes of achieving a french polished look, without the work involved in french polishing. If it works, I’ll document the method I’m testing in a future post.
If you’ve read any books on finishing, you’ve probably noticed that without exception they all recommended you cover the bottom of your sanding blocks with cork. Maybe the authors are tight with their local cork dealers, but in my neck of the woods, Cork is expensive, and hard to find. Last weekend while browsing the isles of the local hobby lobby, I found an excellent alternative in foam sheet. I’m not sure what type of foam it is, but it’s soft (but not to soft). Thus, for $0.99 (now that’s cheap) I took home a 3mm thick sheet that was 12″ by 18″, enough for a half dozen sanding blocks.
Applying the foam to the bottom of a sanding block is simple. Cut the foam to size, and then glue it to the block using spray adhesive. The adhesive is strong enough to hold the foam in place, yet weak enough that the foam can be removed with ease if it becomes damaged.

Everything you need
I got this screwdriver in a Craftsman combo set when I was fourteen or fifteen I think. They were my first tools, and if memory serves, I got them with birthday money from my great grandmother. I’m sure my father was smiling ear to ear, because I wouldn’t be “misplacing” his tools anymore. A decade and a half later and I haven’t “misplaced” any of them, and some of them still look brand new.
Last night, while opening a can of Lacquer, it hit me. The big stubby flat head is the perfect can opener. It’s easy to grip, and provides plenty of leverage for prying off lids welded down by dried finish. For the life of me, I can think of any situation that calls for a screwdriver this short. Thus it must be a can opener, masquerading as a screwdriver.