chuck boxes
I didn’t get a lot of shop time over the last week, but I was able to finally make some storage boxes for the chucks I purchase late last year. I used the same technique that I used in my simple plywood box video.

The Normite section of my blog, some times I just want to play and talk about the big tools.
I didn’t get a lot of shop time over the last week, but I was able to finally make some storage boxes for the chucks I purchase late last year. I used the same technique that I used in my simple plywood box video.
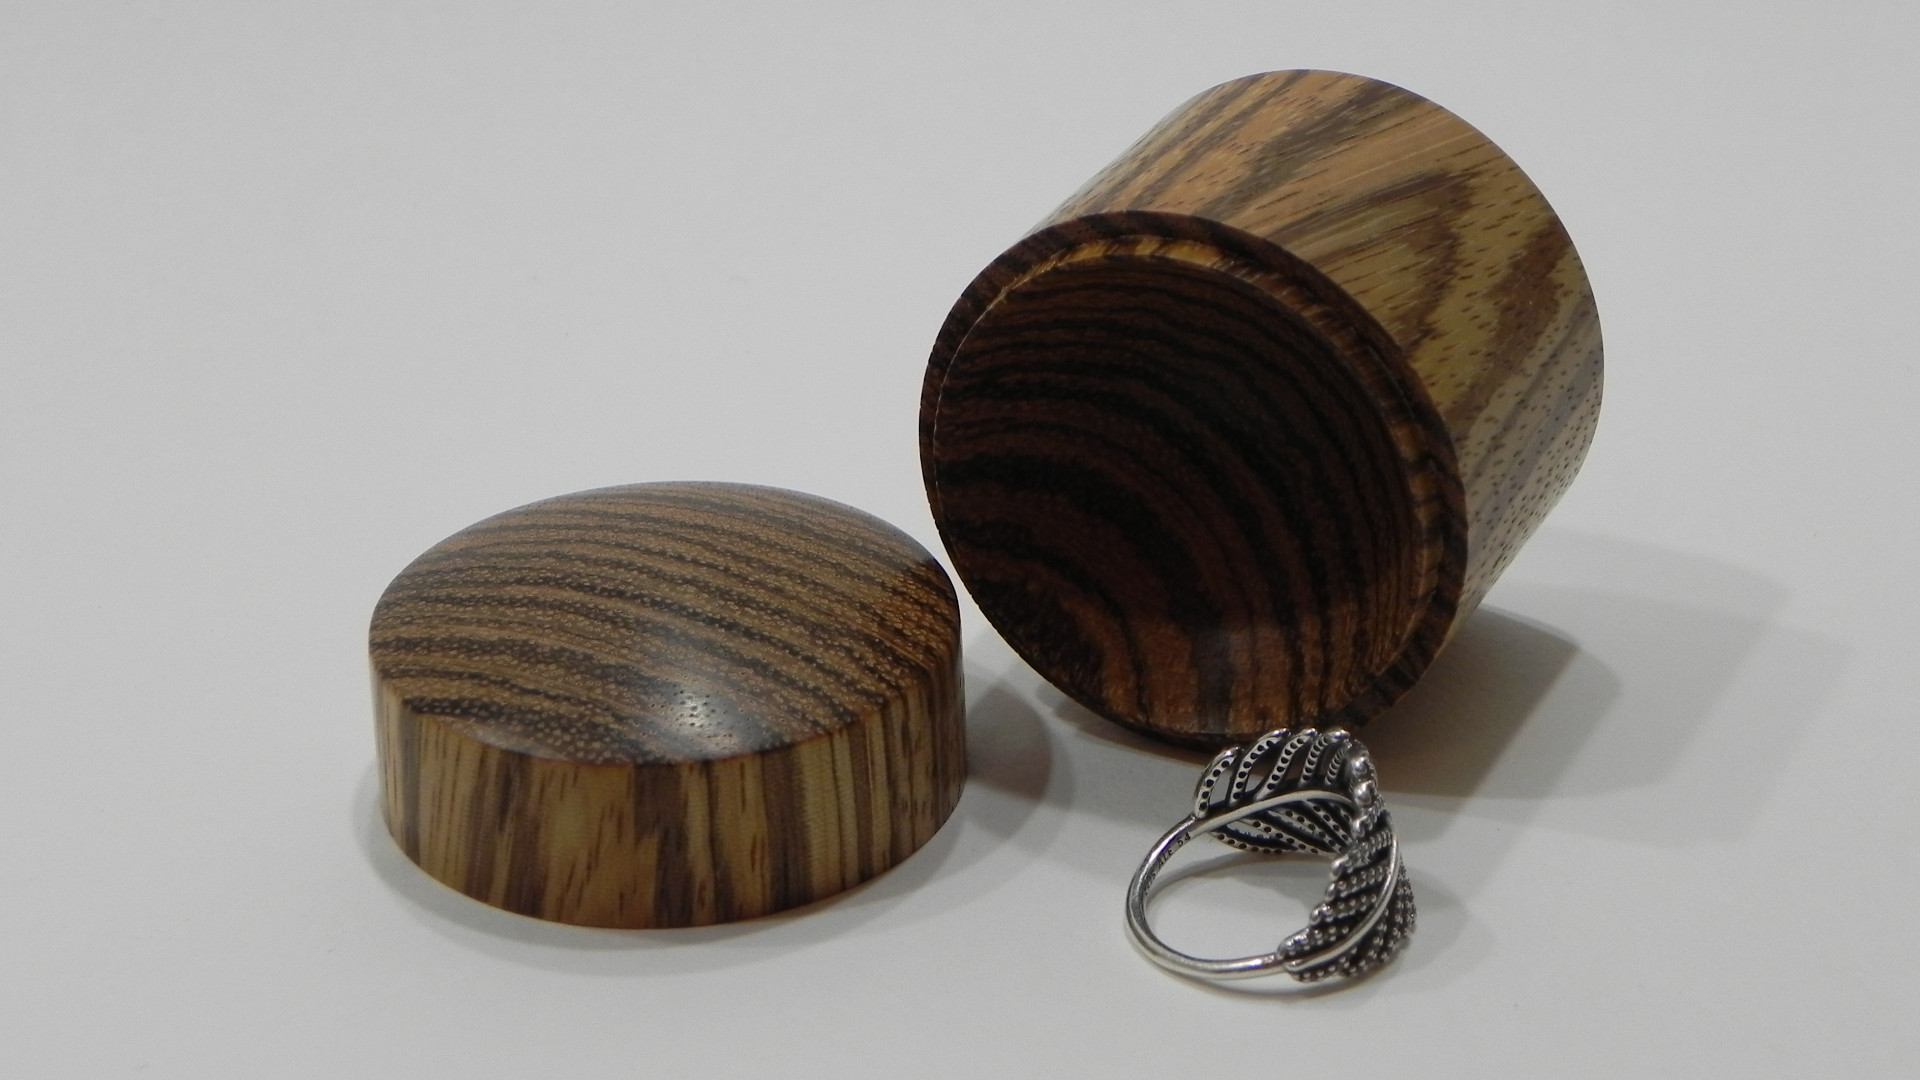
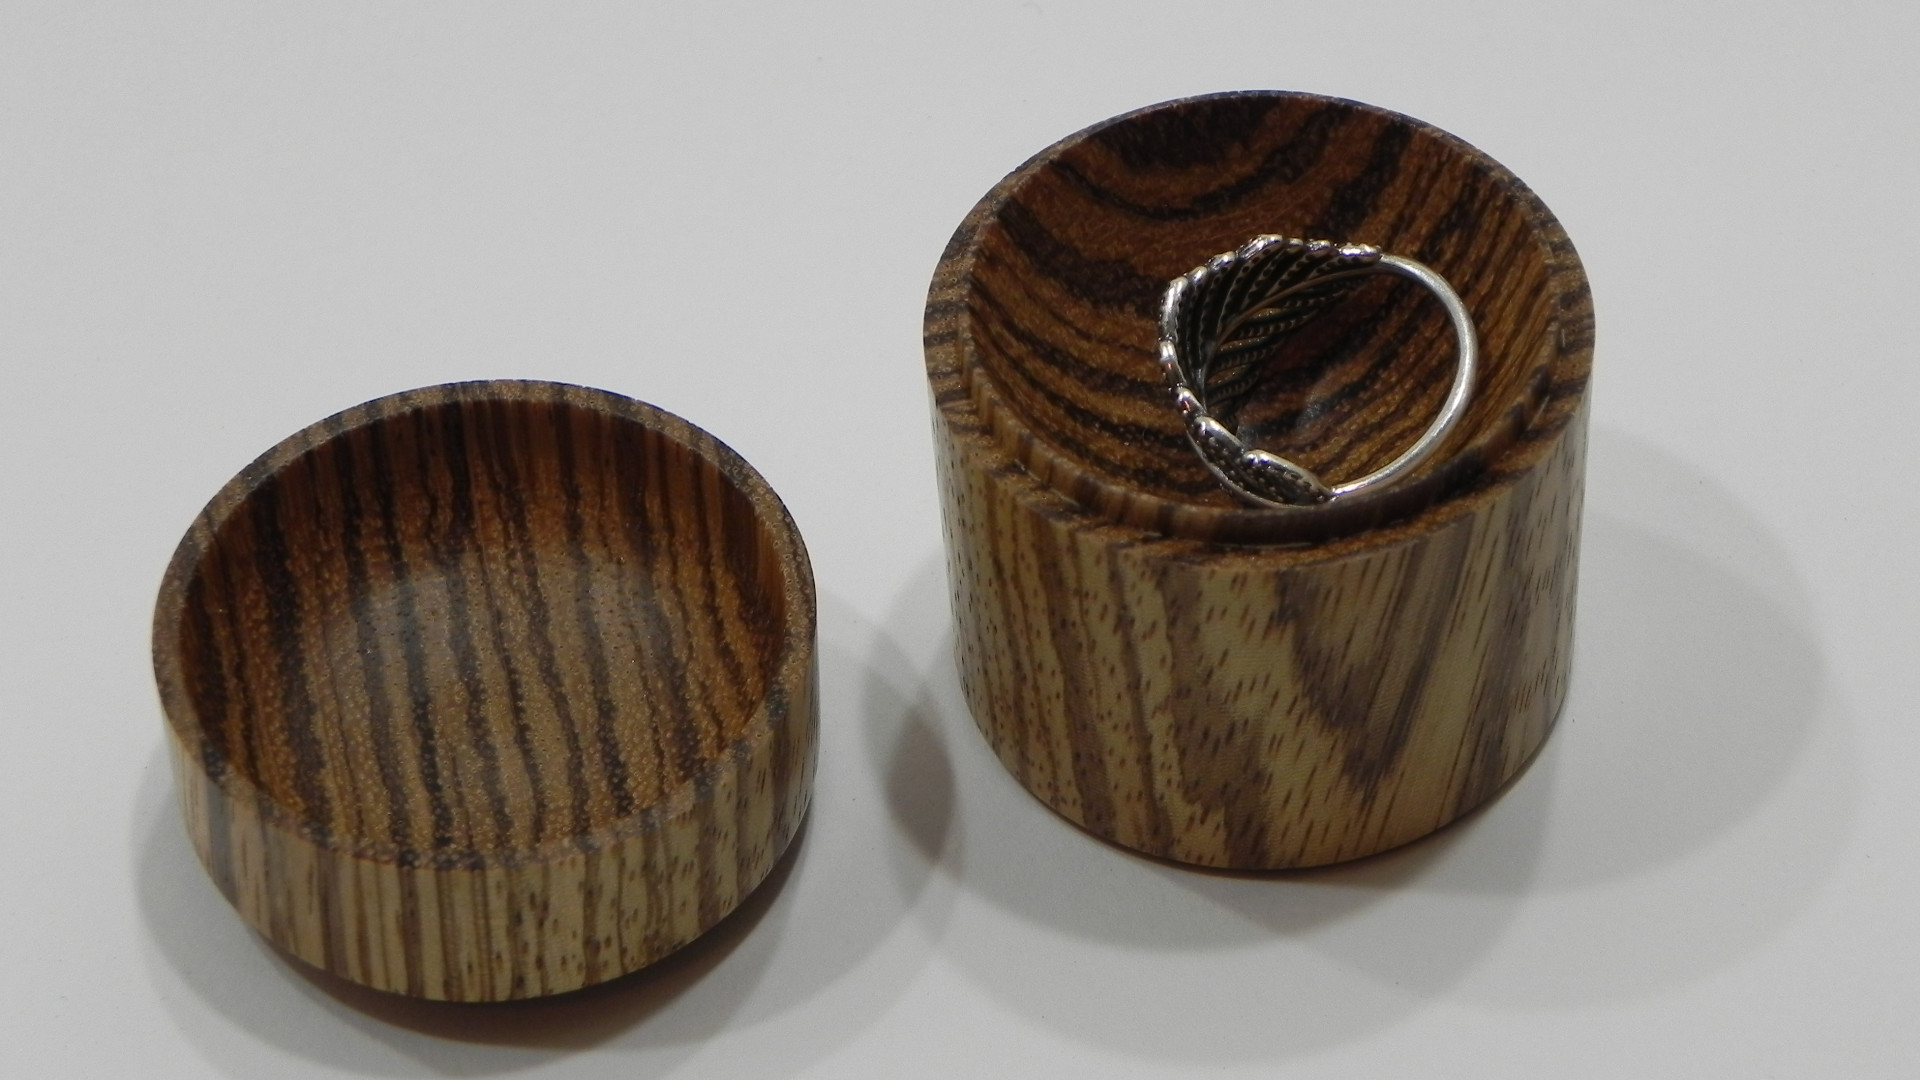
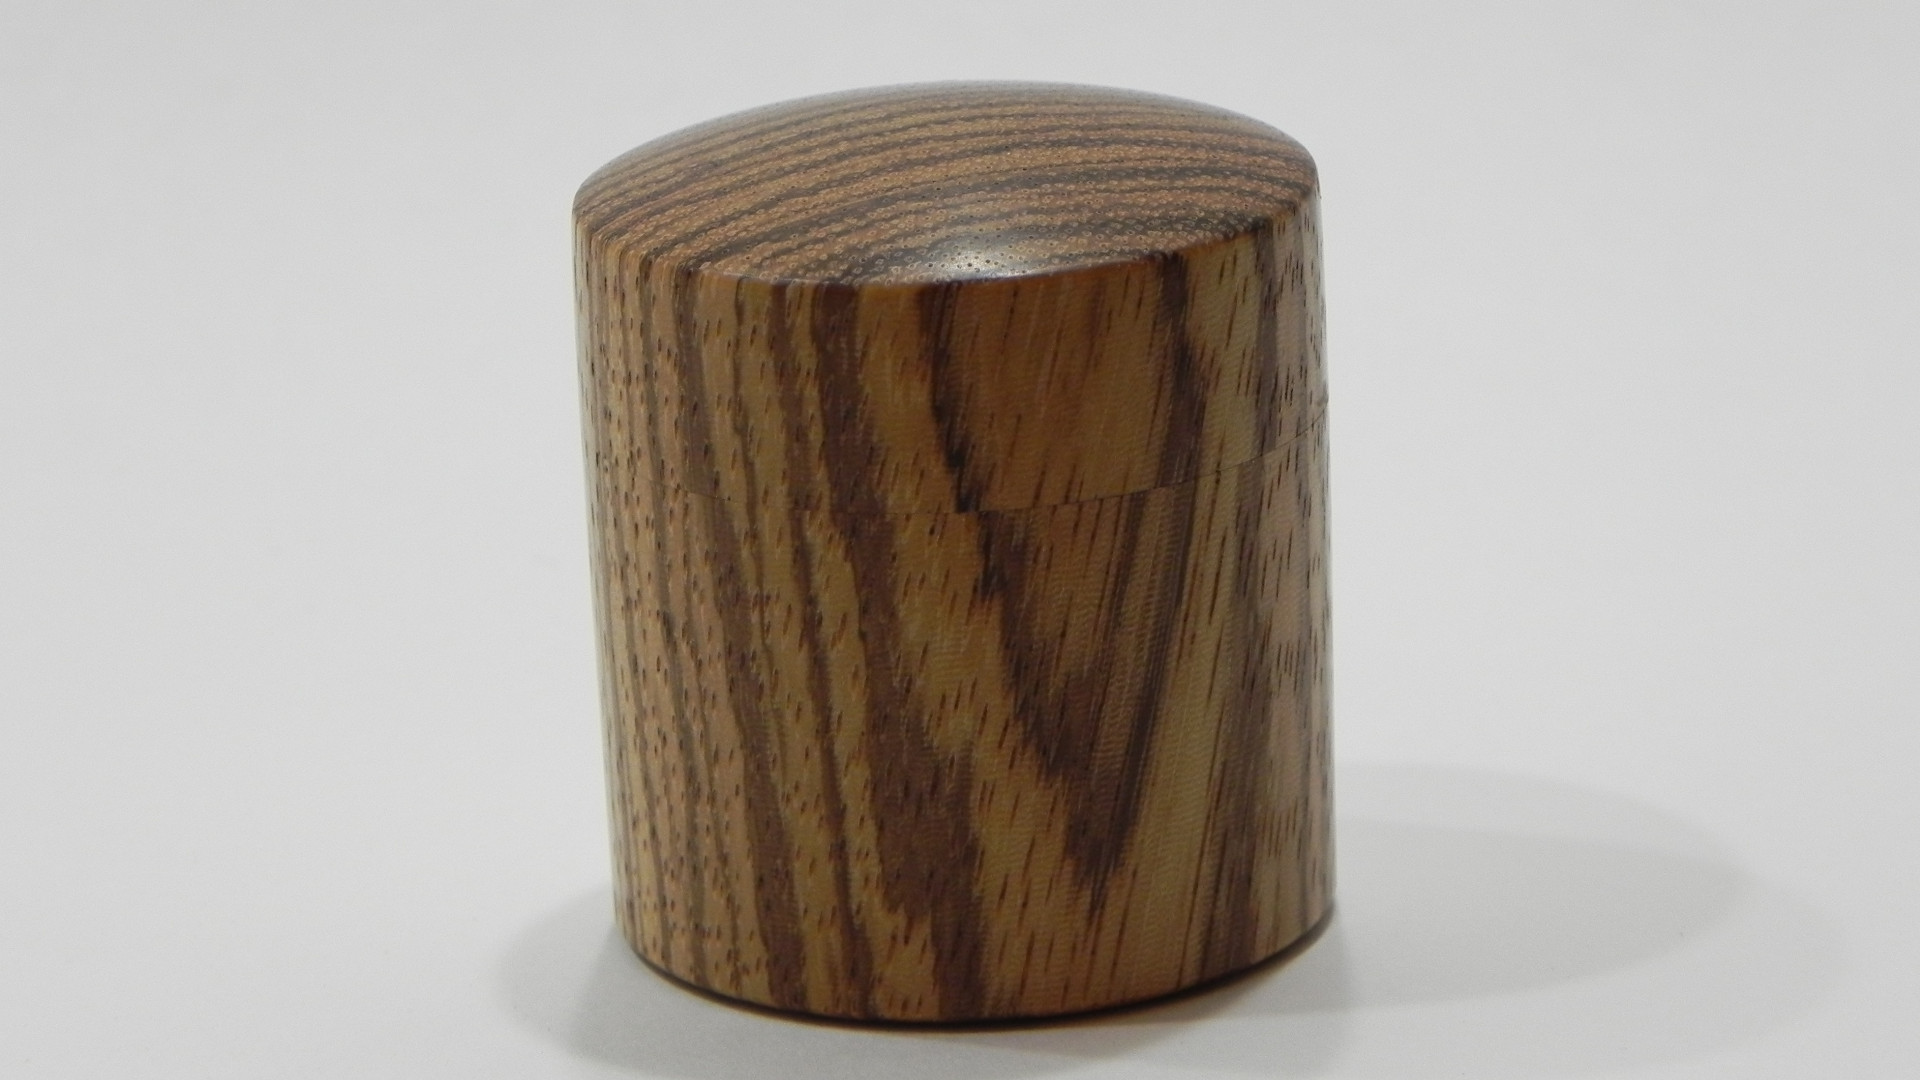
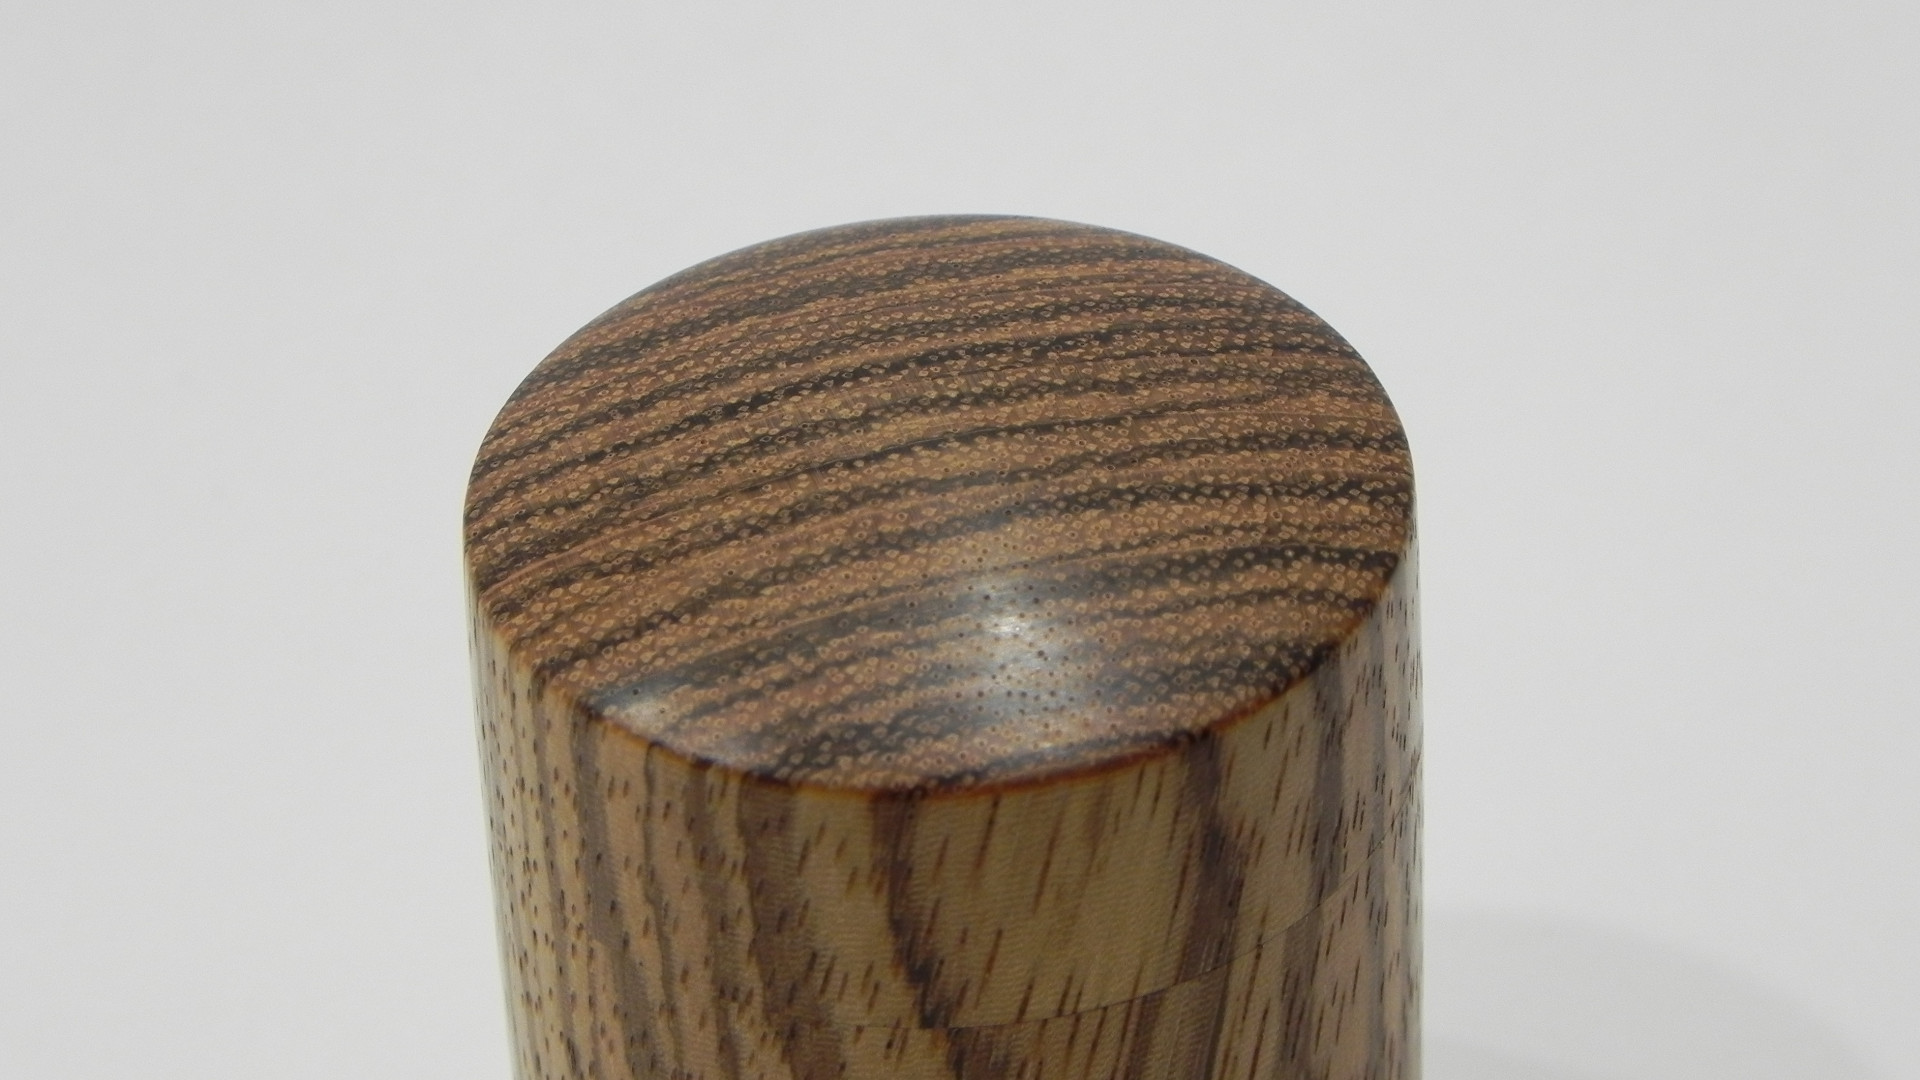
Jillian asked me to make her a ring box a few weeks back, and I finally got around to it over the new year holiday. Aesthetically, its pretty simple, little more than a hollowed out cylinder with a dome lid made from Zebrawood. Executing the design I had in my mind turned out to be more difficult that I expected. Since this and end-grain piece, I couldn’t use my chuck in the expanding mode like I normally do. Thus this piece became my first forte into jam chucks.
The two jam chucks worked fine, but I was a little apprehensive at first, as mental images of the work launching across the shop ran through my head. By far, the biggest difficulty I had, was due to the scale of the work. My carbide turning tools have fairly thick tips, and while hollowing I ran into some issue with the heel rubbing the work, and thus preventing the cutting edge from engaging the work. To remedy this problem I had to raise the tool rest well above center. This gave the cutting edge the clearance it needed to work, but essentially turned it into a negative rake scrapper, and thus required me to take light cuts.
It was finished with two thin coats of de-waxed shellac, followed by a quick buffing with wax. It was quick and easy to apply, and resulted in a mild sheen that emphasized the unique grain structure of the wood. Jillian was very happy with the finished result, so I must have done something right.
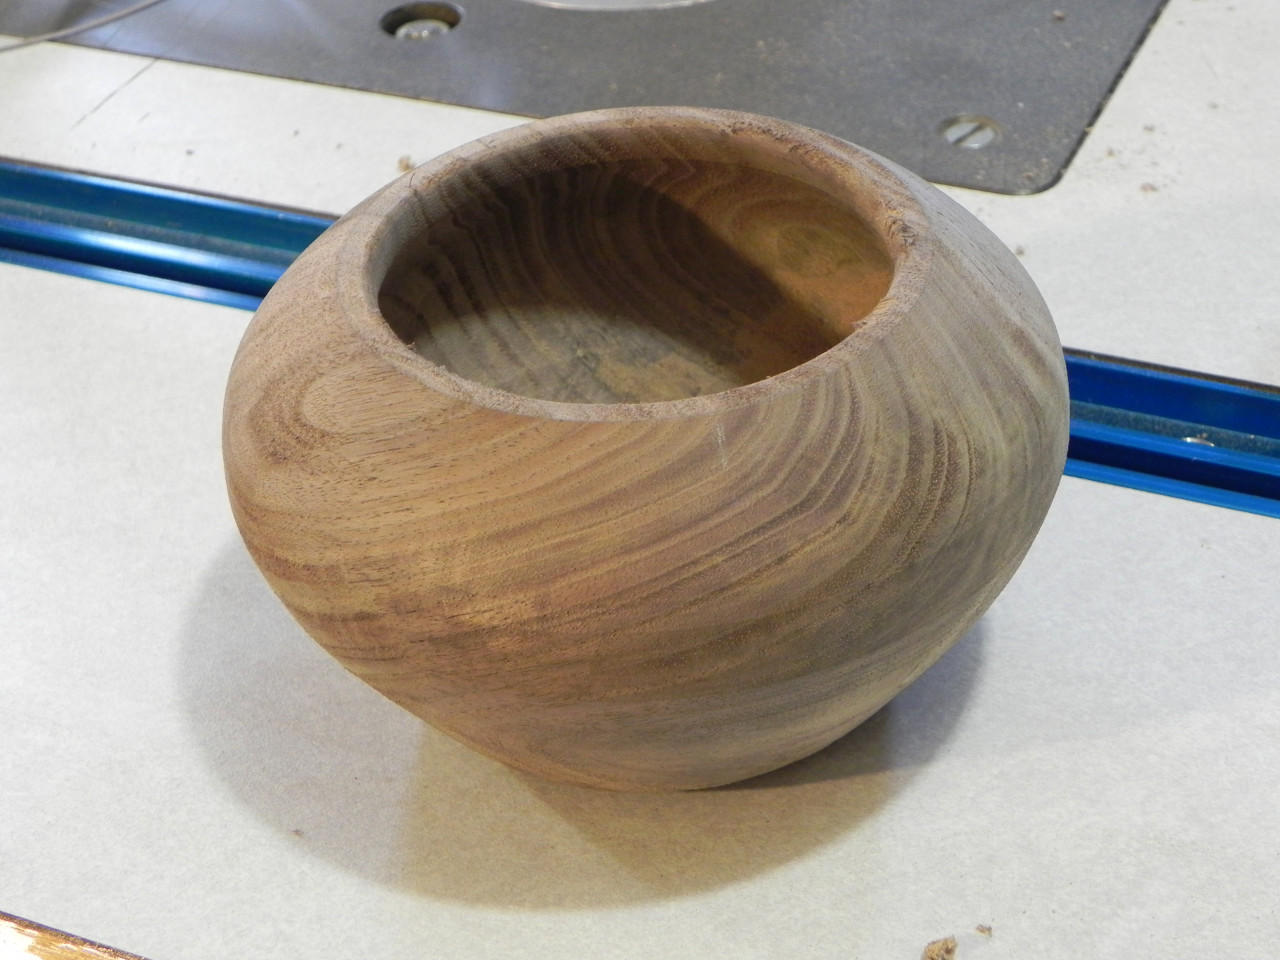
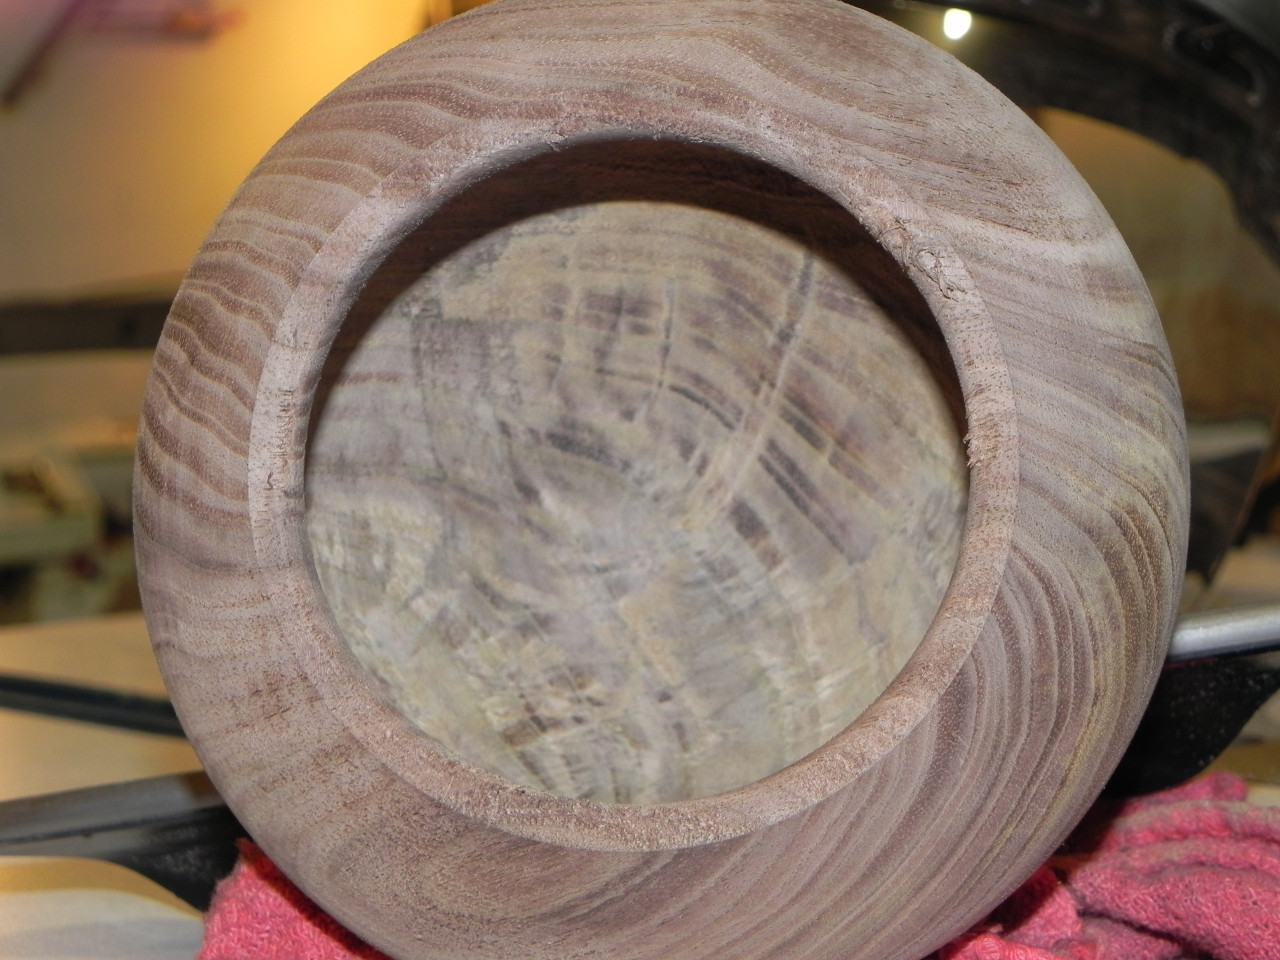
I wanted to make a family member something special for their home, to help give it some character. Plus, something hand crafted is much cooler than a gift card. The bowl started out as a chunk of Black Walnut burl, that contained a hefty amount of sapwood. Though the form is simple, this was my most challenging project to-date. Because the blank contained so much sapwood, and sapwood is a different density than heartwood, it was severely out of balance through most of the turning process. Additionally the difference in hardness between the two woods also made the blank hard to turn. Overall, I’m very happy with the final product.
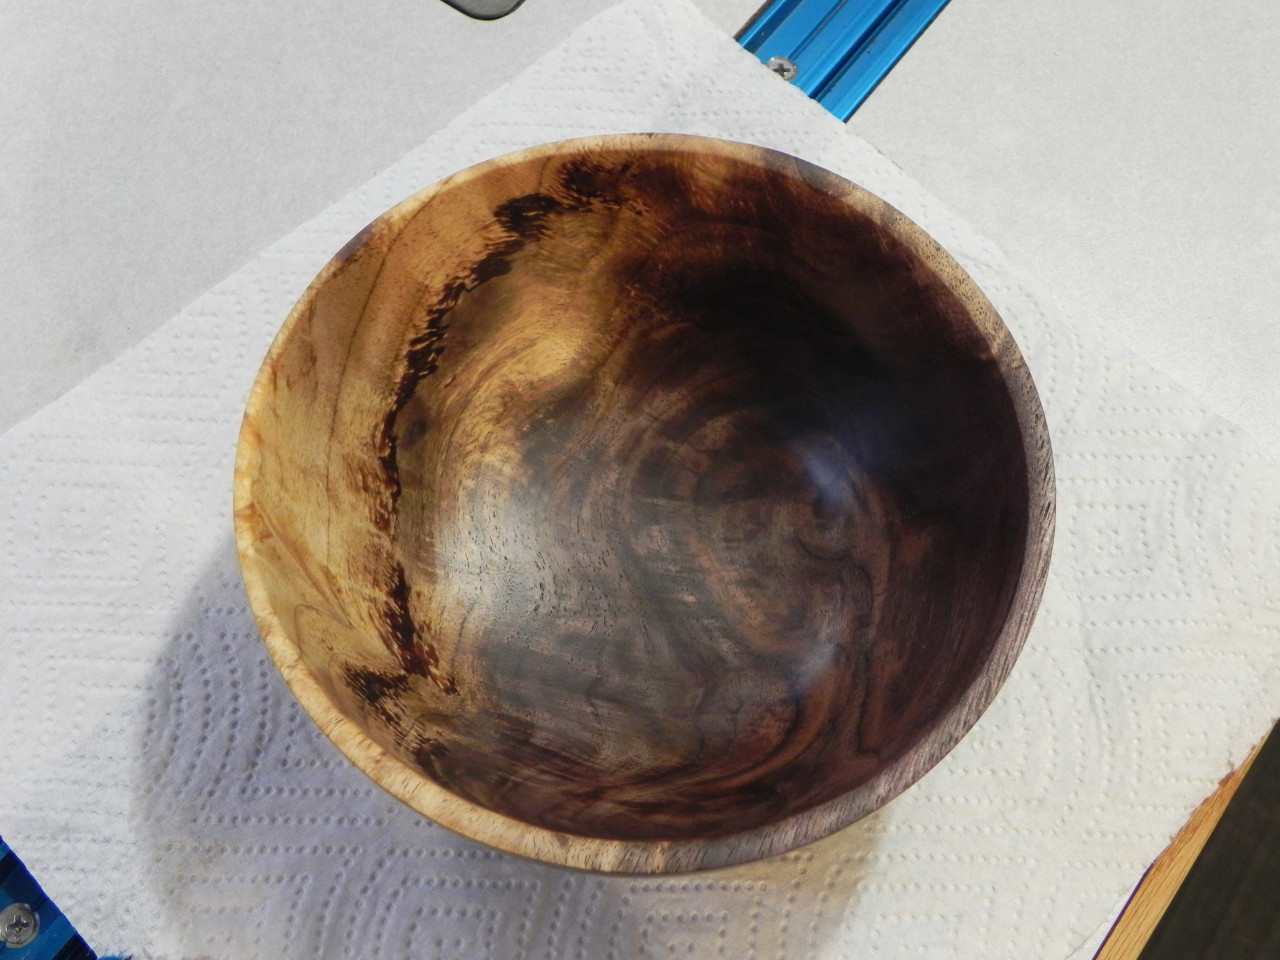
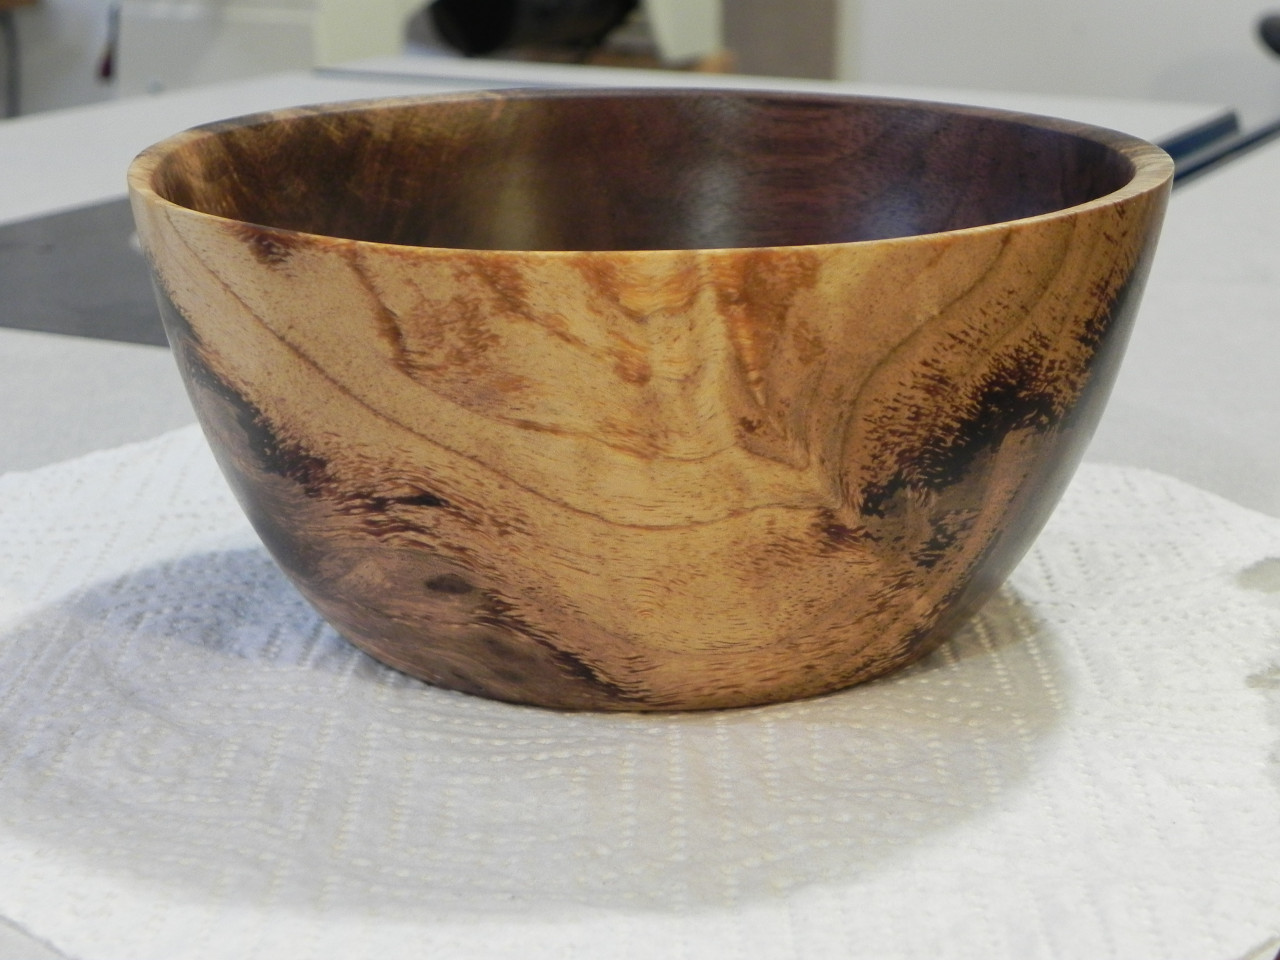
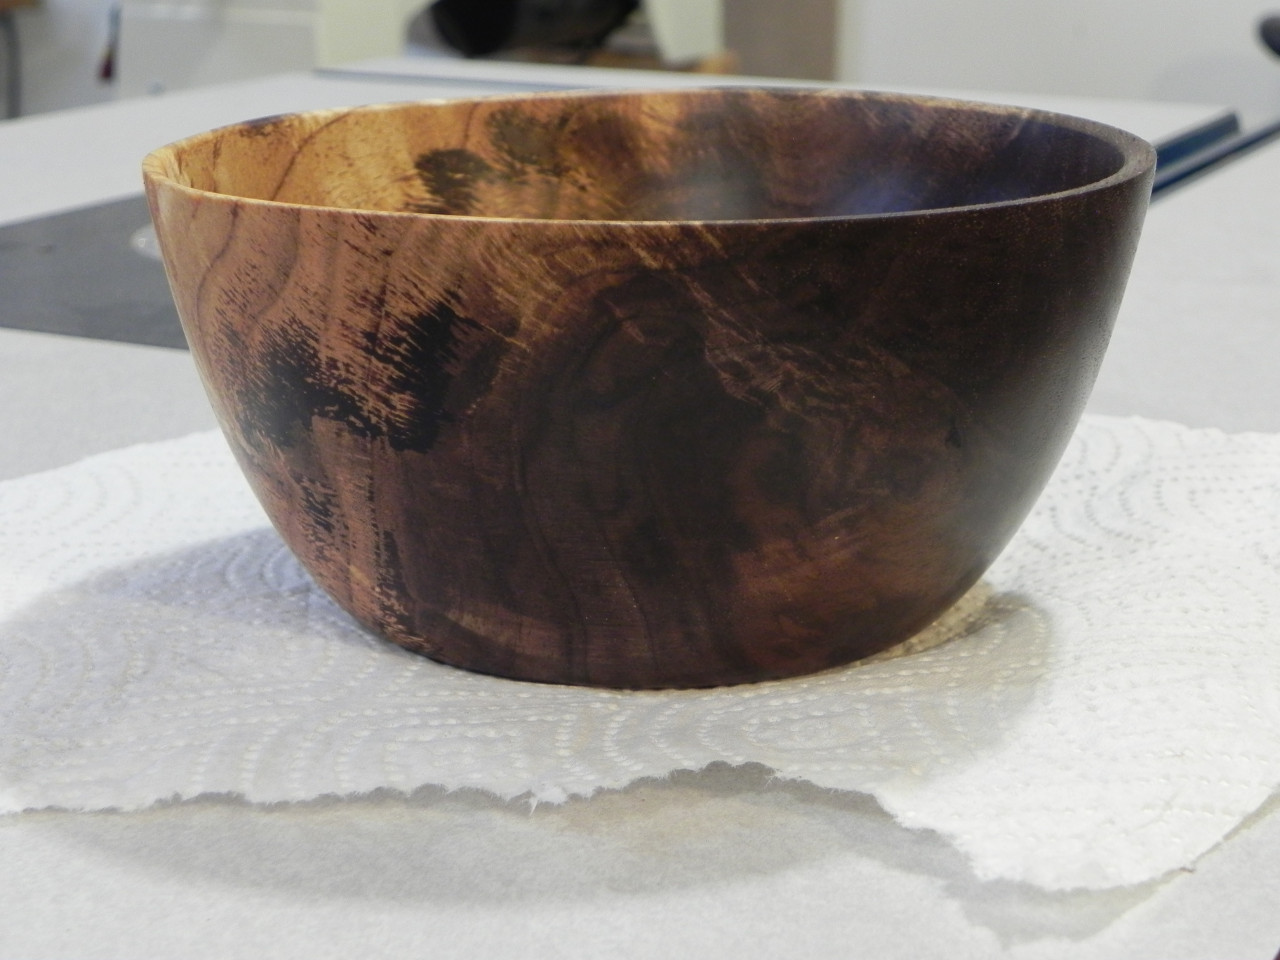
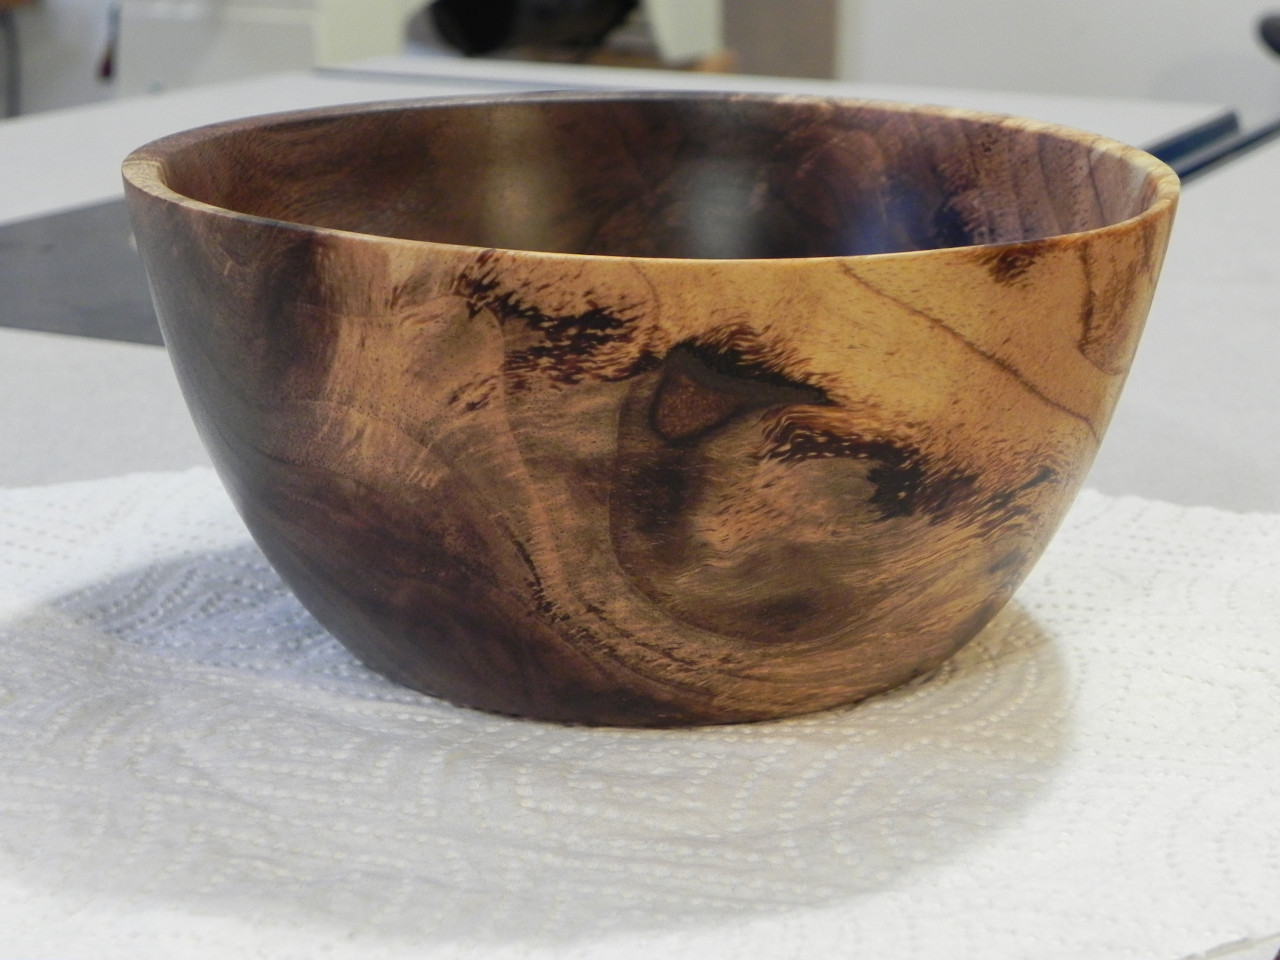
Last Christmas, I made Jillian the scrap wood table for her station at work. This year I wanted to make her something as well, but hopefully a lot less time consuming. I decided to make a small bowl, that she could fill with candy and set on-top of the table. I decided to use a nice black walnut burl blank I picked up several weeks ago to make the bowl, as I thought it would go nicely with the walnut legs of table.
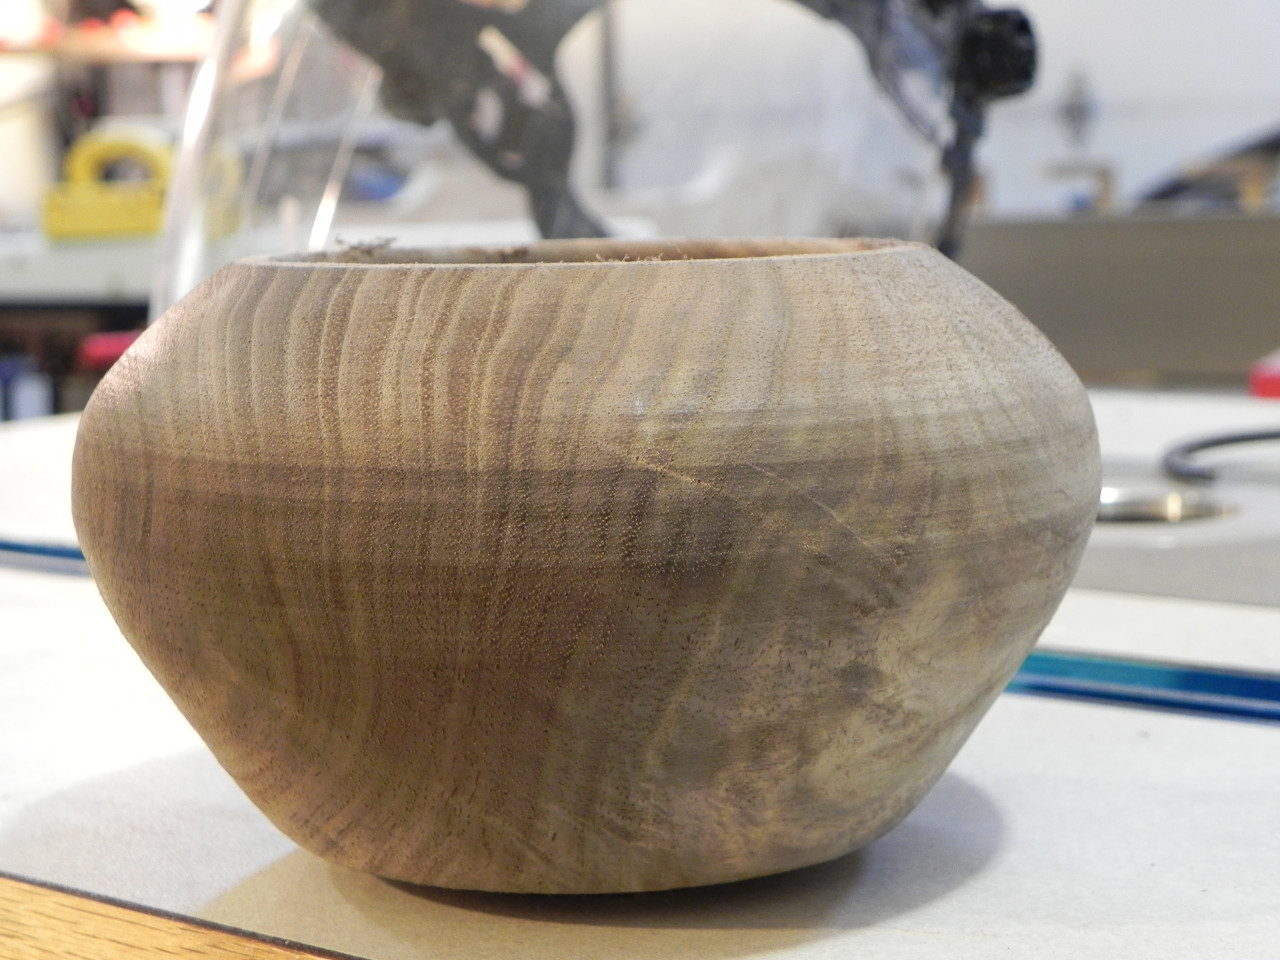
I knew she was going to be working late a few nights ago, so I thought it would be a good time to make the bowl. When I was rough milling the blank at the bandsaw, something didn’t feel right, but I couldn’t put my finger on it. About 5 minutes into turning the blank I realized what was wrong, the blank was still wet. After verifying the blank was hovering around 30% with my moisture meter, I begrudgingly decided to rough turn the bowl and set it aside. This Christmas present will just have to be a belated one.
While turning the bowl, I realized this was a milestone event for me; my first “green” wood turning. I now see why people enjoy turning green wood. Turning it with my carbide tools required a lot less effort, and it produced nice ribbons in stead of the dust I normally get. I must have been enjoying my self to much, because I had another milestone event in my turning career, in this case a bad catch. While I was hollowing out the inside, the tool dug in, and was ripped out of my hands. Thankfully, I escaped injury, and the bowl only sustained minor damage, that I was able to clean up without to much effort.
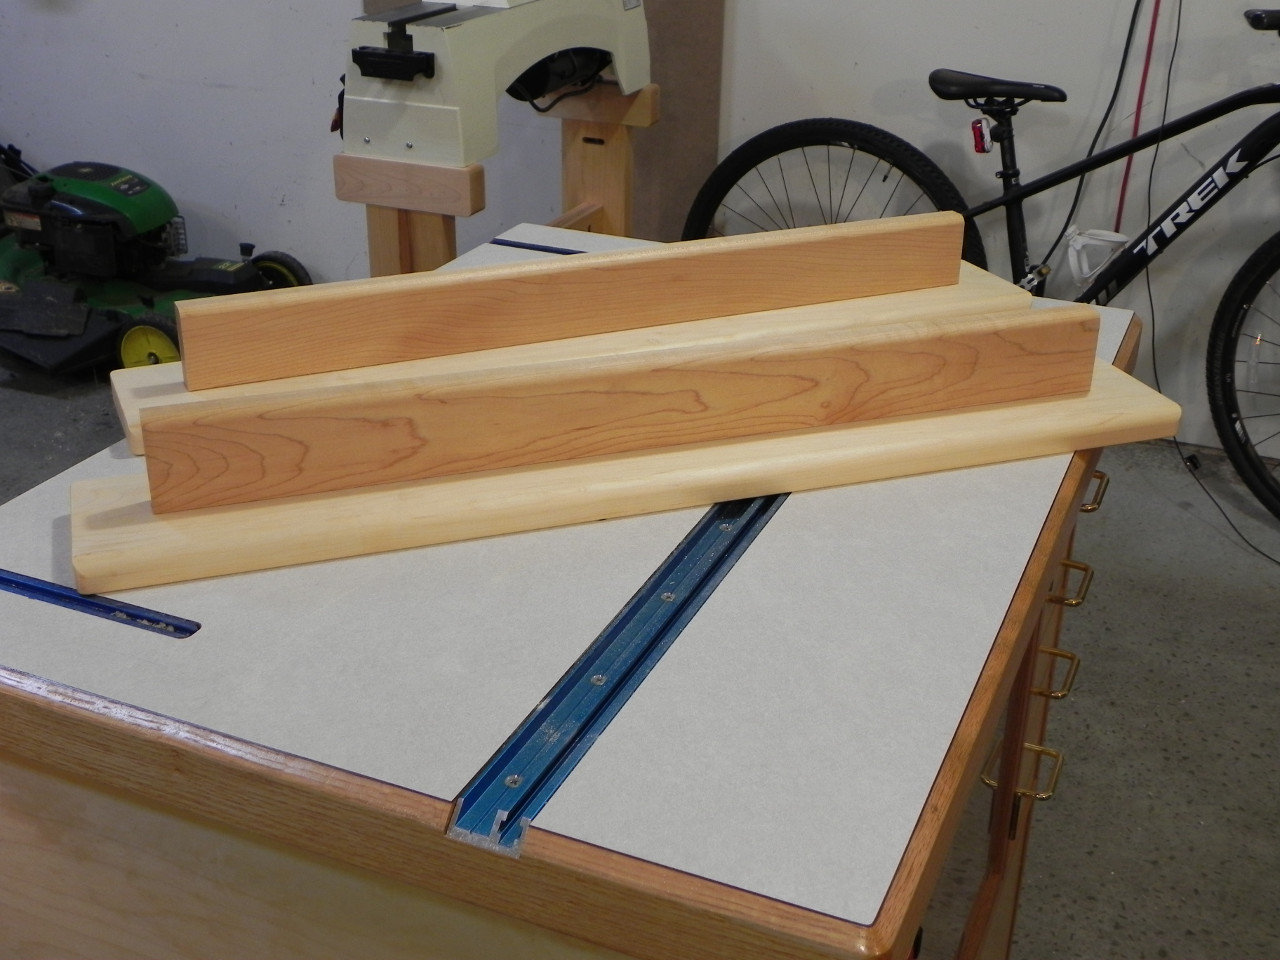
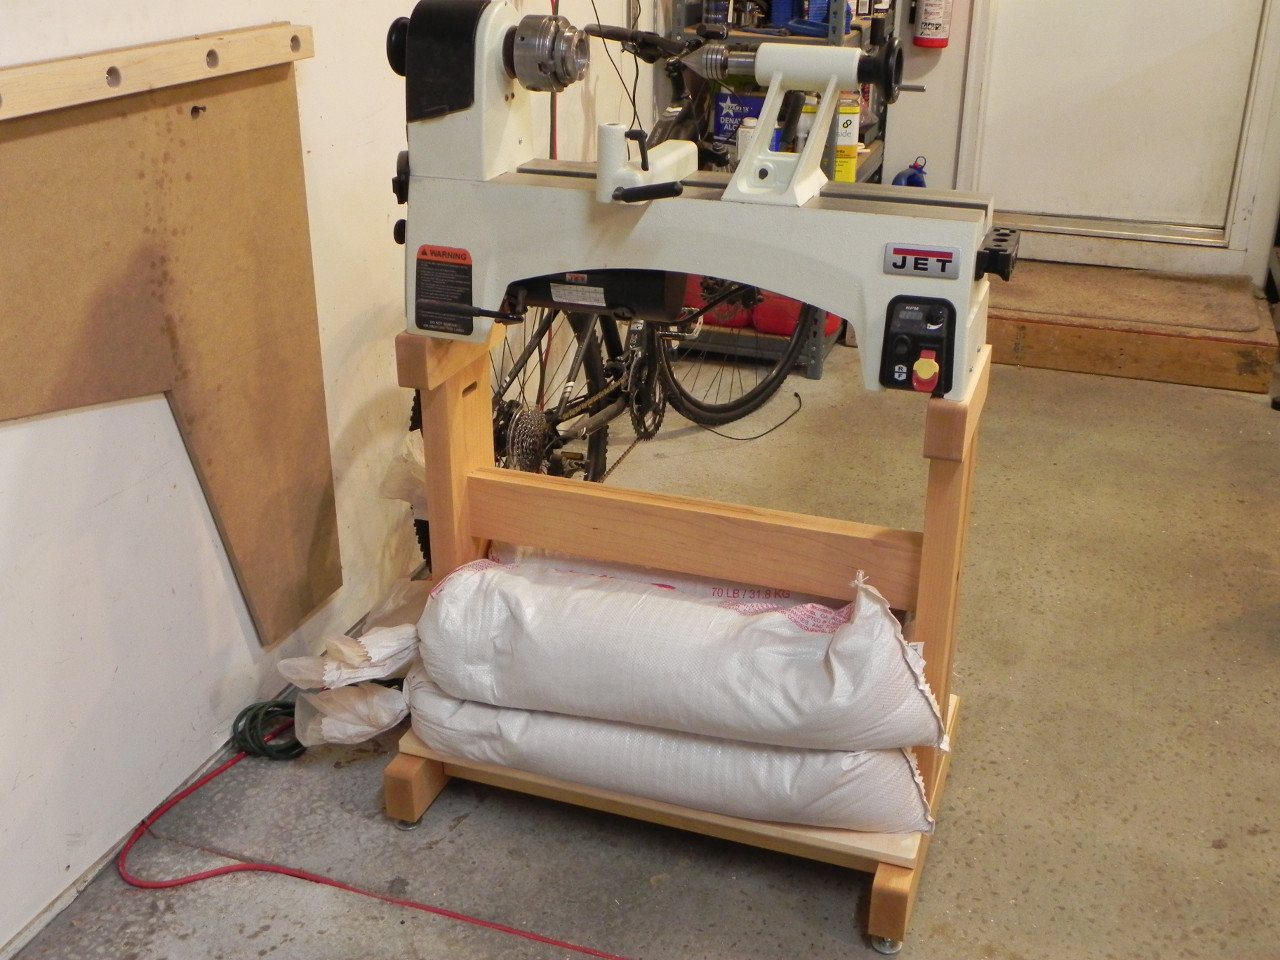
When I built my mini-lathe stand, I intentionally kept it light and simple so I could add onto it in the future (bed extension), and so I could easily move it around my shop. As most people will tell you, a light lathe stand is a sever limitation if you intend to turn a lot of large projects. When I designed my stand, I left room for some accessories what would let me weigh it down. Since I plan on doing some larger projects in the not so distance future, I knocked out the accessories last week.
The design is pretty simple as you can see below. they’re just a T shape platforms that sit on top of the stand feet. I currently have 2 70 lb. sand bags on top of each, and I think they could easily support twice that. So far I’m very pleased with them, as the stand is still very mobile, and I can still get real close to the machine for intricate work.