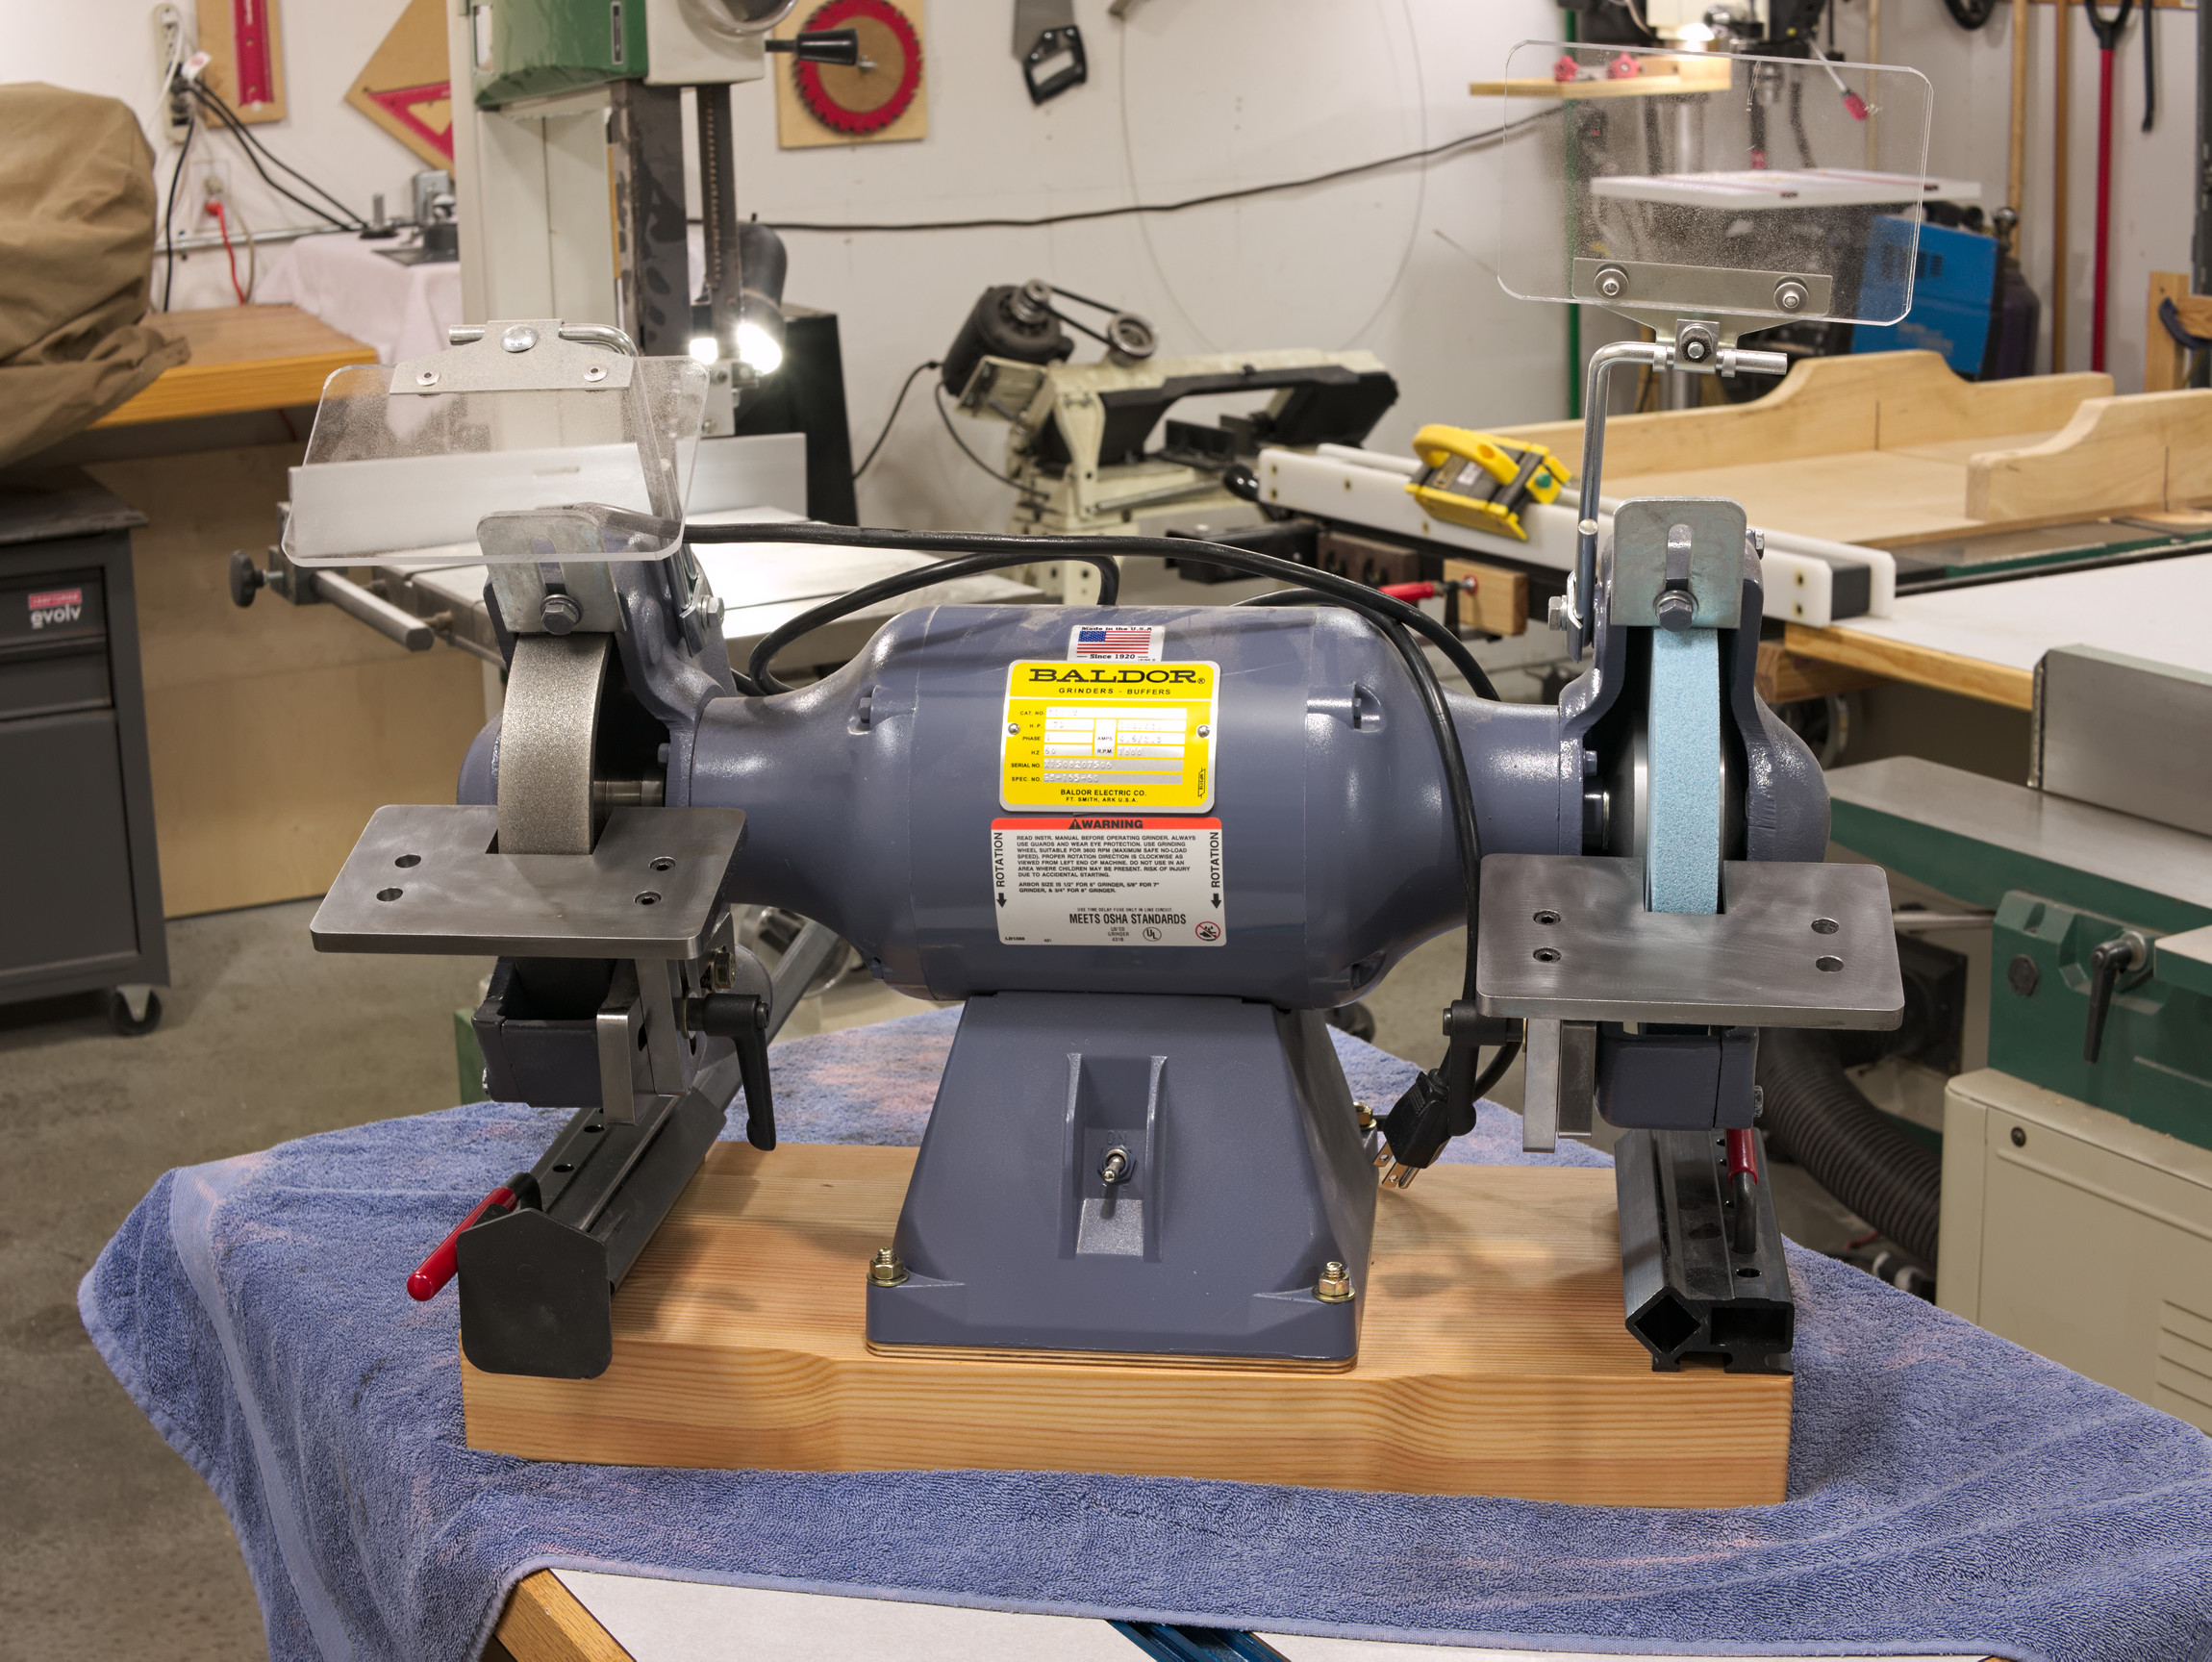
Bench grinder setup addendum
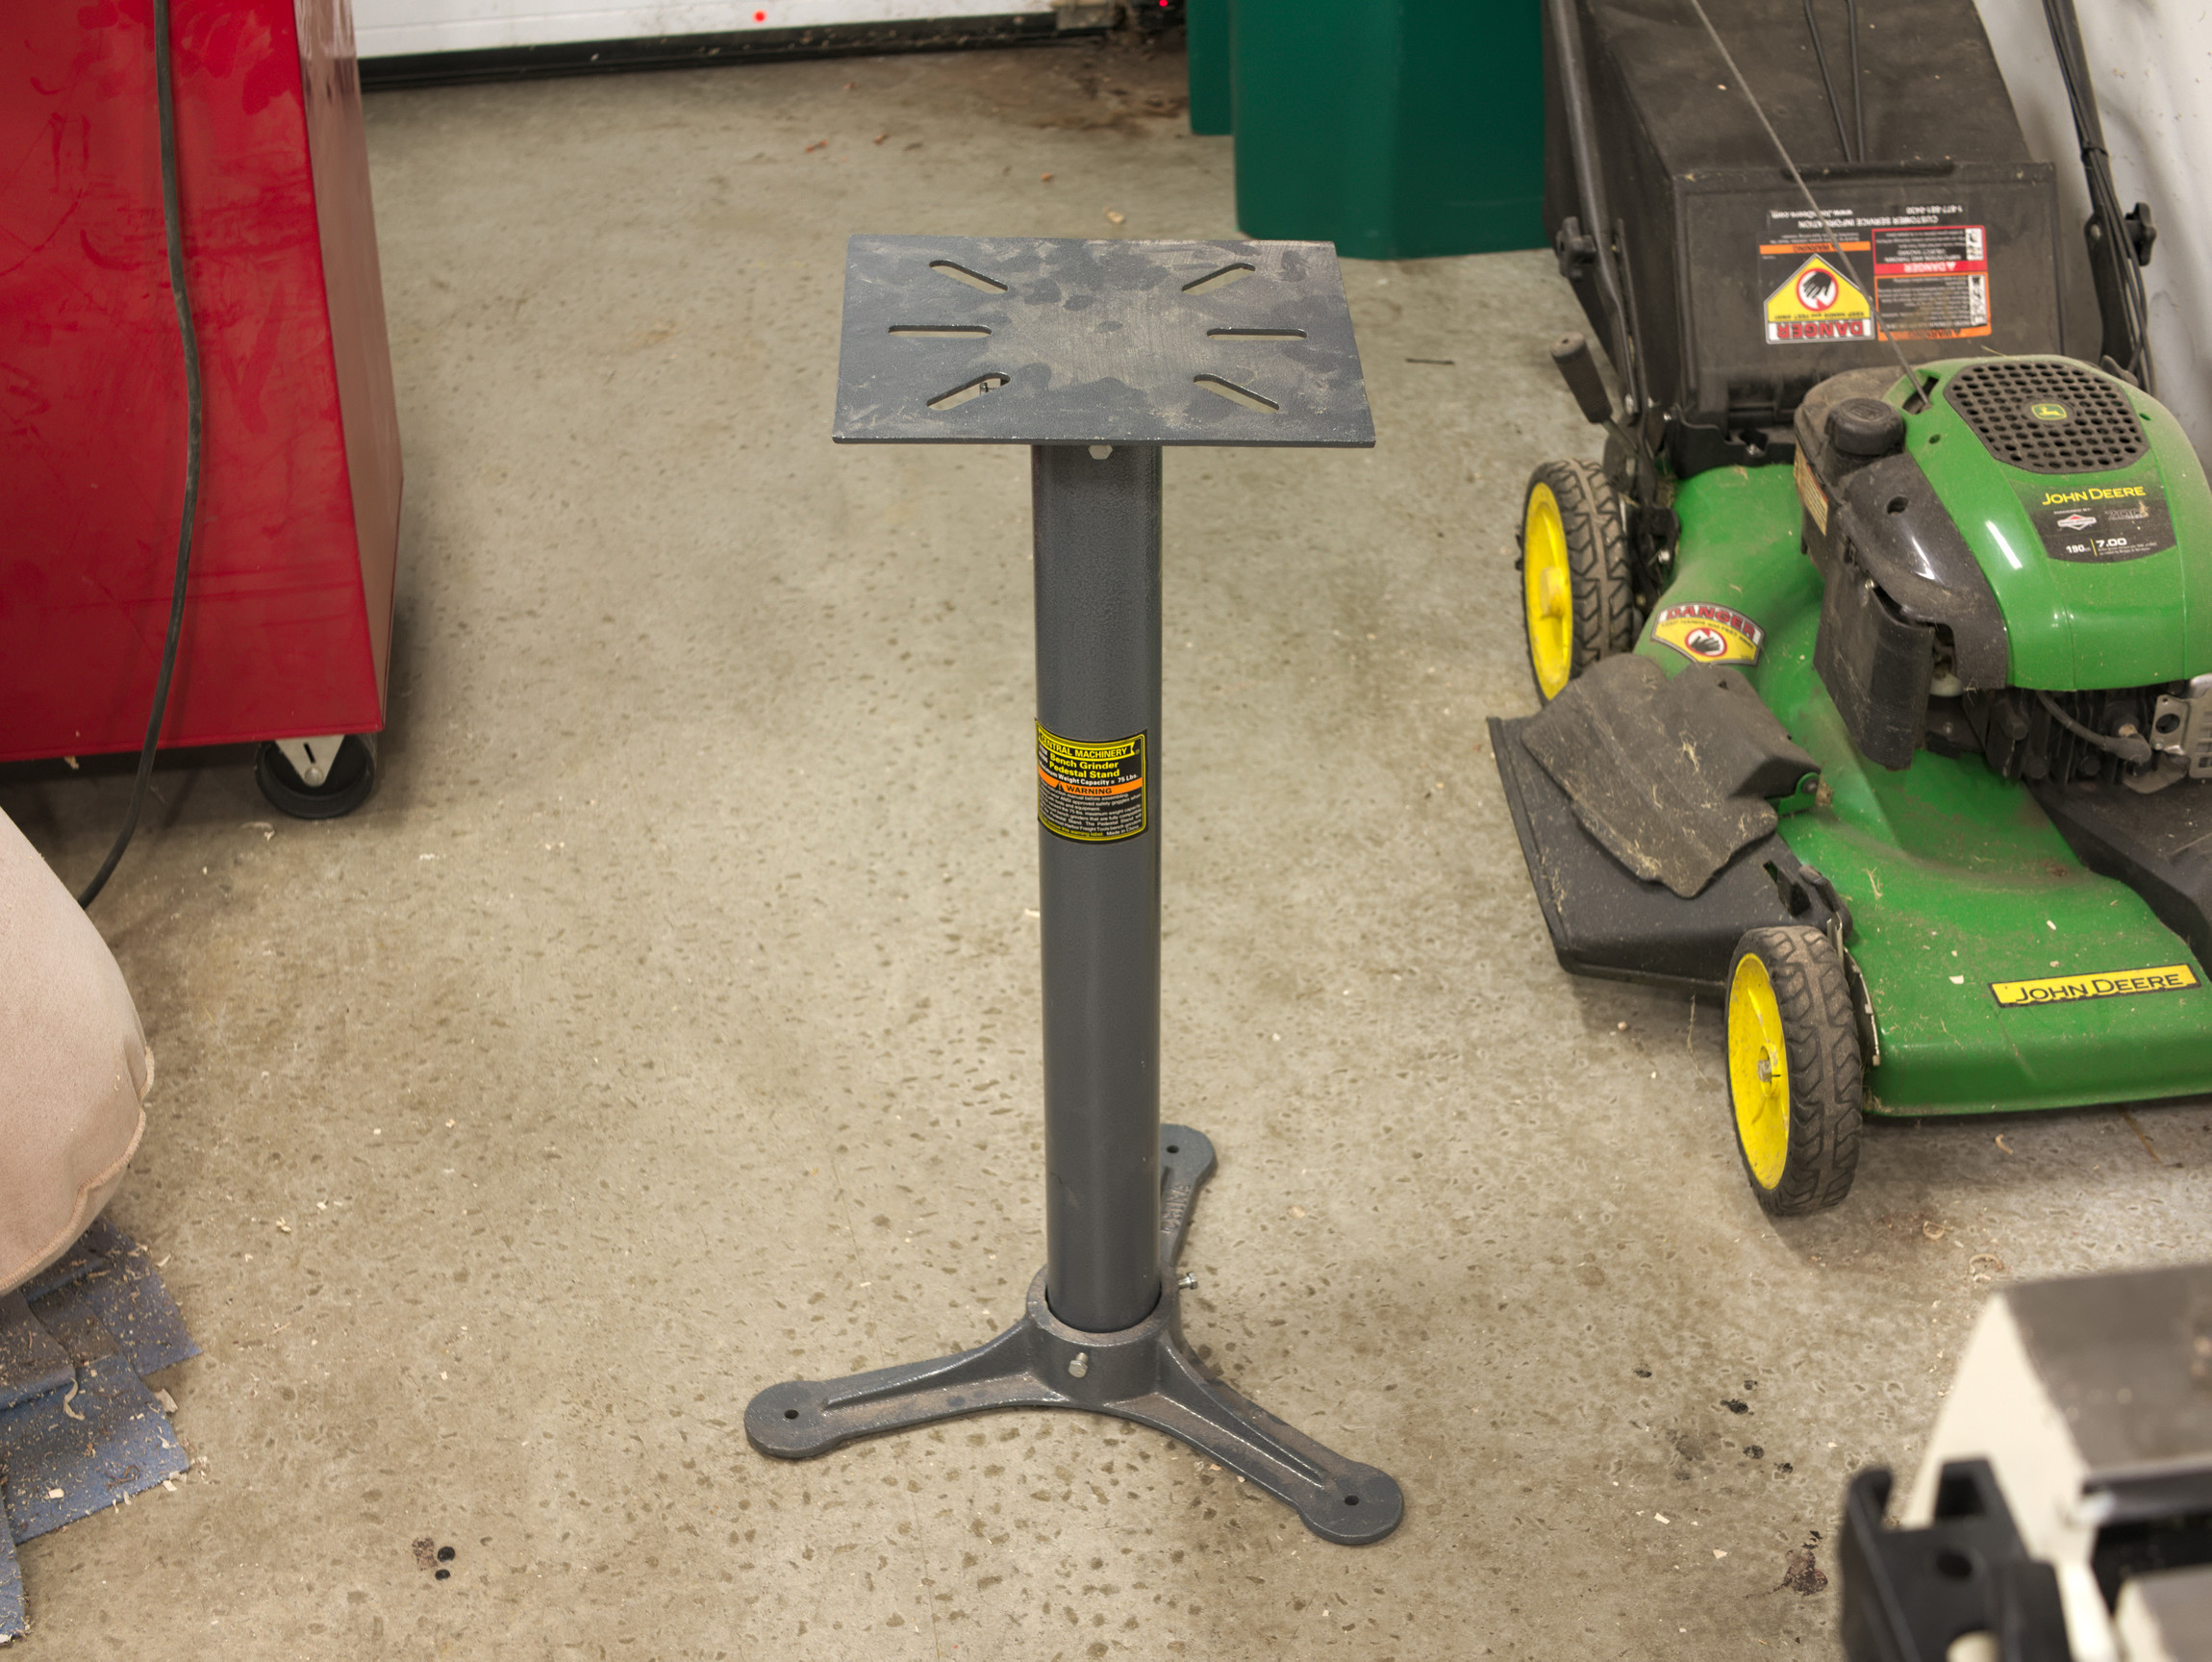
The final step to get the Baldor up and running was creating a proper base/stand. For years I’ve used the Harbor Fright model shown below. I’d love to make a stand like Doc made, but I just don’t have the time for that right now, maybe in the fall. Thus, to get by till I have time to make a more proper one, I made some upgrades to the Harbor Fright stand earlier this week.
The first step in the process, was to pick up a nice Douglas Fir 4×4 at the local big box store to make the top. I found a really nice 8 footer at Menard’s, that I cut into 4 pieces and then rough milled to size before laminating them together.

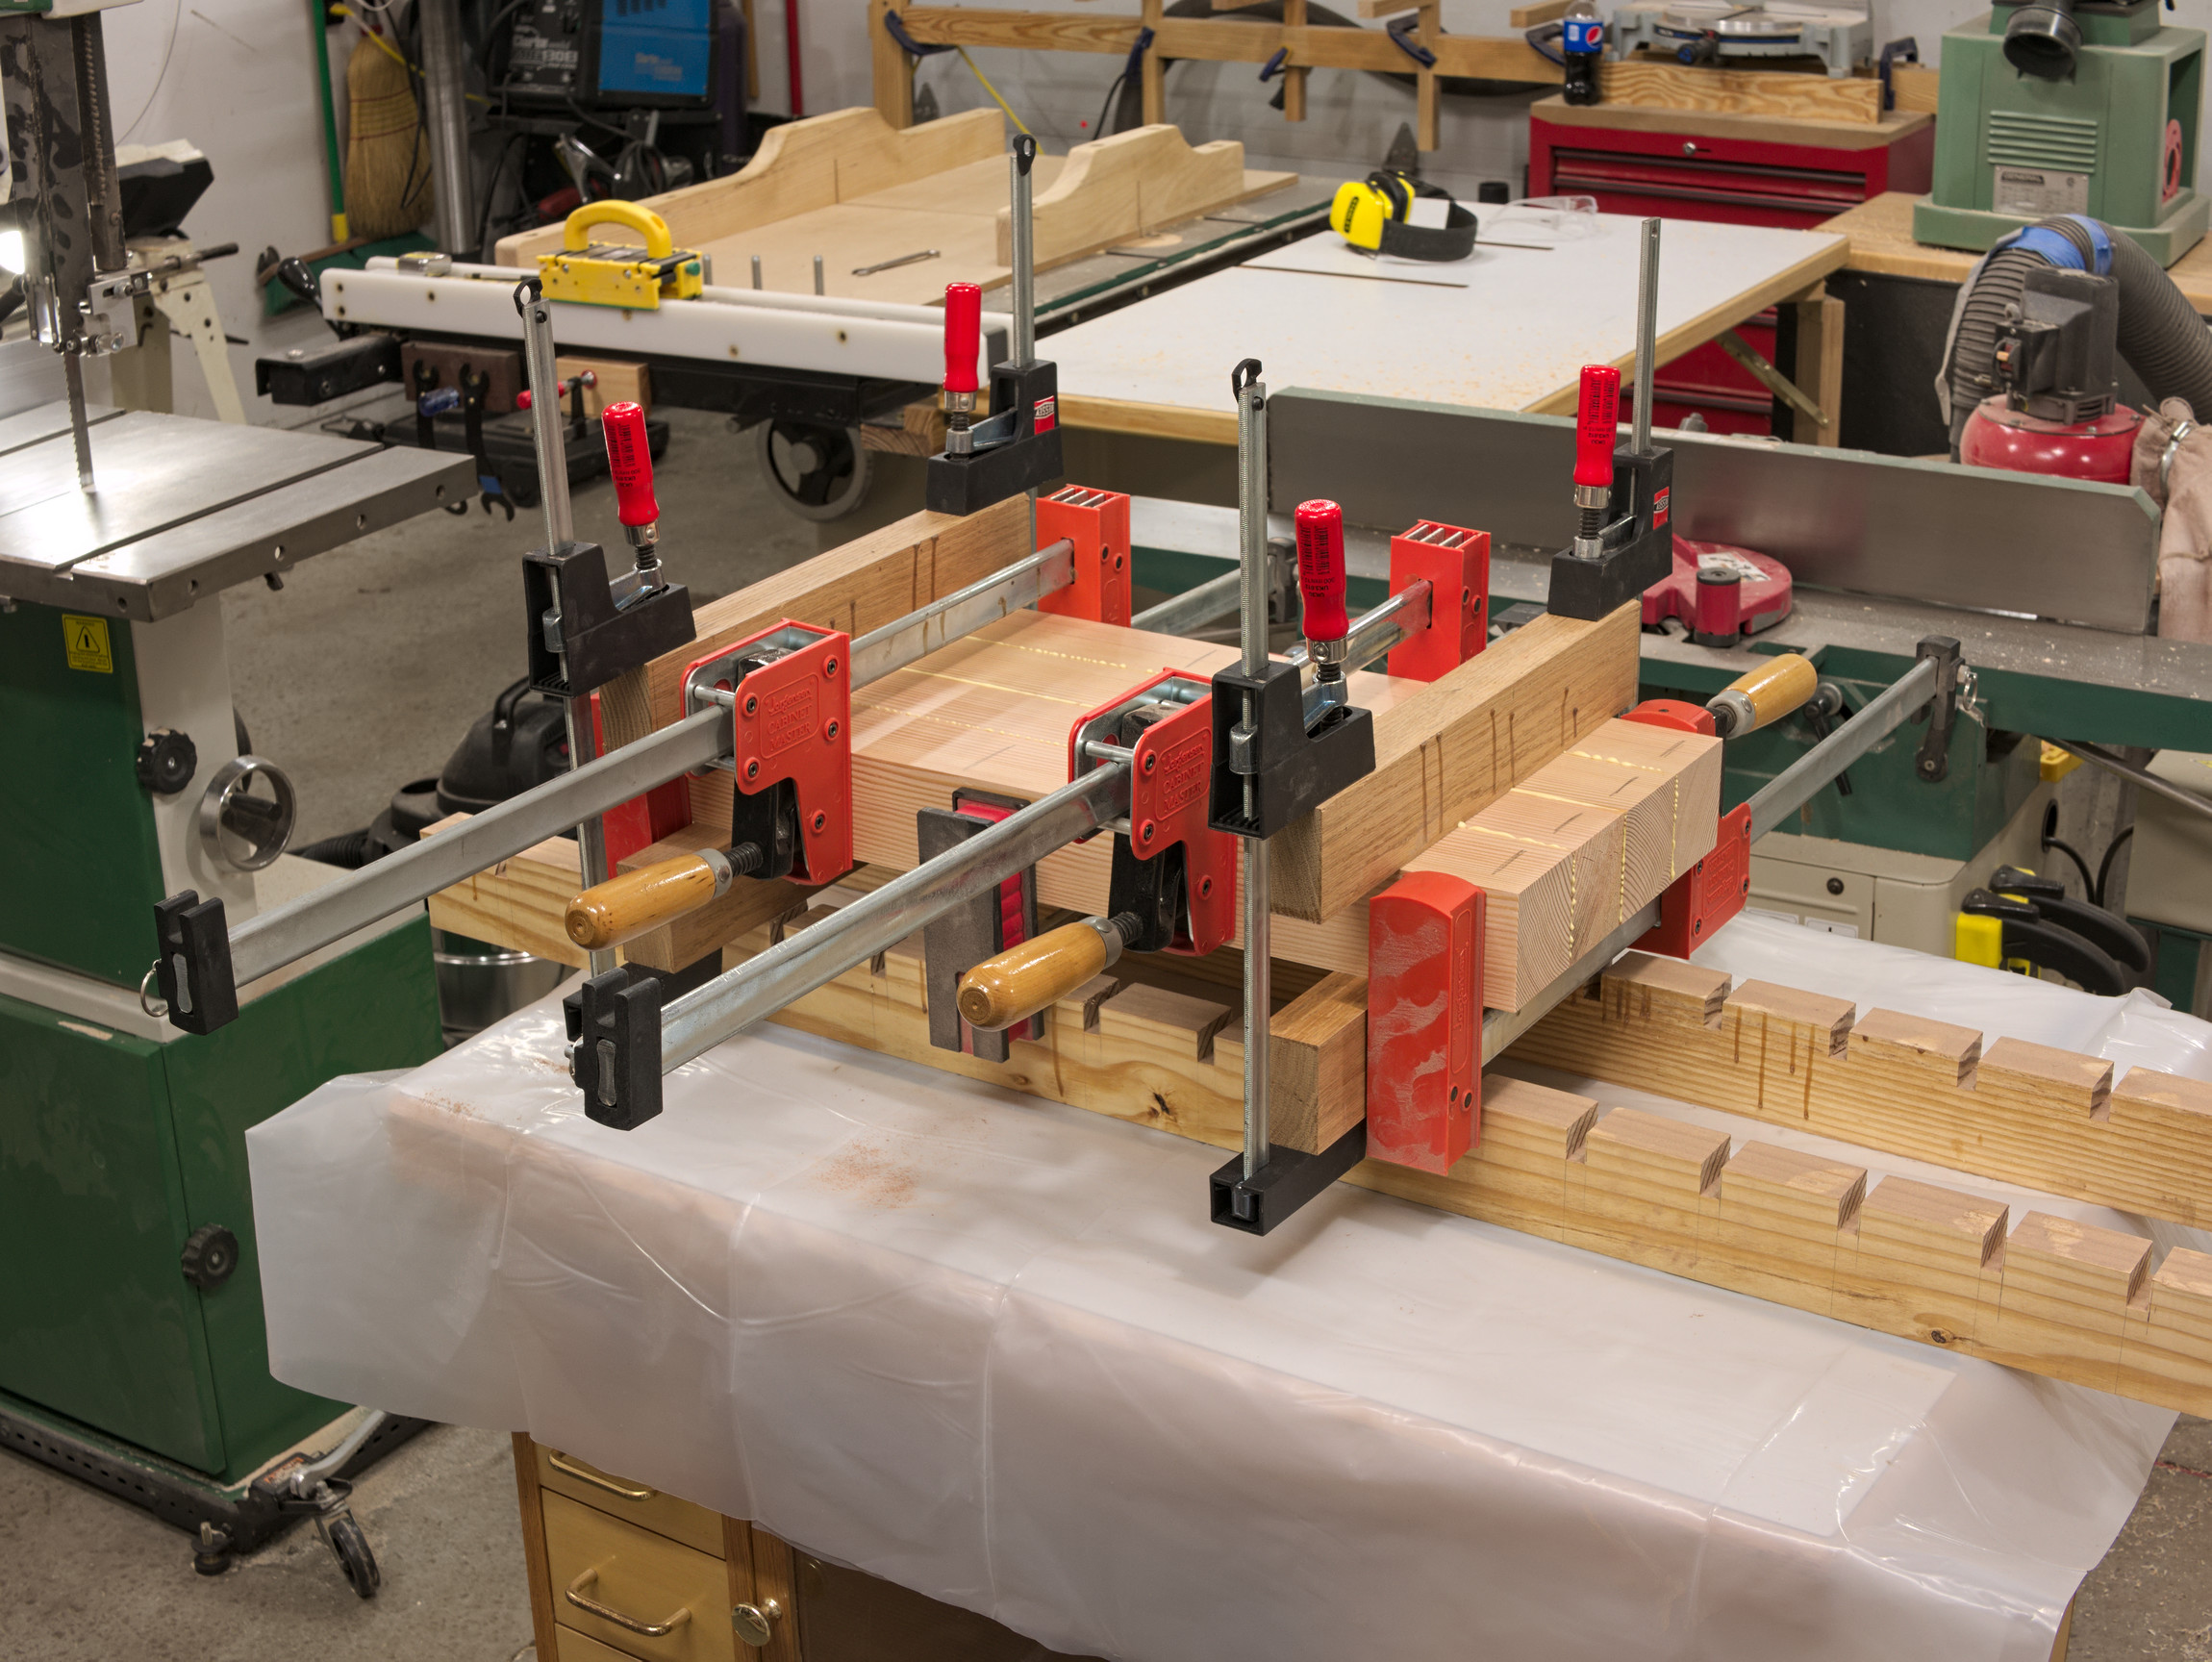
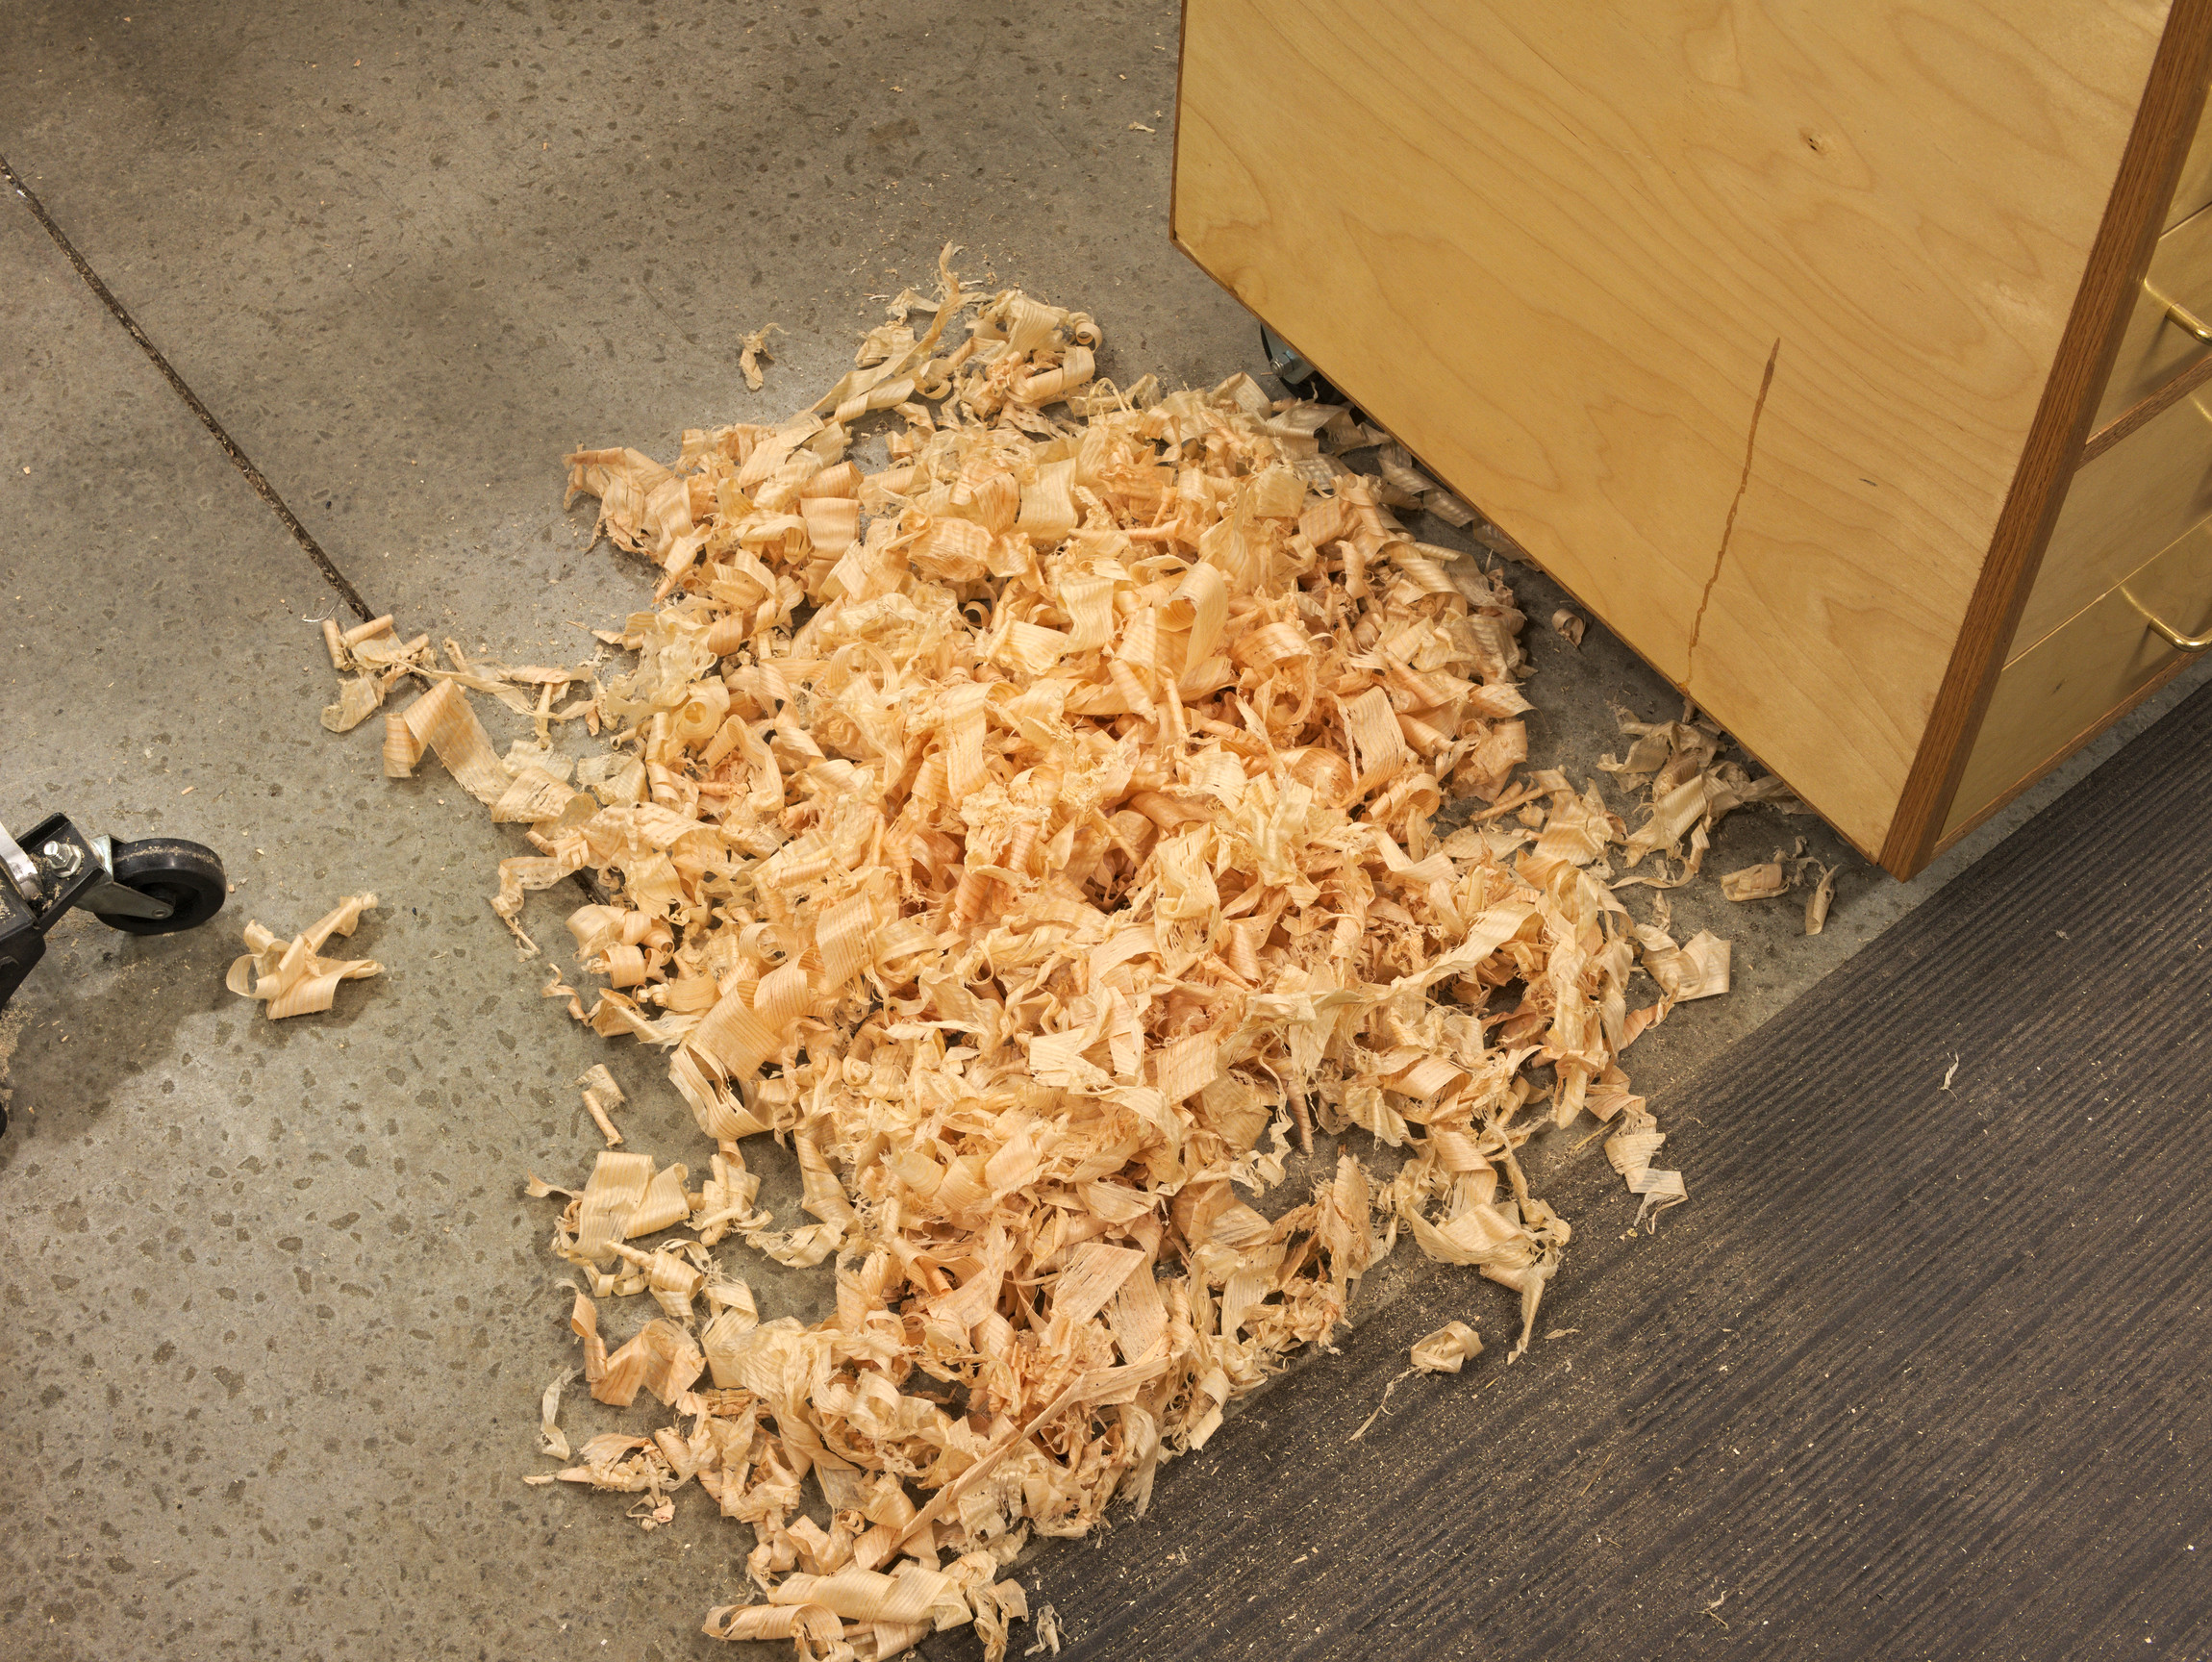
When the glue had dried I broke out the hand planes, to get one side of the top close enough to flat so that I could run it through the planer. With the top an bottom done, I brought it to the proper width and length at the table saw.
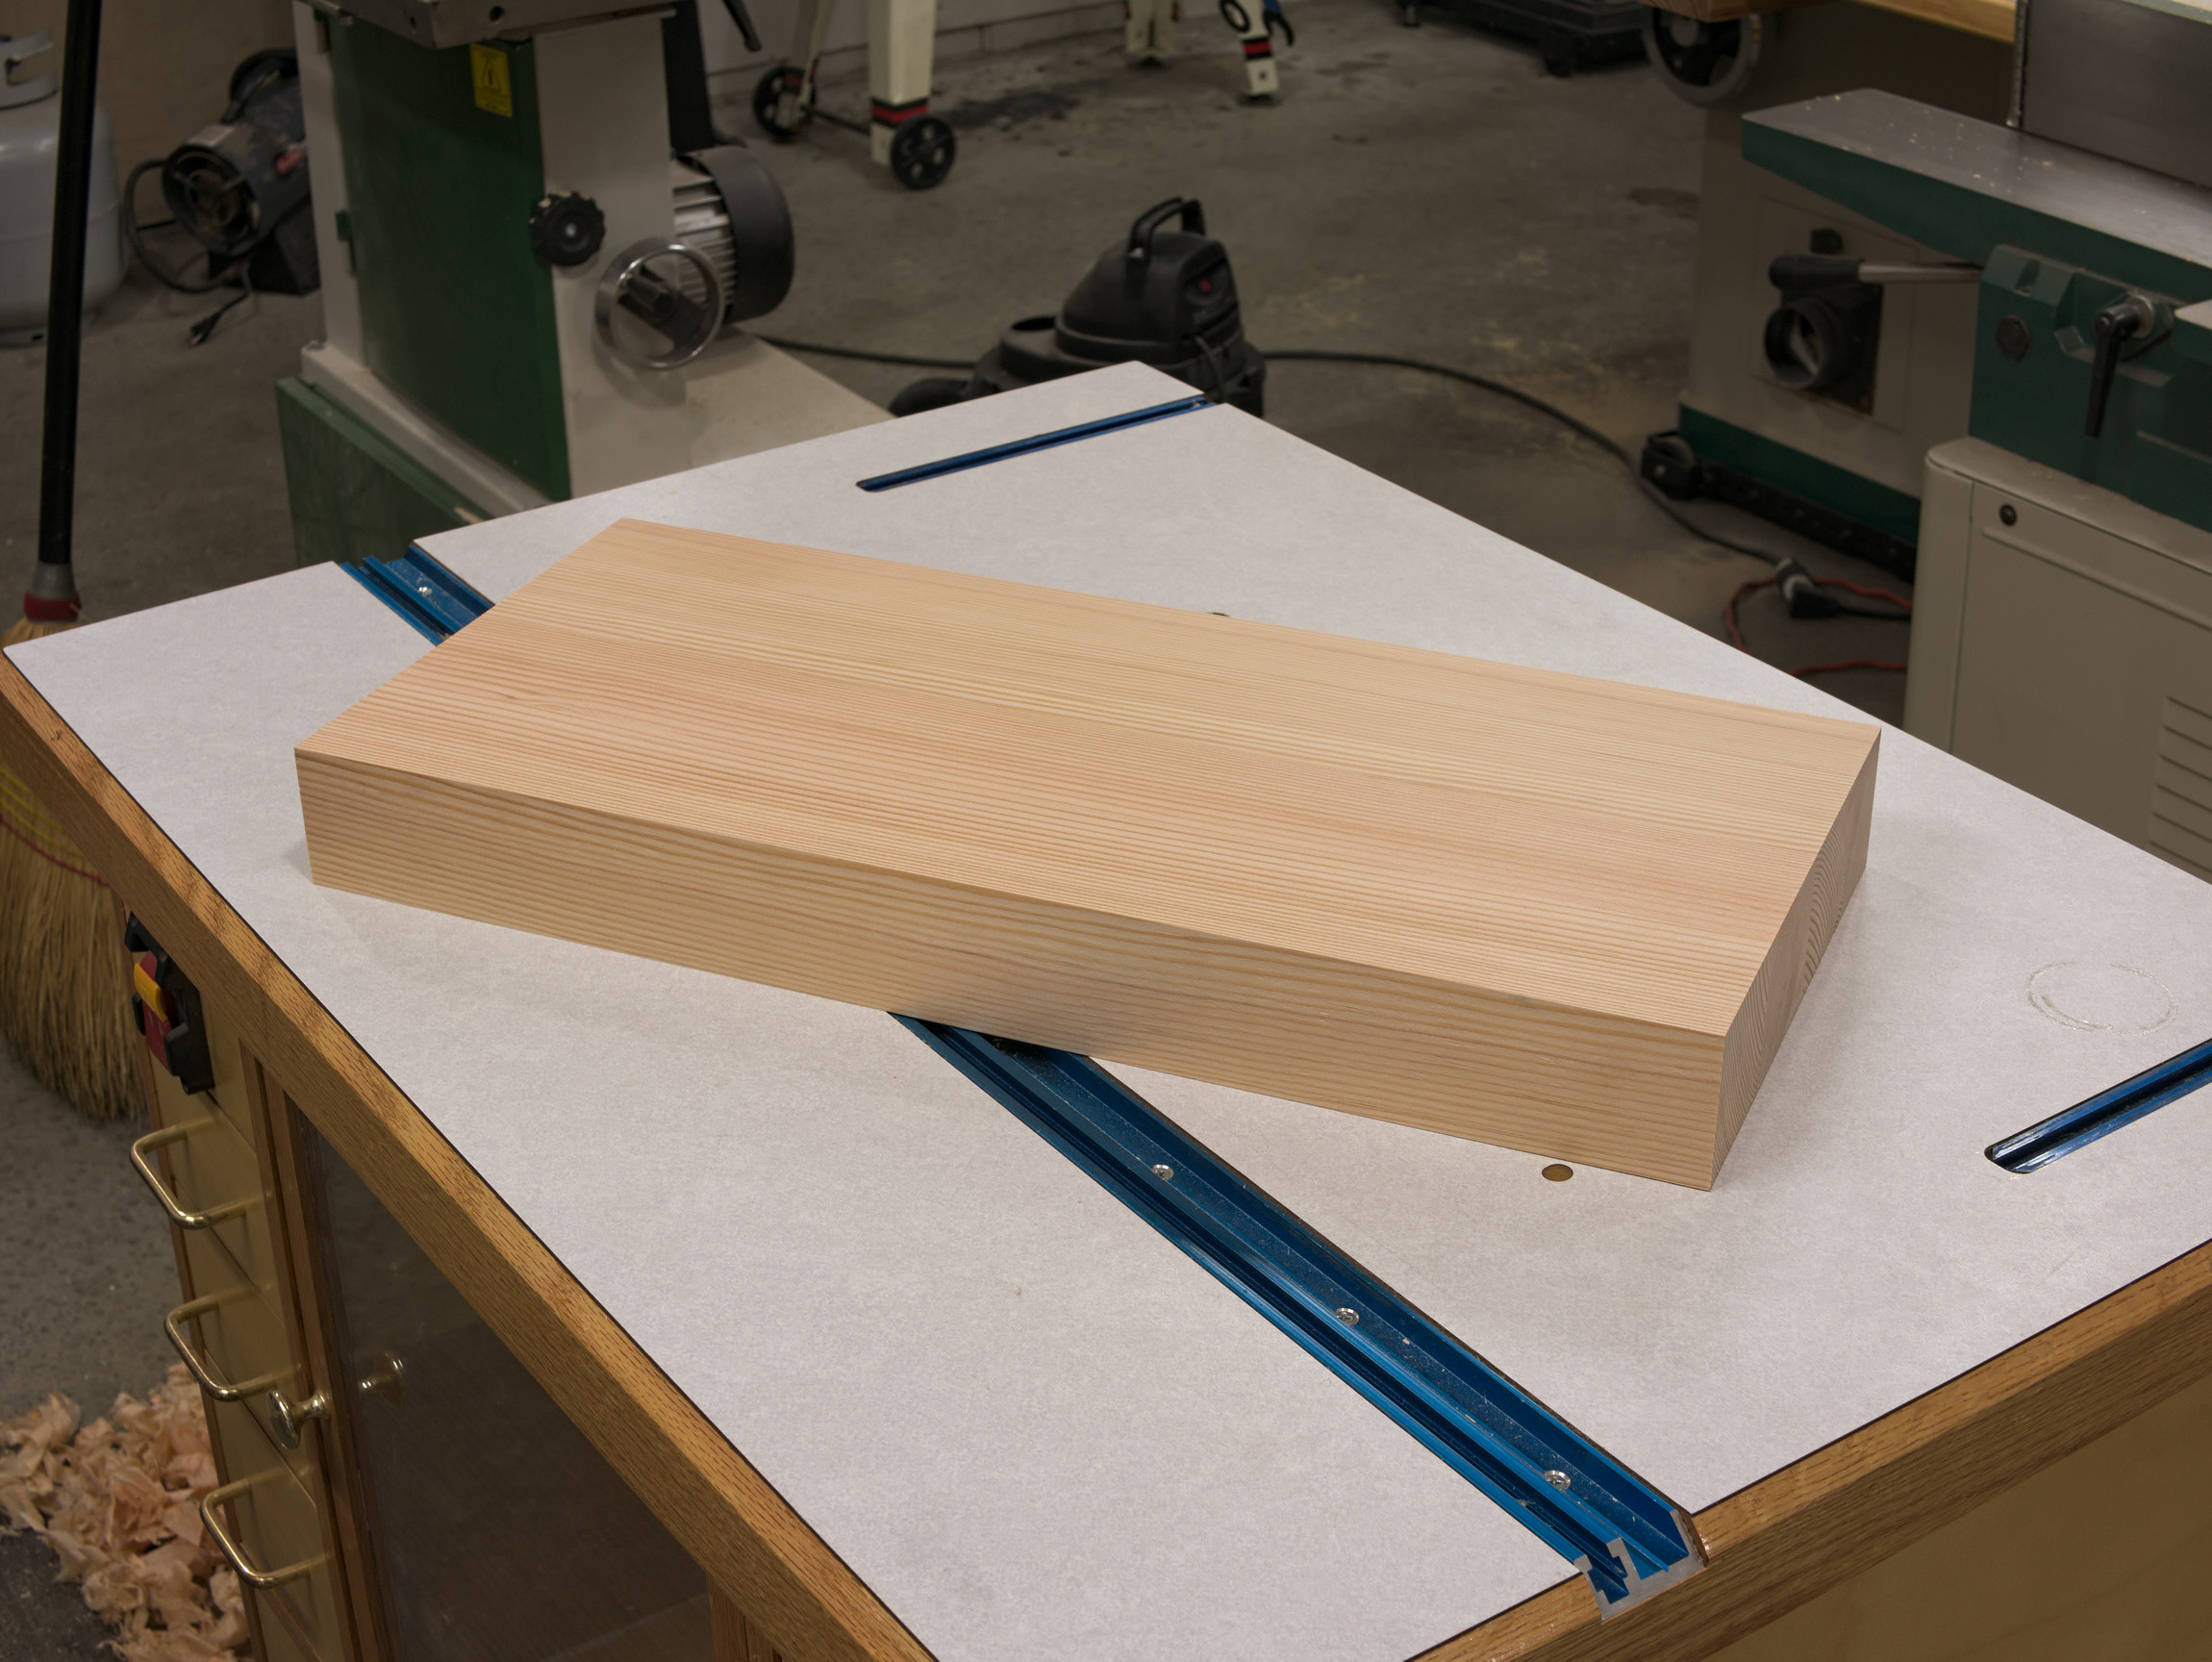
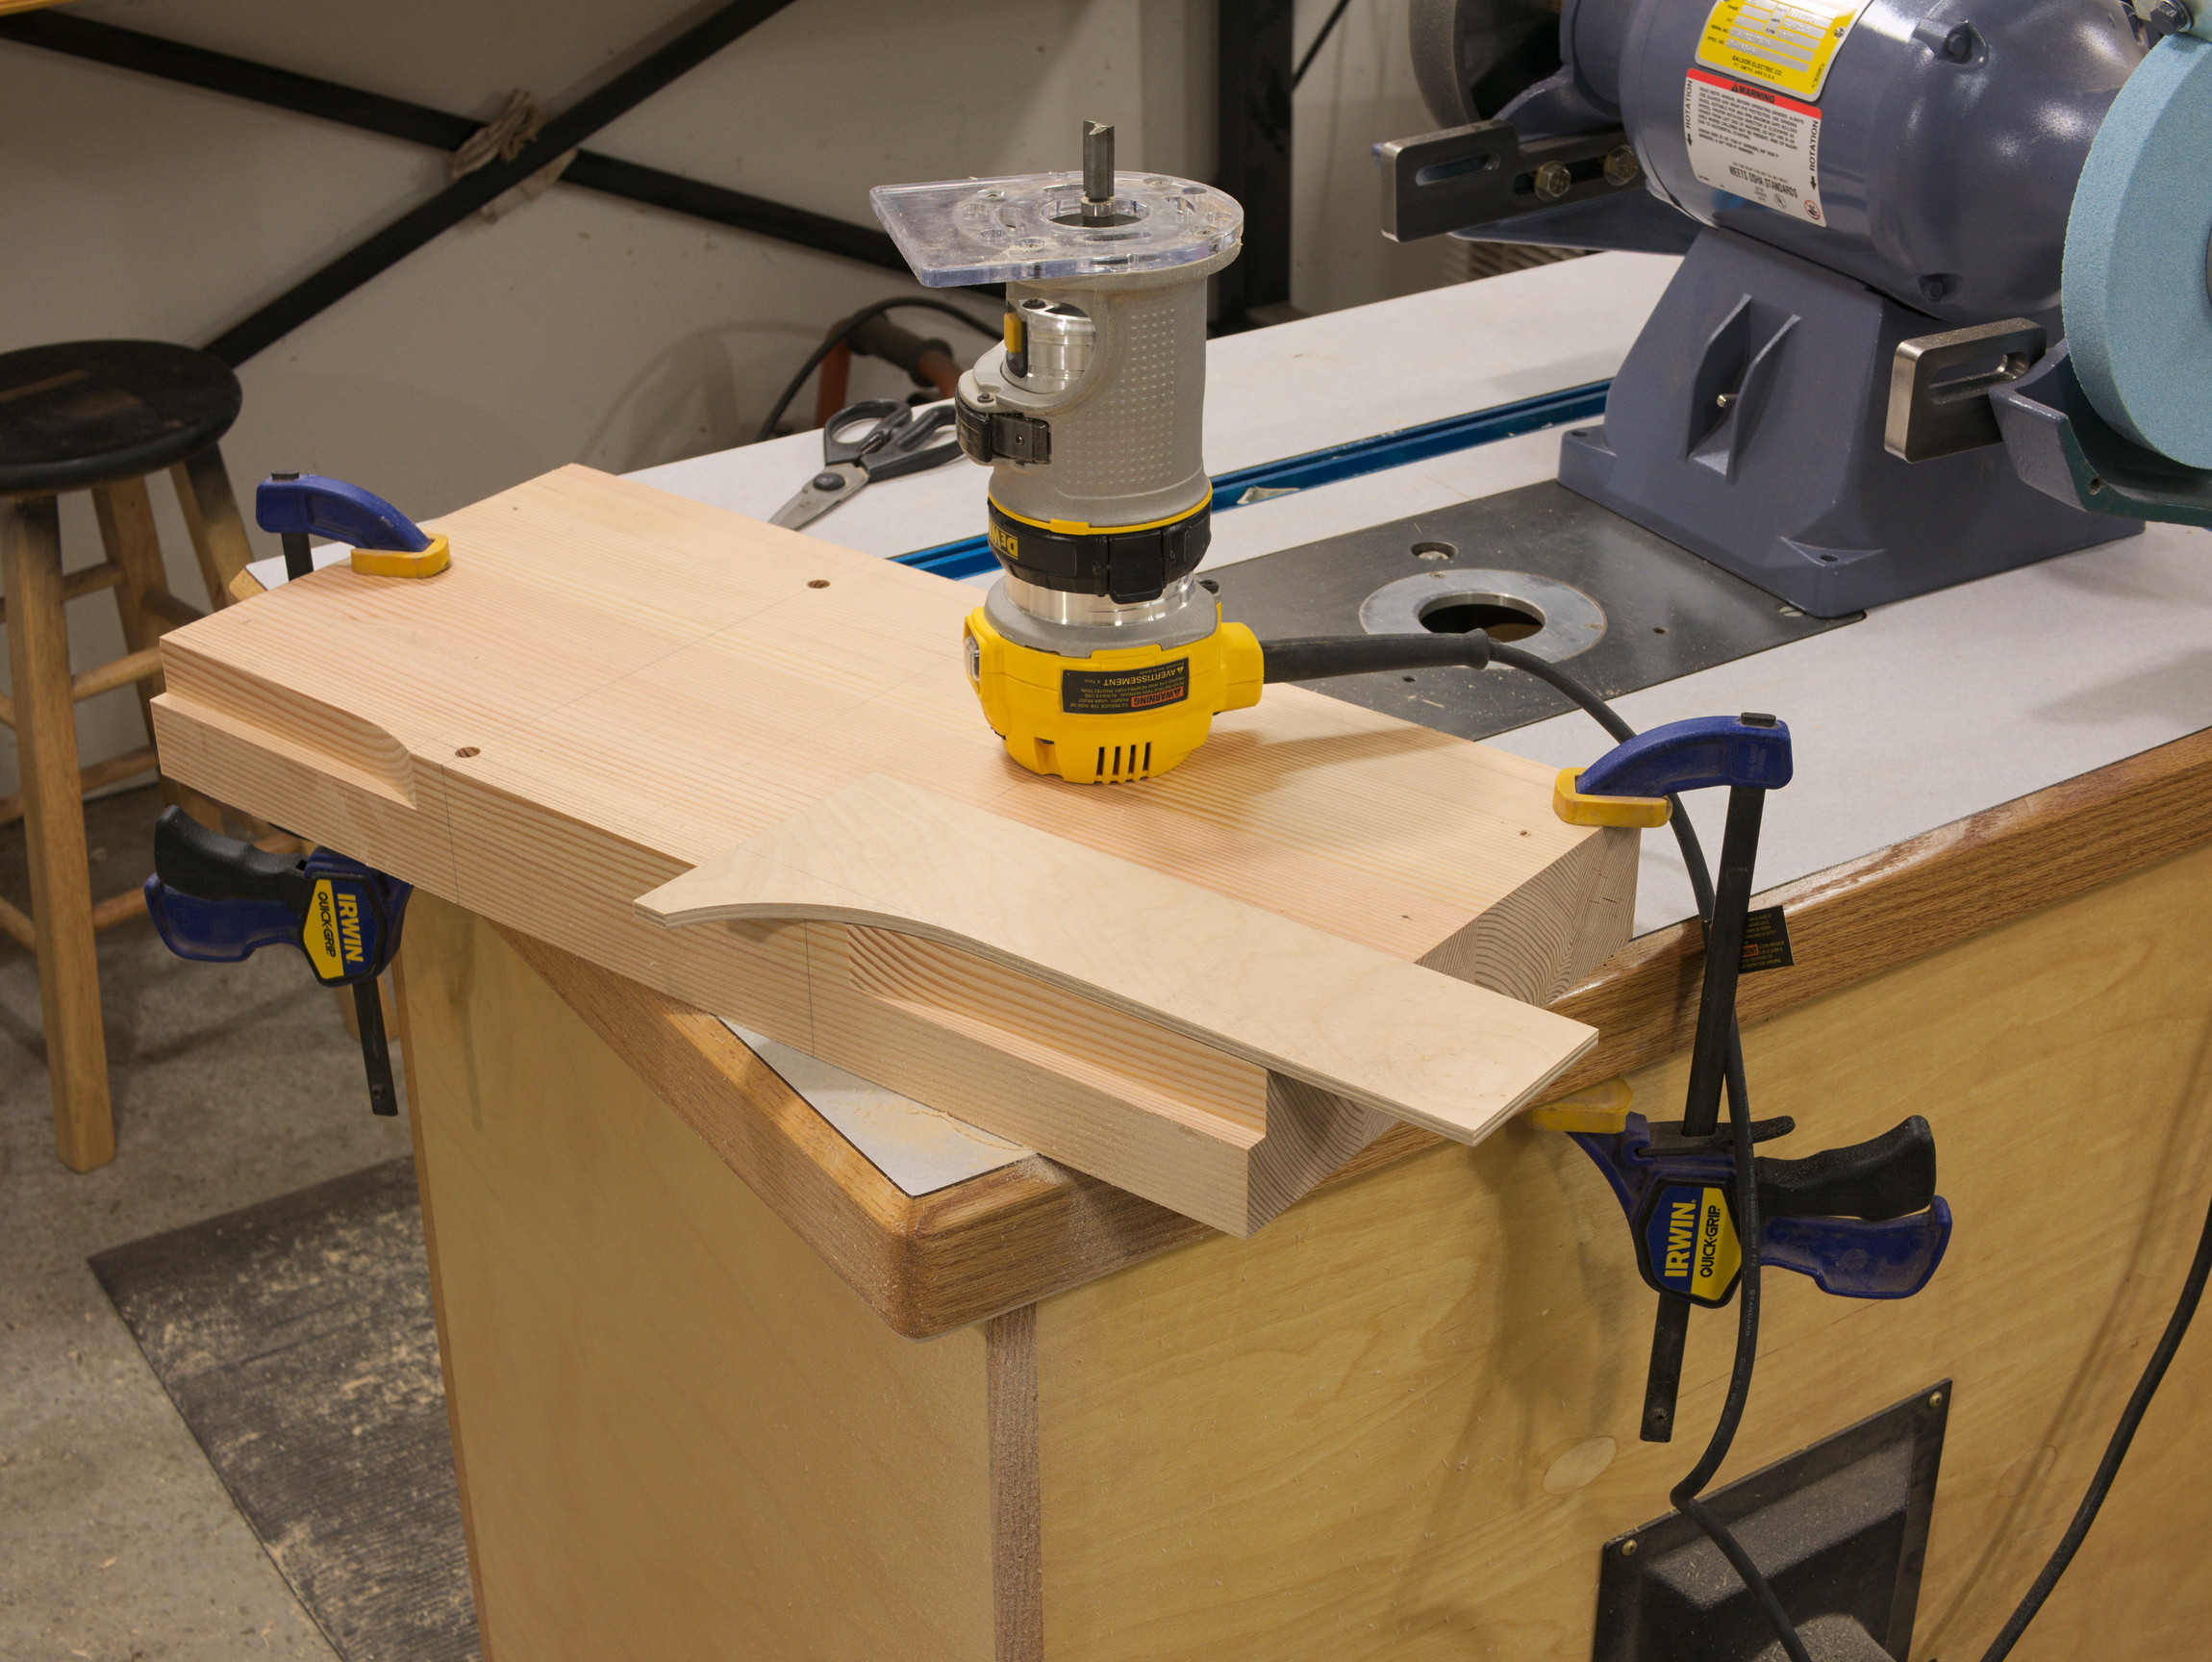
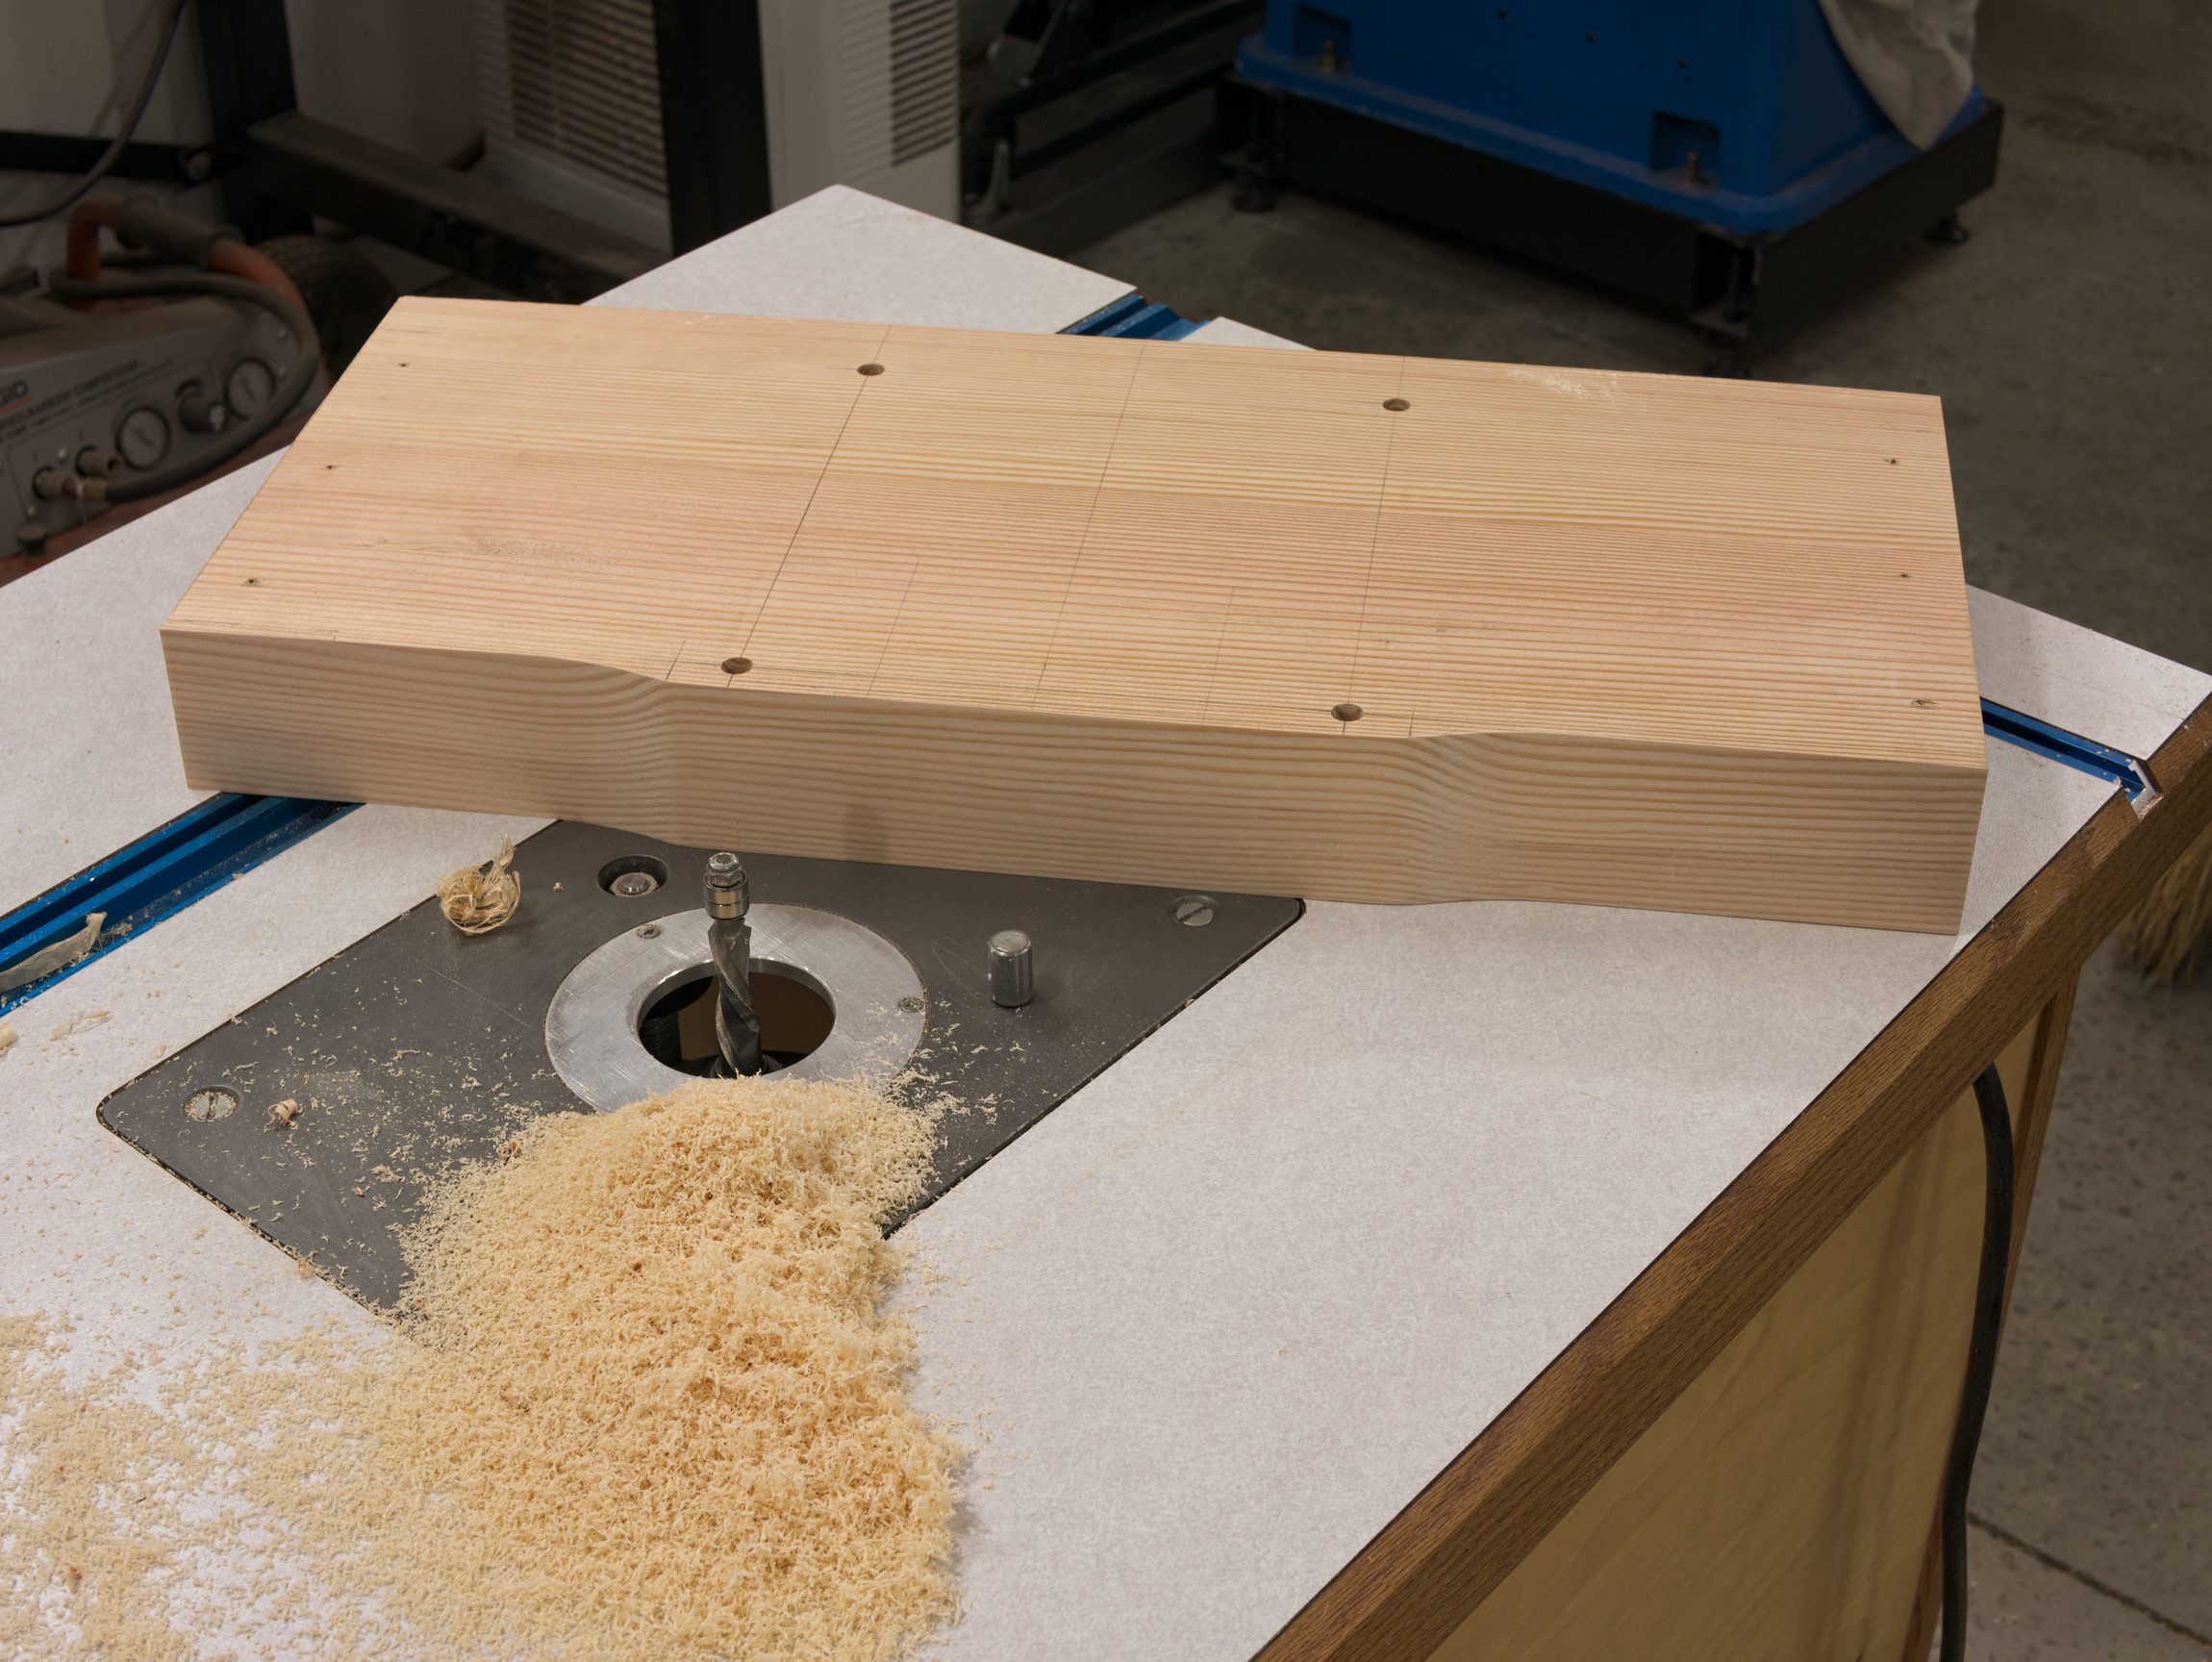
With the top cut to size, the next step was to locate all the mounting holes, and then profile the front of the top to allow the proper clearance for the Wolverine jig. do to the thickness of the top 2-3/8″ profiling was a 2 step process. First I defined the profile using an old template (I save all my templates), and a templating bit. I finish off the profile, using my favorite Whiteside flush trim compression bit.
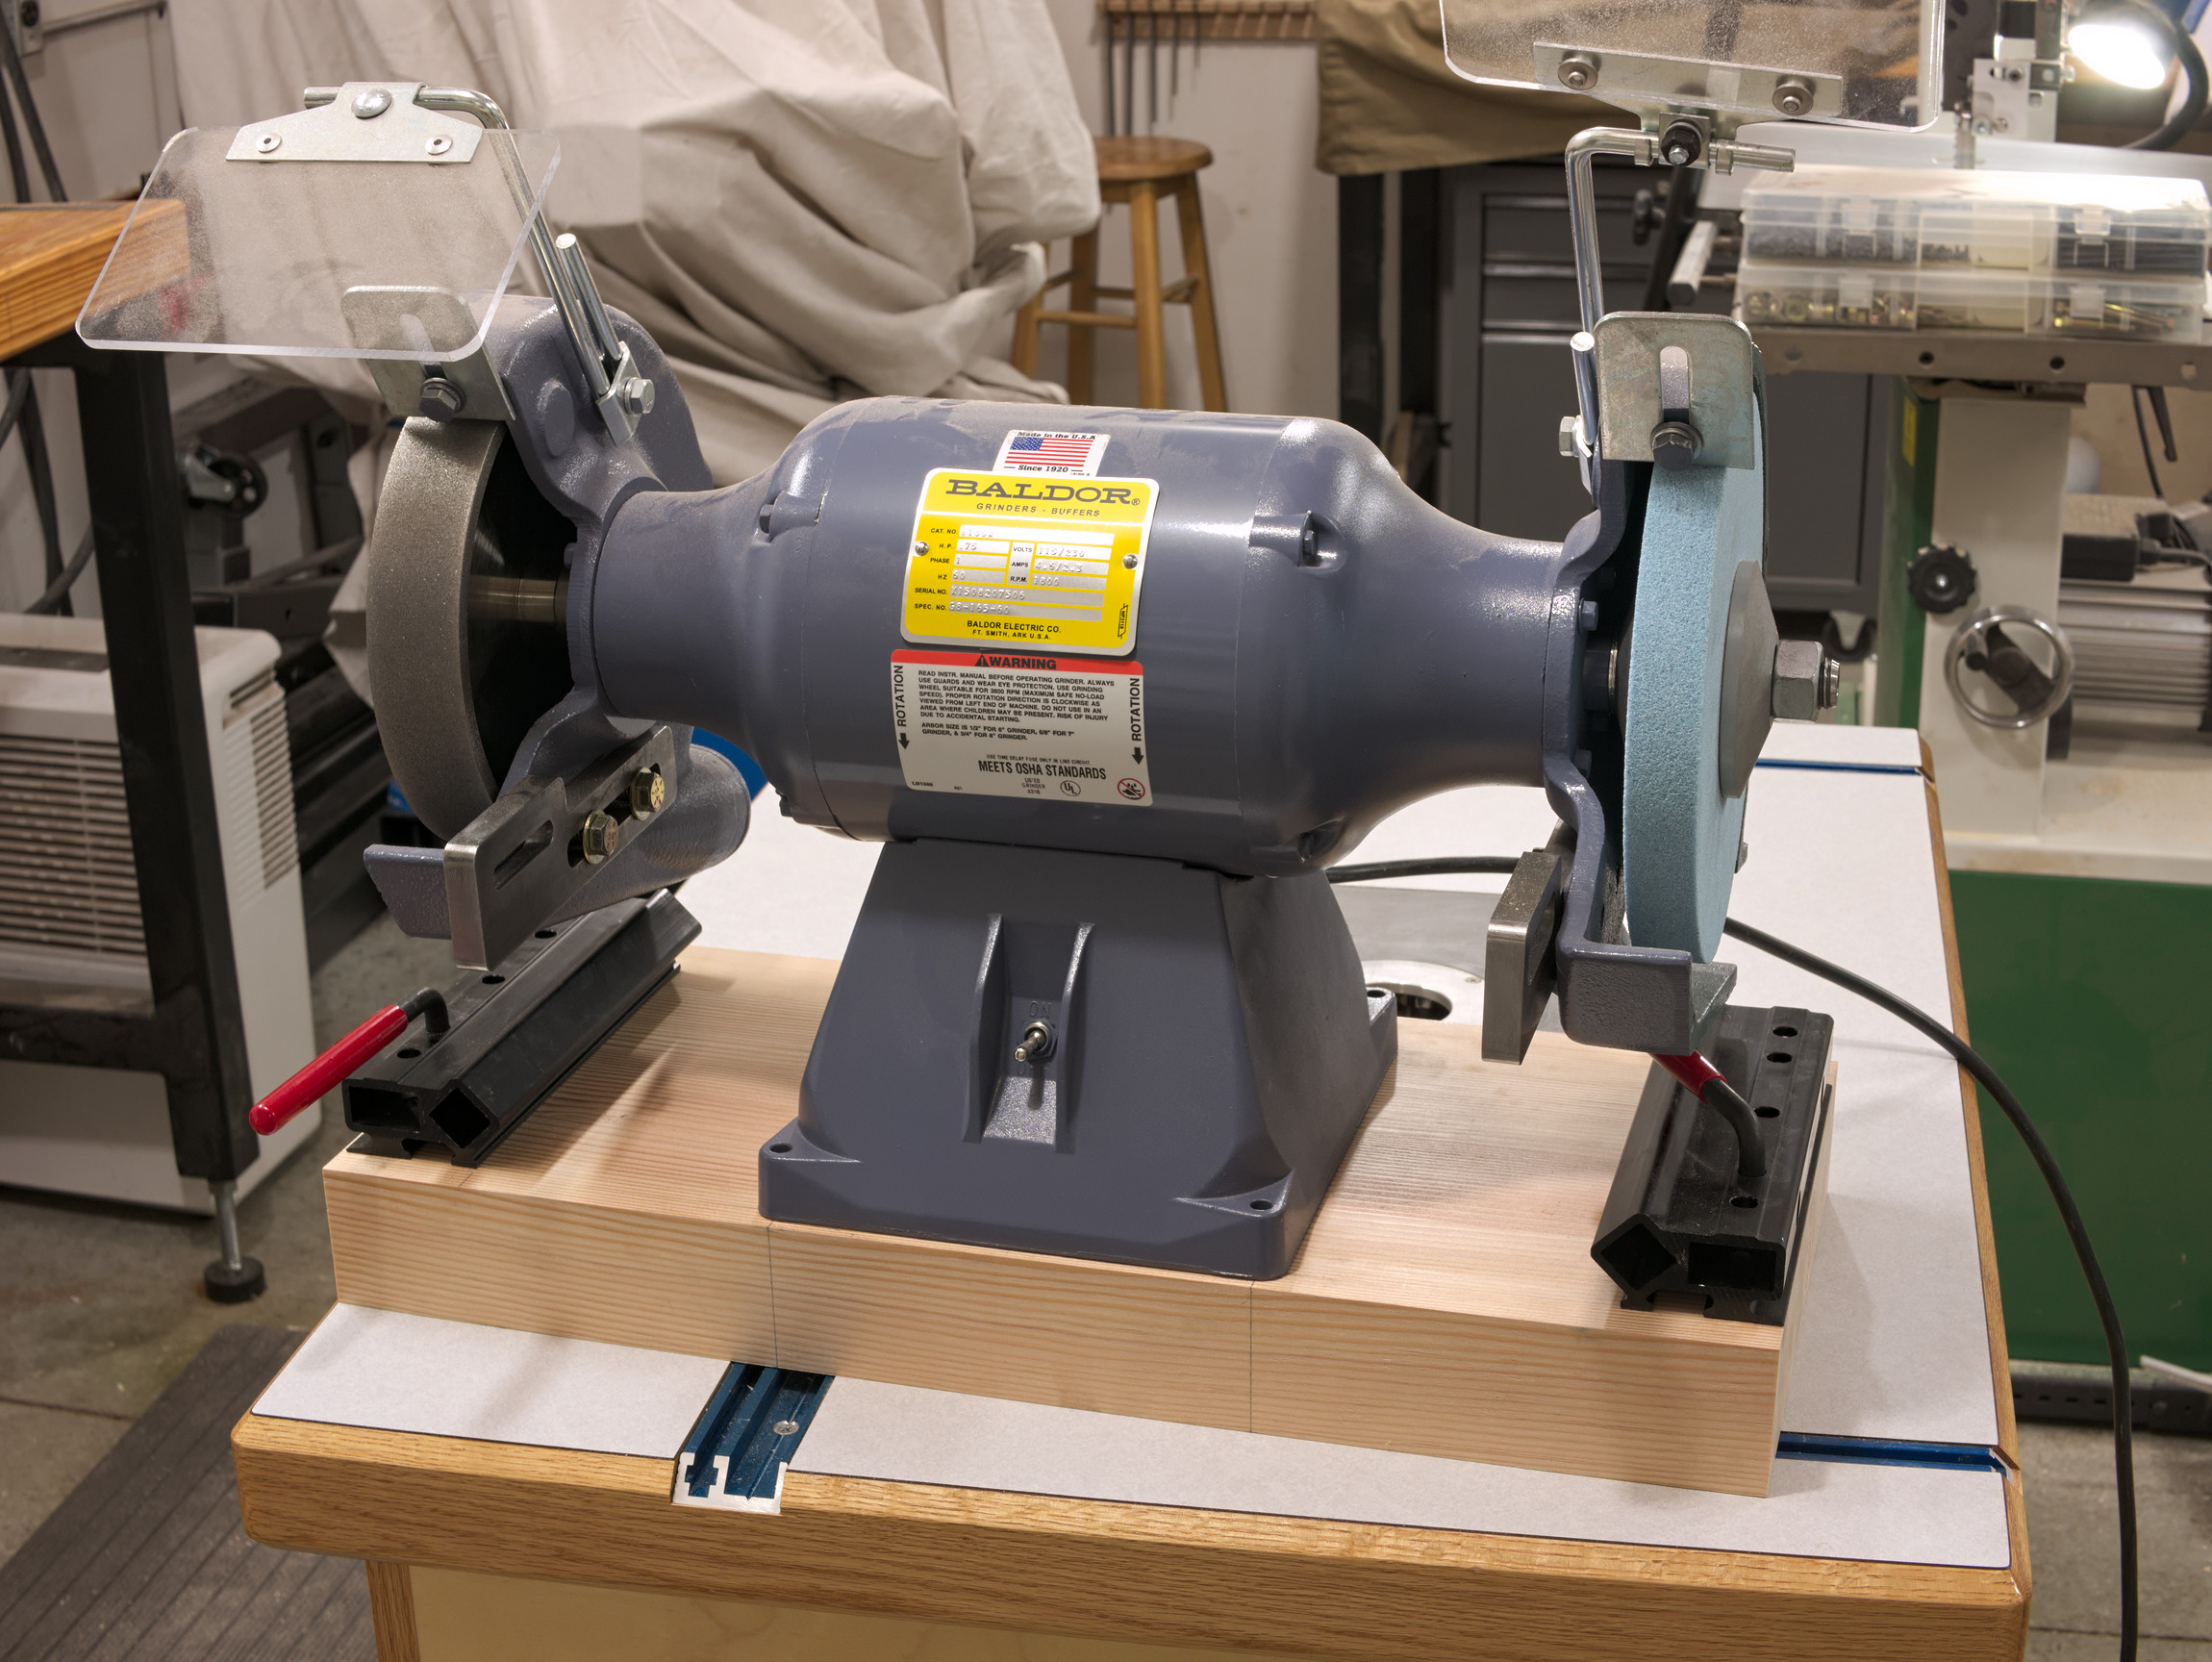
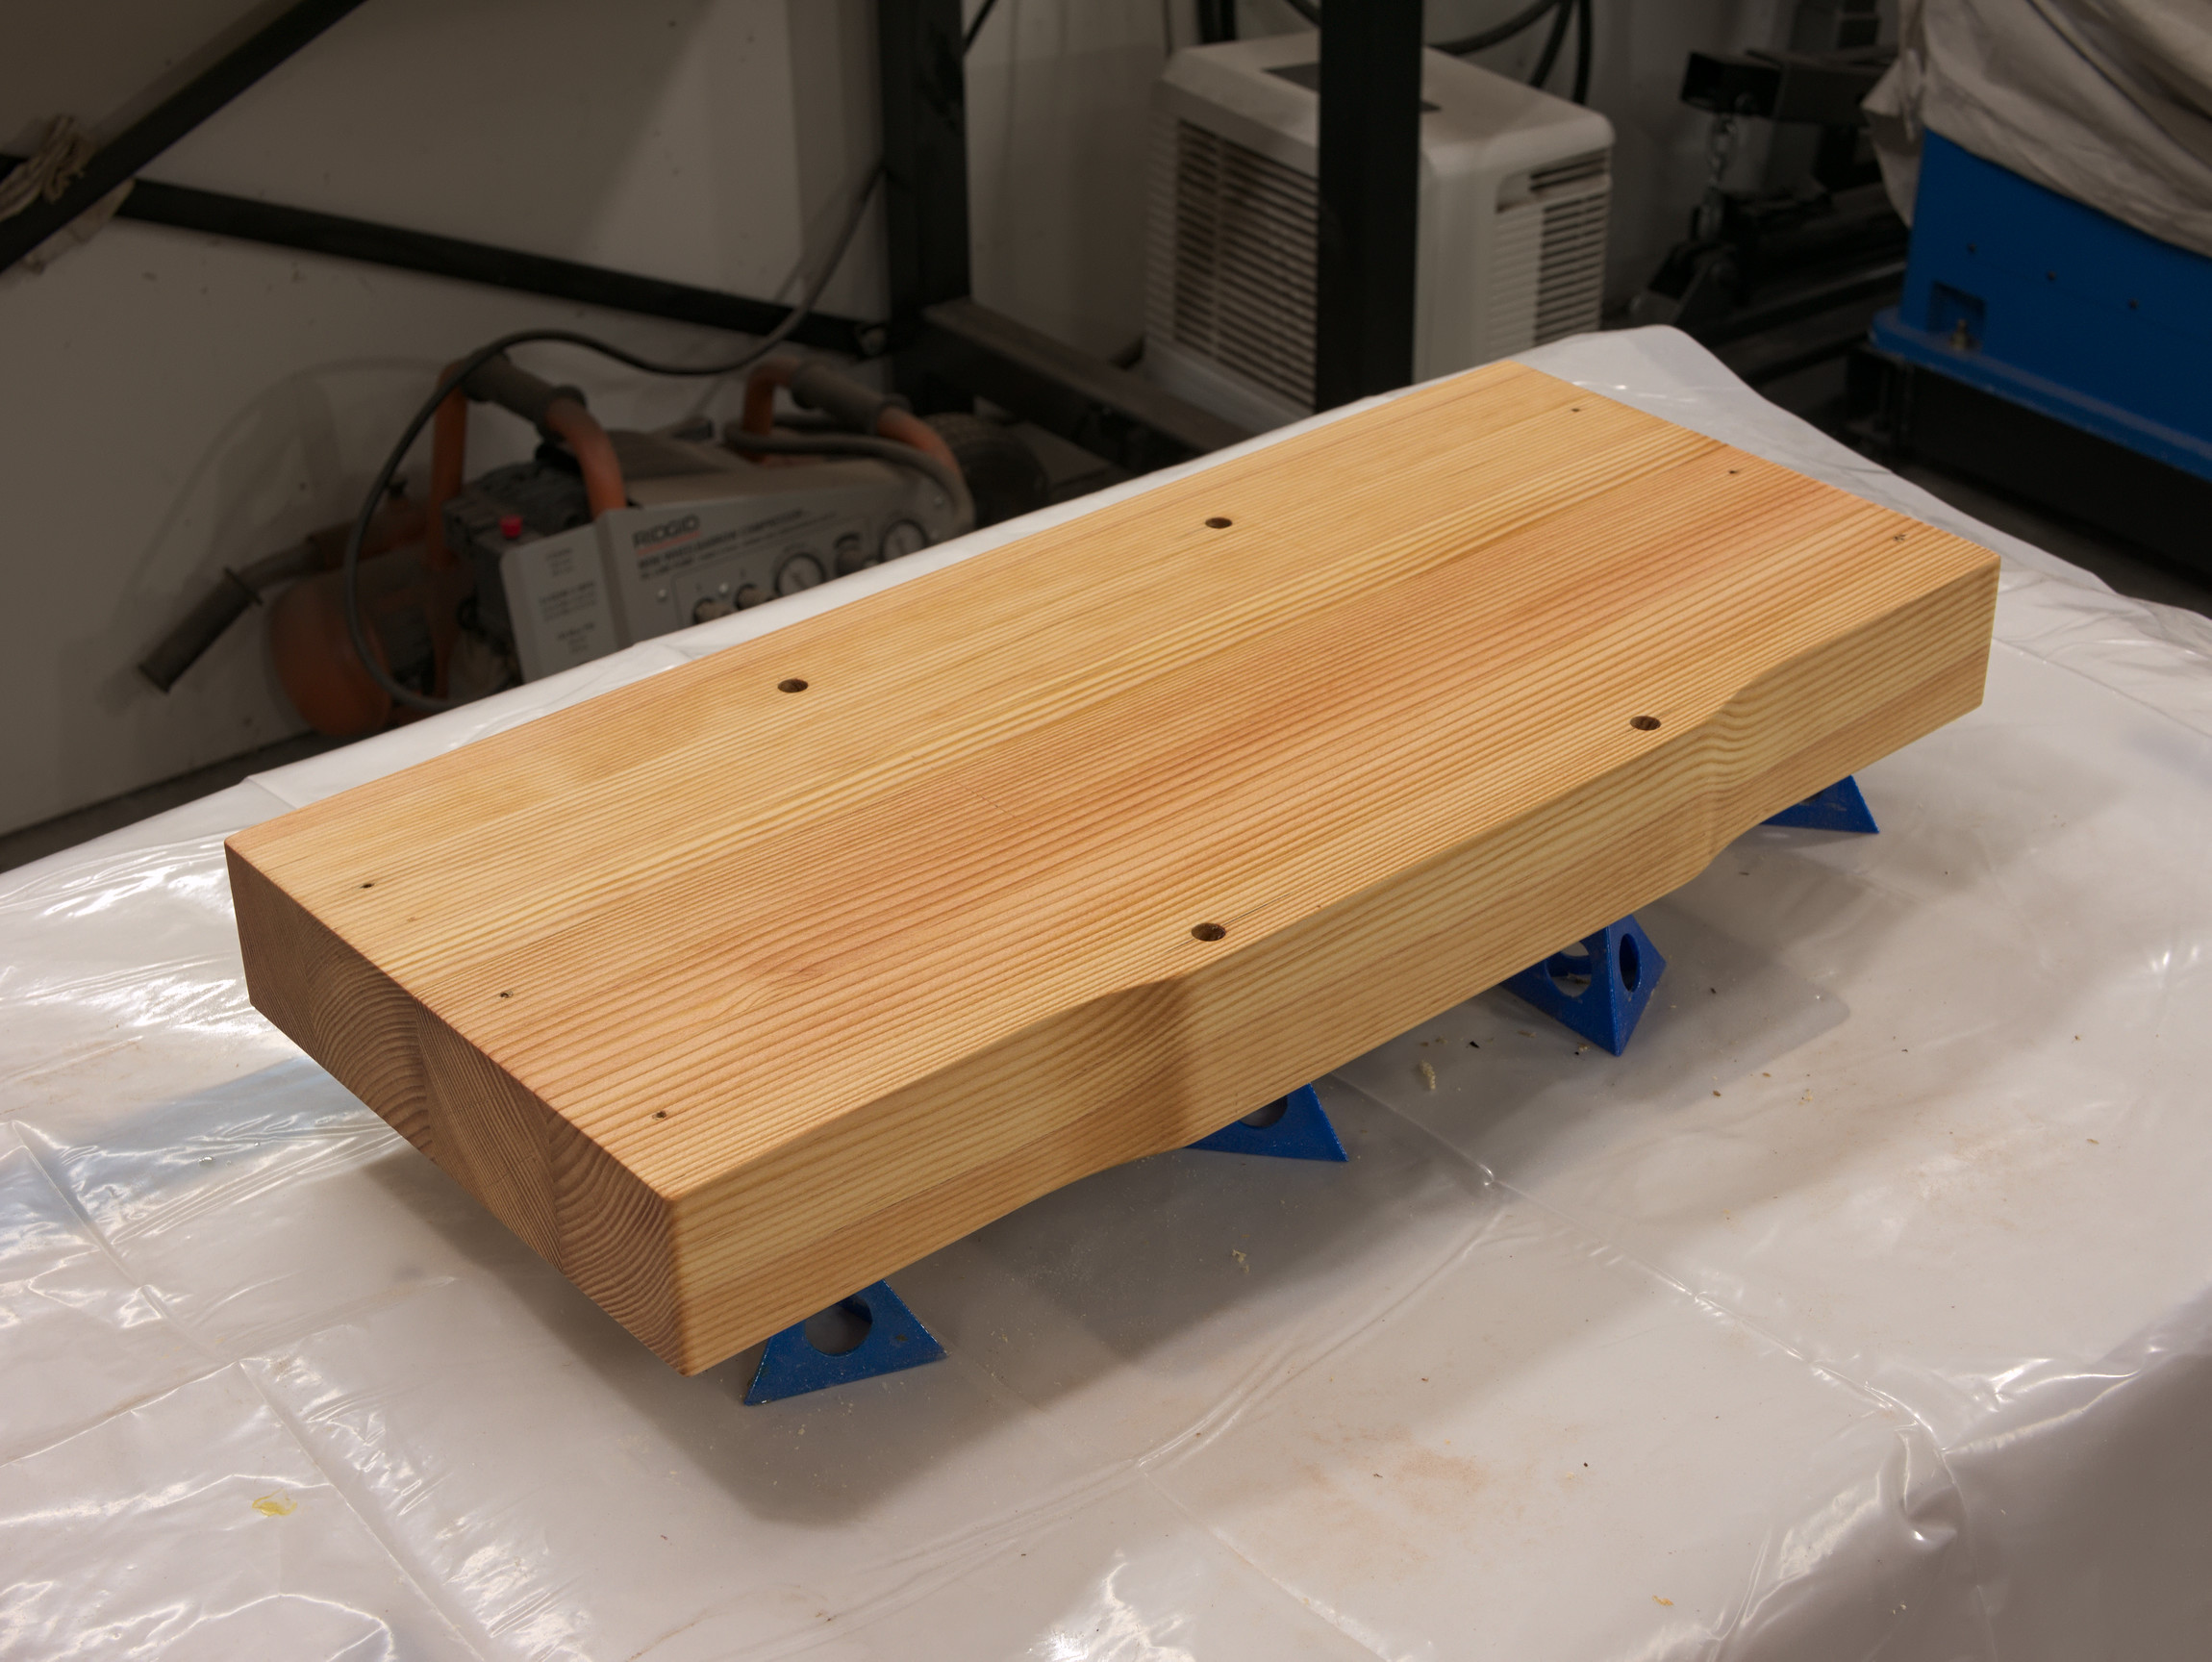
After I finished the profiling, I gave the top 2 coats of danish oil and then mounted the grinder and various accessories to the top.
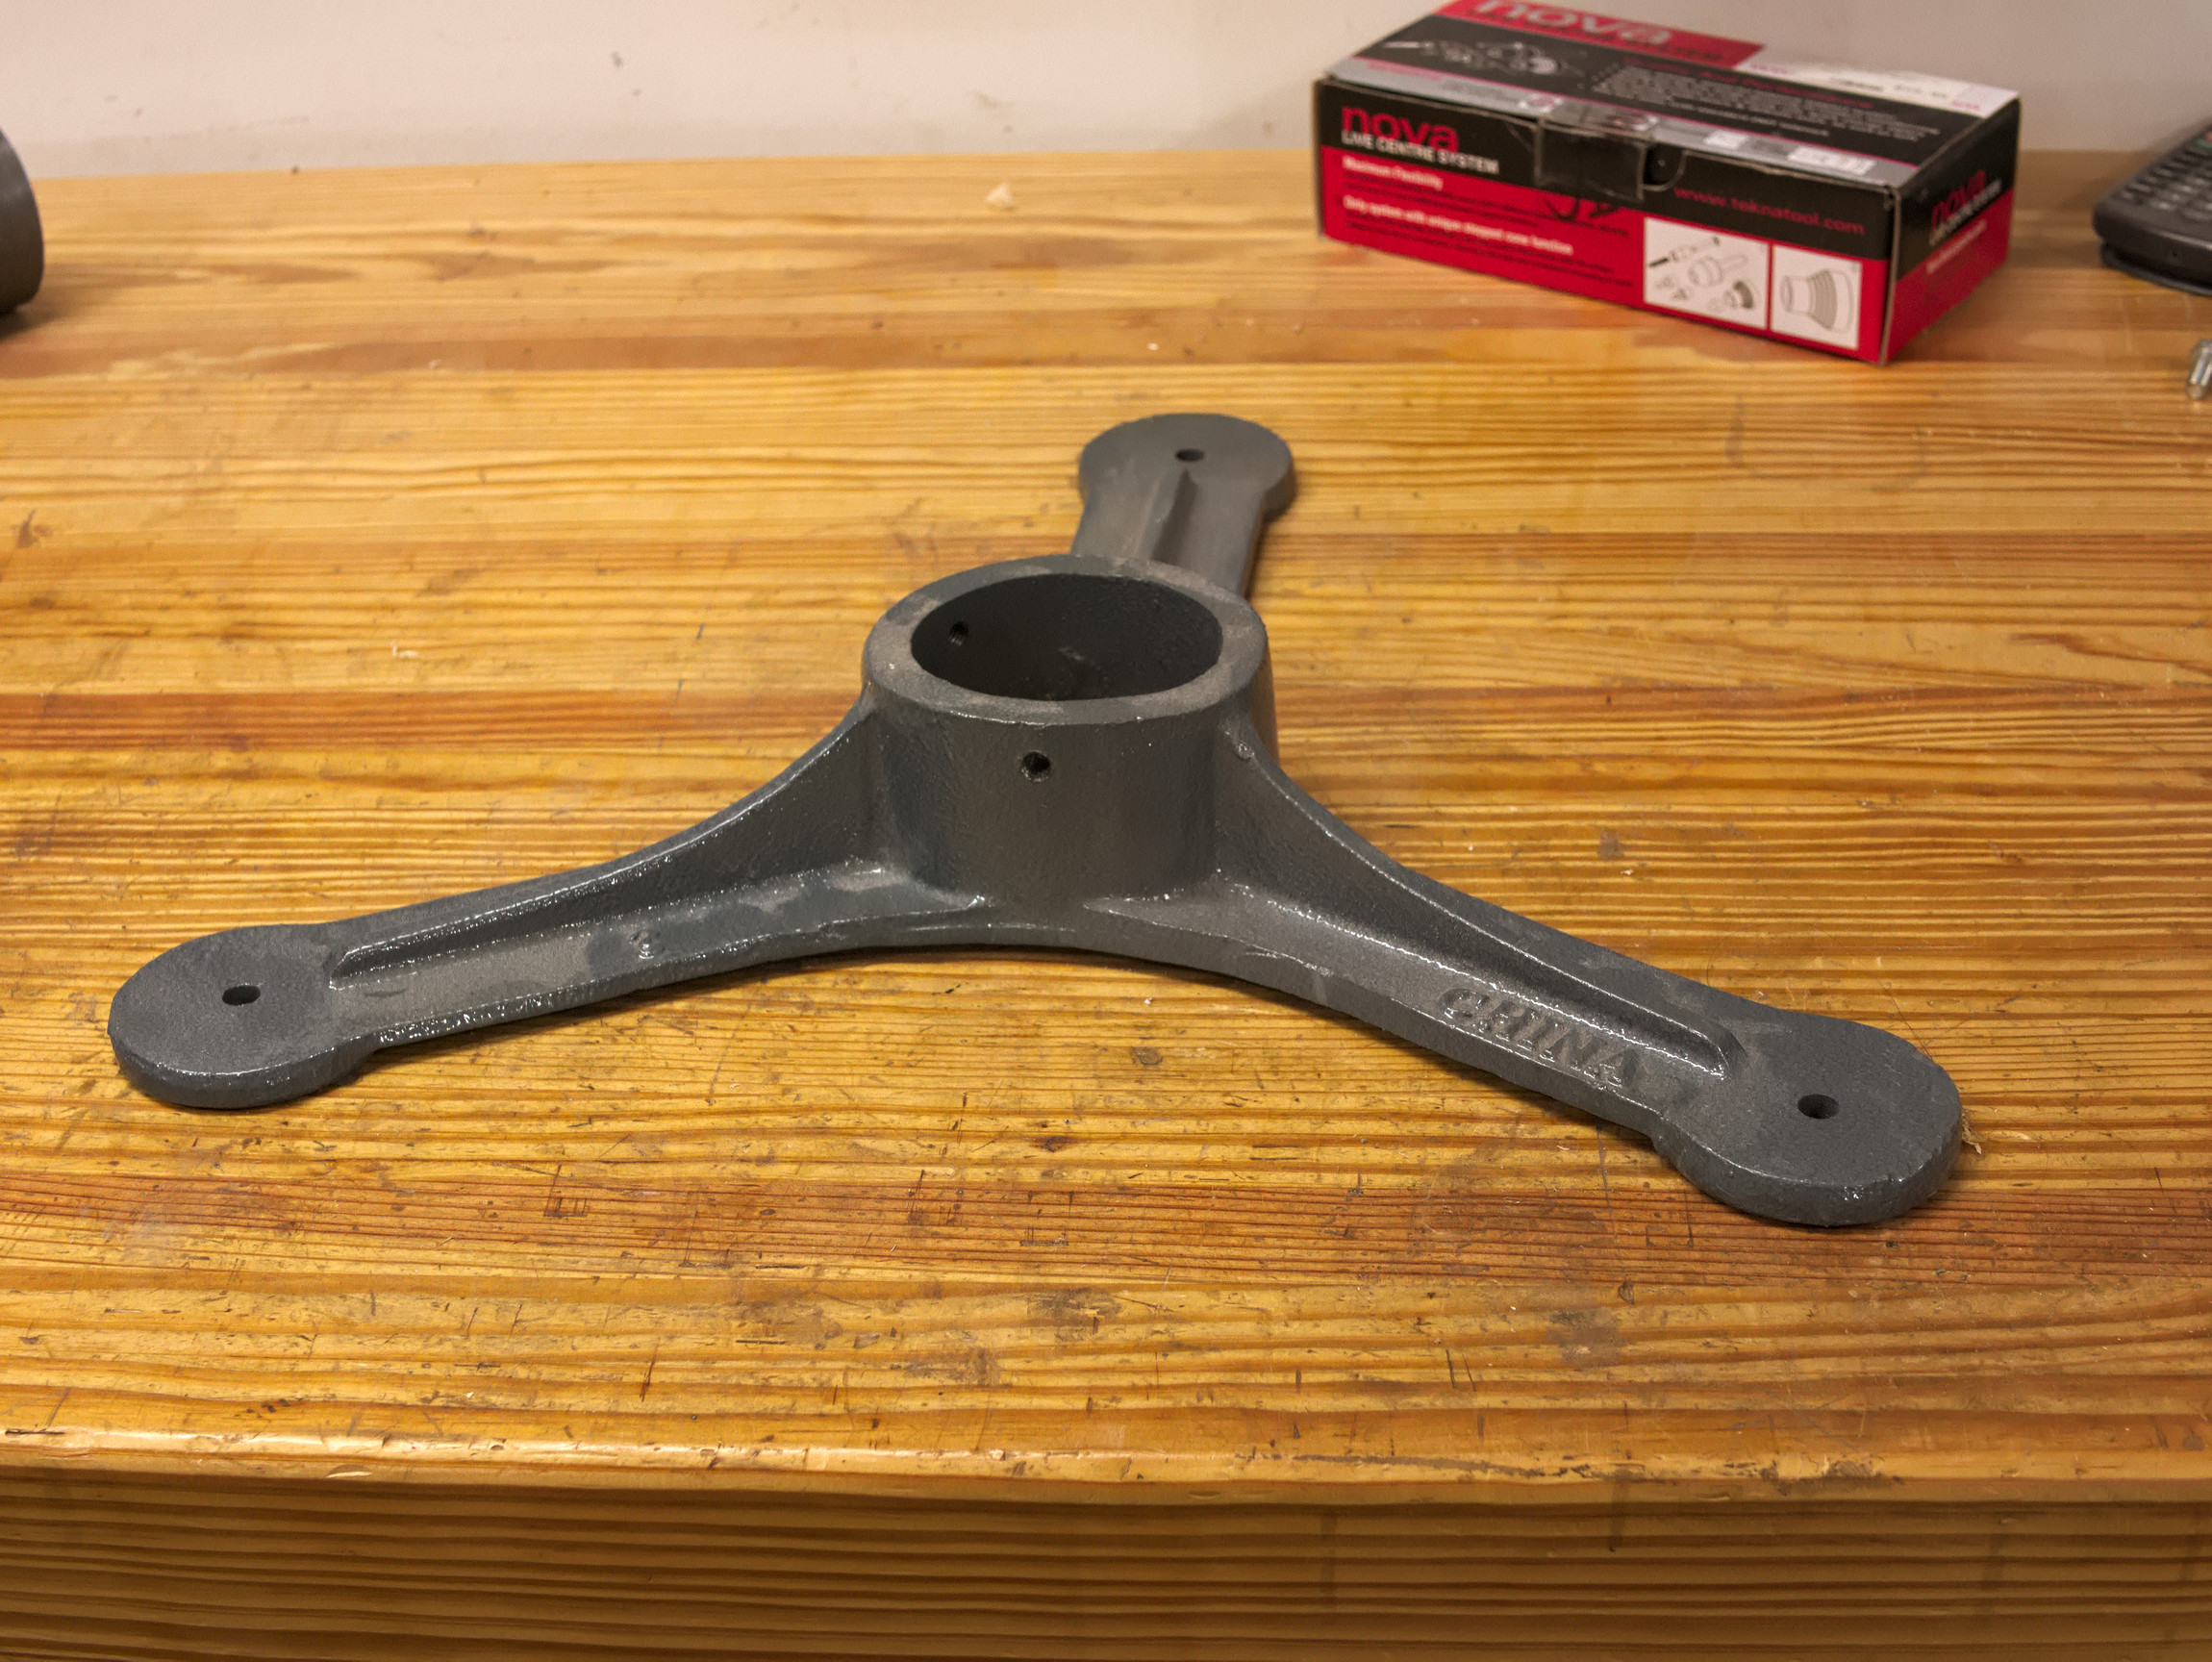
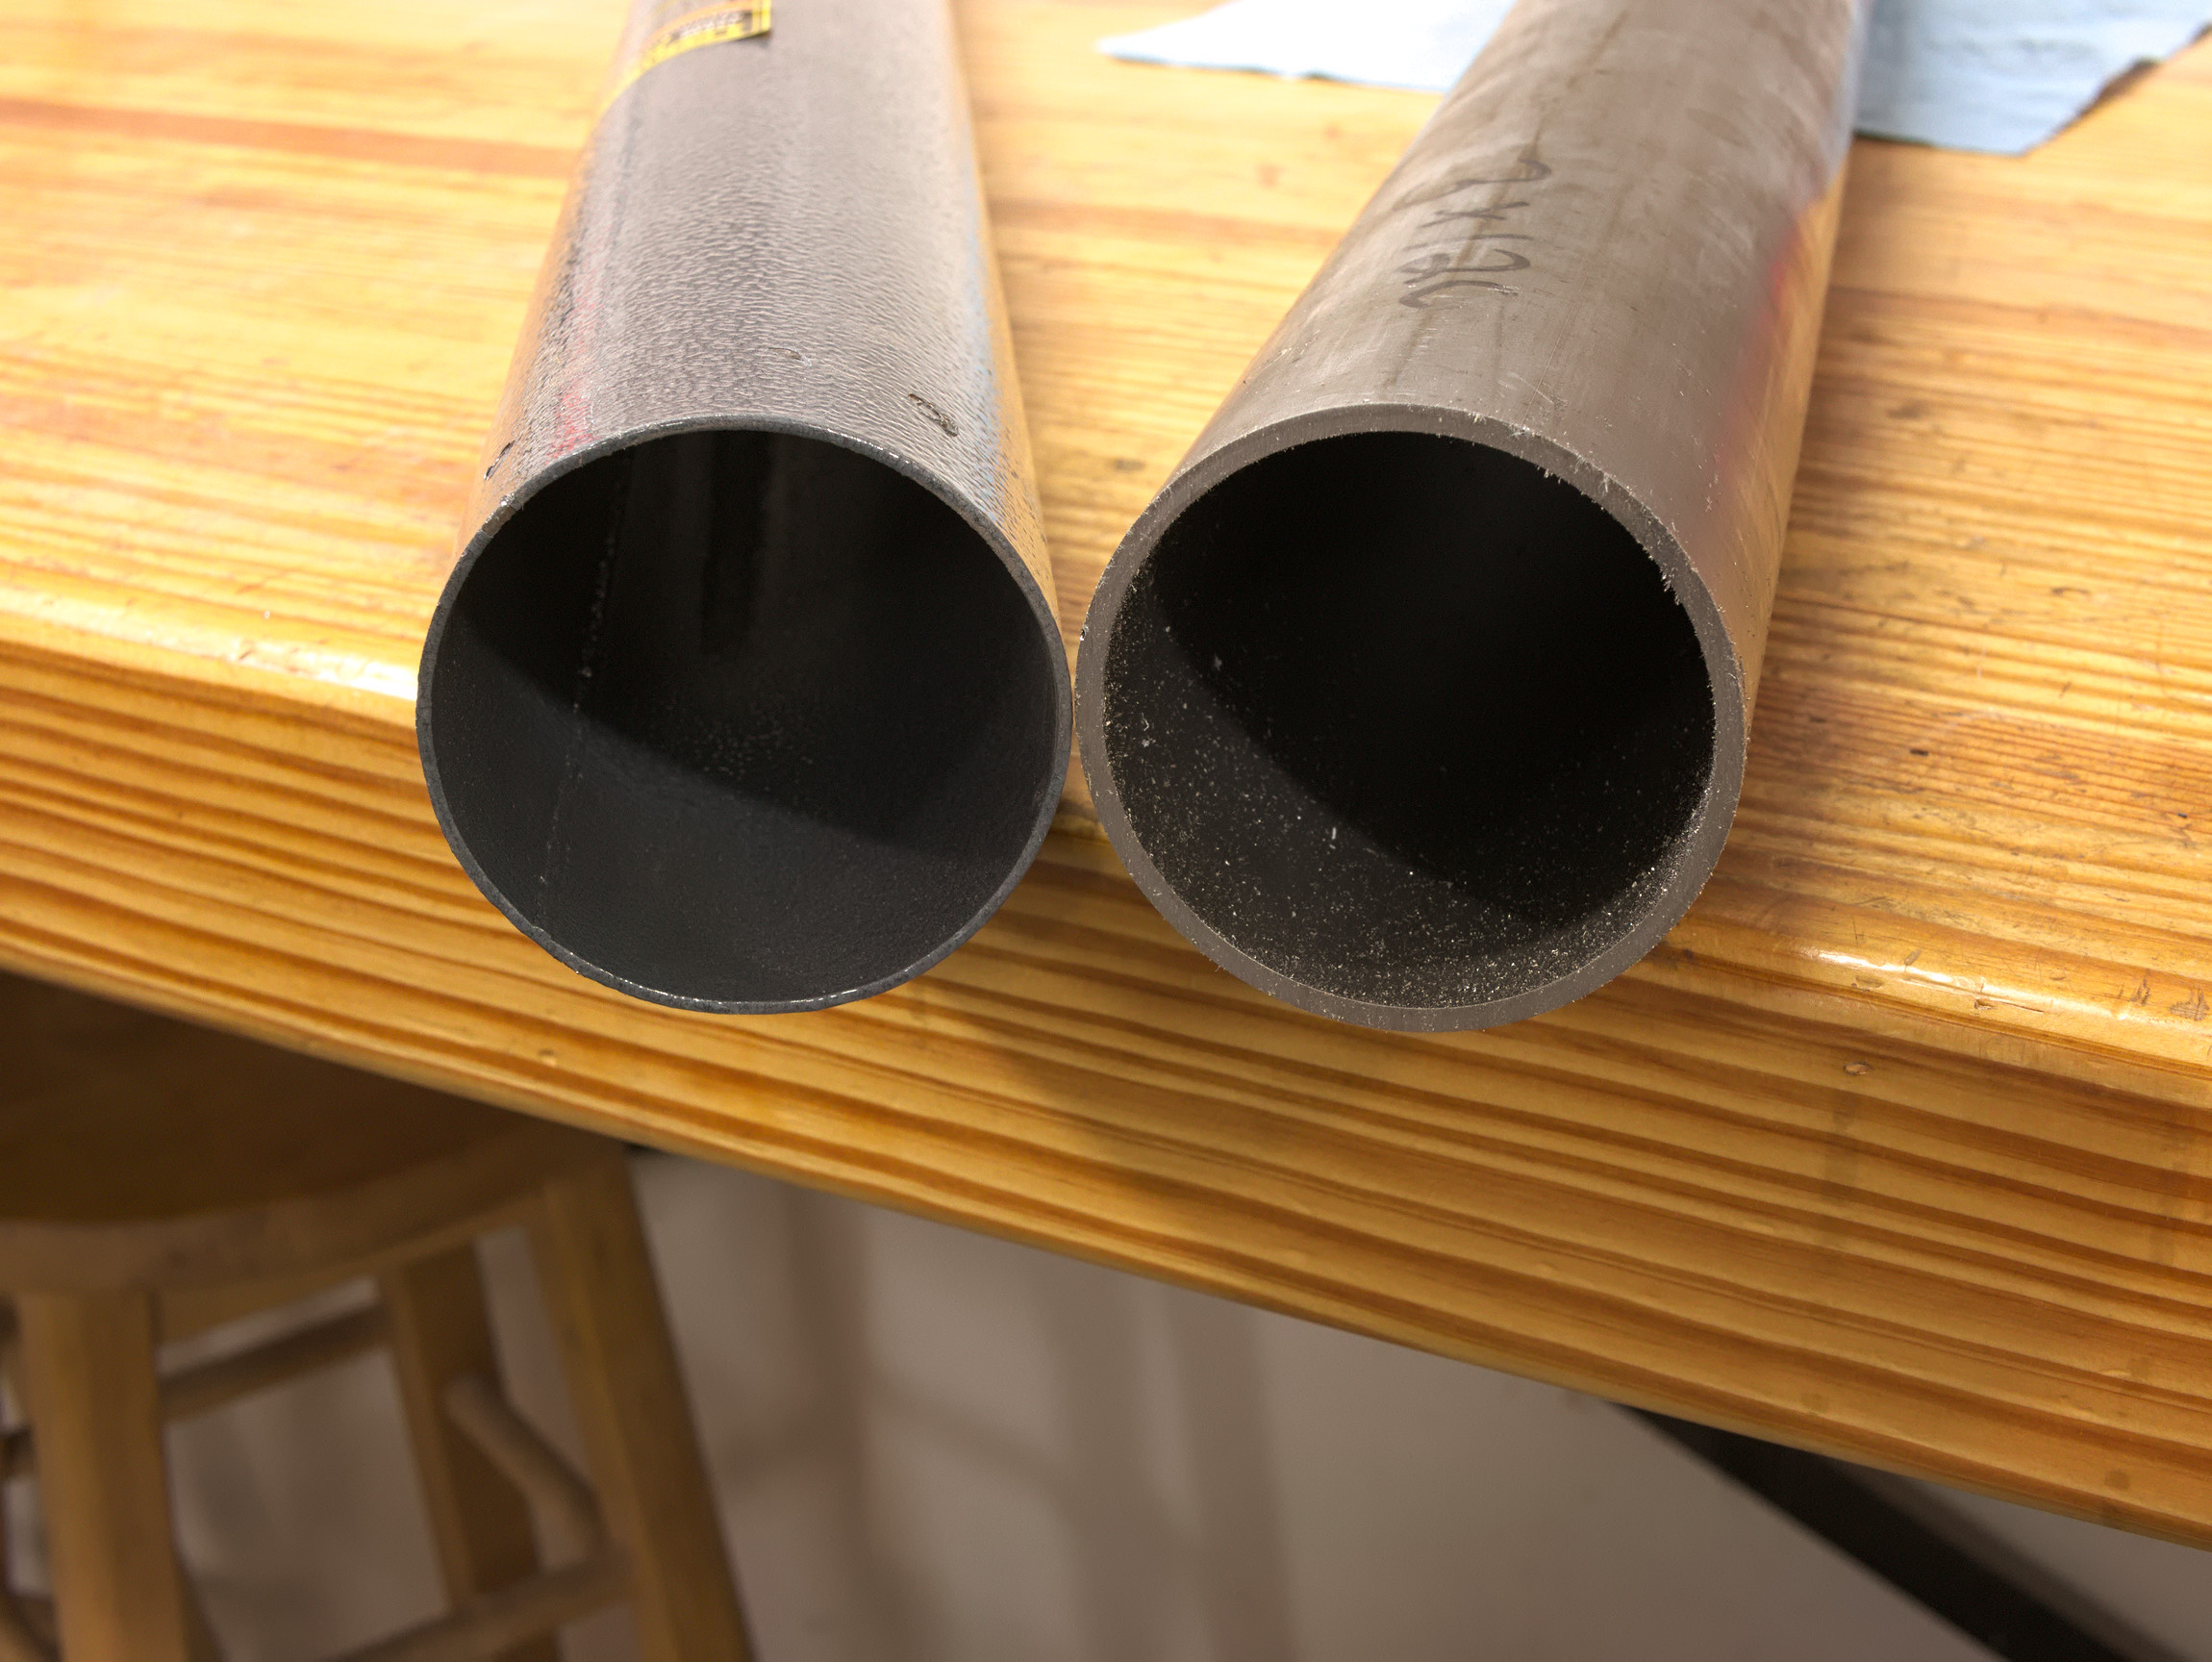
The metalworking for this project was pretty minimal. It consisted of enlarging and taping the holes in the base for some leveling feet I had, and replacing the vertical tube with something longer and beefier. When I eventually replace the stand the center tube and wood top, will probably be the only things that get reused.


powered up and ready to go.
