It’s been two weeks since my last post, but I actually have a good reason for not posting sooner. If you have ever made mortise and Tenon joints, you know they can be hard to get perfect using power tools. The most common tool used to make tenons is the table saw. You cut your boards to length set up a stop block, and then guide the board through the cut using a miter gauge. This method has a draw back though, your miter gauge must be perfectly square to the miter slot, and it can have now slop as it travels through the slot. If your set-up doesn’t meet both these requirements the checks won’t end up in the same plane, and thus one side of your joint will have a gap. If the gap is small then it’s usually not a big issues, because very rarely are both sides of a M&T joint visible. Continue Reading…
Welcome to pattern routing 220, This semester we will be covering advance techniques. All joking aside, I did use some more advanced, and less intuitive techniques to shape the bottom aprons of the end tables that some might find interesting. In an earlier post I posted the photo bellow of a template that I made to rout the bottom aprons but didn’t really talk about it. Now that I’m to the pattern routing phase, it’s time to spill the beans. As you can see in the photo below the template has 3 bounding blocks. Bounding blocks are needed to positively locate the apron, because aprons must be routed in two faces.

apron template
The first step is flush the apron to the template. In my opinion, with a wood as hard and chip-out prone as Jatoba, The best type of router bit to use is a spiral compression bit. Compression bit’s are specifically designed to prevent chip-out. They are pretty expensive, The one I have cost over $100, but it’s become my go to bit for all pattern routing jobs. The apron is secured to template with another workhorse in my shop, turners tape. As you can see in the following photo, the profile curve extends well past the ends of the apron. It might not seem that significant, but it allows the bit to be positively registered against template before it’s feed into the workpiece. This helps prevent kickback, & also yields a smother cut.

pattern routed
The second step is to round over the bottom outside edge of the apron. Again the template plays a key part in this step. Since the round over had a 3/4″ radius and the stock is only 25/32″ thick, routing the profile is literally impossible without the template for the bearing to ride on. Just like in the previous step, since the template extends past the end of the apron the bit can be feed into the cute without fear of kickback. Additionally, you don’t have to worry the bit going around the end of the apron, and messing up all your hard work.


It took an entire week, but all 32 mortise & tenons have been fitted. If I learned nothing else from this project, it’s that floating tenons are the way to go when you are using hard exotics. Rounding over the ends of the Jatoba tenons was not a fun process. In softer woods it’s a breeze with a file and a chisel, but in Jatoba the file would skip a lot, and cleaning up the shoulder end-grain required a mallet. Unlike softer woods Jatoba has no give, so if a tenon was off a little in thickness it had to be fine tuned by hand. I enjoyed the process, but needless to say next time I’m going to use a faster joinery method.

I don’t have a lot to show this time around, but what I do have is a pretty useful trick. The bottom shelf of my endtable presents an interesting problem, because it’s made from solid wood. I wanted the shelf to completely fill the space between the aprons. That’s easier than it sounds when you take into account how much a panel that wide will move. A dado in the aprons got me part way, but I floundered for a while with how to best handle the shelf/leg intersection. I really didn’t want to chop out a square slot in all 8 legs.
I went to visit my parents last weekend, and while helping my dad install some new fence posts he explained a trick he learned a while back. It took a little while for me to grasp, as it seems counter intuitive. Basically all you need to do is make a dado across the corner of the legs, and then chamfer the corners of the shelf. Hopefully the following pictures will explain it better.
Continue Reading…
It’s been almost 6 months since my last post, and I don’t have much to show since then. I do have a better excuse, than the dog ate my homework though. Shortly after my last post, I severely strained a muscle in my back by, and that put me on the sidelines for a good month and a half. By the time I was fully healed The heat of the summer was upon us here in central IL. The stat I heard was in August, we had 27 days with a high over 90 degrees. I know that doesn’t sound that bad, but my shop is usually 10 to 20 degrees hotter than the outside temperature during the summer. Right as the summer started to subside and getting back into the shop seemed like an enjoyable experiences again, I cracked my ribs in a mountain biking accident. So after again being sidelined for almost two I was able to start working on my end tables mid December. Hopefully 2013 will bet better for woodworking than the second half of 2012 was.
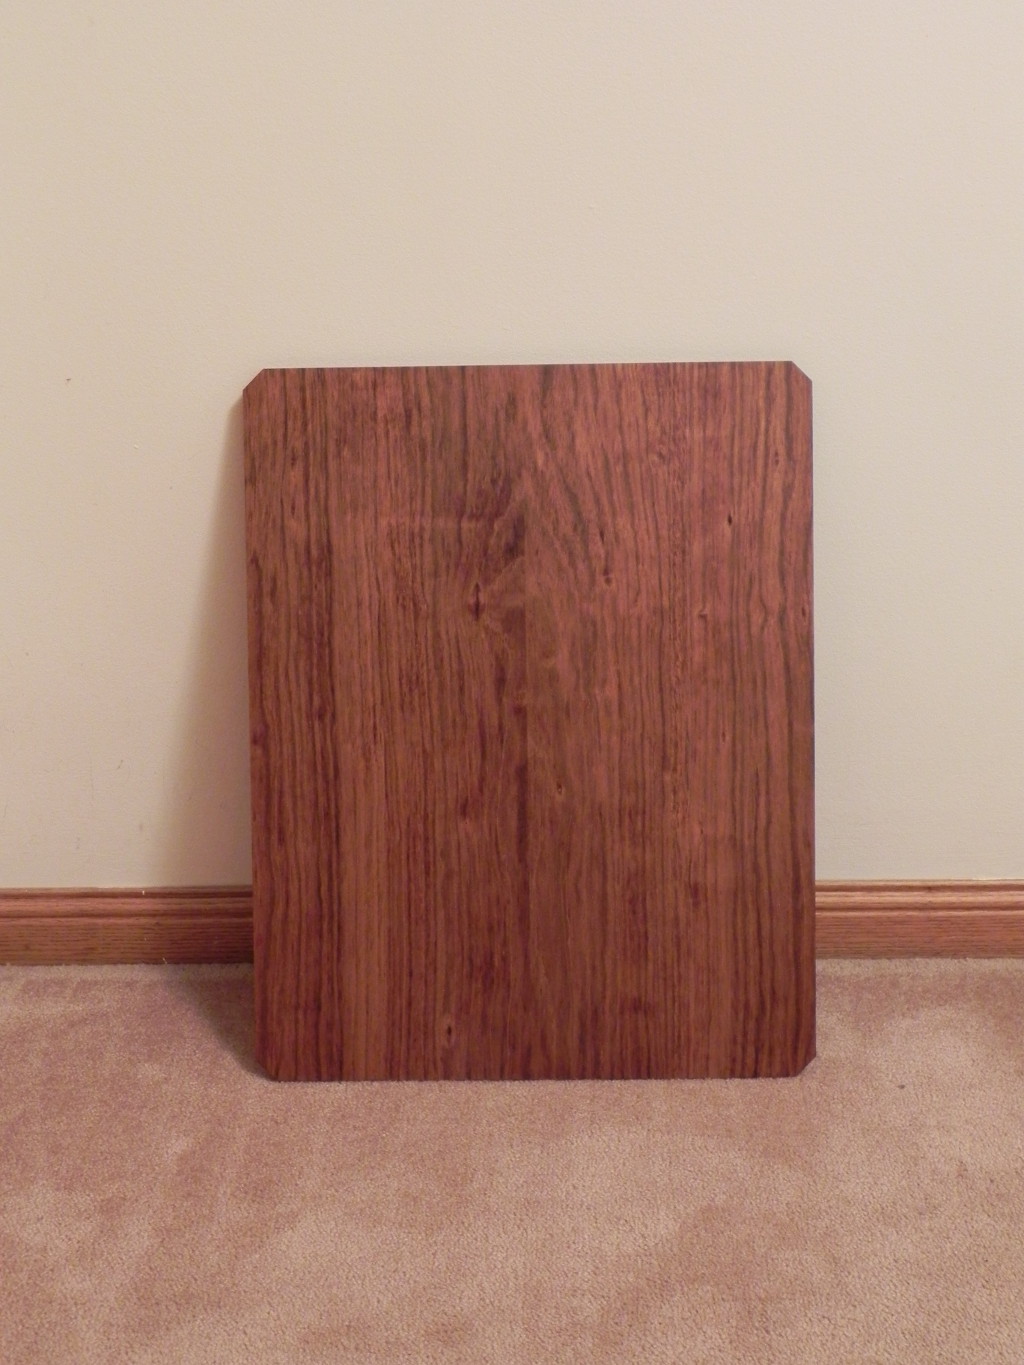
With all that being said, I have made some progress. I have started gluing up sub-components of the end tables. I have the front and back of both end tables glues together, as well as the both the bottom shelf’s. I have even one of them finished. The finished i used was one coat of Boiled Linseed Oil, and then 8 coats of satin Pratt & Lambert 38 varnish deluded by 50 percent with Mineral spirits so I could wipe it on. Finally I learned another valuable lesson from this project, 1/4 sheet sanders will never be completely be replaced by random orbit sanders, because they are much better at sanding complex curved surfaces.
A finished bottom shelf

A front sub-assembly wiped down with mineral spirits.