Pattern routing 220
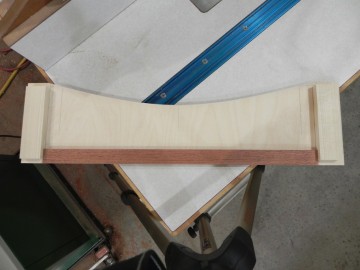
Welcome to pattern routing 220, This semester we will be covering advance techniques. All joking aside, I did use some more advanced, and less intuitive techniques to shape the bottom aprons of the end tables that some might find interesting. In an earlier post I posted the photo bellow of a template that I made to rout the bottom aprons but didn’t really talk about it. Now that I’m to the pattern routing phase, it’s time to spill the beans. As you can see in the photo below the template has 3 bounding blocks. Bounding blocks are needed to positively locate the apron, because aprons must be routed in two faces.
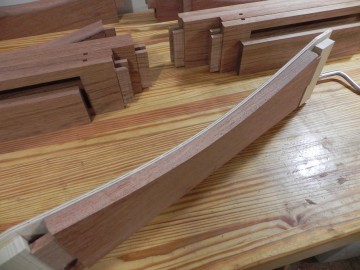
The first step is flush the apron to the template. In my opinion, with a wood as hard and chip-out prone as Jatoba, The best type of router bit to use is a spiral compression bit. Compression bit’s are specifically designed to prevent chip-out. They are pretty expensive, The one I have cost over $100, but it’s become my go to bit for all pattern routing jobs. The apron is secured to template with another workhorse in my shop, turners tape. As you can see in the following photo, the profile curve extends well past the ends of the apron. It might not seem that significant, but it allows the bit to be positively registered against template before it’s feed into the workpiece. This helps prevent kickback, & also yields a smother cut.
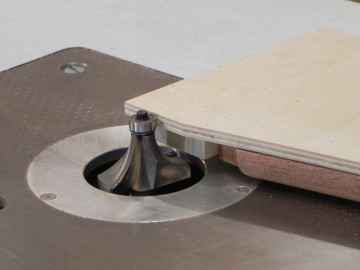
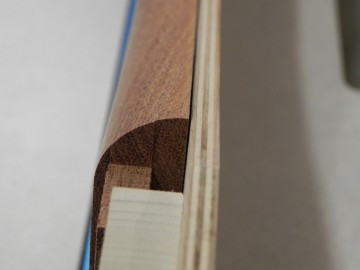
The second step is to round over the bottom outside edge of the apron. Again the template plays a key part in this step. Since the round over had a 3/4″ radius and the stock is only 25/32″ thick, routing the profile is literally impossible without the template for the bearing to ride on. Just like in the previous step, since the template extends past the end of the apron the bit can be feed into the cute without fear of kickback. Additionally, you don’t have to worry the bit going around the end of the apron, and messing up all your hard work.


