Sliding dovetail leg joints
For a table that’s not going to take a lot of abuse, I like to use sliding dovetails to join the aprons to the legs. They are easy to make with a router table, and are a self clamping joint when properly made. The key to making them properly is to use the right technique, and having a well tuned router table.
The first step is to remove the bulk of the material from the legs with a strait bit. It’s important to use the widest bit possible, because the more material that’s removed during this step the easier it will be on the dovetail bit later. In the shots below I took two 1/4″ deep passes with a 1/4″ wide spiral bit from Whiteside. The only thing even remotely tricky about this step is making sure the slot is the right length, and that’s easily accomplished with a stop block. It’s best to leave a small gap under the stop block so that shavings don’t build up and give a faulty registration.
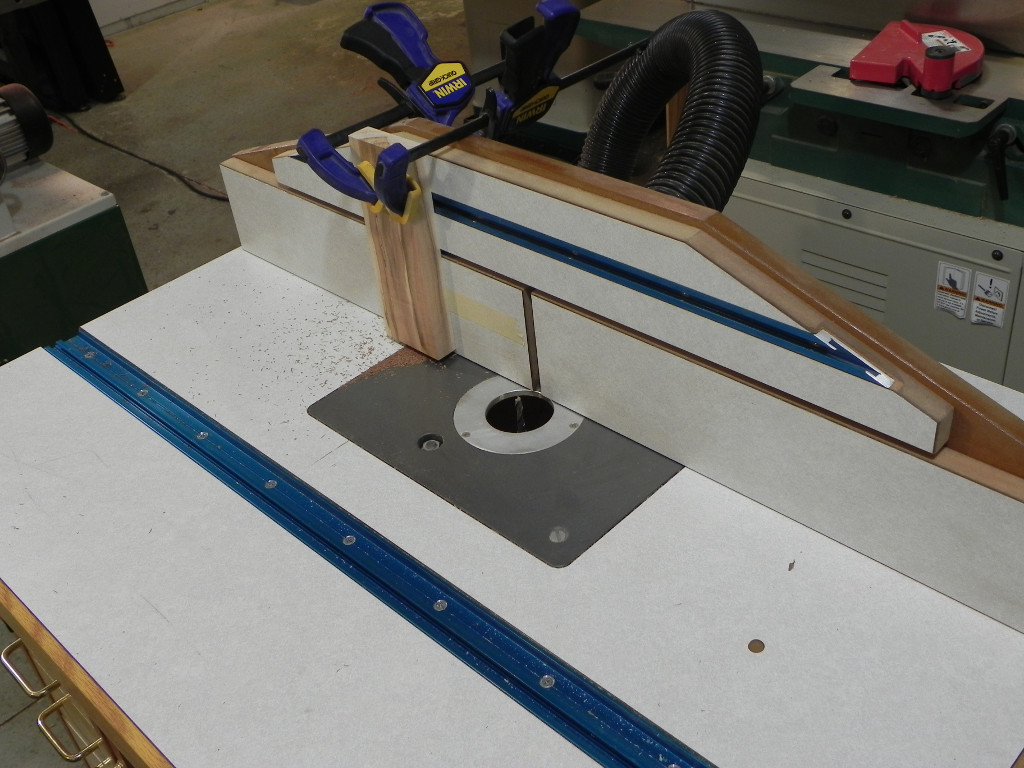
Stop block
Removing the waste
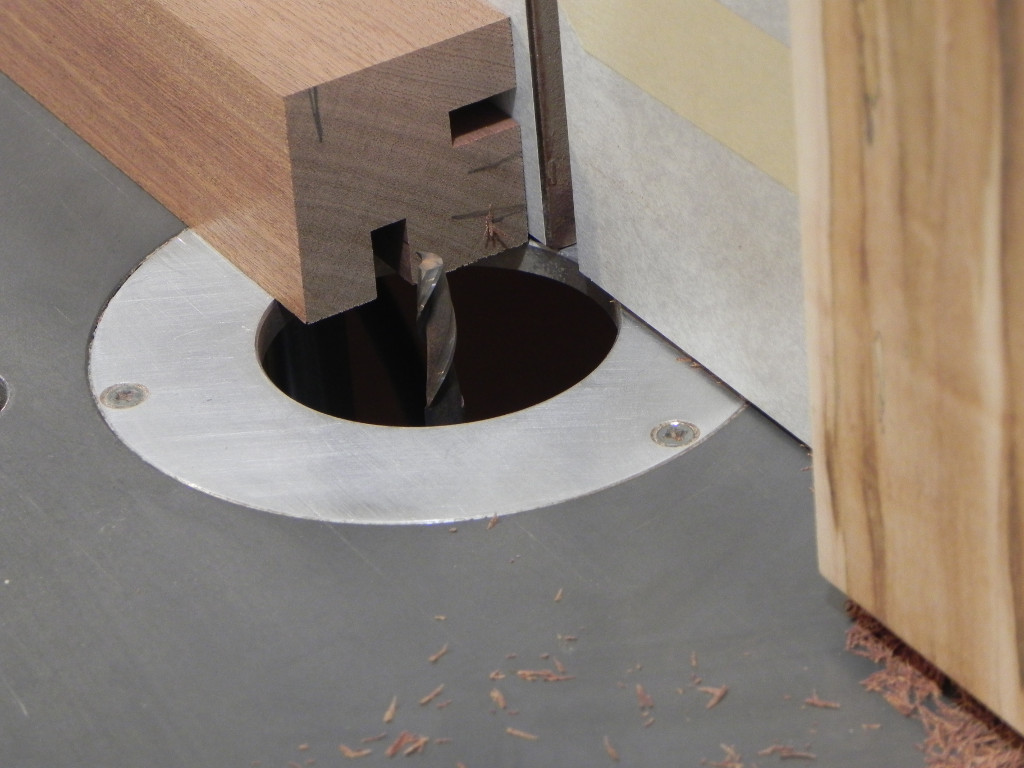
Once most of the waste is removed, finishing the dovetail slot is easy. All you have to do is get the dovetail bit height correct. I usually set it so it takes a 1/64″ deeper cut than the strait bit, this ensure all the faces are pristine. Once the bit height is set, it’s imperative that it not be adjusted in away until you are done cutting the dovetails on the apron ends. The bit height must be exactly the same for the joint to fit together well.
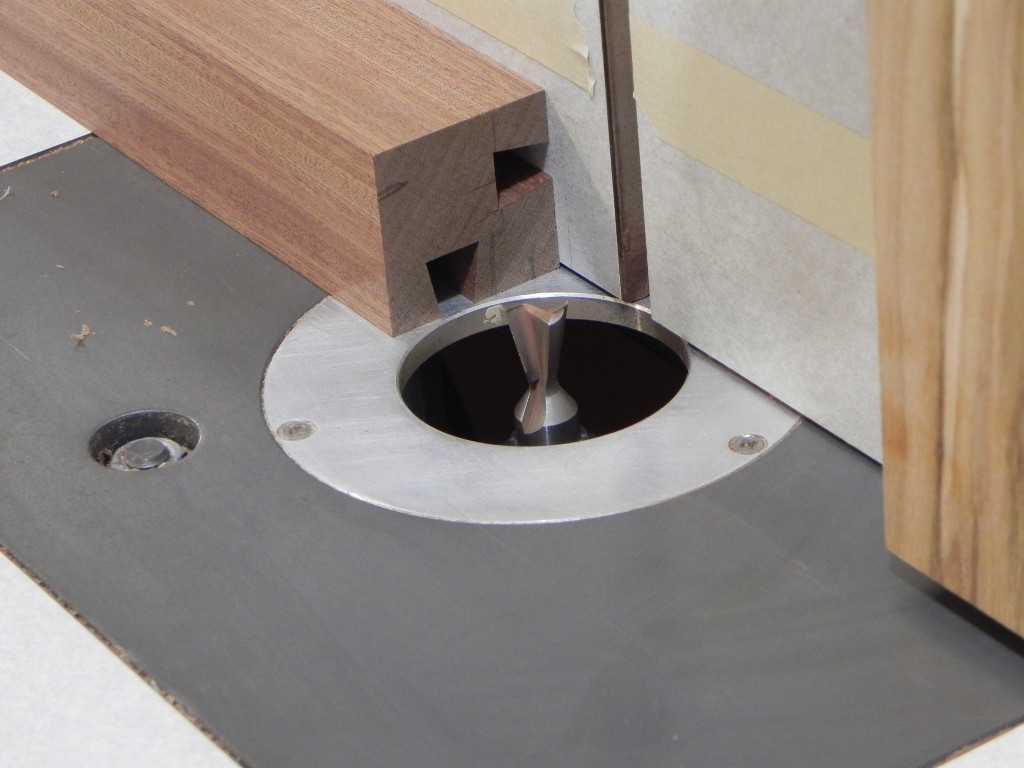
routing the leg dovetails
Routing the dovetails into the end of the aprons is a little finicky but not hard. The first obstacle, is making sure the tail is the right width. The width can easily be dialed in by making test cuts with a piece of scrap that’s the same thickness as the aprons. The second and less obvious obstacle, is ensuring the fence is square to the top. If the fence isn’t square, the dovetail angles will be wrong, and thus won’t fit properly. If Your fence is out of square, the easiest way to get it back into alignment is with some simple paper shims.
To avoid tear out, it’s best to make the first pass a light nicking one. The pass should be just deep enough to make a narrow line. This will prevent tear out on the face. This is just like using a marking knife to sever the surface wood fibers. Once you have made the nicking pass on both sides and both ends of every apron piece, you can start taking deeper and deeper cuts until the dovetail is the exact size needed. Unless you are making a really long dovetail, its best to use a scarp piece of wood as shown below, to ensure the apron stays square to the table top. The scrap board has the added benefit of preventing blow out on the trailing edge of the board.
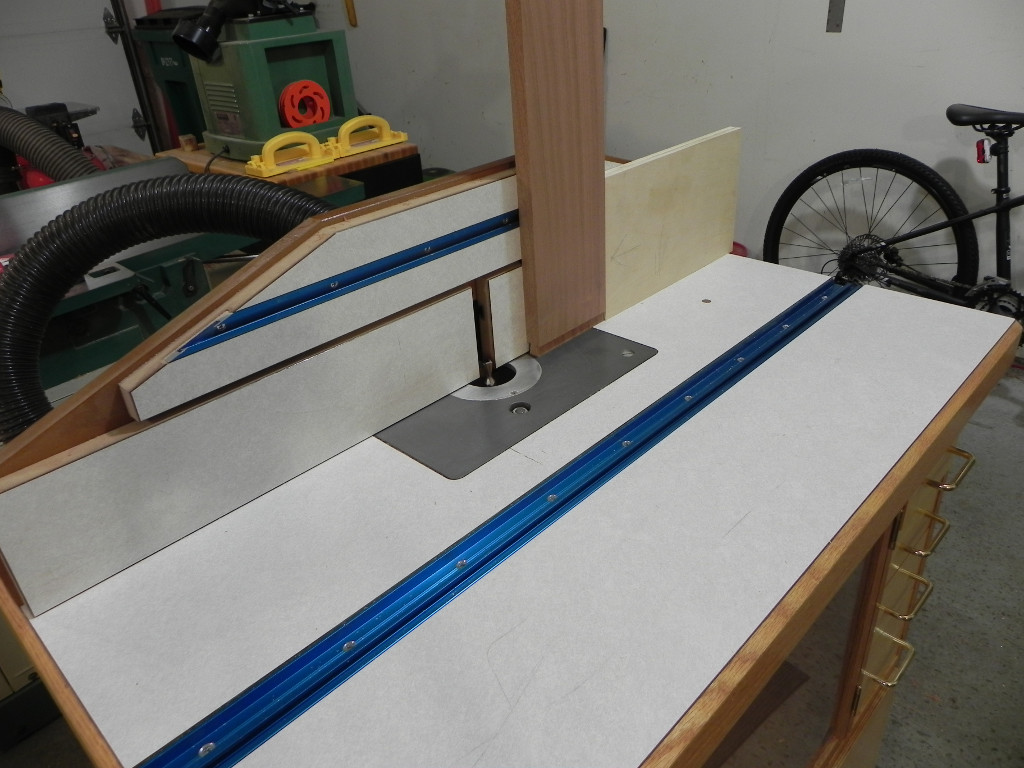
routing the apron dovetails
If proper care was taken, the joints should easily slide together with moderate hand pressure, or at most a few light mallet blows.
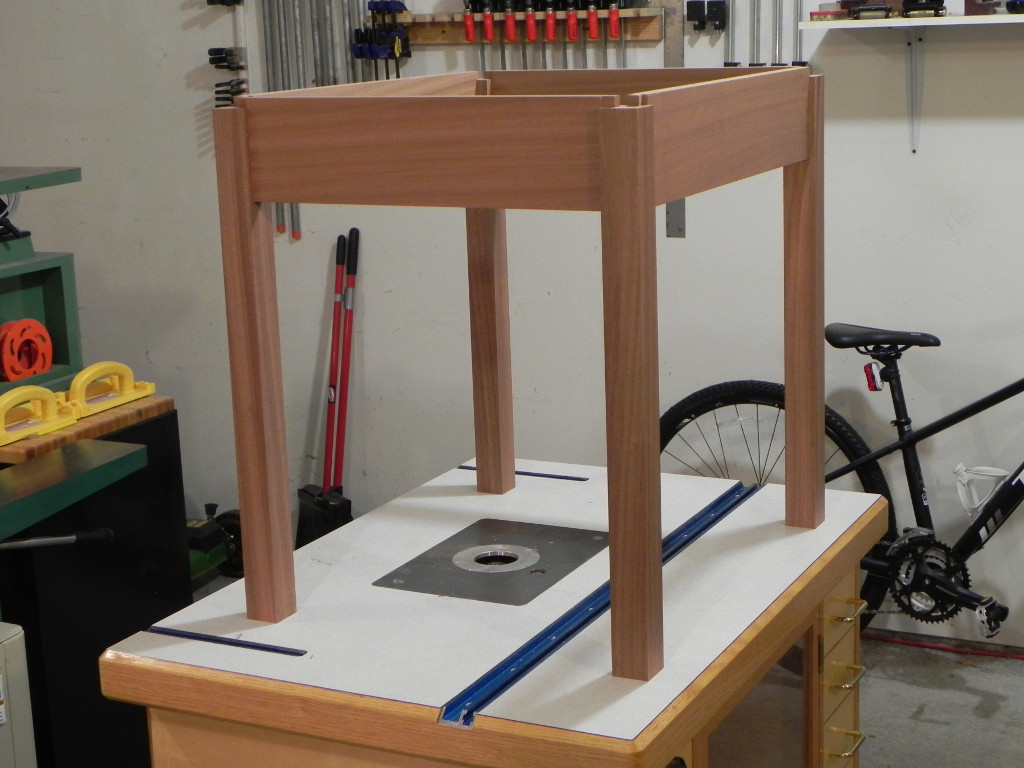
the first dry fit

Hey Dan,
Nice article! I’m thinking of doing the same sliding dovetail on a solid wood oak dining table (240×100 cm) and I was worried about its strength. You mentioned at the beginning of the article that this is for a table that won’t take a lot of abuse. What do you consider a lot of abuse and what would you recommend? Thanks!
Hi Dan, I’m planning to build an out door planting box on legs. The sliding dovetails look like they would work so I could disassemble it in Fall. What do you think? Thanks