Rough dimensioning lumber
The rest of the Sapele I ordered to make the side table commission arrived the other day. On the way home from the lumber store, I decided to document how I dimension lumber. I know it’s probably been documented on every other woodworking blog on the internet, but I feel my method is unique. I also feel it gives me a better chance of successfully handling any issues that occur during the process. Thus, the following is how I dimension lumber.
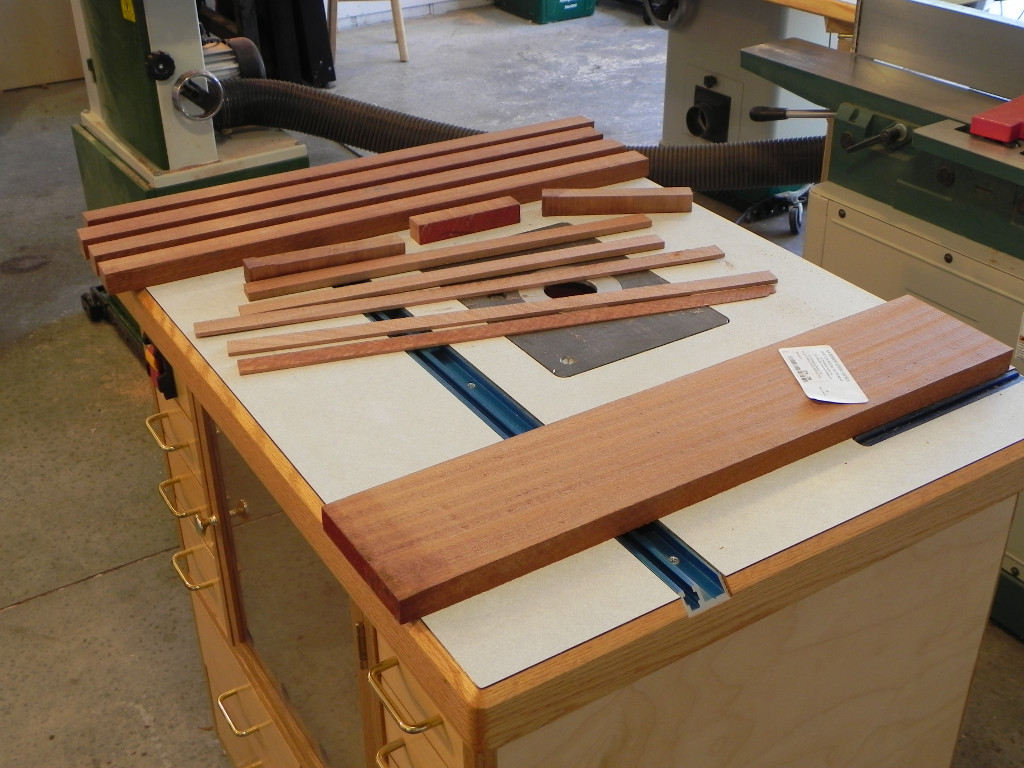
Once I’ve gotten the lumber home and verified I didn’t miss any major defects during the selection process, I spread it out so I can plan my cuts. For this project it was easy because the lumber was flawless, and fairly close to the actual width I needed. If I need to, I’ll spend a significant period of time determining the best way to cut around a knot, or orient the parts to maximize the impact of the grain. Unfortunately this is one area that’s hard to give tips on as its very subjective, and board specific.
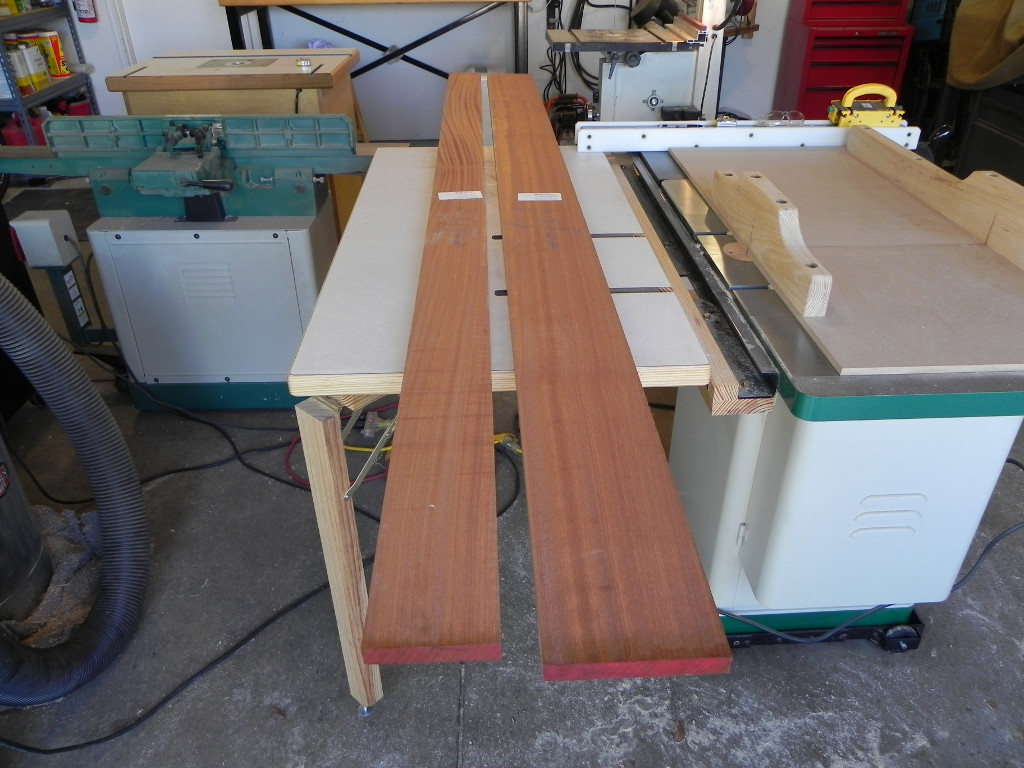
layout the boards and examine them closely.
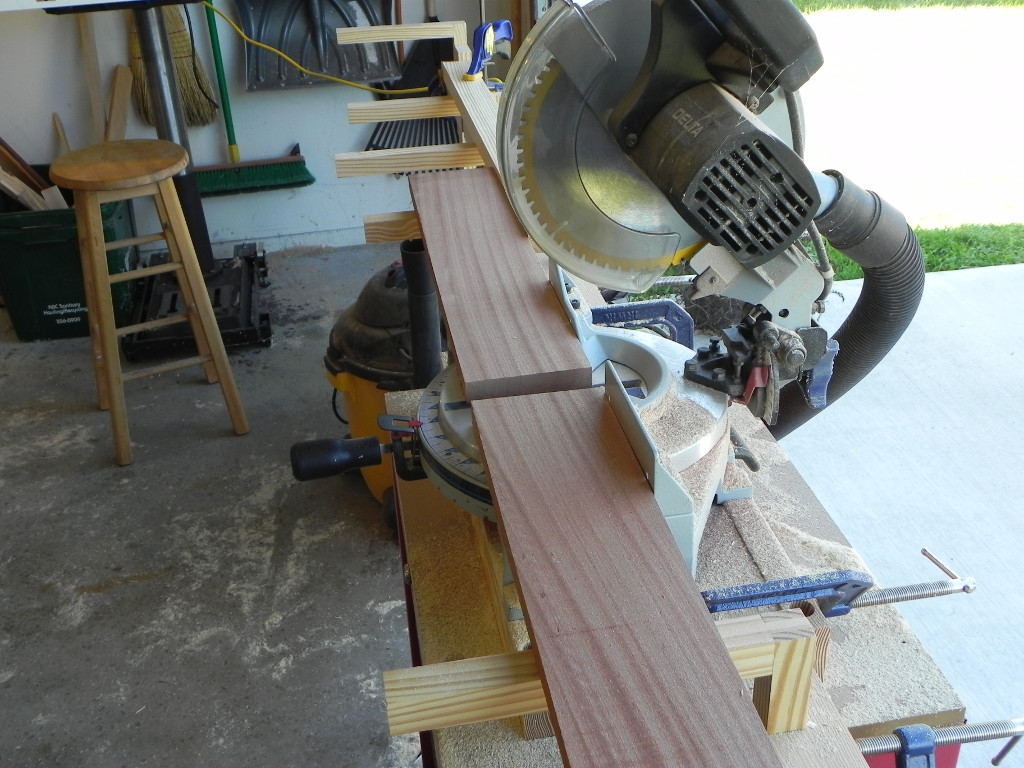
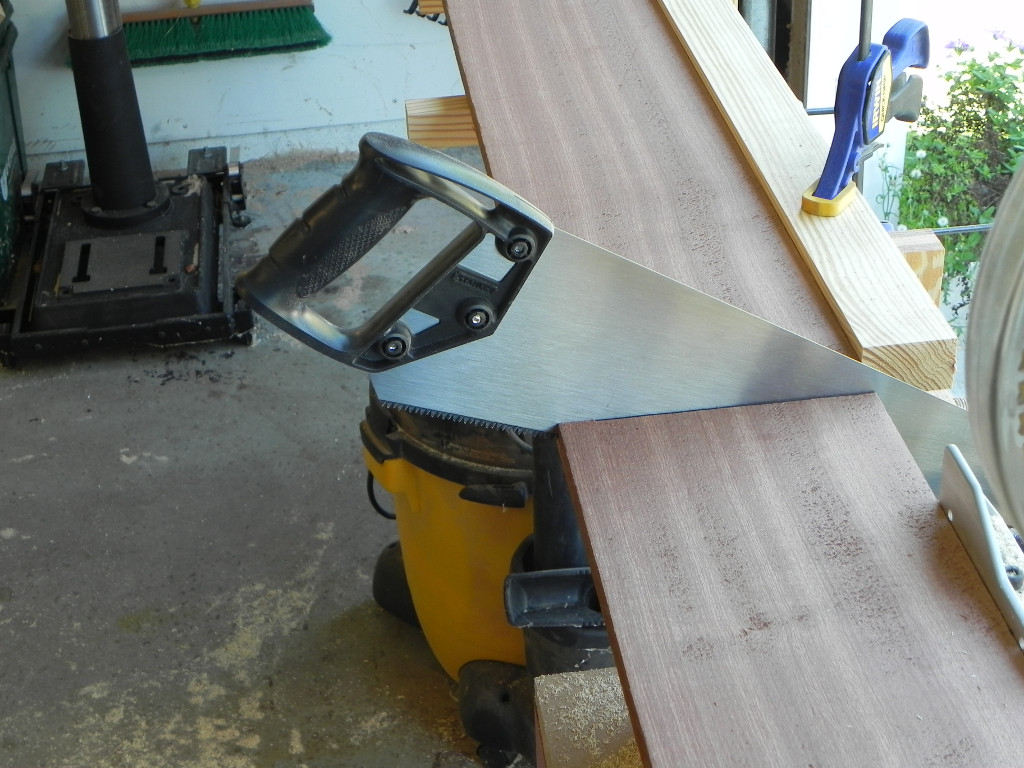
When I’ve finalized how I wan’t to cut the boards I move them to the miter saw. A simple step I perform religiously, is to cut off the last inch and check it for hairline checks. besides a quick visual inspection, I always smack it against the edge of the bench to see if it breaks. Sometimes if i see something I’m unsure of, I’ll prop and end up on a piece of scrap and whack it with a mallet. If’ it breaks, I’ll repeat the process until the off-cut is sound.
As a preventative measure I always cut parts longer than needed. Exactly how long depends on what the board will be used for and the scale of the project. If it’s part of a large glue up like a table top it might be 2 or 3 inches longer than needed. If it’s something like the aprons for this side table an inch is more than enough. The extra length lengths lets you easily handle stuff like tear out from the cross cutting, or squaring up the board after its been brought down to final width and thickness. If you have a small miter saw like me, a cheap hand saw helps deal with wide boards faster than flipping them over and realigning. I got my saw at Home Depot. It’s definitely not Bad Axe quality, but its well worth what I paid for it.
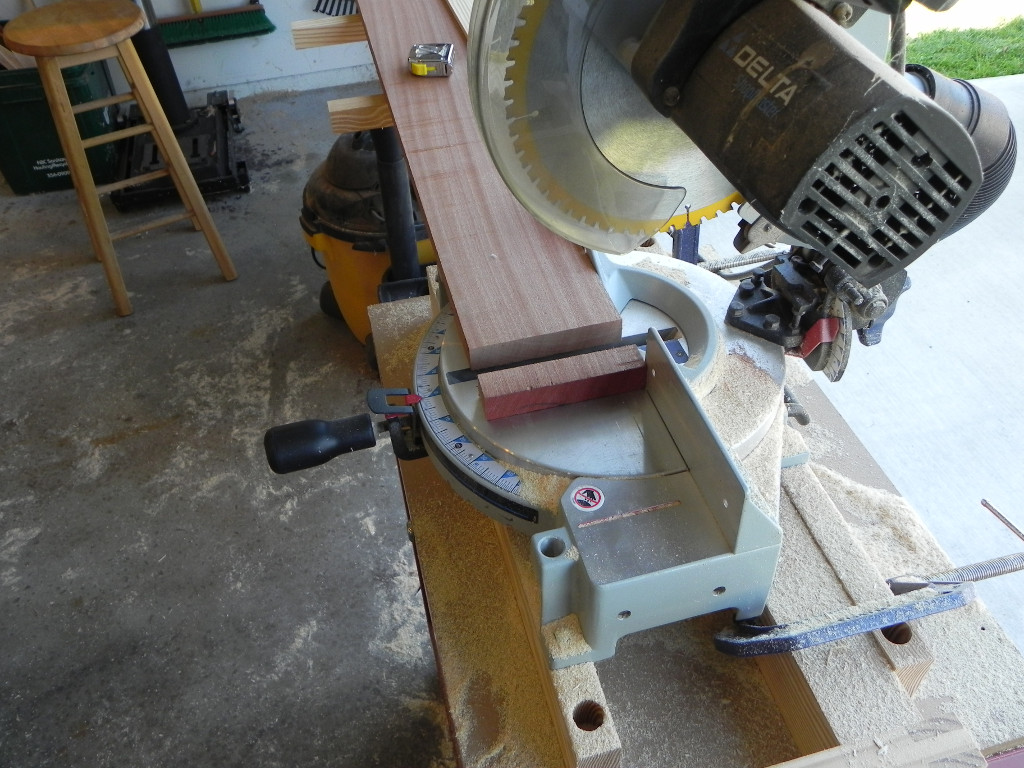
cut off the ends
look for checks
cut to length
Finish with hand tools if needed
The next step, is to joint and edge before ripping the parts to rough width. For this project it probably wasn’t needed, but for rough sawn lumber its a necessity, as you need a decent edge to reference off of. My shop is laid out to make this step really quick. I pile up the board on my router table, and once I’ve jointed them I put them on the out feed table.
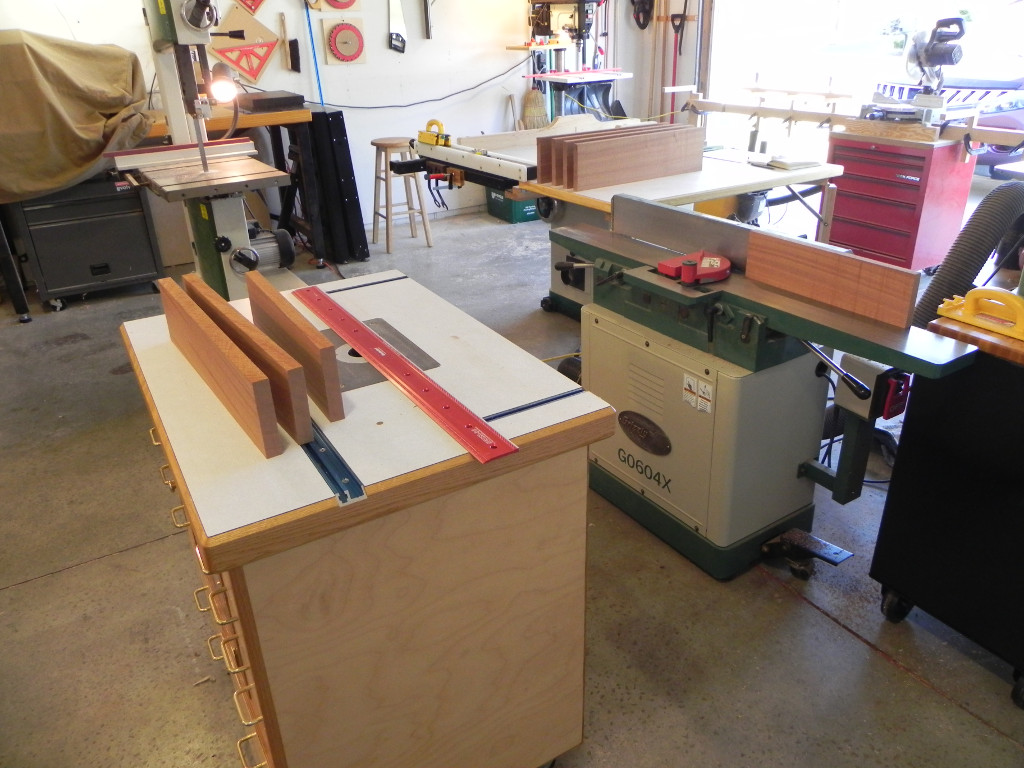
Joint an edge strait
The final rough dimensiong step is to rip the board to width. I use my band saw, because it won’t cause kick back if the board has some twist in it, which is very likely. Depending on the parts length, I rip it 1/8″ to 1/2″ wider than its final dimensions. Just like with its length, this allows me to deal with issue related to tear out and movement. Once I’ve cut the pieces to width, I sticker them overnight so they have time to rest before I mill them to final dimension. For this project I got lucky and had minimal scrap, and a nice piece of material that I can use in a future project.
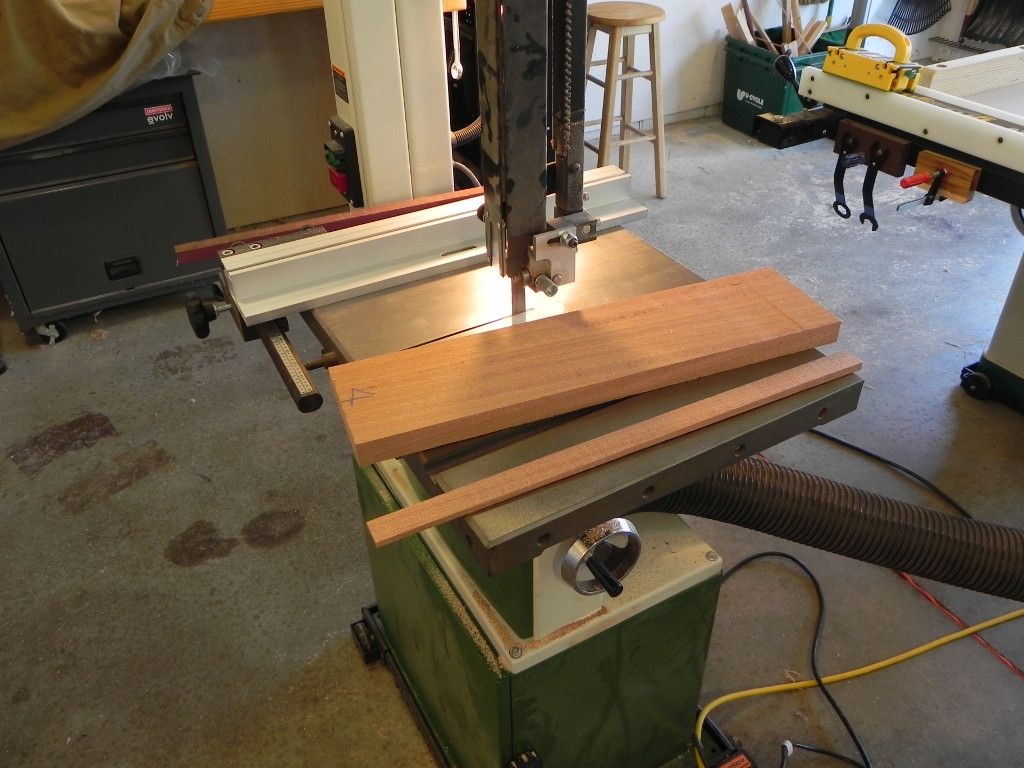
Ripping to width on the bandsaw
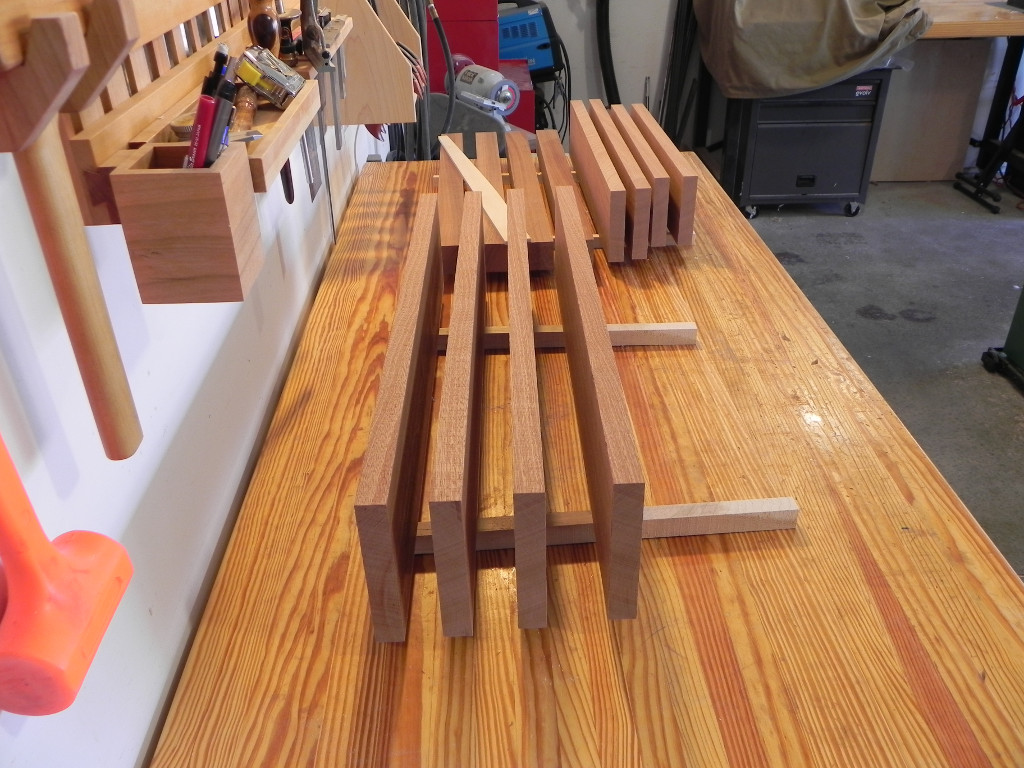
stickered so equalization can occur
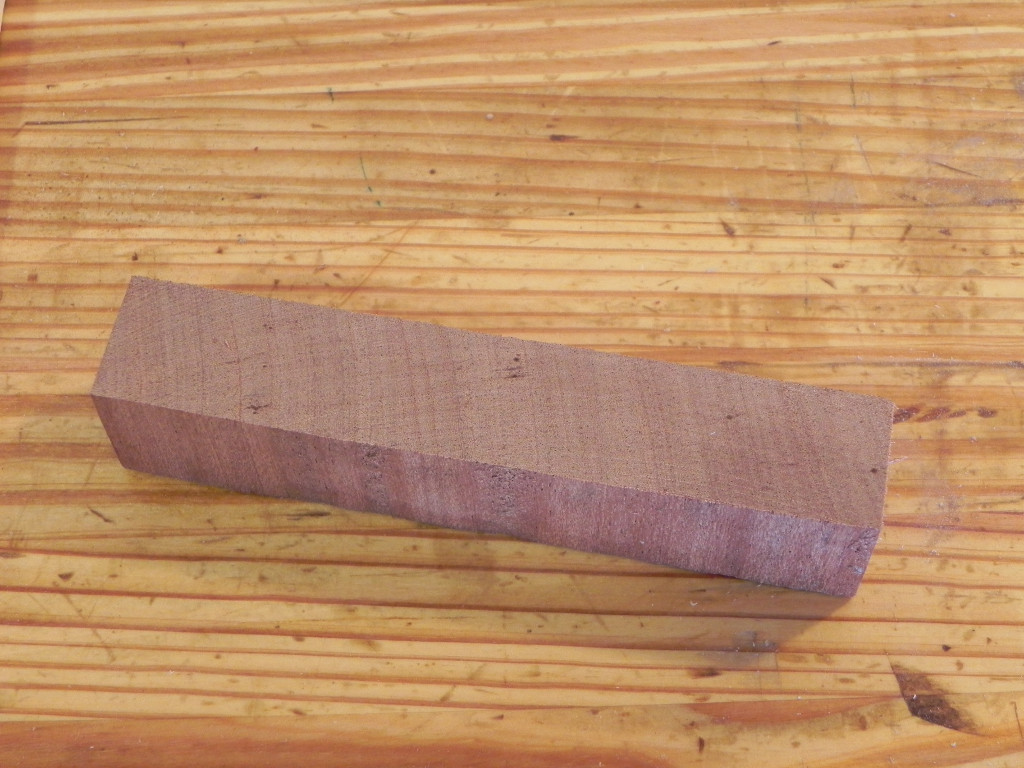
Minimal scrap
