Jointing perfectly
As far as I’m concerned, the last big job is done. Panel glue ups used to be something that terrified me, because so much can go wrong. Over time I have come up with a system that works for me almost every time, even if the boards aren’t perfectly flat. The following series of images will show you how I make large panels.
Step one is to joint the edges of two adjacent boards. The best way to do this, is with a method communally used in the hand tool world. Jointing edges is something that is a lot harder to do by hand then by machine, thus people came up with book matched jointing. To do this lay the boards down as they would be glued up, and then fold them together as if you where closing a book. Roughly line up the edges, and then clamp the boards together. The benefit of this process, is that your jointer fence doesn’t have to be perfectly square to the bed.
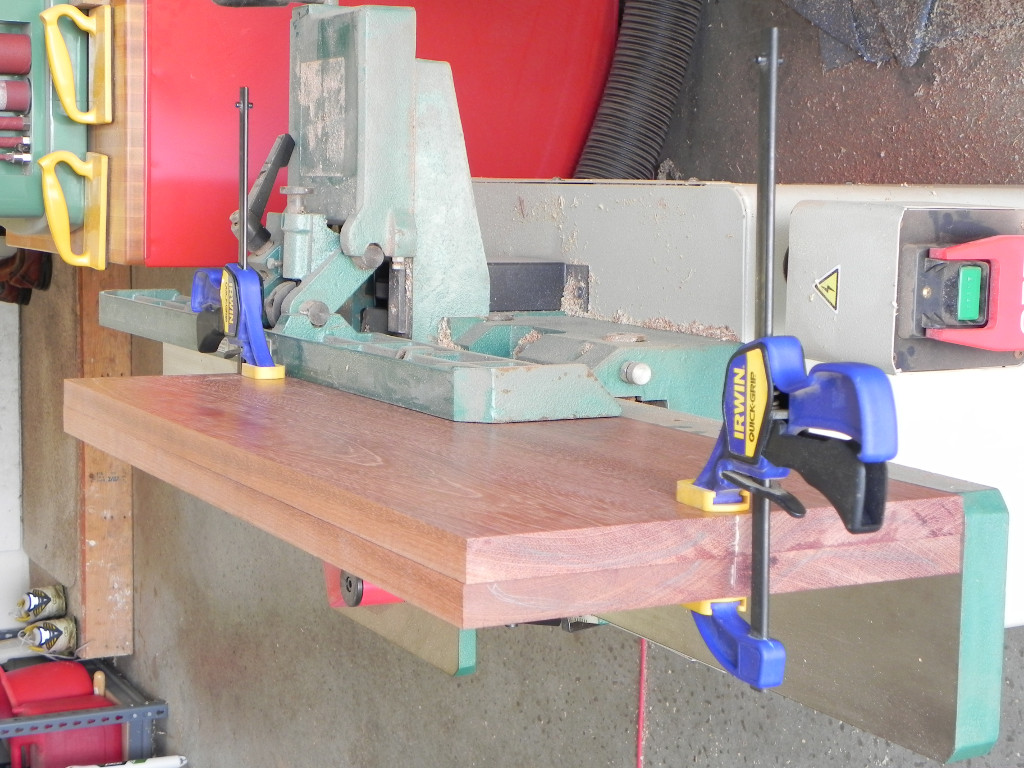
book match jointing
Once the boards are all edge jointed it’s time to glue them up, and the best way to to do that is with a clamping jig, & cauls. The clamping jig is nothing more than two boards that have slots cut across them that hold your clamps up off the table in the vertical position. The only dimension of real importance is the height of the boards, you want them to be high enough so that you can clear the heads of the clamps that you are to clamp the cauls with.

clamping jig with the bottom cauls in place
Once you have the bottom clamps & cauls in place you can apply glue to the boards and lay them flat on the bottom cauls. Apply just enough pressure with the clamps to bring the boards together and cause a little squeeze out. Then get the top cauls in place and clamp them down. The last step is to go back and re tighten clamps. If you take your time, you almost always get a perfectly aligned glue up that requires almost no scraping or sanding.
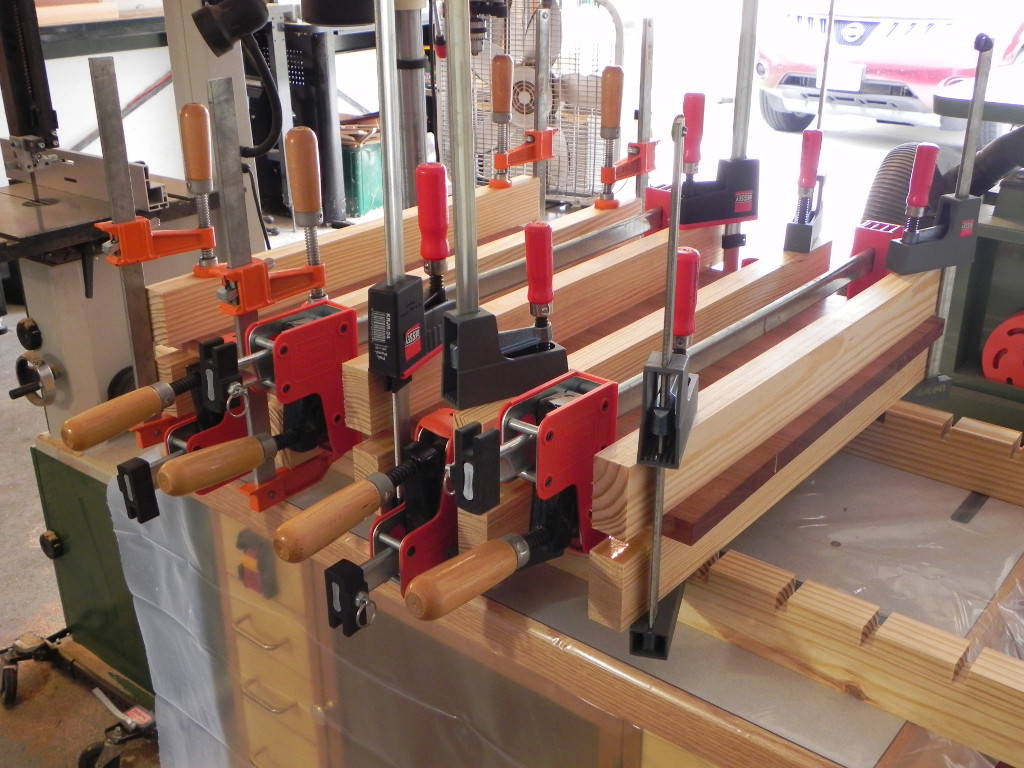
I need to buy some more clamps I think
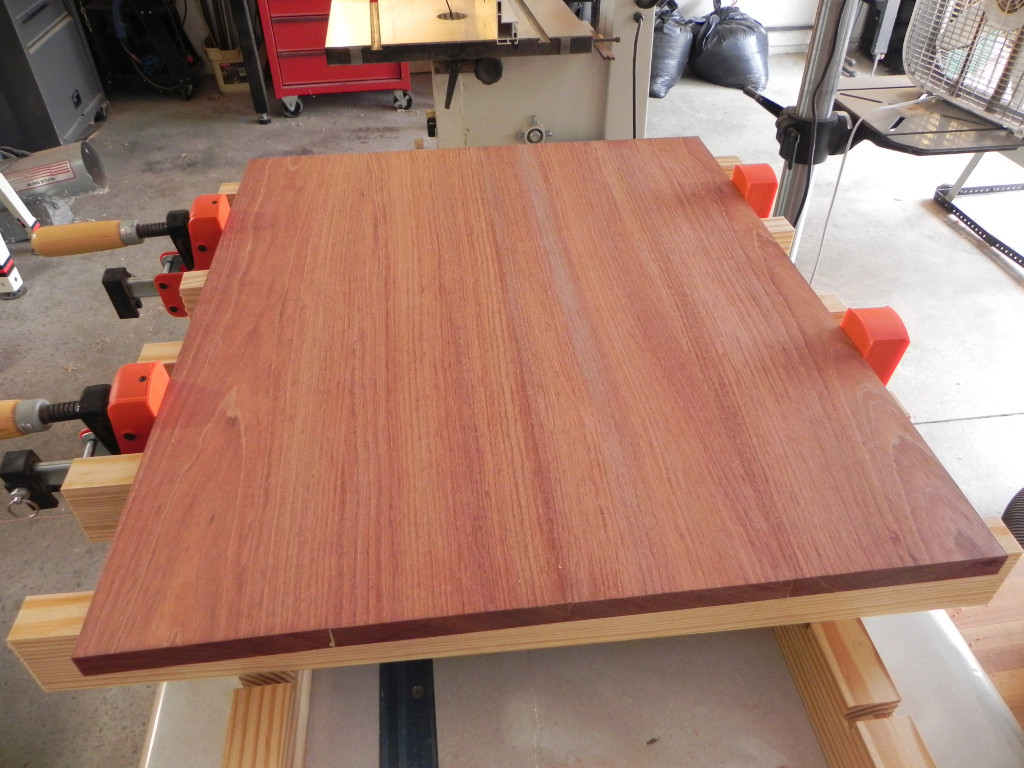
glued up and ready to be cut to size

Good, article Dan, lots of good tips here.
Thanks David.