Router Table (wrap-up)
June 27, 2010 6 Comments
It’s finally done…
When I first started this project, I thought I would be done in a month. Now 6 months later, I don’t know where all the time went. I lost a week to a neck injury, but other than that I’ve worked on this project 10 to 15 hours every week. Either I work a lot slower than I think I do, or Norm has some magic tool to warp time.
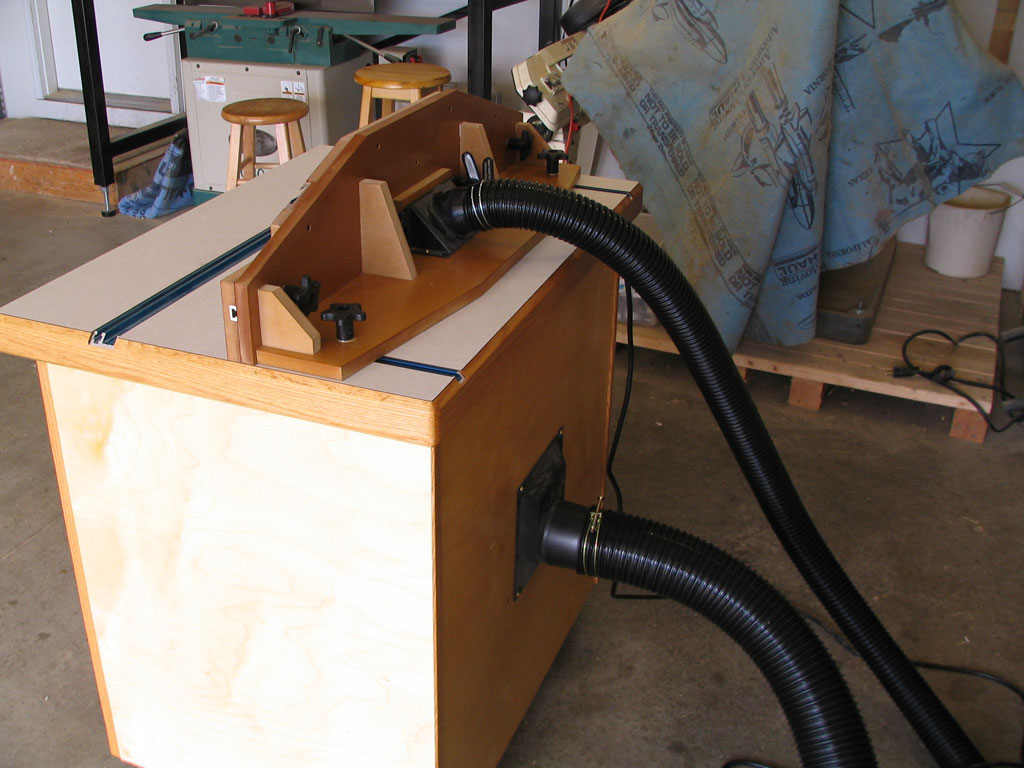
All kidding aside, I’m really pleased with the results. I’ve gained additional storage space (always a plus in a small shop), and a valuable tool that I’m sure will be make many of my future projects much easier and pleasurable. And now it’s time for the obligatory final photos.


I love the looks of this and have been hoping to build one myself soon. I’d love to see more info/details on things like how you did your guide rails and locks. Great work.
-Matt
Matt,
the guide rails are just t-tracks that set in a dado in the top. I made the dado using a template and a really short template bit. If you have anything specific you want to know about ask away, I’ll be happy to answer.
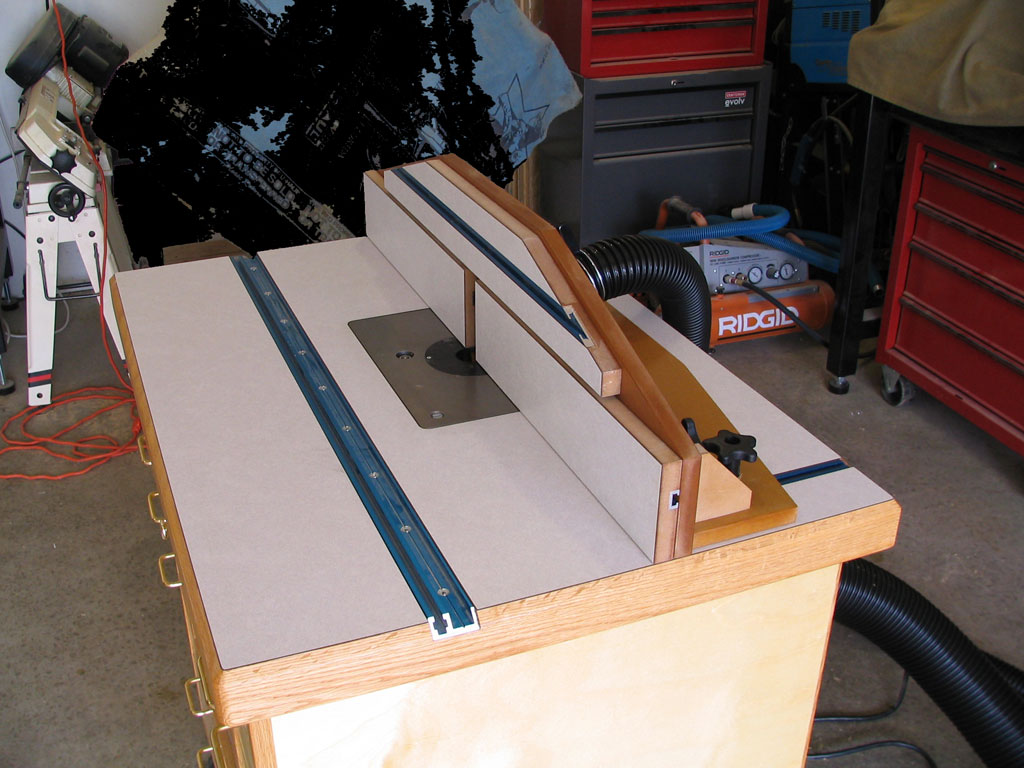
judging it by the pictures it looks like you gave your self more room on the front of the router to the front edge of the router plate; how much more room in “inches” had you gain?
Norm’s plan shows 3/4+ 3 3/4 + 1 + 1 1/2= 7 total to the front edge of the router plate.
Great job! you have a nice looking router cabinet.
Thank you!
Hector, I’m sorry I missed this.
From the front of the top to the front of the plate is 10-13/16″
-Dan
I know I am little late to this thread, but I am in the process of building a router table now. I am using 2 layers of 3/4” MDF for the top, which I will eventually coat with poly. I wondered how you “finished” the end of your slot that holds the t-tracks for the fence. If you use a router for the slot, it will have a round end. When you cut the aluminum track you have a square end. How do I make that look right?
Hi Otis,
I routed the slot with a small diameter bit, most likely a 1/4″ bit. To fit the track I cut off just enough of the tracks corners to make it slide all the way in.
-Dan