A few years ago Marc Spagnuolo came up with the concept of Safety Week, eventually one week a year, several prominent bloggers write about ways of staying safe in the shop. It’s not talked about much, but lets face it, woodworking is one of the more dangerous hobbies to get into. Careless mistakes in a woodworking shop, can easily lead to a missing digit, eye, or worse. Now I’m not known for being Mr. safety, some times I do stuff that would make most people cringe. One thing I take very seriously, is cuts caused by hand tools.
If you’ve done any amount of woodworking you’ve probably come to learn that hand tools make certain tasks very easy. You’ve also probably learned that the sharper they are the better. In the grand scheme of things planes and back saws aren’t that dangerous. Your chisels and marking knife however are just waiting for you to let your guard down so they can slice you open and send you to the emergency room for stitches.
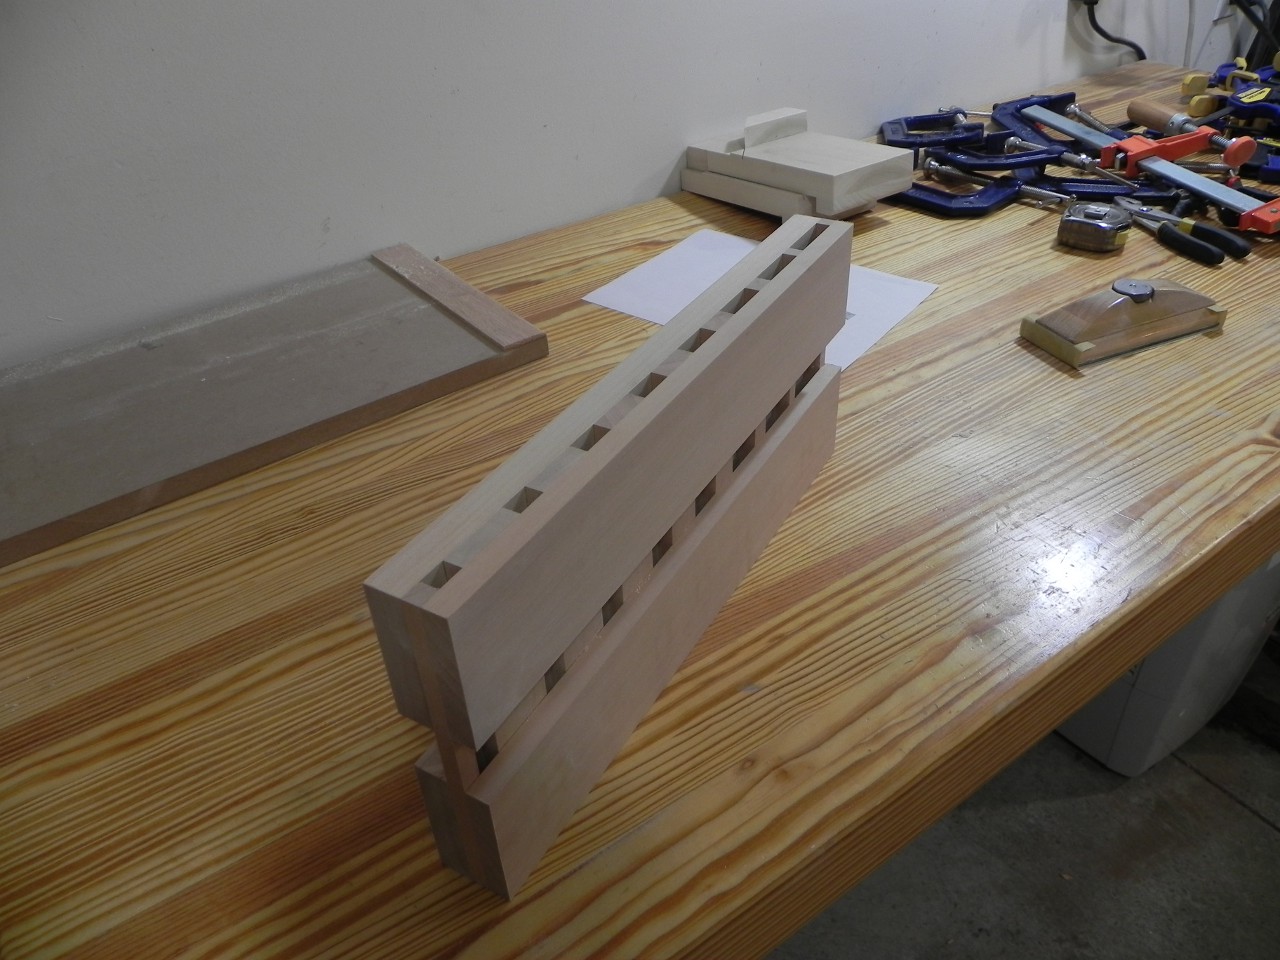
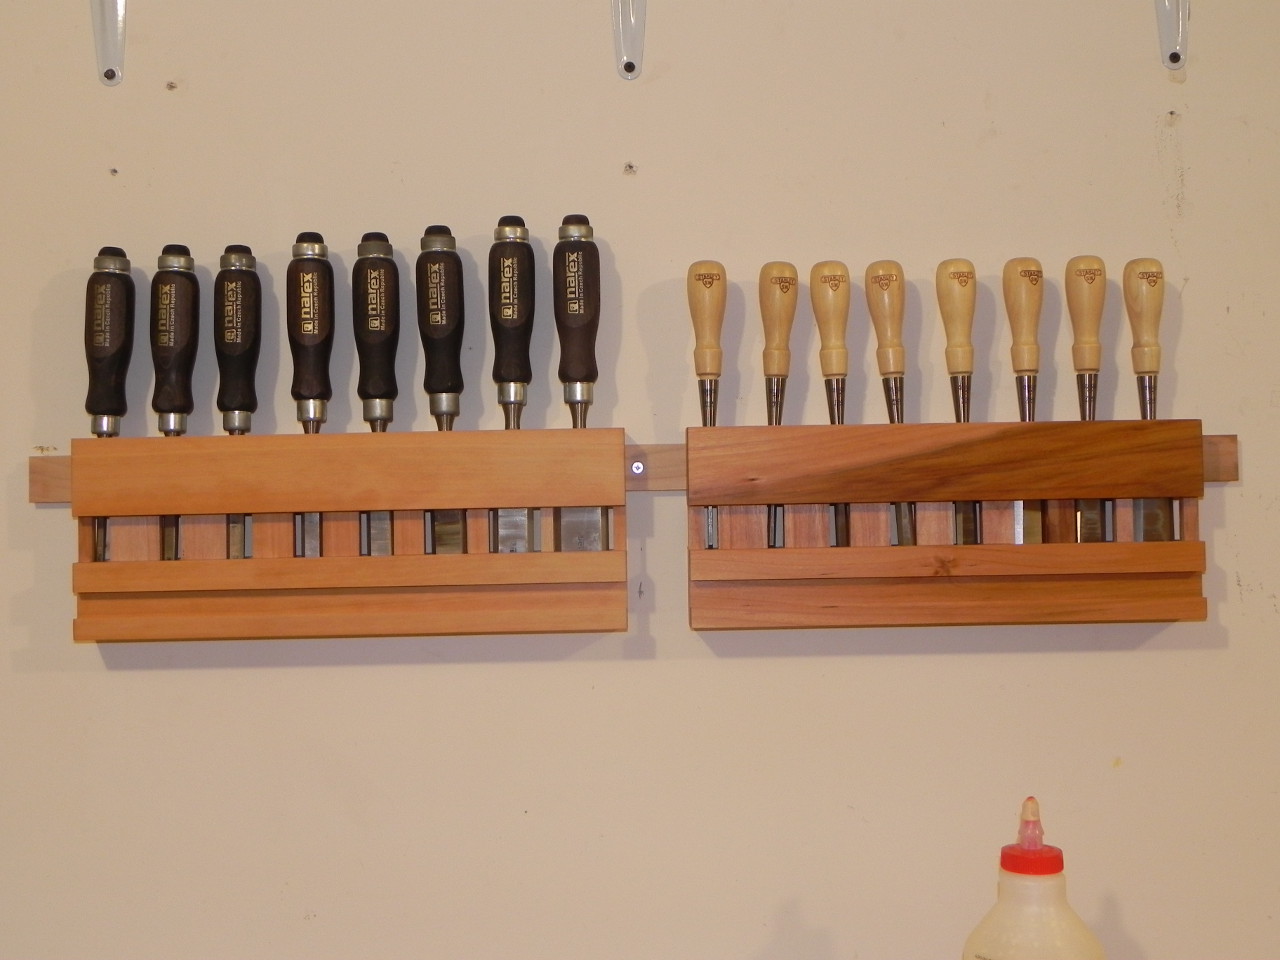
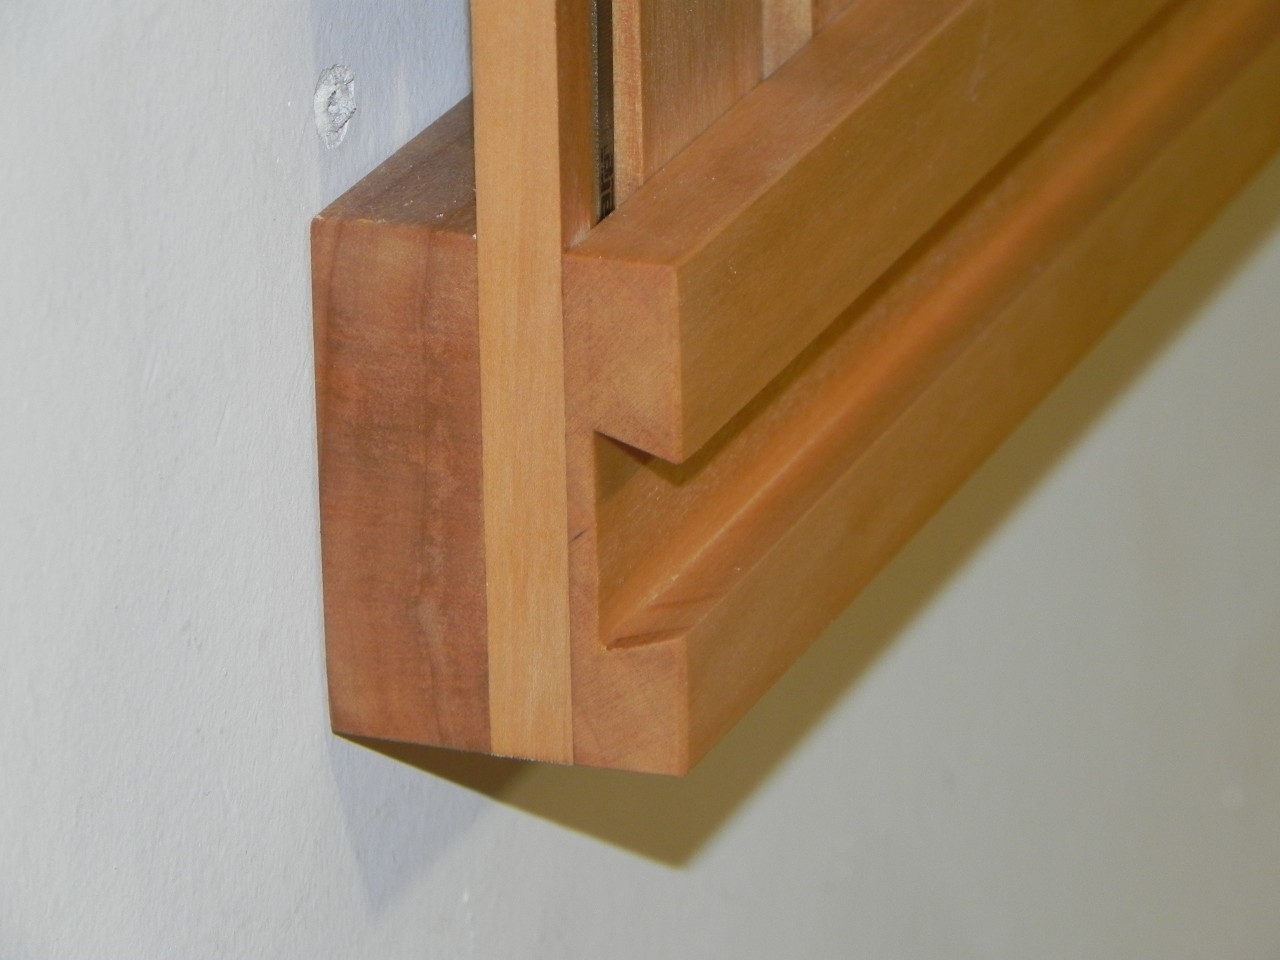
With all that being said, I decided to make myself chisel racks for safety week (yea I know I’m behind schedule). The requirements were pretty simple, the racks needed to be cheap, simple, fully cover the blade, and if possible stylish. What I came up with is below, It’s made from black Willow that I piked up at my local Rockler dealer for $1.92 a BF. They mount to the wall with dovetails and they also have a dovetail across the front of them so I can make “attachments” to hold my marking gauge, rules, etc. The finish was BLO and paste wax.
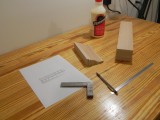
Milled raw stock

Glued up

Mounted
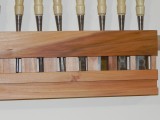
lovely grain
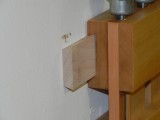
Mounting dovetail
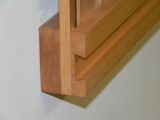
accessory dovetail
This weekend I prepared the shop for spring, I didn’t do anything major, just blow out the dust, and rearrange some tools on the wall. It only took 2 hours to do it, but it still felt really good to open the garage door, turn up Pandora, and doe something completely mindless.In other words, another season of woodworking has begun.

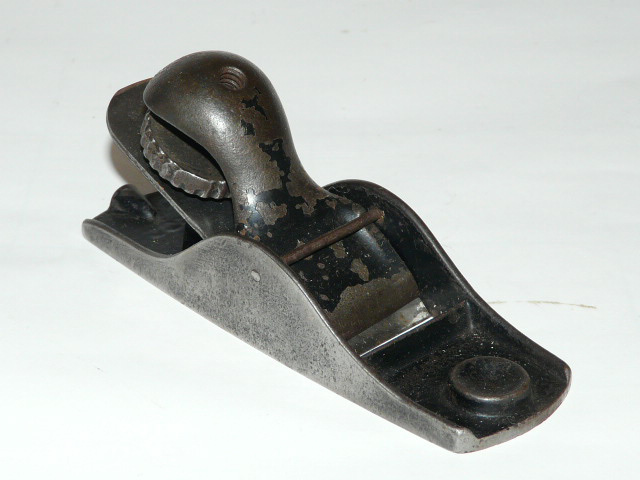
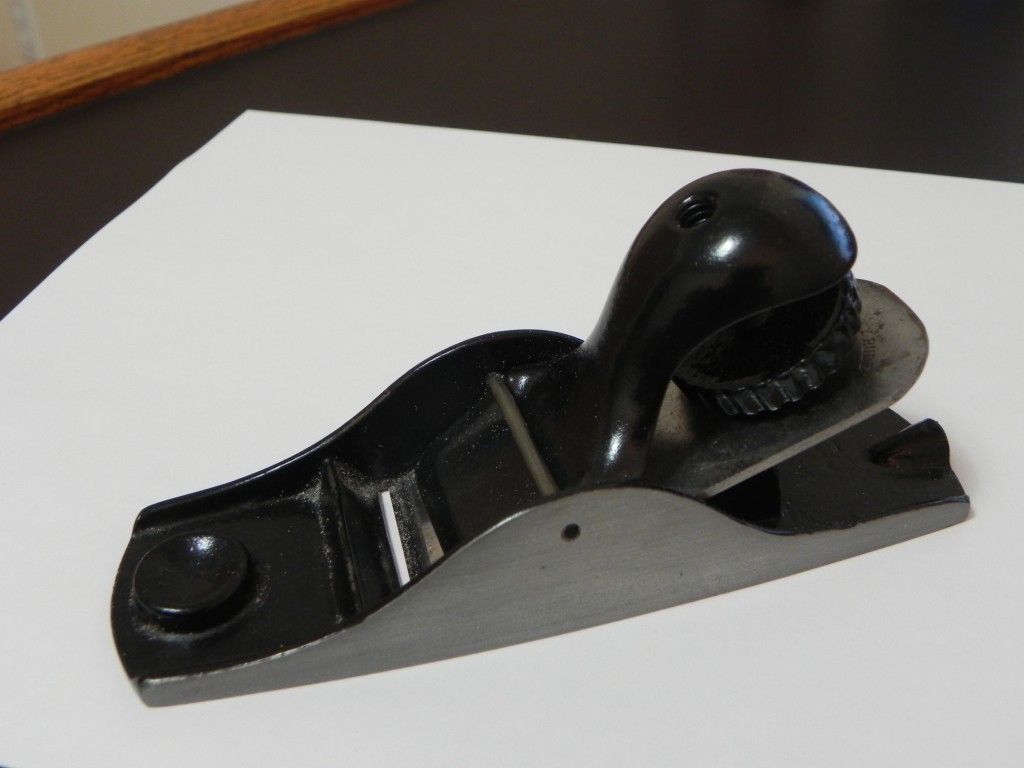
The weather is finally starting to turn here in central Illinois, and since I don’t have any major projects in the works, I worked on refurbishing this old block plane over the last few weeks. It’s a Stanley #102 type 2, so old is the keyword, because it’s at least 139 years old. I didn’t take a lot of photos during the refurb, but i did get the before and after photos below.
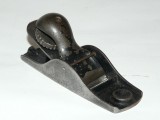
Before

After
While researching chisels earlier in the week,I came across an image that took me back to my childhood. My dad didn’t do much woodworking when I was little, but he had enough tools to take care of odd jobs around the house. Among his assortment of tools was a 4 piece set of Craftsman chisels. I use the term chisels loosely, because the handles were way to big, and they had horrible balance to boot. When I happened across the photo below it brought a smile to my face, as I flashed back to a time when I could barely get my hands around the handles, and would routinely pound them into a random 2×4 with a framing hammer. Before anyone asks; Yes I routinely got into trouble for misusing and misplacing my dads tools.

Craftsman butt chisels
It’s been 3 weeks, and as you might have expected, Wrigley has been keeping me really busy. I’ve been chasing him around the house, making sure he doesn’t make a mess on the carpet. Thankfully housebreaking is coming along nicely, and hopefully in another month I will be able to start venturing back into the shop.
While I haven’t been in the shop, I have had time to do a lot of woodworking related reading. I have a bunch of posters I Want to make frames for, and since I have never made a frame before, I did what I always do when I need to learn how to do something; I bought a book. How to Make Picture Frames is an excellent book, It shows you how to make several picture frames using your table-saw and Router. On top of frame construction, it also covers sizing the matting, to keep the poster visually balanced. At $12 it’s an excellent purchase, check it out, you won’t be disappointed.