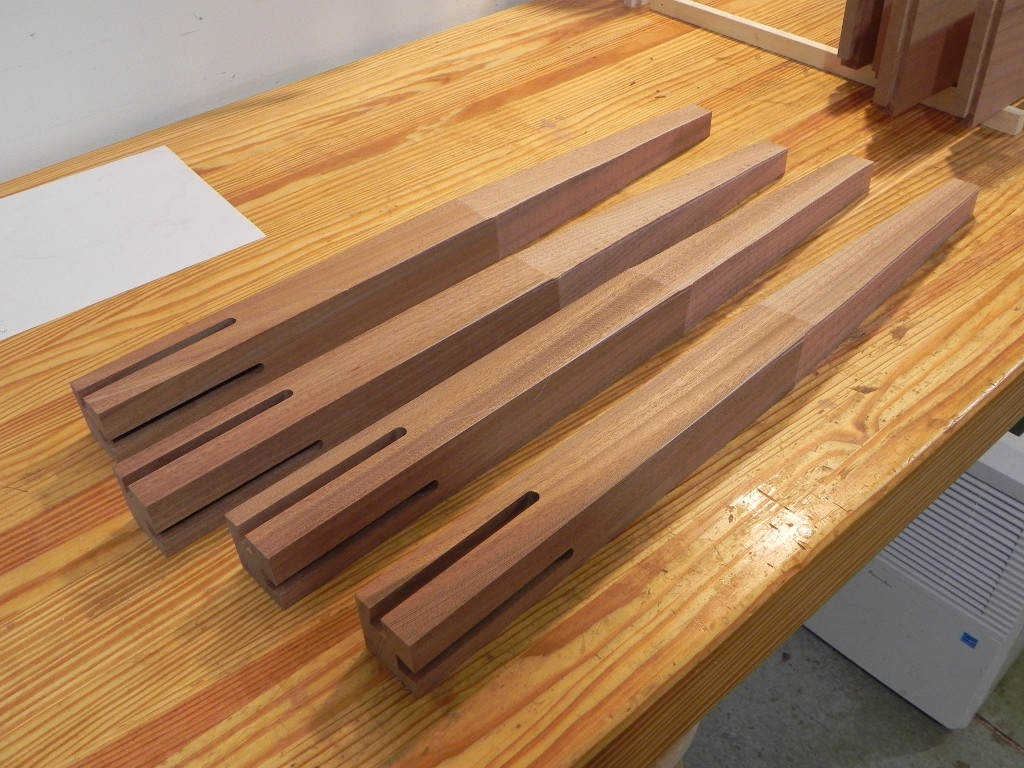
Making tapered legs with curves
Now that the large template bit I ordered has arrived, I can finally finish shaping the legs. The legs are 1-5/8″ square at the top and 13/16″ square at the bottom, so I have a lot of material to remove, to much to remove with just the template bit. Thus the first step in shaping the legs, was to remove the bulk of the material at the band saw. The goal was to only be 1/16″ to 1/8″ wider of the line. Leaving anything more than 1/8″ behind, could potentially bog down the router and lead to an unsafe cut, and anything less than 1/16″ is more finicky than needed.
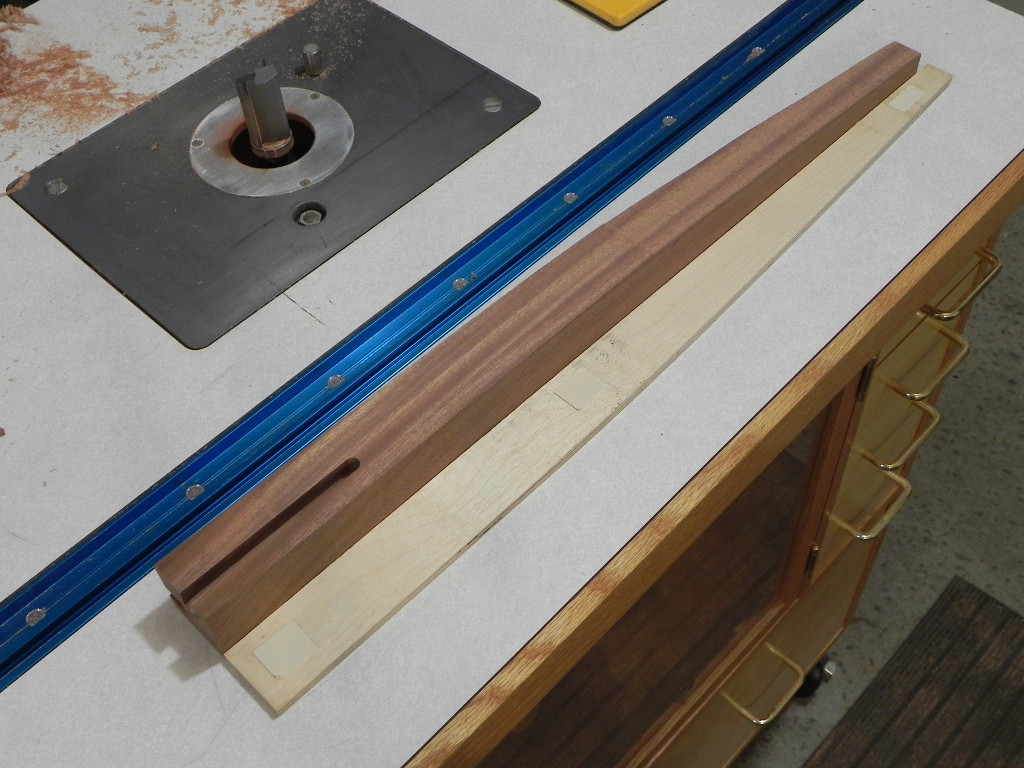
In my opinion, lining up and attaching the template to the leg blank, is most critical step of shaping the legs. If the template isn’t lined up you could end up with an unsightly gouge that needs to be removed by hand. If it’s not firmly attached it could move round, leading to additional hand work to fare the curve. The worst case scenario would be a catch, that launches the leg across the room. Thus I always use turners tape to attach templates to blanks. It has good grip, it’s easy to cut and apply, and it’s cheap. It’s hard to see in the photo below, but I applied tape at the top, bottom, & middle of the template.
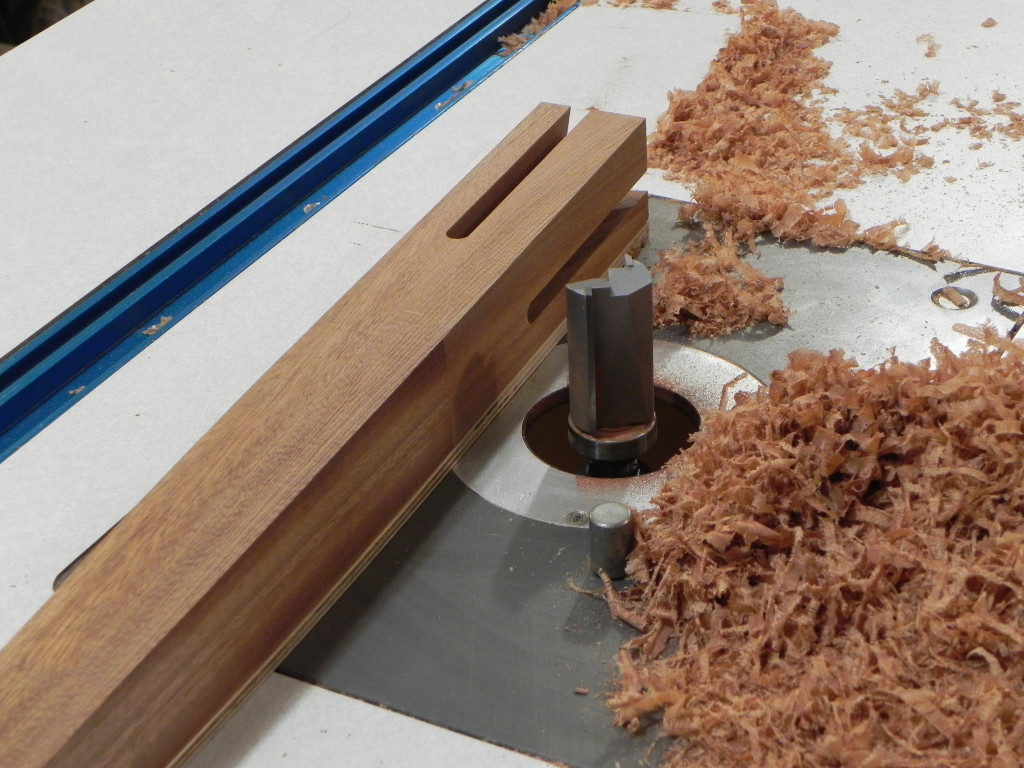
The bit I used is massive, and thus special care needed to be taken while using it. As you can see below I used a starter pin to start every cut, as well as push pads to keep my hands out of the firing line. It took a little wile, but thanks to the precautions I took, I was able to finish shaping the legs without any issues.