Making crosscut sled bolts
Last time, I mentioned that I like to use bolts to attach fences to the base. This time I’m going to show how I customize bolts. Since I like to use 1/2″ material for the base, I thin the bolt heads so that I can make the counter-bores in the base as shallow as possible. This also allows me to used thicker (stiffer) grade 8 washers. Since MDF is soft, run of the mill zinc coated washers tend to deform and generally destroy the MDF around the hole. The other thing I do is shorten my bolts so that they don’t protrude from the top of the fence. If you design your fence around common bolt lengths, this step can be omitted. While I use my metal lathe to thin the heads and shorten the bolts, the same tasks can be accomplished with a bench grinder & cut-off blade equipped Dremel tool.
The first step in modifying the bolts is something familiar to all woodworkers, jig making. The photo bellow shows the jig used to thin the bold heads. Its just a chunk of scrap steel with a shoulder turned on it and then tapped 1/4-20. The shoulder is important for a later step. To thin the bolt heads I thread the bolts into the jig till it bottoms out, and then face the head to a thickness of 3/32″.

A thinned bolt head.
The next (and final) step is to trim the bolts to length. Again just like in woodworking to produce identical parts its best to use a jig. As seen below the jig is some scrap conduit cut to the appropriate length, and some custom turned chunks of aluminum to hold the bolt centered in the conduit. When it’s assembled the jig allows me to trim the bolts to length within a few thousands of an inch of each other. The most important part of the jig, is the shoulder I mentioned earlier, as it allows me to positively register the jig of the face of the chuck jaws. Next time I’ll cover the most time consuming part of the process, attaching the fences to the base.
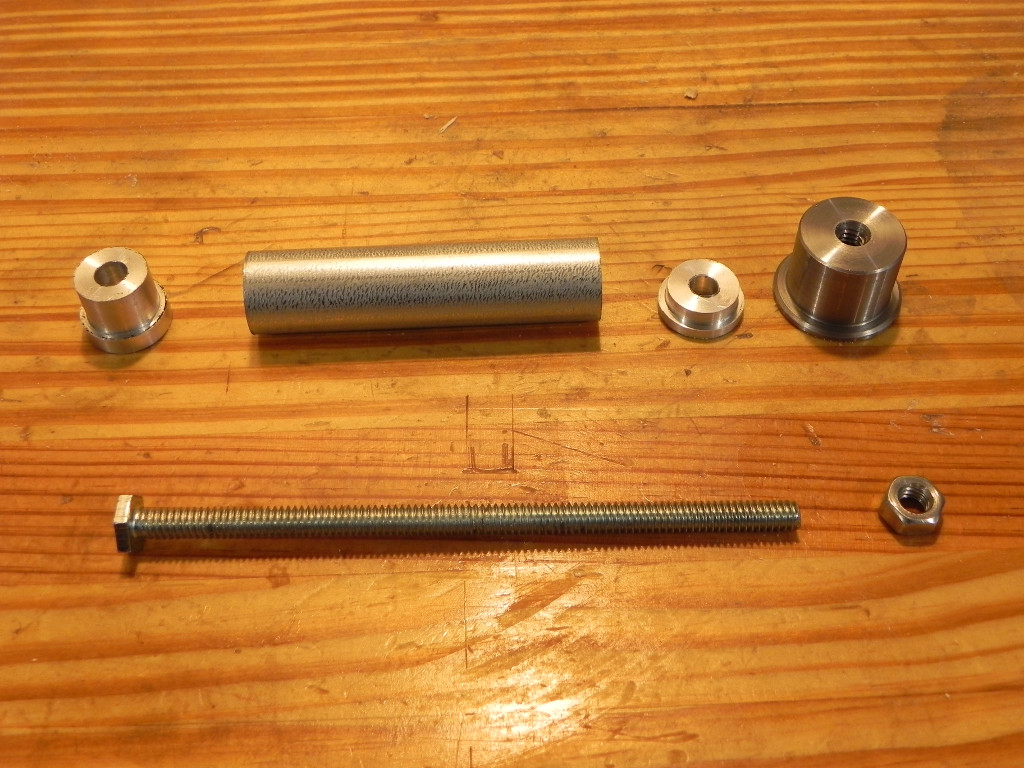
The components
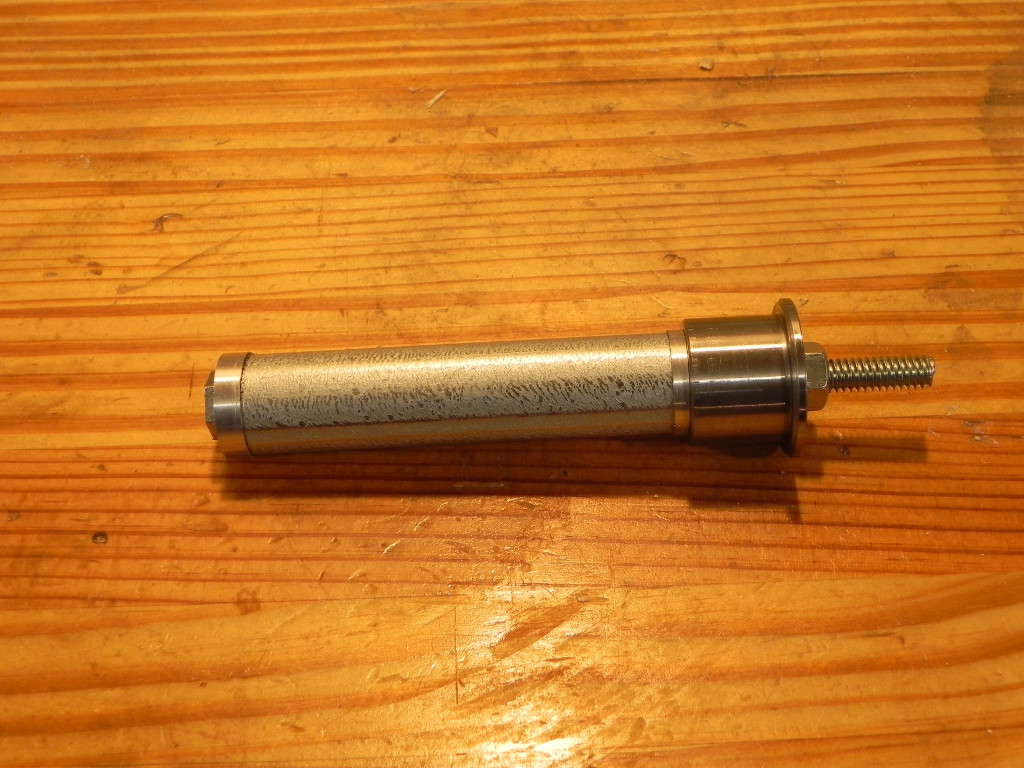
The assembled components.
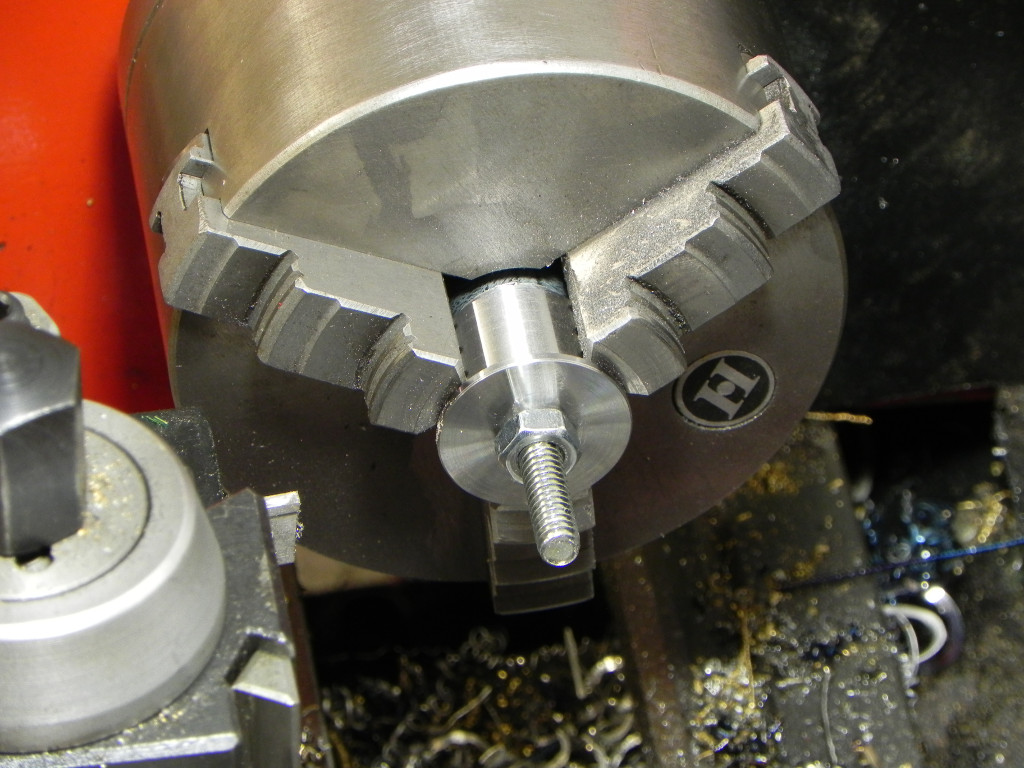
Ready to part-off the excess.
